
Quick Summary: Is your audio jack acting up? Don’t worry about costly repairs! Discover simple, budget-friendly hacks using common household items to clean and restore your audio jack connection. This guide provides step-by-step instructions for a clearer sound experience without breaking the bank.
Revive Your Sound: Genius Budget Hacks for Audio Jack Cleaning
Hey audio adventurers, Edward Cavitt here from headphonehorizon! Ever get that frustrating crackle, static, or complete silence when you plug in your headphones or speakers? It’s a common issue, and often, the culprit is lurking right at the connection point – your audio jack. Instead of panicking about expensive repairs or buying a whole new set of gear, let’s explore some incredibly simple, budget-friendly hacks to get your sound crystal clear again. These methods are perfect for anyone, from seasoned audiophiles to those just starting their audio journey, and they can save you a surprising amount of money and hassle.
Why Does an Audio Jack Get Dirty? The Hidden Culprits

It might seem like a small opening, but your audio jack is surprisingly susceptible to gunk. Over time, dust, lint, pocket fuzz, and even tiny debris can find their way inside. This buildup acts like an unwanted barrier, preventing a clean connection between your device and your audio gear. Think of it like trying to have a clear conversation with a pile of laundry between you and the other person – the signal just can’t get through properly! Dirty jacks can lead to a variety of sound problems, from intermittent audio to a complete lack of sound, and can even cause damage if left unaddressed.
Common Signs of a Dirty Audio Jack
Before we jump into cleaning, let’s identify the tell-tale signs that your audio jack might be the problem:
- Crackling or Static: You hear intermittent popping, hissing, or static sounds, especially when you move the cable or device.
- Intermittent Audio: Sound cuts in and out, or only one channel (left or right) is working.
- No Sound at All: Despite your device and audio gear working fine, plugging in produces no sound.
- Volume Fluctuations: The volume suddenly drops or spikes without you changing any settings.
Your Budget-Friendly Cleaning Toolkit

The best part about these hacks is that you likely already have most of the tools you need lying around your home. No need for expensive specialized kits!
Essential Items You’ll Need:
- Cotton Swabs (Q-tips): These are your primary cleaning tools.
- Rubbing Alcohol (Isopropyl Alcohol) – 90% or higher concentration is best: An excellent disinfectant and solvent that evaporates quickly.
- Compressed Air Can: Great for blowing out loose dust and debris.
- Toothpick (Wooden or Plastic): For gently dislodging stubborn debris. Be VERY careful with this one!
- Microfiber Cloth: For wiping down the exterior of the jack or surrounding areas.
- Optional: Small Pliers or Tweezers: For very careful removal of larger debris if visible.
Step-by-Step Guide: Cleaning Your Audio Jack Like a Pro (on a Budget!)

Safety first! Always ensure your electronic device is powered OFF and unplugged from any power source before attempting any cleaning. Let’s get those audio jacks singing again.
Step 1: The Gentle Blow-Out – Removing Loose Debris
Before you stick anything inside, we want to get rid of any loose particles. This is where your compressed air can comes in handy.
- Hold the can upright and a few inches away from the audio jack.
- Give short, sharp bursts of air directly into the jack. Aim to dislodge dust and lint without forcing anything further in.
- Be careful not to tilt the can too much, as it can spray propellant, which isn’t good for electronics.
This step alone can sometimes be enough to solve minor connection issues.
Step 2: Controlled Cotton Swab Action
For more stubborn dust or grime, a cotton swab is your best friend.
- Take a clean cotton swab. If it’s too fluffy, you can gently flatten the tip slightly by rolling it between your fingers.
- If you’re using rubbing alcohol (highly recommended for a deeper clean), dip JUST the very tip of the cotton swab in the alcohol. You want it damp, not dripping wet. Excess liquid can seep into your device and cause damage. A good rule of thumb is to aim for the swab to hold no more liquid than it would naturally absorb.
- Gently insert the damp swab into the audio jack. Swirl it around carefully, making sure to cover the internal surfaces. Don’t force it or scrub aggressively.
- Twist and pull the swab out. You’ll likely see some grime on the swab. If you see a lot, repeat with a fresh, slightly damp swab until the swab comes out clean or with minimal residue.
- For the exterior of the jack (the metal part of your plug), you can use a microfiber cloth lightly dampened with rubbing alcohol to clean it up.
Allow the alcohol to evaporate completely before proceeding to the next step or testing. Rubbing alcohol typically evaporates within a minute or two.
Step 3: The Toothpick Technique – For Stubborn Grime (Use Extreme Caution!)
This is for those really tough bits of lint or gunk that the cotton swab couldn’t reach. This step requires a delicate touch!
| Tool | Material | Caution Level | Purpose |
|---|---|---|---|
| Toothpick | Wooden or Plastic | High | Gently scrape away visible, solidified debris that cotton swabs can’t remove. |
- Inspect the jack carefully. If you see any visible, stubborn debris (like a stubborn bit of lint stuck to the side), you can try using a toothpick.
- Gently, and I mean GENTLY, use the tip of the toothpick to nudge or scrape away the unwanted material. Think of it as coaxing it out, not digging it out.
- Avoid pressing hard or scraping the internal metal contacts of the jack. You don’t want to scratch or damage them, as this can permanently ruin your audio connection.
- If you dislodge anything, use your compressed air can or a fresh cotton swab to remove it. If you have small pliers or tweezers, you could try carefully picking out larger visible debris, but always with extreme caution.
If you can’t see anything specific, it’s often best to skip this step to avoid any accidental damage.
Step 4: The Final Dry-Out and Test
Patience is key here.
- Allow the audio jack to air dry completely for at least 15-30 minutes. If you used a lot of alcohol (which you shouldn’t have!), give it more time. You can also use the compressed air can again to help speed up the drying process.
- Once you are absolutely sure it’s dry, plug your audio device back in.
- Power on your electronic device and play some audio. Test both channels (left and right) and listen for any improvements, crackles, or static.
Hopefully, your sound is back to pristine clarity!
When to Call for Backup: Dealing with Tricky Situations
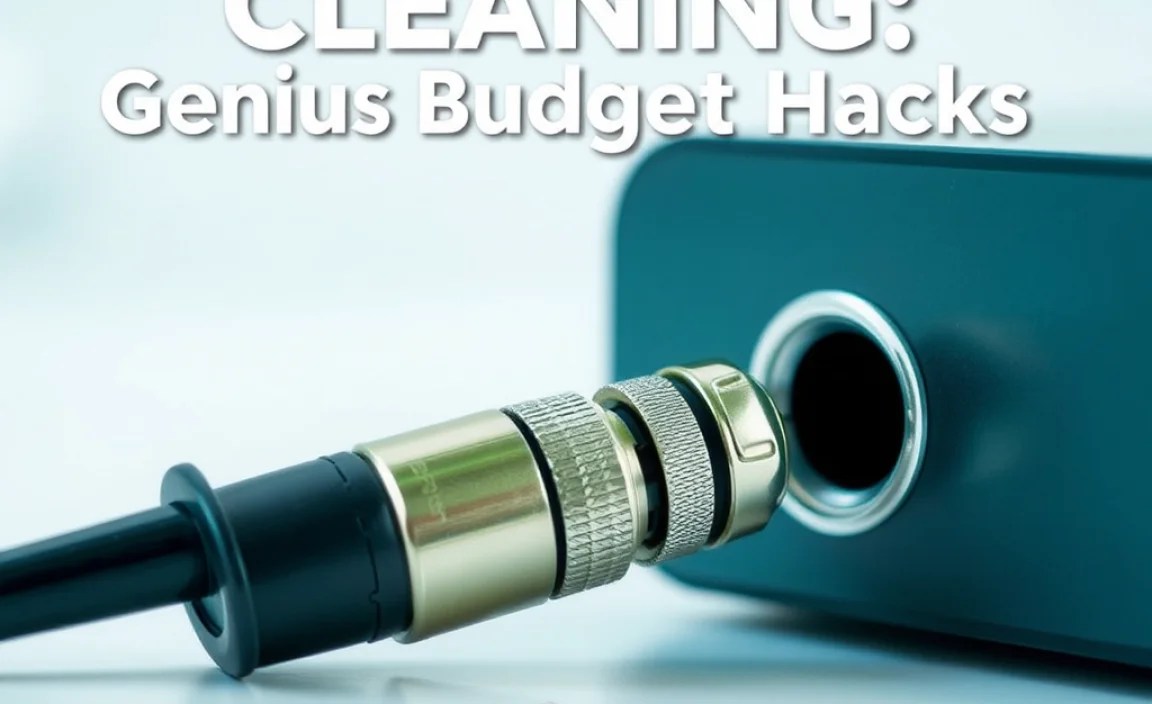
While these budget hacks are incredibly effective for most common issues, there are times when the problem might be more complex.
What If It’s Not Just Dirt?
Oxidation:
Sometimes, the metal contacts inside the jack can oxidize, leading to a poor connection. While rubbing alcohol helps with general grime, heavy oxidation might require a specialized contact cleaner. However, for budget-conscious users, a very fine-grit sandpaper or a pencil eraser can be used as a last resort, but this carries a higher risk of damage and should be done with extreme care. Always try the alcohol method first! The U.S. National Park Service details the effects of corrosion on metals, which is a similar concept happening in your jack. You can learn more about metal corrosion and its prevention at sites like NPS.gov – Corrosion.
Physical Damage:
If the jack itself is bent, loose, or cracked, cleaning won’t fix it. This is a sign of physical damage, and the jack may need professional repair or replacement. This is more common with devices that are frequently plugged and unplugged or have suffered a drop.
Internal Device Issue:
In some cases, the problem might not be the jack at all, but an internal issue with your device’s audio circuitry. If cleaning doesn’t help, and you’ve tested with different headphones, the issue might be deeper within the device.
Preventative Care: Keeping Your Audio Jacks Clean
An ounce of prevention is worth a pound of cure, as they say! Making a few simple habits part of your routine can significantly reduce the need for future cleaning.
Daily Habits for Pristine Jacks:
- Store Cables Properly: Avoid stuffing headphone cables into pockets or bags where they can pick up lint and dust. Use a small pouch or wrap them neatly.
- Keep Jacks Covered: If your headphones or audio plugs have protective caps, use them! This is especially helpful if you travel frequently.
- Clean Plugs Regularly: Wipe down the metal part of your audio plugs with a microfiber cloth every so often. This prevents grime from being transferred into the jack.
- Avoid Eating/Drinking Near Gear: Obvious, but sometimes overlooked! Crumbs and spills are the enemy of clean electronics.
- Gentle Insertion/Removal: Always plug and unplug by holding the connector/plug, not by yanking the cable. This reduces stress on the jack and the internal connections.
Budget Hacks vs. Professional Cleaning
Let’s break down why these budget hacks are so fantastic, and when you might consider a professional touch.
| Method | Pros | Cons | Cost |
|---|---|---|---|
| Budget Hacks (DIY) |
|
|
$0 – $10 (for compressed air if you don’t have it) |
| Specialized Contact Cleaner |
|
& |
