
Quick Summary: Keeping your audio jack free from moisture is crucial for clear sound and preventing damage. This guide offers simple, effective methods to clean and protect your audio jacks, ensuring your headphones and devices perform optimally. Learn easy steps and essential tips for prolonged audio clarity and device longevity.
Audio Jack Cleaning & Moisture Protection: Proven Essential for Pristine Sound
Hey everyone, Edward Cavitt here from headphonehorizon! You know, one of the unsung heroes of our daily audio experience is that humble little audio jack. Whether it’s plugged into your smartphone for that morning commute playlist, your laptop for a crucial online meeting, or your favorite audio interface for a creative session, a clean, dry audio connection is key. But what happens when moisture creeps in? Those frustrating crackles, intermittent audio, or even complete silence can arise from something as simple as a bit of dampness. Don’t sweat it! This guide is all about demystifying audio jack cleaning and moisture protection, transforming it from a mysterious tech problem into a simple, achievable task. We’ll walk through easy-to-follow steps and proven methods to ensure your sound stays crystal clear and your devices happy and healthy. Let’s dive in and get your audio back in top shape – no expensive repairs needed!
Why Audio Jack Moisture is a Bigger Deal Than You Think
It might seem like a minor inconvenience, but moisture in your audio jack can cause a surprising amount of trouble. This isn’t just about a temporary glitch; it can lead to long-term issues if left unchecked. Think of your audio jack as a delicate gateway for sound signals. When it’s compromised, those signals get distorted, interrupted, or blocked entirely. This can manifest in several annoying ways:
- Crackling and Popping: This is often the first sign. Moisture creates a poor connection, causing the audio signal to break and reconnect rapidly, resulting in that fizzy, crackly sound.
- Intermittent Audio: One moment you have sound, the next you don’t. This happens when the moisture is just enough to sometimes allow a connection, but not reliably.
- Complete Silence: In more severe cases, moisture can cause corrosion or even short circuits, completely preventing any sound from passing through.
- Device Damage: Beyond just affecting your headphones, moisture can seep into the device’s port, potentially damaging the internal components. This is particularly true for water-soluble contaminants.
- Reduced Lifespan: Persistent moisture and the resulting corrosion can degrade the metal contacts within the jack and the port, shortening their lifespan.
Understanding these potential problems highlights why proactive cleaning and moisture protection are not just good practice, but essential for maintaining the quality of your audio and the longevity of your valuable audio gear and devices.
Common Culprits: Where Does the Moisture Come From?

Moisture seems innocent enough, but it can sneak into your audio jacks from various everyday situations. Being aware of these common sources can help you prevent issues before they even start. Here are some of the usual suspects:
- Sweat: Especially during workouts or in humid climates, sweat can easily drip from your forehead or hands and find its way into earbud or headphone jacks.
- Rain and Humidity: Walking in the rain, or even just spending time in a very humid environment, can expose your devices and their ports to airborne moisture.
- Spills: Accidental spills, whether from water bottles, drinks, or even condensation from a cold beverage, can quickly drench your audio ports.
- Condensation: Taking your device from a cold environment into a warm, humid one can cause condensation to form inside and outside the port. Think coming inside from a chilly day with your phone in your pocket.
- Pocket or Bag Lint: While not strictly moisture, lint and debris can trap moisture and create a more persistent blockage. They can also absorb ambient humidity.
- Cleaning Products: Sometimes, using too much liquid cleaner on the exterior of a device can cause drips to enter the audio jack.
It’s amazing how easily these small environmental factors can impact something as critical as your audio connection. Being mindful of these situations can make a big difference in keeping your jacks dry and functional.
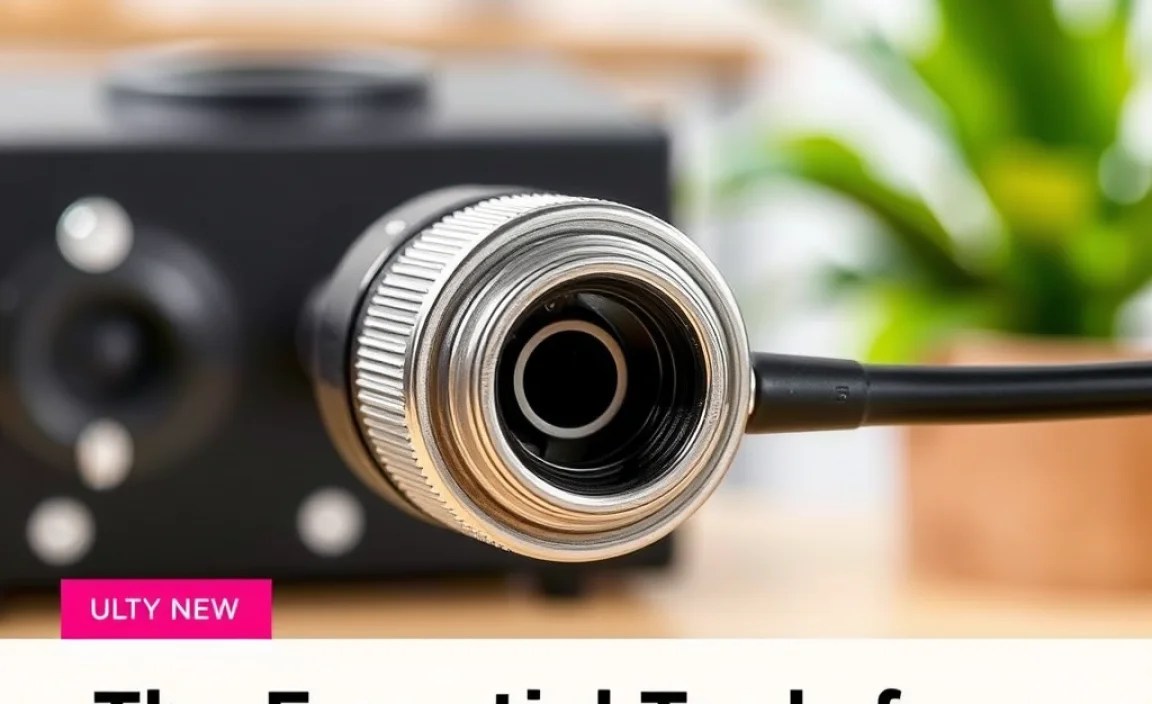
The Essential Tools for a Clean Audio Jack
Before we get to the cleaning itself, let’s gather the supplies. The good news is you probably have most of these on hand, and the specialized tools are inexpensive. We want to be gentle here; using the wrong tool can cause more harm than good.
Here’s a list of what you’ll likely need:
- Compressed Air Can: This is your first line of defense for dislodging loose debris and moisture. Ensure it’s designed for electronics.
- Cotton Swabs (Q-tips): Standard cotton swabs are great for gently probing the jack. Consider using less fuzzy, firmer ones if available.
- Isopropyl Alcohol (90% or higher): This is an excellent cleaning agent for electronics. It evaporates quickly and helps to displace moisture. Make sure it’s high-proof.
- Micofiber Cloth: For wiping down the exterior of the jack and any surrounding areas.
- Toothpicks or Plastic/Wooden Skewers: For carefully dislodging stubborn debris. Avoid metal objects.
- Small Pliers or Tweezers (optional): For removing any visible, stubborn debris that cotton swabs can’t reach.
- Silica Gel Packets (for prevention): These aren’t for cleaning, but are crucial for proactive moisture protection.
Having these items ready will make the cleaning process smooth and effective. Remember, the goal is to be precise and gentle.
Step-by-Step Guide: Cleaning the Moisture from Your Audio Jack

Now, let’s get down to business! Cleaning your audio jack is a straightforward process. We’ll break it down into simple, actionable steps. Always ensure your device is powered off before you begin any cleaning to avoid accidental short circuits.
Step 1: Power Down and Inspect
First things first, turn off your device completely. This is a critical safety step. Then, take a close look at the audio jack. Can you see any visible moisture, debris, or signs of corrosion (like a greenish or whitish residue)? A strong light source, like your phone’s flashlight, can be very helpful here.
Step 2: Use Compressed Air
This is the safest and often most effective first step. Hold the compressed air can upright (to avoid spraying propellant liquid). Aim the nozzle at the opening of the audio jack and give it a few short bursts. This can blow out loose dust, lint, and any surface moisture. Try to blow air into the jack and then have it blow out and away from the device.
Pro Tip: Don’t blast air continuously. Short, controlled bursts are best. You can also try angling the device so the debris is blown out rather than deeper inside.
Step 3: Gentle Debris Removal (If Necessary)
If the compressed air didn’t get everything, or if you see stubborn lint or debris lodged within the jack, you can try a toothpick or a plastic skewer. Be extremely gentle! Carefully insert the tip and try to dislodge the offending material. Never use excessive force, as you could damage the internal contacts.
If you find larger pieces of lint you can sometimes carefully grip them with tweezers and pull them straight out. Again, gentleness is key.
Step 4: The Isopropyl Alcohol Method (For Stubborn Moisture/Grime)
If you suspect moisture or grime is still an issue, isopropyl alcohol (90% or higher) is your best friend. It’s a fantastic solvent and evaporates very quickly.
- Dip a clean cotton swab into the isopropyl alcohol. You want it to be damp, not dripping wet. Squeeze out any excess against the rim of the bottle.
- Carefully insert the damp swab into the audio jack. Gently rotate it to clean the inner surfaces and contacts.
- If necessary, use a fresh, slightly damp swab to reach further into the jack.
- Allow the jack to air dry completely. You can speed this up with a few more short blasts of compressed air. The alcohol should evaporate within a minute or two.
Important Note: Avoid using water or other liquids as they can cause corrosion or conductivity issues. Isopropyl alcohol is specifically chosen for its quick evaporation and ability to displace water.
Step 5: Final Inspection and Drying
Once you’ve performed the cleaning, give the jack another close inspection with a light source. Ensure it looks clean and dry. You can gently dab the exterior around the jack with a dry microfiber cloth. Let the device sit powered off for at least 15-30 minutes (or longer if you’re very cautious or it was particularly damp) to ensure 100% dryness internally before powering it back on.
Step 6: Test Your Audio
Power your device back on and plug in your headphones. Play some audio and listen critically. Are the crackles gone? Is the sound clear and consistent? If so, congratulations! You’ve successfully cleaned and potentially protected your audio jack.
Moisture Protection: Preventing Future Problems
Cleaning is great, but prevention is even better! Keeping your audio jacks dry in the first place will save you a lot of hassle. Here are some practical tips for proactive moisture protection:
- Use a Carrying Case: When not in use, keep your headphones and devices in a protective case. This shields them from ambient moisture and physical damage.
- Be Mindful of Sweat: If you’re working out, consider using Bluetooth headphones or at least making sure your wired headphone jack is protected from sweat drips. Wipe down your hands and the jack after activity.
- Avoid Humid Environments as Much as Possible: While not always feasible, try to keep your devices away from steamy bathrooms or extremely humid areas when not in use.
- Store with Silica Gel: Keep a few silica gel packets in your gadget bag or drawer where you store your audio gear. These absorb ambient moisture effectively. They’re often found in new shoe boxes or electronics packaging.
- Dry Thoroughly After Exposure: if your device does get wet, power it off immediately. Gently pat it dry with a microfiber cloth. You can even place it in a bowl of uncooked rice or with silica gel packets (sealed in a bag) for 24-48 hours to absorb moisture. Do not use heat.
- Regular Gentle Cleaning: Even without obvious moisture, a quick puff of canned air every so often can prevent dust buildup that might trap humidity.
These simple habits can significantly reduce the chances of encountering audio jack moisture problems.
Understanding Different Audio Jack Types and Their Sensitivities

While the basic cleaning principles remain the same, it’s worth noting that different audio jack types can have slightly varying sensitivities. Most commonly, we encounter the 3.5mm (1/8-inch) standard jack, but other types exist, especially in professional audio or specialized devices.
Here’s a quick look:
3.5mm Audio Jacks (TRRS, TRS)
This is the ubiquitous headphone jack found on most smartphones (until recently), laptops, and portable audio players. They come in two main configurations:
- TRS (Tip-Ring-Sleeve): Typically used for stereo headphones (left channel, right channel, ground).
- TRRS (Tip-Ring-Ring-Sleeve): Used for headphones with a microphone, adding a channel for the mic signal and ground.
These are generally quite robust but are also exposed directly to the elements and everyday use, making them prime candidates for moisture issues. The smaller the jack, the more delicate the internal contacts can be.
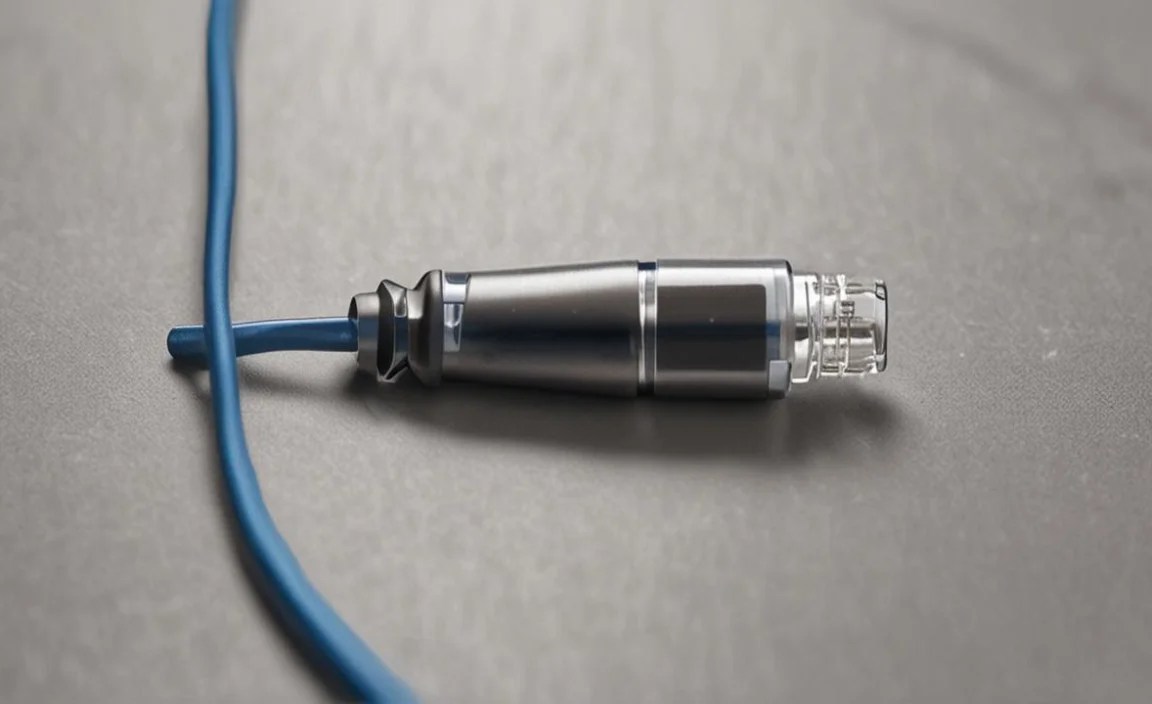
1/4-inch (6.35mm) Audio Jacks
Larger and sturdier, these are common in musical instruments (guitars, keyboards), amplifiers, and pro audio equipment. While less prone to accidental damage from a casual splash, they can still suffer from moisture, dirt, and oxidation, especially in humid studio environments or during outdoor gigs. Due to their size, they are often easier to clean and a bit more forgiving.
XLR Connectors
These are professional audio connectors typically used for microphones and studio monitors. They are much more robust and have a locking mechanism, making them far less susceptible to accidental moisture ingress compared to 3.5mm jacks. However, extreme environments can still pose risks.
Regardless of the type, the core principle remains: keep those metal contacts clean and dry for optimal signal transmission. For proprietary connectors on some high-end headphones, always refer to the manufacturer’s specific cleaning guidelines.
Troubleshooting Common Audio Jack Issues
Sometimes, even after cleaning, you might still face audio problems. Don’t worry; let’s troubleshoot some common scenarios. This is where knowing the difference between a hardware issue and a software or settings problem comes in handy.
| Problem | Possible Cause | Solution Steps |
|---|---|---|
| No sound in one earbud/headphone. | Loose connection, moisture in specific contact points, damaged cable. |
|
| Audio cuts in and out. | Intermittent moisture, debris, or corrosion; damaged cable. |
|
| Static or buzzing when no audio is playing. | Grounding issue, interference, faulty cable, or internal port damage. |
|
| Microphone not working (for TRRS jacks). | Mic contact point dirty or damaged, software setting, or device issue. |
|
If you’ve tried these steps and consistently experience issues, the problem might lie with the headphones themselves or a more significant issue with your device’s audio port. In such cases, testing with a known-good pair of headphones or a different device can help isolate the fault.
When to Seek Professional Help
While most audio jack issues are solvable with simple cleaning, there are times when you should step back and consider professional assistance or replacement of your gear. If you’ve gone through all the cleaning steps and the problem persists, it might indicate a deeper issue.
Consider these scenarios:
- Visible Physical Damage: If the audio jack port on your device is visibly bent, cracked, or has pins that are obviously broken or out of place, do not attempt to force anything. This requires professional repair.
- Deep Corrosion: If you see significant corrosion that cleaning doesn’t resolve, it might have already damaged internal components.
- Persistent and Severe Issues: If sound is consistently distorted, crackly, or entirely absent despite thorough cleaning and trying multiple sets of headphones, the audio port hardware on your device might be failing.
- High-Value Devices: For expensive headphones or audio interfaces, it’s often worth consulting the manufacturer or a specialized repair shop to ensure no further damage is done during attempted fixes.
- Water Damage Beyond Splashes: If a device has been submerged in liquid, even after drying, there may be internal corrosion. Professional assessment is recommended.
For most everyday users, however, the cleaning and protection methods we’ve covered will be more than sufficient to keep your audio jacks in excellent working order. It’s about building good habits and knowing the simple fixes.
Frequently Asked Questions (FAQ)
Q1: Can I use a paperclip to clean my audio jack?
It’s generally not recommended. Paperclips are often made of metal that can conduct electricity and potentially scratch the delicate internal contacts of your audio jack, causing permanent damage. It’s best to stick to non-metallic tools like wooden or plastic toothpicks and cotton swabs.
Q2: How often should I clean my audio jack?
For most users, cleaning isn’t needed unless you notice a problem. However, if you frequently use your headphones in sweaty environments (like the gym) or carry your device in a pocket or bag that accumulates lint, a quick blast of compressed air every few weeks can be beneficial as
