
Quick Summary: This guide ensures your headphones perform as they should. Learn simple audio tests for sound quality, channel balance, and frequency response. Understand common issues and how to troubleshoot them, helping you enjoy richer sound and make informed purchasing decisions.
Audio Test for Headphones: Your Essential Guide to Crystal-Clear Sound
Welcome to Headphone Horizon! So, you’ve got a new pair of headphones, or maybe you’re wondering if your trusty audio companions are still performing at their best. It’s easy to just pop them on and listen to music, but how do you really know if they sound as good as they’re supposed to? This guide is here to demystify the process. We’ll walk you through straightforward audio tests you can do right at home, no fancy equipment needed. Whether you’re a music aficionado looking for every nuance, a gamer wanting to pinpoint every sound, or just someone who enjoys a clear podcast, understanding how to test your headphones is key to unlocking their full potential and catching any potential issues early on. Let’s dive in and ensure your listening experience is absolutely fantastic!
Why Bother with an Audio Test for Your Headphones?

Think of an audio test for your headphones like a quick check-up for your car. You want to make sure everything’s running smoothly before a long trip, right? Your headphones are no different. Performing a basic audio test helps you:
- Verify Sound Quality: Are the bass punchy enough? Is the treble crisp without being harsh? Does the music sound detailed and clear?
- Check Channel Balance: Is the volume equal in both the left and right earcups? An imbalance can make music sound skewed and be quite distracting.
- Identify Potential Problems: Are there any strange crackles, pops, or static noises? These could indicate a loose connection or a faulty driver.
- Assess Fit and Comfort: While not strictly an “audio” test, the seal and fit significantly impact sound quality. A poor seal can lead to weak bass and external noise leakage.
- Make Informed Buying Decisions: If you’re considering a purchase, knowing what to listen for during a test can save you from buyer’s remorse.
- Troubleshoot Issues: If your headphones aren’t sounding right, a systematic test can help pinpoint where the problem lies.
In essence, an audio test is your first line of defense against a subpar listening experience. It empowers you to appreciate the audio as the creators intended and to identify any hiccups before they become major annoyances.
Getting Started: What You’ll Need
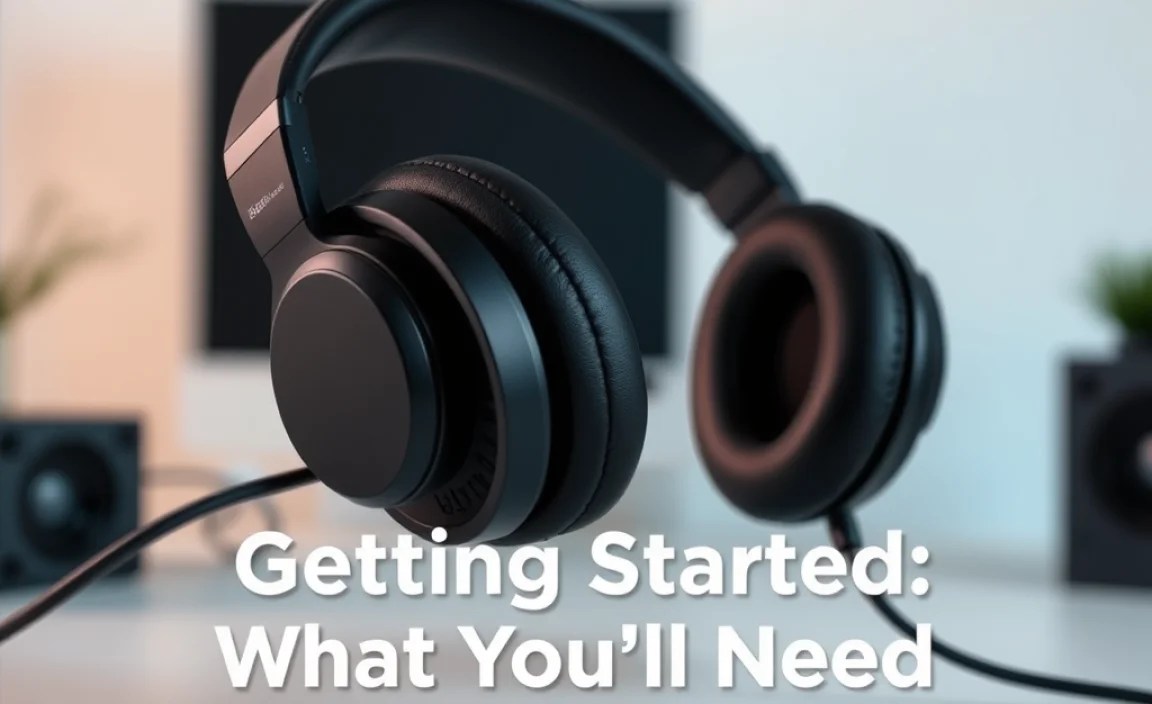
The good news is, you don’t need a professional audio lab to conduct these tests. Most of what you need, you likely already have!
- Your Headphones: The stars of the show! Make sure they’re clean and in good working order.
- A Device to Play Audio: This could be your smartphone, tablet, computer, or MP3 player. Ensure it has a functioning headphone jack or Bluetooth connection.
- A Stable Internet Connection: For accessing test files and videos.
- A Quiet Environment: This is crucial. Background noise can easily mask subtle audio issues. Find a quiet room, turn off fans, and let others know you need a few uninterrupted minutes.
- Our Guide: You’ve got this!
Step-by-Step Audio Tests for Your Headphones

Let’s get down to business. We’ll go through several tests, starting with the simplest and moving towards more detailed checks.
Test 1: The Basics – Music and Familiar Tracks
This is the most straightforward test. Your ears are your best tool here!
- Choose Your Tracks Wisely: Select a few songs you know intimately. Preferably, choose tracks with a wide range of frequencies and instruments:
- Bass-heavy tracks: Think electronic music, hip-hop, or even some classical pieces with deep organ notes.
- Vocally focused tracks: Acoustic sets, folk music, or simple vocal performances.
- Tracks with clear highs: Pieces with cymbals, strings, or crisp vocal sibilance.
- Tracks with dynamic range: Music that goes from quiet passages to loud crescendos.
- Listen Critically: Play each track. Close your eyes and focus on the sound. Ask yourself:
- Does the bass feel deep and controlled, or is it muddy and boomy?
- Are the vocals clear and present in the mix, or do they sound veiled or distant?
- Are the high frequencies (like cymbals or high notes) sharp and detailed, or are they harsh, sibilant (a hissing ‘s’ sound), or tinny?
- Can you hear individual instruments and elements of the music clearly, or does it all blend into a wall of sound?
- Does the music sound natural and balanced, or does it feel like something is missing or overemphasized?
- Compare if Possible: If you have another pair of headphones you trust, briefly switch between them with the same track. What differences do you notice? This helps calibrate your perception.
Why this works: Familiar music allows your brain to focus on the quality of the reproduction rather than trying to decipher new sounds. Any deviations from what you expect are more likely to be issues with the headphones.
Test 2: Left vs. Right Channel Balance
Ensuring consistent volume in both ears is vital for immersive sound and preventing listener fatigue. An imbalance can make it feel like the sound is off-center.
- Use a Dedicated Test Tones Generator: Several websites and YouTube channels offer free audio test tones. Search for “stereo balance test” or “audio channel check.”
- Find a Stereo Sweep Tone: These tones typically sweep from the left channel all the way to the right.
- Play the Tone: Start the audio. You should clearly hear the sound originating from the left, moving smoothly across to the right.
- Listen for Consistency:
- Does the volume feel the same as it pans from left to right?
- Does one ear consistently sound louder than the other at any point during the sweep?
- Do you hear any crackling or distortion as the tone pans?
- Alternative: Mono Playback: Some audio players allow you to play audio in “mono.” If you play a stereo track in mono, the sound should be perfectly centered. If it sounds like it’s still predominantly in one ear, you might have a channel imbalance.
Where to find test tones: Reputable audio tech review sites often provide links to reliable test tone generators. For a scientifically validated source for audio research and testing, the Audio Engineering Society (AES) offers resources and standards, though their direct test tone generators are more for professionals.
Troubleshooting Imbalance: If you notice an imbalance, try these quick fixes:
- Check the Cable: Ensure the headphone cable is fully plugged into both the device and the headphones. Try wiggling the connector gently.
- Clean Connections: Gently clean the headphone jack and the connector on your headphones with a dry cotton swab. Dust or debris can interfere with the connection.
- Test on Another Device: Connect your headphones to a different phone or computer. If the imbalance persists, the issue is likely with the headphones.
- Bluetooth Issues: For wireless headphones, try re-pairing them with your device. Ensure the Bluetooth drivers on your device are up to date.
Test 3: Frequency Response – The Whole Spectrum
Frequency response refers to how well headphones reproduce different pitches, from the deepest bass (low frequencies) to the highest treble (high frequencies). A flat or balanced frequency response means the headphones reproduce all sounds equally well.
- Use Frequency Sweep Tones: Similar to the channel balance test, search for “frequency sweep test” online. These tones start at a very low frequency (e.g., 20Hz) and gradually increase to a very high frequency (e.g., 20,000Hz).
- Listen for Gaps or Peaks: As the tone sweeps upwards, listen for any sounds that seem to “drop out” or become inaudible in certain ranges. Also, note if certain frequencies sound unnaturally loud or screechy.
- Low Frequencies (20Hz – 250Hz): This is your bass and lower midrange. You should hear a deep rumble that gradually gets higher pitched. If the bass is weak or non-existent, the headphones might struggle with low frequencies. If it’s overpowering and muddy, the bass might be boosted too much.
- Mid Frequencies (250Hz – 4000Hz): This range is crucial for vocals and most instruments. You should hear a smooth transition from lower mids to upper mids. If vocals sound muffled or distant, the mid-range might be recessed.
- High Frequencies (4000Hz – 20,000Hz): This is your treble. You should hear crispness and detail. Listen for airiness and sparkle. If it sounds harsh, sibilant, or hissy, the treble might be too prominent. If it sounds dull or rolled-off, the treble might be lacking detail.
- Consider Pink Noise: Pink noise is a widely used audio signal that contains all audible frequencies at equal energy per octave. When played through headphones, it should sound like a steady hiss. If it sounds uneven, airy, or muddy, it can indicate frequency response issues. For more, resources from institutions like The International Telecommunication Union (ITU) often discuss standardized audio testing methodologies.
Interpreting Results: It’s important to remember that most headphones don’t have a perfectly “flat” frequency response. Many are tuned to sound pleasing, which often means a slight boost in bass or treble. The key is to listen for extreme peaks or dips that make the sound unnatural.
Test 4: Distortion and Clarity Check
Distortion is any unwanted alteration of the original audio signal. It can sound like crackling, fuzziness, or a general lack of clarity, especially at higher volumes.
- Use a Distortion Test Tone: Search for “audio distortion test.” These often involve specific tones designed to reveal distortion when played.
- Play at Different Volumes: Start at a moderate listening volume and gradually increase it.
- Low Volume: Listen for any obvious crackling or fuzziness even at low levels. This could indicate a damaged driver.
- Moderate Volume: This is where most headphones should sound clean.
- High Volume: Push your headphones to a volume that is loud but still comfortable. Listen for signs of the sound breaking up, becoming harsh, or losing detail. Be cautious not to damage your hearing by playing music too loudly for extended periods.
- Listen to Complex Audio: Play a track with a lot of instruments playing simultaneously or a busy orchestral piece. If the sound becomes muddy, indistinct, or “cluttered” at higher volumes, the headphones might be struggling to handle the complex signal without distorting.
What is clipping? Distortion often occurs when a signal is too strong for the headphones’ drivers or the audio source to handle. This is commonly known as clipping, where the waveform gets “clipped” at the top and bottom, introducing harsh, unwanted harmonics.
Test 5: Noise Floor and Hiss
Every electronic device has a certain level of intrinsic electrical noise, often heard as a faint hiss. This is the “noise floor.”
- Plug in Headphones, No Audio Playing: In a very quiet environment, plug your headphones into your device.
- Turn Volume Up: Slowly increase the volume on your device, without playing any audio.
- Listen for Hiss: Do you hear a constant background hiss?
- Faint Hiss: A very faint hiss, especially at higher volumes, is normal for many headphones and amplifiers.
- Loud Hiss: If the hiss is very prominent even at moderate volumes, it might suggest an issue with the headphones’ internal components or the audio source’s amplifier.
- Intermittent Noise: If the hiss comes and goes, or is accompanied by pops or crackles, it could be a sign of a faulty connection or a component on its way out.
Important Note: This test is especially relevant for very sensitive headphones (high sensitivity) or if you’re using a separate headphone amplifier, as these can sometimes amplify existing noise. It’s less noticeable with most consumer earbuds and mildly sensitive over-ear headphones.
Troubleshooting Common Headphone Problems
Based on your tests, you might have identified an issue. Here are some common problems and quick fixes:
Problem: No Sound in One Ear
- Cause: Loose connection, damaged cable, dirt in the jack, faulty driver.
- Fixes:
- Ensure cable is firmly plugged in.
- Clean headphone jack and connector (device and headphone).
- Test on another device to rule out a source issue.
- If wireless, try re-pairing or checking Bluetooth settings.
- If the problem persists after trying different devices and cleaning, the headphones may be faulty.
Problem: Crackling or Static
- Cause: Damaged cable, loose internal wiring, interference (for wireless), dirt in the jack, driver issue.
- Fixes:
- Gently wiggle the cable at the plug and at the headphone earcup to check for loose connections.
- Clean the jack and connector.
- For wireless, move closer to the device, ensure no obstructions, and restart both devices.
- Avoid prolonged use if the crackling is severe, as it might indicate permanent damage.
Problem: Weak or Boomy Bass
- Cause: Poor seal (earbuds/over-ears), recessed bass response in headphones, audio source EQ settings.
- Fixes:
- Ensure earbuds have a proper seal in your ear canal (try different sized ear tips).
- For over-ear headphones, ensure the earcups create a good seal around your ears.
- Check your device’s equalizer (EQ) settings; a bass boost might be needed or a boost might be too high.
- Some headphones simply have a different bass tuning. If it’s a new purchase, this might just be their sound signature.
Problem: Harsh or Sibilant Treble
- Cause: Overly boosted treble response, poor recording quality, audio source EQ settings.
- Fixes:
- Try reducing the treble in your device’s EQ settings.
- If the sibilance is unbearable, especially on specific tracks, it’s likely a characteristic of the headphones or the recording.
- Look for headphones with a warmer or more balanced treble profile next time.
Headphone Features That Affect Sound Tests
Understanding your headphones’ features can help interpret the results of your audio tests. Not all headphones are created equal!
Type of Headphone
- Open-Back vs. Closed-Back:
- Open-Back: Usually offer a wider soundstage (sense of space) and a more natural, airy sound. They tend to leak sound in and out. They might perform differently on bass tests as they don’t create a sealed environment.
- Closed-Back: Provide better isolation, preventing sound from leaking. They often have a more pronounced bass response due to the sealed chamber.
Drivers
Drivers are the small speakers inside your headphones. The size and type of driver (e.g., dynamic, planar magnetic, balanced armature) significantly impact sound quality:
- Dynamic Drivers: Most common, good for a wide range of frequencies.
- Planar Magnetic Drivers: Known for excellent detail, speed, and low distortion, often found in higher-end headphones.
- Balanced Armature Drivers: Typically used in in-ear monitors (IEMs), known for precision and clarity, especially in mid and high frequencies.
Different driver types will reproduce frequencies with varying emphasis. This is normal, but extreme differences can indicate a fault.
Impedance and Sensitivity
- Impedance (Ohms): This is the electrical resistance. Higher impedance headphones (e.g., 250 Ohms or more), often found in studio headphones, require more power to reach a good volume. They might sound quieter or weaker if used with a low-power source like a smartphone.
- Sensitivity
