
Quick Summary: Is your Sony headphone battery draining too fast or not holding a charge? This guide offers proven fixes, from simple troubleshooting to understanding battery replacement. Learn how to identify issues, extend battery life, and get your headphones back to sounding their best with easy-to-follow steps.
Essential Battery for Sony Headphones: Proven Fixes for Power Woes

Hey there, headphone enthusiasts! Edward Cavitt here from headphonehorizon. Nothing kills the mood faster than your favorite Sony headphones suddenly dying mid-song or refusing to power on. The “essential battery for Sony headphones” is often the culprit, but don’t worry! Whether you’re a seasoned audiophile or just starting your journey into great sound, a drained or failing battery can be frustrating. This guide is designed to help you understand common battery issues, troubleshoot them effectively, and get your Sony headphones singing again. We’ll break down everything from simple tips to keep your current battery healthy to knowing when it’s time for a potential replacement. Let’s dive in and restore that listening joy!
Understanding Sony Headphone Batteries
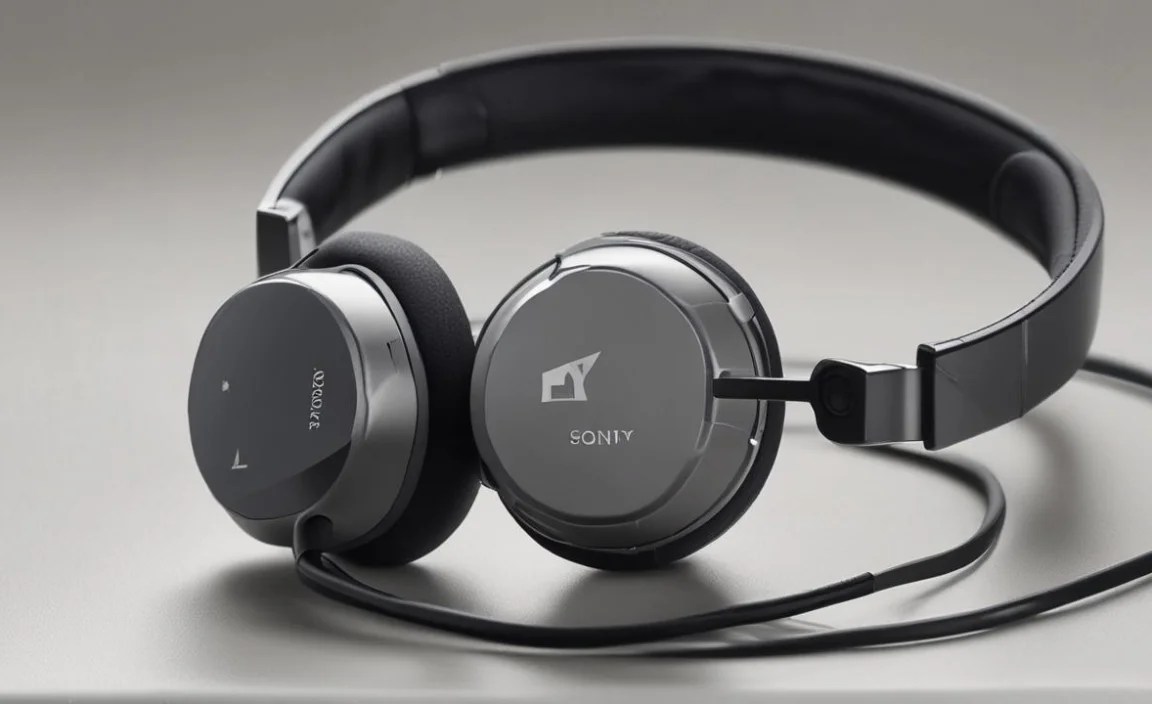
Most modern Sony headphones, especially their wireless and noise-canceling models, utilize built-in rechargeable lithium-ion (Li-ion) batteries. These batteries are designed for portability and longevity, offering hours of playback on a single charge. However, like all rechargeable batteries, they have a finite lifespan and can degrade over time due to usage, charging cycles, and environmental factors. Understanding how these batteries work and what affects their performance is the first step in solving any power-related problems.
Why Do Batteries Degrade?
Several factors contribute to the natural decline in battery performance:
- Charge Cycles: Every time you charge and discharge your headphones, it counts as a charge cycle. Batteries have a limited number of cycles before their capacity significantly reduces.
- Heat Exposure: Extreme heat, whether from direct sunlight or charging in a hot environment, can accelerate battery degradation.
- Deep Discharges: Regularly letting your headphones die completely can put a strain on the battery.
- Aging: Even with optimal care, the chemical components within a lithium-ion battery naturally break down over time.
According to the U.S. Department of Energy, “Lithium-ion batteries degrade over time and with use due to factors such as charge/discharge cycling, temperature, and calendar aging.” This natural aging process means battery performance will eventually decline, impacting how long your headphones last on a single charge.
Common Battery Issues in Sony Headphones

Experiencing battery woes? You’re likely facing one of these common problems:
- Rapid Draining: Battery life is significantly shorter than when you first got the headphones.
- Not Fully Charging: The battery indicator shows it’s charging but never reaches 100%, or it shows 100% but quickly drops.
- Sudden Power Off: Headphones shut down unexpectedly, even when the battery indicator suggests there’s still power left.
- No Power at All: Headphones refuse to turn on, even after being plugged in to charge for an extended period.
- Overheating During Charging: The headphones feel excessively hot while plugged in.
Troubleshooting Your Sony Headphone Battery: Step-by-Step

Before assuming the battery is completely dead, let’s try some troubleshooting steps. These can often resolve minor glitches or confirm if the battery is indeed the primary issue.
Step 1: Basic Checks and Charging Habits
The simplest solutions are often overlooked. Let’s start here.
- Use the Correct Charger: Always use the original Sony charging cable and adapter that came with your headphones, or a high-quality, compatible alternative. Using underrated or incompatible chargers can lead to slow charging or, worse, damage the battery.
- Plug In Properly: Ensure the charging cable is securely connected to both the headphones and the power source. A loose connection is a common reason for charging issues.
- Charge for Sufficient Time: For a completely drained battery, it might take several hours to fully recharge. Leave your headphones plugged in for at least 2-3 hours, or as recommended in your user manual, even if the indicator light suggests it’s charging faster.
- Charge in a Moderate Environment: Avoid charging your headphones in extreme temperatures, both hot and cold. A stable room temperature (around 20-25°C or 68-77°F) is ideal.
Step 2: Reset Your Sony Headphones
Many Sony headphone models have a reset function that can resolve various electronic glitches, including battery management issues. The exact procedure varies by model, so consult your user manual. However, a common method involves:
- Power Off: Turn off your headphones.
- Connect to Power: Plug them into a power source.
- Press and Hold Buttons: Press and hold a specific combination of buttons (often the power button along with a volume button) for a set duration (e.g., 7-15 seconds) until an indicator light flashes or the headphones reset.
Pro Tip: If you can’t find your user manual, a quick search on the official Sony support website for your specific headphone model (e.g., “Sony WH-1000XM4 reset”) will usually bring up the instructions.
Step 3: Update Firmware
Sony periodically releases firmware updates that can improve performance, fix bugs, and optimize battery management. Ensure your headphones have the latest firmware.
- Using the Sony Headphones Connect App: For most wireless Sony headphones, you’ll use the “Sony Headphones Connect” app available on iOS and Android.
- Check for Updates: Open the app, connect to your headphones, and navigate to the settings menu. Look for a “Software Update” or “Firmware Version” option and follow the on-screen prompts if an update is available.
- Keep Them Connected: During a firmware update, ensure your headphones remain connected to your phone via Bluetooth and have sufficient battery power (or are plugged in).
Step 4: Check Battery Usage Settings
Certain features can significantly impact battery life. Reviewing what’s enabled can help.
- Noise Cancellation: While a staple feature, Active Noise Cancellation (ANC) consumes considerable power. If you don’t need it, turning it off can save battery.
- Bluetooth Connections: If your headphones support connecting to multiple devices simultaneously, this can sometimes draw more power. Consider disconnecting from devices you aren’t actively using.
- Voice Assistant: Constantly listening for “Hey Google” or “Alexa” can drain the battery faster. Some models allow you to disable this feature or set it to activate only when a button is pressed.
- Adaptive Sound Control: Features that automatically adjust sound settings based on your environment can also contribute to battery drain.
Step 5: Perform a Factory Reset
If troubleshooting and firmware updates don’t work, a factory reset can sometimes clear deeper software conflicts affecting battery performance. Be aware that this will erase all your custom settings and pairings, so you’ll need to set up your headphones again from scratch.
Again, the exact procedure is model-specific. Typically, it involves holding down a combination of buttons for an extended period while the headphones are connected to power. Always refer to your Sony headphone’s user manual for the precise steps.
When the Battery Might Be Failing: Signs to Watch For

If you’ve tried all the troubleshooting steps and your Sony headphones’ battery performance hasn’t improved, it’s highly probable that the battery itself is degrading and needs replacement. Here are the tell-tale signs:
- Drastic Reduction in Playback Time: If your headphones used to last 20 hours and now barely make it past 5, even after full charges, the battery capacity has likely diminished significantly.
- Inconsistent Charge Levels: The battery meter jumps from high percentages to low ones rapidly, or it refuses to charge past a certain point (e.g., 70-80%) consistently.
- Shutdowns at Higher Battery Percentages: Your headphones shut off when the battery indicator still shows a substantial charge remaining (e.g., 30% or 50%).
- Device Won’t Charge At All: Despite trying multiple cables, power sources, and performing resets, the headphones show no signs of life when plugged in.
- Swelling or Deformation: In rare but serious cases, a failing lithium-ion battery can swell. If you notice any physical deformation of your headphones, stop using them immediately and seek professional advice, as swollen batteries can be a safety hazard.
Battery Replacement: Options and Considerations
When your Sony headphone battery is truly at the end of its life, you have a few paths to consider:
Option 1: Professional Repair Service
This is often the safest and most reliable option, especially if your headphones are still under warranty or are high-end models.
- Sony Authorized Service Centers: The best first step is to contact Sony support. They can guide you through the warranty process if applicable or provide options for out-of-warranty repairs.
- Third-Party Repair Shops: Look for reputable electronics repair shops in your area that specialize in headphone repair. Ensure they have experience with Sony products and use quality replacement parts.
Pros:
- Professional expertise ensures correct installation.
- Often comes with a warranty on the repair and part.
- Safer than DIY for delicate electronics.
Cons:
- Can be more expensive.
- May take longer to get your headphones back.
Option 2: DIY Battery Replacement
This is a more advanced option and comes with risks. It’s generally only recommended if you have experience with electronics repair, a steady hand, and your headphones are out of warranty.
What You’ll Need (General):
- Replacement Battery: Ensure you purchase a high-quality, compatible battery specifically for your Sony headphone model. Search online marketplaces or specialized electronics component stores. Be wary of extremely cheap batteries, as they might be low quality or counterfeit.
- Small Phillips Head Screwdriver / Precision Screwdriver Set: Headphones often use very small screws.
- Plastic Opening Tools (Spudgers, Picks): To carefully pry open the headphone casing without scratching or damaging it.
- Thin Metal Spatula or Hobby Knife (Optional, use with extreme caution): For very stubborn seals, but proceed with utmost care to avoid cutting wires.
- Tweezers: For handling small screws and connectors.
- Anti-static Wrist Strap: To prevent electrostatic discharge from damaging internal components.
- New Adhesive Strips: To re-seal the headphone casing.
General Steps for DIY Replacement (Varies GREATLY by Model):
- Research Your Specific Model: Watch YouTube videos and read guides specific to your Sony headphone model. This is CRUCIAL. Some models have hidden screws, clips, or delicate ribbon cables.
- Power Off and Discharge: Ensure the headphones are completely powered off. It’s often recommended to discharge the battery as much as possible before opening.
- Carefully Open the Casing: This usually involves removing earcups or other external panels. Look for screws (sometimes hidden under padding or stickers) and then use plastic tools to gently pry open the housing. Be patient and work around the edges.
- Locate and Disconnect the Old Battery: The battery is typically connected via a small plug or wires. Carefully disconnect it, often by gently pulling the connector straight out with tweezers.
- Remove the Old Battery: It might be glued in place. Gently pry it out, being careful not to puncture or bend it (especially if it’s swollen).
- Install the New Battery: Connect the new battery’s plug, ensuring a secure fit.
- Test the New Battery: Before reassembling completely, temporarily reconnect the earcups/panels and try powering on and charging the headphones to verify the new battery is working.
- Reassemble: Carefully put the casing back together, reinserting all screws and applying new adhesive where needed to ensure a secure fit.
Important DIY Considerations:
- Warranty Void: Opening your headphones yourself will almost certainly void any remaining manufacturer warranty.
- Risk of Damage: You could accidentally damage delicate internal components, ribbon cables, or the casing itself if you’re not careful.
- Safety: Lithium-ion batteries can be dangerous if mishandled, punctured, or short-circuited. Always work in a well-lit, clutter-free area and handle batteries with extreme care.
A great resource for DIY repair guides, including parts and instructions for many electronics, is iFixit. While they might not have every single Sony headphone model, they offer an excellent example of the detailed approach required.
Option 3: Replace Your Headphones
If your headphones are old, extensively damaged, or the repair cost (professional or DIY parts) approaches the cost of a new pair, it might be time to consider an upgrade. Battery replacement is an investment, and sometimes, that investment is better placed in newer technology.
Maximizing Your Sony Headphone Battery Health
Once you’ve got your headphones working optimally, whether with the original battery or a new one, follow these tips to extend its lifespan:
- Avoid Extreme Temperatures: Don’t leave your headphones in a hot car or direct sunlight.
- Don’t Constantly Keep Them Plugged In: While modern batteries have protection against overcharging, it’s generally good practice to unplug them once fully charged, especially if they’ll be left like that for days.
- Store Properly: If you’re storing them for an extended period (weeks or months), aim for a charge level of around 40-50% and keep them in a cool, dry place.
- Regularly Update Firmware: As mentioned, updates can include battery management optimizations.
- Moderate Use of Power-Hungry Features: Balance the use of ANC, high-volume playback, and constant multi-device Bluetooth connectivity with your need for battery life.
FAQ: Your Sony Headphone Battery Questions Answered
Here are some common questions about Sony headphone batteries:
Q1: How long should a Sony headphone battery last?
A1: This varies greatly by model and usage. High-end Sony ANC headphones can offer 20-30 hours of playback on a single charge with ANC on. However, the physical battery itself, in terms of its lifespan, is typically designed to maintain good performance for 2-3 years of regular use before noticeable degradation occurs.
Q2: Can I use my Sony headphones while they are charging?
A2: Yes, most Sony headphones can be used while charging. However, be aware that doing so might generate more heat, which can contribute to battery degradation over the very long term. It’s also possible that the battery might not charge as quickly while in use.
Q3: My headphones won’t charge at all. Is it definitely the battery?
A3: Not necessarily. It could be a faulty charging cable, a dirty charging port on the headphones, a problem with the power adapter, or a software glitch. Always try a different charging cable and power source first, and ensure the charging port is clean.
Q4: How do I know if my Sony headphone battery needs replacing?
A4: The primary signs are a drastic reduction in playback time, the headphones shutting off unexpectedly even with a seemingly good charge, or the battery refusing to charge past a certain point. If these issues persist after troubleshooting and firmware updates, the battery is likely the cause.
Q5: Is it safe to replace the battery myself?
A5: It can be safe if you are experienced with electronics repair and take necessary precautions. However, there’s a risk of damaging your headphones or the batt
