
Quick Summary: Finding the best headphone for your Xbox enhances immersion and communication. This guide helps you navigate features like wireless connectivity, audio quality, comfort, and important specs to choose a headset that perfectly matches your gaming style and budget. Get ready for an elevated Xbox experience.
Best Headphone for Xbox: Your Essential Buying Guide
Hey gamers! Edward Cavitt here from Headphone Horizon, your friendly guide to all things audio. If you’re diving into the vibrant world of Xbox gaming, you know that a great soundtrack and crystal-clear comms can transform your experience. But with so many headphones out there, how do you pick the one that’s truly “best” for your Xbox adventures? Don’t worry, that’s exactly what we’re here to figure out together. We’ll cut through the tech talk and focus on what really matters, helping you find a headset that feels like an extension of your controller, enhancing every explosion, whisper, and victory call. Let’s get your game audio sounding its absolute best!
Why a Dedicated Xbox Headphone Matters
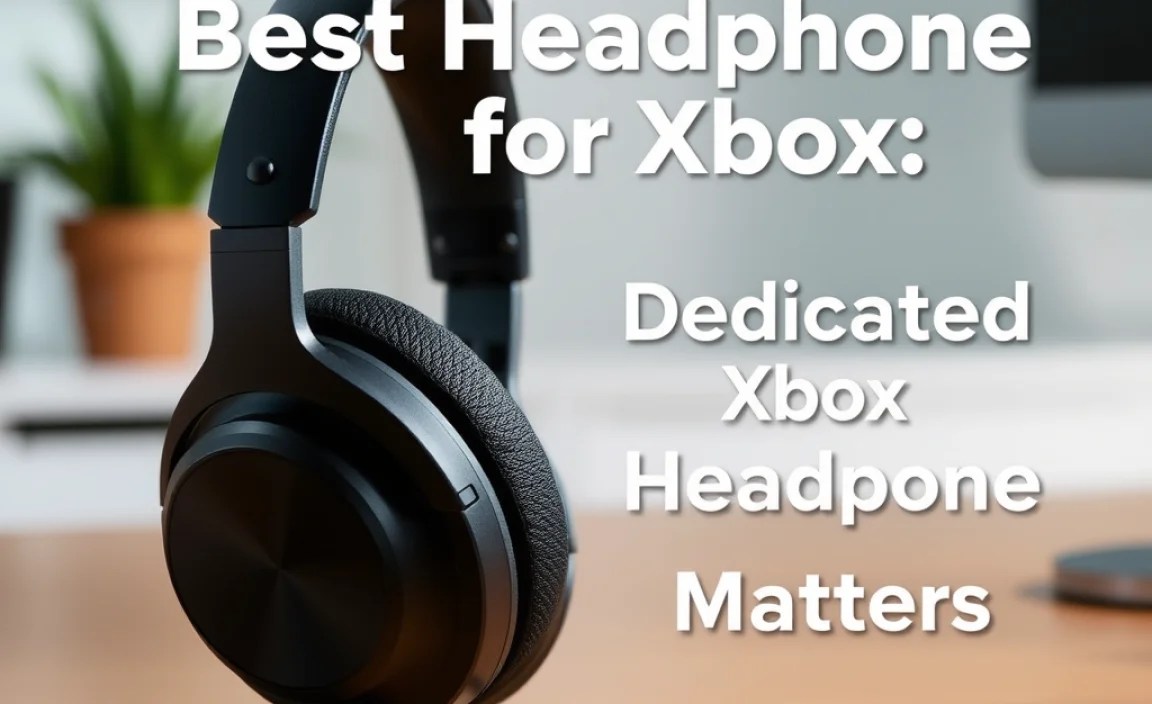
You might be thinking, “Can’t I just use any headphones with my Xbox?” While many headphones can physically connect, a dedicated Xbox headset is designed to work seamlessly with the console’s ecosystem, offering optimal audio performance and communication features. This means less hassle with adapters, better microphone clarity for chatting with friends, and often, immersive surround sound that pulls you right into the action. Think of it as choosing the right tool for the job – using a dedicated Xbox headset ensures you’re getting the most out of your gaming setup without frustrating compatibility issues.
Understanding Key Features to Look For
Choosing the right Xbox headphone involves understanding a few key features. Each plays a crucial role in how you experience your games and connect with your teammates. Let’s break them down so you can make an informed decision.
Connectivity: Wired vs. Wireless
Your first major decision is how you want your headset to connect to your Xbox. Both wired and wireless options have their own unique set of pros and cons.
Wired Headphones
Wired headphones connect directly to your Xbox controller or console using a 3.5mm audio jack or USB connection. They are generally more affordable and offer a consistent, lag-free audio experience. You don’t have to worry about battery life, making them a reliable choice for marathon gaming sessions.
- Pros:
- No battery charging required
- Typically more budget-friendly
- Zero audio latency (lag-free)
- Often simpler setup
- Cons:
- Cable management can be a minor inconvenience
- Limited freedom of movement
- Cable can sometimes break or wear out
Wireless Headphones
Wireless headphones offer the ultimate freedom, allowing you to move around without being tethered to your controller or console. Xbox wireless headsets connect directly to the Xbox wirelessly, while others might use a USB dongle or Bluetooth (though Bluetooth is less common for direct Xbox connection due to latency). Battery life and potential latency are key considerations here.
- Pros:
- Maximum freedom of movement
- Tidier setup with no trailing cables
- Convenient for getting up during gameplay
- Cons:
- Require regular charging
- Can be more expensive
- Potential for minor audio latency (though often imperceptible with good models)
- May require a USB port or specific wireless adapter
For Xbox Series X|S and Xbox One, look for headsets that specifically mention “Xbox Wireless” compatibility for the most seamless connection without a USB dongle (though many excellent USB wireless options exist too).
Audio Quality: Drivers and Soundstage
This is where the magic happens! Good audio quality immerses you in the game. You’ll hear footsteps, distant gunfire, and the subtle environmental details that make games come alive. Key components here are the drivers (the speakers inside the earcups) and the soundstage.
- Drivers: These are the heart of your headphone’s sound. Larger drivers (e.g., 50mm) generally produce a fuller, more powerful sound with better bass response. Look for details about driver size and type in product specifications.
- Soundstage: This refers to how “wide” or “spacious” the audio feels. A good soundstage allows you to pinpoint the direction of sounds, which is crucial for competitive gaming. Some headsets feature virtual surround sound technologies (like Dolby Atmos for Headphones or DTS Headphone:X) that can create a more immersive 3D audio experience.
Tip: While specifications matter, real-world reviews often give the best insight into a headset’s audio performance for gaming.
Microphone: Clarity and Features
If playing multiplayer games is your jam, a clear microphone is non-negotiable. You want your teammates to hear you loud and clear, not sound like you’re underwater or miles away.
- Type: Most gaming headsets have boom microphones that extend from the earcup. Look for noise-canceling features that help filter out background distractions.
- Detachable/Mute: Many microphones are detachable, which is great for when you’re playing solo or want to use the headset for music. A quick mute button on the earcup or inline control is also incredibly handy.
- Monitoring (Sidetone): Some headsets allow you to hear your own voice through the microphone, which helps prevent you from shouting too loudly.
Comfort and Build Quality
You’ll likely be wearing your headset for hours on end, so comfort is paramount. A poorly designed headset can become a painful distraction.
- Earpads: Look for plush, breathable materials like velour or high-quality synthetic leather. Memory foam is excellent for a customized fit.
- Headband: Ensure the headband has ample padding and is adjustable to fit various head sizes comfortably.
- Weight: Lighter headsets tend to be more comfortable for long gaming sessions.
- Build Materials: Metal components in the headband or yokes generally indicate a more durable and premium product compared to all-plastic construction.
Compatibility with Xbox Ecosystem
This is where we’ll focus on ensuring your chosen headset works perfectly with your Xbox, whether it’s an Xbox Series X|S, Xbox One, or even older models.
- Xbox Wireless: As mentioned, headsets with the “Xbox Wireless” certification connect directly to your Xbox without a dongle. This is the most seamless option for newer Xbox consoles.
- 3.5mm Jack: Many wired headsets connect via a 3.5mm headphone jack found on the Xbox Wireless Controller. This is a universal solution that also works with PC and other devices.
- USB Dongle: Some wireless headsets use a USB wireless transmitter/dongle that plugs into the Xbox. This is also a very common and reliable method.
- Bluetooth: While most modern headphones offer Bluetooth, it’s generally not the primary connection method for Xbox gaming due to potential latency issues. Some headsets may offer Bluetooth for mobile device connectivity while connected to the Xbox via another method. Always check specifications carefully for Xbox wireless adapter compatibility.
Important Note: Older Xbox One controllers (before roughly mid-2015) may require a separate Xbox One Stereo Headset Adapter if they don’t have a 3.5mm jack. Newer controllers have this port built-in.
Top Headphone Features for Xbox Gamers

To make your gaming sessions more immersive and enjoyable, certain features stand out. Here’s what to look for:
Virtual Surround Sound
Technologies like Dolby Atmos for Headphones and DTS Headphone:X create a 3D soundscape, letting you hear enemies approaching from any direction. While it requires a license (often included with the headset or available as a separate purchase on the Xbox Store), it’s a game-changer for spatial awareness.
Dolby Atmos for Headphones
Dolby Atmos goes beyond traditional surround sound by adding height channels, creating a truly enveloping audio experience. It’s particularly effective for games that utilize its spatial audio capabilities. You can try it out for free for a limited time from the Xbox store.
DTS Headphone:X
DTS Headphone:X also provides impressive spatial audio, offering a different flavor of virtual surround sound. Many headsets are compatible with both Dolby Atmos and DTS Headphone:X, giving you options to explore.
Low Latency Wireless
For wireless gaming, “low latency” is key. This means the time between the game’s audio output and you hearing it through the headset is minimal, almost indistinguishable from wired. High-quality wireless protocols used in dedicated Xbox wireless headsets or those with proprietary USB dongles ensure this.
Durable Build and Comfortable Fit
As discussed earlier, long gaming sessions demand comfort. Headsets made with premium materials, adjustable headbands, and memory foam earcups will prevent fatigue and keep you focused on the game.
Detachable or Flip-to-Mute Microphone
Flexibility is great. A detachable mic is perfect if you sometimes use your headset for listening to music or watching movies without the mic in the way. A flip-to-mute function on the mic boom is a quick and easy way to manage your audio input during a game.
Choosing the Right Headphone for Your Budget

Headphones for Xbox span a wide price range, from budget-friendly options to premium audiophile-grade gear. Here’s a general breakdown to help you decide where to invest.
Entry-Level (Under $60)
At this price point, you’ll typically find solid wired options with decent sound and a functional microphone. They’re great for casual gamers or those new to dedicated gaming headsets. Don’t expect premium build quality or advanced features, but many offer good value.
Mid-Range ($60 – $150)
This is the sweet spot for many gamers. You’ll find a mix of excellent wired and wireless options here. Expect improved audio clarity, better microphone quality, increased comfort, and potentially features like virtual surround sound or Xbox Wireless compatibility. Brands like HyperX, SteelSeries, and Logitech often have strong offerings in this category.
High-End ($150+)
This range is for serious gamers and audiophiles. You’ll find premium materials, superior sound quality, advanced wireless technology with virtually no latency, exceptional microphone performance, and often, the best comfort. Many flagship models from brands like Astro, Audeze, and Razer reside here.
A Quick Look at Popular Xbox Headset Brands
Several brands have consistently delivered quality gaming headsets. Familiarizing yourself with them can help narrow down your search.
| Brand | Key Strengths | Typical Price Range |
|---|---|---|
| Astro | Premium build, great audio, modularity (some models) | $$ – $$$$ |
| SteelSeries | Comfort, solid performance, popular wireless options | $$ – $$$ |
| HyperX (by HP) | Excellent value, good comfort, robust build | $$ – $$$ |
| Razer | Gaming-focused features, distinctive design, good mics | $$ – $$$$ |
| Turtle Beach | Wide range of price points, Xbox-specific features, comfort | $ – $$$ |
| Logitech G | Reliability, good sound, strong wireless technology | $$ – $$$ |
| Sennheiser/EPOS | Audiophile-grade sound, premium build | $$$ – $$$$ |
Price range: $ (Budget), $$ (Mid-Range), $$$ (High-End), $$$$ (Premium)
Step-by-Step: Setting Up Your New Xbox Headset
Once you’ve chosen your ideal headset, getting it set up with your Xbox is usually a breeze. Here’s how:
For Wired Headsets (3.5mm Jack)
- Locate the Jack: Find the 3.5mm headphone jack on your Xbox Wireless Controller (usually at the bottom) or on a compatible Xbox Stereo Headset Adapter.
- Plug In: Connect the 3.5mm plug from your headset directly into the jack.
- Check Audio Settings: On your Xbox, go to Settings > General > Volume & audio output. Ensure “Headset format” is set to “Stereo uncompressed” or “Windows Sonic for Headphones” for basic functionality. If your headset supports Dolby Atmos or DTS Headphone:X and you have the license, you can select those here.
- Test Microphone: Go to Settings > General > Volume & audio output > Other options. You can adjust microphone monitoring levels and ensure your mic is working.
For Wireless Headsets (Xbox Wireless Certified)
- Turn On Headset: Power on your wireless headset.
- Press Pairing Button: Press and hold the pairing button on your headset until its indicator light flashes (this usually means it’s ready to pair).
- Press Xbox Button: On your Xbox console, press and hold the pairing button (usually on the front or side of the console).
- Sync Devices: Press the pairing button on your Xbox Wireless Controller. The console and headset should search for each other.
- Connection Confirmation: A solid light on both the headset and controller (if they have one) indicates a successful connection.
- Check Audio Settings: As with wired headsets, verify your audio output settings in the Xbox menu for optimal performance, especially if your headset supports advanced audio formats.
For Wireless Headsets (USB Dongle)
- Plug In Dongle: Connect the USB wireless transmitter (dongle) to an available USB port on your Xbox.
- Power On Headset: Turn on your wireless headset. It should automatically detect and connect to the USB dongle.
- Check Audio Settings: Navigate to your Xbox’s Volume & audio output settings to ensure the headset is recognized as the primary audio device and to configure any advanced audio features.
Essential Maintenance for Your Xbox Headset
Just like your Xbox console, your headphones need a little care to keep them performing at their best and lasting longer. Regular, simple maintenance can make a big difference.
Cleaning Your Headphones
Keeping your headset clean is important for hygiene and to ensure all components function correctly.
- Earpads: Gently wipe down earpads with a slightly damp (not wet!) cloth. For removable earpads, you can often wash them according to the manufacturer’s instructions (usually hand wash with mild soap and air dry completely).
- Headband: Wipe the headband with a dry or very slightly damp cloth.
- Earcups and Exterior: Use a dry microfiber cloth to dust the earcups and the rest of the headset. For any stubborn marks, a slightly damp cloth can be used, being careful to avoid getting moisture into any openings.
- Microphone: Gently wipe the microphone boom with a dry cloth. Ensure no debris is stuck around the microphone grille, as this can affect sound quality.
- Connection Ports: If you use a wired connection, you can gently clean the 3.5mm jack or USB plugs with a dry cotton swab to ensure a clean connection. For USB ports on the console, a puff of compressed air can help remove dust.
Important: Never submerge your headphones or any part of them in water. Always ensure all parts are completely dry before reassembling or using them.
Storing Your Headset
Proper storage prevents damage when your headset isn’t in use.
- Safe Place: Store your headset in a cool, dry place away from direct sunlight and extreme temperatures.
- Protect from Dust: If possible, use a stand, a case, or keep them in their original box to protect them from dust and accidental bumps.
- Avoid Strain: Don’t leave cables tangled or stretched. For wired headphones, loop the cable loosely or use a velcro strap to keep it tidy.
Battery Care for Wireless Headsets
To maximize the lifespan of your wireless headset’s battery:
- Avoid Extreme Temperatures: Don’t leave it in a hot car or a freezing room.
- Don’t Overcharge Constantly: While modern batteries are smart, it’s generally good practice to avoid leaving them plugged in for excessively long periods if not in use.
- Use Provided Charger: If a specific charger
