
Quick Summary: Choosing the right studio headphones is key for accurate mixing and recording. This guide breaks down what to look for – like flat response and comfort – and recommends beginner-friendly, reliable options. Get ready to make clearer sonic decisions and improve your recordings with straightforward advice.
Best Headphones For Recording Studio: Your Essential Beginner’s Guide

Welcome to Headphone Horizon! If you’re diving into the exciting world of music production or home recording, one of the most crucial tools you’ll need is a good pair of studio headphones. Think of them as your sonic magnifying glass, helping you hear every nuance of your music. But with so many options out there, it can feel a bit overwhelming. Don’t worry, that’s where I come in! This guide is designed to make choosing the best headphones for recording studio sessions simple and stress-free. We’ll cover what makes them different from your everyday listening cans and help you find a pair that will serve you faithfully as you create.
Why Studio Headphones Are Different (And Why It Matters)

You might be thinking, “Aren’t all headphones the same?” Not quite! Your everyday consumer headphones are often “colored” – meaning they boost certain frequencies (like bass) to make music sound more exciting or pleasing to the casual listener. While this is great for enjoying your favorite tracks, it’s actually a hindrance when you’re trying to mix or record. Studio headphones, on the other hand, aim for a “flat” or neutral frequency response. This means they reproduce sound as accurately as possible, without artificially enhancing any part of the audio spectrum. This accuracy is vital for making informed decisions about balance, levels, and effects in your recordings.
Imagine trying to paint a picture, but your eyes are tinted blue. The colors you see wouldn’t be true to life, and your final artwork would look a bit off, right? Studio headphones are like having perfectly calibrated vision for your sound. They reveal the true character of your audio, allowing you to identify issues and make precise adjustments that translate well across different playback systems.
Key Features to Look For in Studio Headphones

When you’re on the hunt for the best headphones for recording studio use, a few key features stand out. Let’s break them down so you know what to prioritize:
1. Frequency Response: The Flatness Factor
As we discussed, a flat frequency response is paramount. This means the headphones should reproduce all audible frequencies (typically 20 Hz to 20 kHz) at a relatively equal volume. This is usually represented on a graph, and for studio use, you want to see as straight a line as possible. Avoid headphones that exaggerate bass or treble; these will mislead you.
2. Open-Back vs. Closed-Back: Choose Your Isolation
This is a significant decision that impacts both your recording and monitoring experience:
- Closed-Back Headphones: These have a sealed ear cup design. This prevents sound from leaking out, which is crucial for recording vocals or instruments where you don’t want the headphone sound bleeding into your microphone. They also provide good noise isolation, blocking out some external distractions. The downside is they can sometimes sound less “airy” or spacious.
- Open-Back Headphones: These have ear cups with vents or grilles, allowing air and sound to pass through. They offer a more natural, spacious, and open soundstage, which can be great for mixing where you want to perceive the stereo image clearly. However, they leak sound heavily, making them unsuitable for recording purposes. They also offer little isolation from external noise.
3. Comfort and Fit: Long Sessions Matter
You’ll likely be wearing your studio headphones for extended periods, whether you’re tracking, mixing, or editing. Prioritize comfort! Look for:
- Padded Headband: A well-cushioned headband distributes weight evenly and prevents pressure points.
- Soft Earcups: Plush, breathable earcups that fit comfortably around your ears (over-ear or “circumaural” designs are generally preferred for studio use over on-ear).
- Adjustability: Ensure the headband can be adjusted to fit your head securely without being too tight.
4. Durability and Build Quality: Investing in Longevity
Studio gear gets used – and sometimes a bit roughed up. Look for headphones that are built to last. Detachable cables are a huge plus, as cables are often the first thing to fail. Metal components instead of just plastic can also indicate better durability.
5. Impedance: Matching with Your Gear
You’ll see impedance ratings (measured in Ohms, Ω). For simple setups like connecting directly to a laptop or phone, lower impedance (around 32-80 Ohms) is usually fine. However, for dedicated audio interfaces or headphone amplifiers, higher impedance headphones (250 Ohms and above) often pair better and can deliver a stronger, cleaner signal. Don’t let this number scare you; most modern audio interfaces can handle a good range of impedances.
Step-by-Step Guide to Choosing Your Studio Headphones

Ready to pick out the perfect pair? Follow these steps to make an informed decision:
Step 1: Define Your Primary Use Case
What will you be doing most with your headphones?
- Recording Vocals/Instruments: You’ll need closed-back headphones to prevent sound bleed into your microphone. Look for comfort and decent isolation.
- Mixing and Mastering: Open-back headphones are often preferred here for their spacious soundstage, but closed-back can also work well if isolation is a concern or if you’re working in a noisy environment. The key is that flat frequency response.
- Critical Listening and Editing: Both open and closed-back can work, but accuracy is king. You want to hear every detail and imperfection.
Step 2: Set Your Budget
Studio headphones range from very affordable to quite expensive. As a beginner, you don’t need to break the bank. Many excellent options are available in the $100-$250 range that will serve you very well. Focus on getting the best value for the features that matter most to you.
Step 3: Research Reputable Brands and Models
Some brands consistently deliver high-quality studio headphones. Here are a few to start researching:
- Audio-Technica
- Sennheiser
- Beyerdynamic
- AKG
- Shure
Look for models specifically marketed for studio monitoring or critical listening. Websites like Sweetwater’s Studio Headphones Buying Guide can offer more in-depth information and comparisons.
Step 4: Read Reviews (and Understand Them!)
Once you’ve narrowed down a few options, dive into reviews. Pay attention to:
- Sound Profile: Do reviewers mention a flat response, or do they describe a boosted bass or treble?
- Comfort: Are long listening sessions painful? How is the clamping force?
- Durability: Do users report issues with build quality over time?
- Isolation (for closed-back): How well do they block out ambient noise?
Remember that everyone’s ears are different, so take individual opinions with a grain of salt, but consistent feedback across many reviews is valuable.
Step 5: Consider Your Audio Interface/Amplifier
If you’re connecting to a basic audio interface, most headphones will work. However, if you have a more powerful headphone amplifier or are considering one, you might benefit from higher impedance (250+ Ohms) headphones. For beginners, aiming for headphones in the 32-80 Ohm range is a safe bet for broad compatibility with various devices.
Step 6: Try Before You Buy (If Possible)
This is the ideal scenario. If you have local music stores or pro audio shops, visit them and try on a few models. Wear them for at least 10-15 minutes to gauge comfort. Bring a track you know well to get a feel for the sound.
Step 7: Make the Purchase and Start Listening Critically
Once you’ve made your choice, it’s time to break them in! New headphones often sound best after a few hours of playing music through them. Then, start listening to your favorite music, your own mixes, and reference tracks. Get familiar with how these headphones interpret sound. This is an ongoing process of learning your gear.
Beginner-Friendly Studio Headphone Recommendations
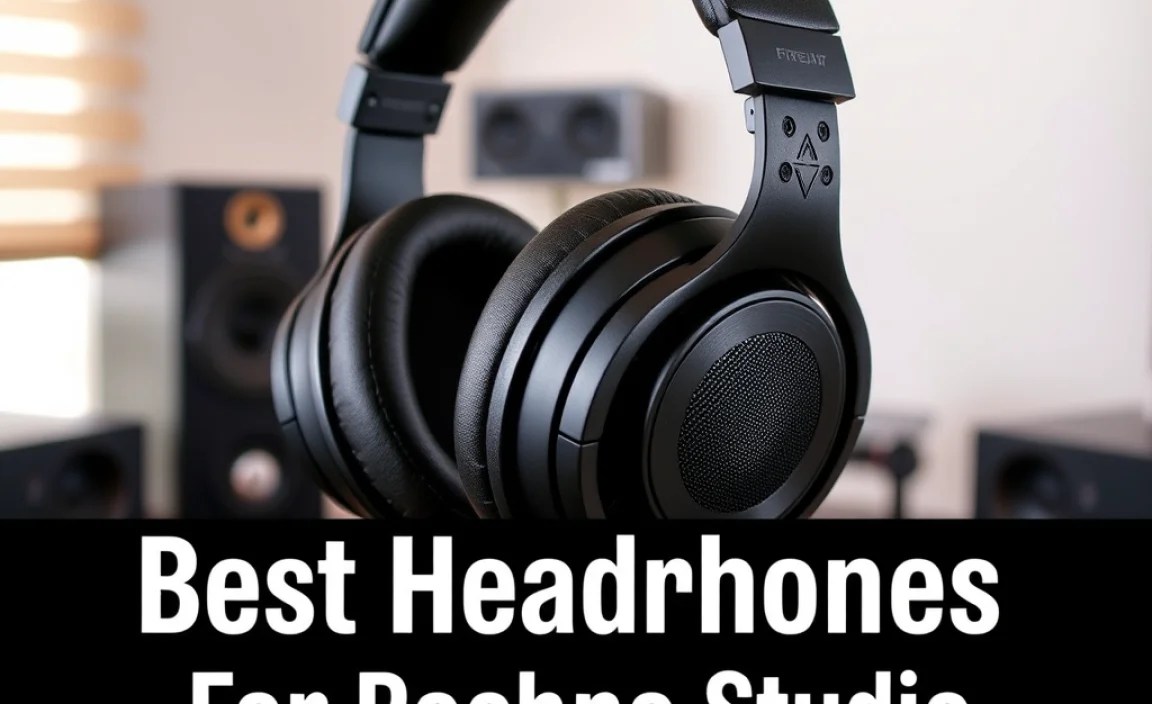
To help you kickstart your research, here are a few highly regarded and beginner-friendly options for the best headphones for recording studio use. These are known for their balance of price, performance, and comfort.
| Model | Type | Key Features | Price Range (USD Approx.) |
|---|---|---|---|
| Audio-Technica ATH-M40x | Closed-Back | Very flat response, good isolation, durable, swiveling earcups, detachable cable. | $99 – $120 |
| Sennheiser HD 280 Pro | Closed-Back | Excellent isolation, comfortable for long periods, robust build, accurate sound. | $99 – $120 |
| AKG K240 Studio | Semi-Open Back | Affordable, good soundstage for the price, comfortable, semi-open design offers a balance. | $60 – $80 |
| Beyerdynamic DT 770 PRO (80 Ohm) | Closed-Back | Legendary comfort, excellent bass reproduction (though slightly elevated), durable, good isolation, comes in different impedance versions. | $150 – $170 |
| Shure SRH440 | Closed-Back | Accurate for the price, foldable design, comfortable pads, decent isolation. | $99 – $110 |
Note: Prices are approximate and can vary based on retailer and sales.
Tips for Using Your Studio Headphones Effectively
Once you’ve got your new studio cans, here are a few tips to get the most out of them:
1. Break Them In (Burn-In)
While the term “burn-in” is debated, many audio engineers agree that headphones, especially new ones, benefit from being played at moderate volumes for several hours. This allows the driver materials to loosen up, potentially leading to a more refined sound. Just play your music!
2. Listen to Reference Tracks
Get familiar with how commercially mixed and mastered tracks sound on your new headphones. Listen to songs you know intimately, and pay attention to the bass, mids, and highs. This helps you understand what these headphones consider “normal” and how your own mixes should ideally sound on other systems.
3. Mix at Moderate Volumes
Your ears are your most important tool. Listening at loud volumes for extended periods can cause ear fatigue, distort your perception of sound, and even lead to hearing damage. Keep the volume at a comfortable, moderate level. For more on hearing safety in audio, check out resources from organizations like the National Institute on Deafness and Other Communication Disorders (NIDCD).
