
Discover the best over-ear headphones for immersive sound. This guide helps beginners choose essential gear, covering crucial features like comfort, sound quality, and durability. Learn what to look for to enjoy your music, podcasts, and calls with crystal-clear audio and lasting comfort.
Best Over-Ear Headphones: Your Essential Gear for Immersive Sound

Hello, fellow audio adventurers! Edward Cavitt here, your friendly guide from Headphone Horizon. If you’re looking to dive deeper into your favorite music, lose yourself in podcasts, or simply enjoy incredibly clear calls, then you’ve come to the right place. Over-ear headphones, also known as circumaural headphones, are fantastic for delivering rich sound and a comfortable listening experience.
They cup around your ears, creating a seal that not only enhances bass but also helps block out distracting noise. But with so many options out there, picking the “best” can feel a bit overwhelming. Don’t worry! This guide is designed to make it simple. We’ll break down exactly what makes a great pair of over-ear headphones, what features are truly essential, and how to find a pair that fits your needs and budget, ensuring you get the most bang for your audio buck.
Why Choose Over-Ear Headphones? The Sweet Spot for Sound and Comfort

Over-ear headphones sit around your entire ear, creating a cozy seal that’s pretty much a hug for your ears. This design isn’t just about comfort; it’s a big deal for sound quality. That seal helps keep the good sound in and the not-so-good ambient noise out.
This means you can often enjoy your audio at lower volumes, which is better for your hearing. Plus, they usually have larger drivers (the little speakers inside) than their smaller counterparts, which can translate to a fuller, more detailed soundstage – think richer bass, clearer mids, and crisper highs.
For long listening sessions, whether you’re deep into a work project, on a transatlantic flight, or just chilling with an album, the plush earcups and distributed weight of good over-ear models make them a top pick for sustained comfort.
Key Features to Look For in Your Next Pair

When you’re on the hunt for the best over-ear headphones, a few key features can make all the difference. Think of these as your checklist to ensure you’re getting a pair that will truly enhance your listening experience.
1. Sound Quality: The Heart of the Matter
This is what it’s all about, right? Sound quality is subjective, but there are objective benchmarks. When we talk about sound quality, we’re considering:
- Frequency Response: This indicates the range of sound frequencies a headphone can reproduce. A wider, more balanced range (often cited as 20Hz to 20kHz, the typical human hearing range) usually means a more complete sound. Some headphones go beyond this, offering extended bass or treble.
- Tonal Balance: Does the headphone sound balanced across bass, mids, and treble? Some might be “bass-heavy,” which can be great for certain music genres but might muddy other sounds. Others might be “bright,” emphasizing higher frequencies, which some find detailed and others find fatiguing. For all-around listening, a neutral or slightly warm balance is often preferred.
- Soundstage and Imaging: Soundstage refers to how “wide” or “spacious” the audio sounds, like you’re in a concert hall versus a small room. Imaging is how well you can pinpoint the location of individual instruments or sounds within that space.
For beginners, looking for headphones described as having a “balanced” or “natural” sound profile is a good starting point. Reviews often mention if a headphone leans too heavily into one frequency range.
2. Comfort and Fit: Wear Them for Hours
Even the best-sounding headphones are useless if they’re uncomfortable. For over-ear models, pay attention to:
- Earcup Material: Look for plush padding, often made of memory foam and covered in pleather (synthetic leather) or velour. Velour can be more breathable, which is great for long sessions or warmer climates.
- Clamping Force: This is how tightly the headphones grip your head. Too much force, and they’ll cause headaches. Too little, and they might slip off easily. Adjustable headbands and well-designed earcups help distribute pressure evenly.
- Weight: Lighter headphones are generally more comfortable for extended wear.
Many manufacturers offer replacement earpads, which is a lifesaver for extending the life of your headphones and customizing the comfort.
3. Durability and Build Quality: Built to Last
You want headphones that can withstand daily use. Check for:
- Materials: Metal components (like aluminum or steel) in the headband or hinges are generally more durable than all-plastic constructions.
- Cable: Detachable cables are a huge plus. If the cable gets damaged, you can simply replace it instead of the whole headphone. Look for a sturdy, braided, or rubberized cable that’s less prone to tangles and breaks.
- Hinge and Swivel Points: These are common failure points. Well-constructed hinges that allow the earcups to fold or swivel smoothly are a good sign.
4. Connectivity: Wired vs. Wireless
This is a big decision. Over-ear headphones come in both wired and wireless (Bluetooth) versions. Each has its pros and cons:
- Wired Headphones:
- Pros: No battery to worry about, often better sound quality for the price (no compression from Bluetooth), no latency (delay) which is crucial for gaming or video editing.
- Cons: Tethers you to your device, cables can break or tangle.
- Wireless Headphones:
- Pros: Freedom of movement, convenient, no tangled cables.
- Cons: Require charging, sound quality can be slightly compromised by Bluetooth codecs (though advancements are closing this gap), potential for latency.
If you’re choosing wireless, be aware of Bluetooth codecs like aptX, LDAC, or AAC, which can offer higher fidelity audio than standard SBC, depending on your source device.
5. Noise Isolation vs. Noise Cancellation
This is where over-ear headphones really shine. They offer two main ways to handle ambient noise:
- Passive Noise Isolation: This is the natural sound blocking that comes from the physical design of the headphones – the seal of the earcups. All well-fitting over-ear headphones offer some level of passive isolation. This is what you get with most wired and standard wireless models.
- Active Noise Cancellation (ANC): This is a more advanced technology where microphones on the headphones detect ambient noise and then generate an opposing sound wave to cancel it out.
- Pros: Incredibly effective at blocking out low-frequency noise like airplane engines, bus rumble, or office hum.
- Cons: Can be more expensive, might slightly alter the music’s sound profile for some listeners, requires battery power.
If you travel frequently or work in noisy environments, ANC is a game-changer and often considered “essential gear.” Look for reputable brands known for their ANC effectiveness.
Putting On Your Best Over-Ear Headphones: A Simple Step-by-Step
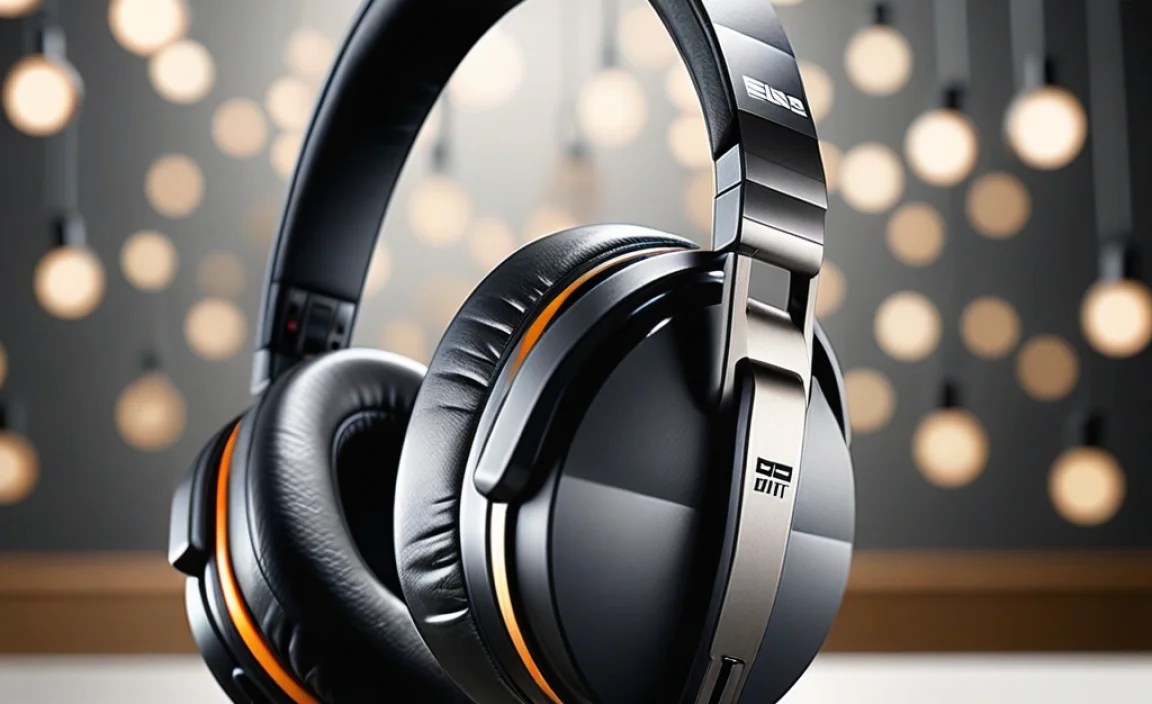
Getting started with your new headphones is straightforward. Here’s how to get the best experience right away:
Step 1: Unbox and Inspect
Carefully open the packaging. Check that all the components are present: headphones, cables (if applicable), charging cable (for wireless), and any carrying case or adapters. Ensure there are no visible signs of damage from shipping.
Step 2: Adjust for a Secure, Comfortable Fit
Place the headphones over your ears. The earcups should fully enclose your ears. Adjust the headband by gently sliding the telescoping arms up or down until the headphones feel secure but not too tight.
- Gently pull the earcups away from each other to create space.
- Slide the headband over your head, positioning the earcups around your ears.
- Ensure the headband sits comfortably on the crown of your head, not too far back or forward.
- Try subtle adjustments to the earcup angle if they don’t feel flush against your head.
Step 3: Connect Your Headphones
For Wired Headphones:
- Locate the headphone jack on your audio source (phone, computer, MP3 player). It’s usually a 3.5mm jack.
- Plug one end of the headphone cable into the headphone jack and the other end into the port on the headphone earcup (if detachable) or directly into your audio source.
For Wireless (Bluetooth) Headphones:
- Turn on your headphones. This usually involves pressing and holding a power button until an indicator light flashes or you hear a voice prompt.
- Put your headphones in pairing mode. This often involves holding down a Bluetooth button. Refer to your headphone manual for specific instructions.
- On your audio source device (smartphone, tablet, computer), go to your Bluetooth settings.
- Scan for available devices. Your headphones should appear in the list.
- Select your headphones from the list to pair. You might need to confirm a pairing code (like “0000” or “1234”) or simply tap to confirm.
- Once paired, the headphones will automatically reconnect to your device whenever they are turned on and in range.
Step 4: Test the Sound
Play some music or any audio content you enjoy. Listen for clarity, balance, and volume. If you can, try different types of music to appreciate the headphones’ range.
- Volume Check: Ensure the volume is at a comfortable level. Start low and gradually increase it.
- Balance Check: Do the bass, mids (vocals, guitars), and treble (cymbals, high hats) sound clear and distinct?
- Noise Isolation/Cancellation: If you’re in a noisy environment, notice how well the headphones block out external sounds. If they have ANC, toggle it on and off to really hear the difference.
Step 5: Explore Additional Features
Many headphones offer extra features:
- On-ear Controls: Buttons on the earcups for play/pause, volume, skipping tracks, and answering calls.
- Microphone: For hands-free calls. Test the microphone quality by making a short call.
- Companion App: Some brands have apps that allow you to customize EQ settings, update firmware, or adjust ANC levels.
Comparing Popular Categories: Finding Your Fit
While “best” is subjective, understanding common categories and their strengths can guide your choice. Here’s a look at some common types and what they excel at:
1. Audiophile-Grade Headphones (Wired Focus)
These are for those who prioritize pure sound fidelity above all else. They often require a bit more power and may need a dedicated headphone amplifier for optimal performance. Designed for critical listening in quiet environments.
| Category | Ideal For… | Key Characteristics | Consideration |
|---|---|---|---|
| Audiophile | Critical music listening, studio monitoring, home Hi-Fi setups | Exceptional detail, accuracy, wide soundstage, often open-back design | May require amplification, generally not portable, often wired |
| Noise-Cancelling (ANC) | Travel, commuting, noisy offices, focus | Effective ANC, comfortable for long wear, good battery life (wireless) | Can be pricier, ANC might affect sound slightly |
| Everyday/Commuter | General music listening, podcasts, podcasts, casual use | Good balance of sound, comfort, durability, portability | Versatile, wide range of prices |
2. Noise-Cancelling Headphones: Your Personal Sanctuary
These are often wireless and include sophisticated ANC technology. They are excellent for travelers, commuters, or anyone who frequently finds themselves in noisy environments. The ability to create a quiet bubble makes them indispensable for focus and relaxation. You can learn more about the science behind noise cancellation from resources like the National Institute of Standards and Technology (NIST), which explores acoustic measurement principles.
3. Everyday and Commuter Headphones
This is a broad category that includes many popular models. They aim for a solid all-around performance, balancing good sound quality with comfort, durability, and reasonable prices. Many are wireless, offering the convenience of Bluetooth for on-the-go listening.
Essential Maintenance for Longevity
To keep your best over-ear headphones sounding and feeling great for years to come, a little regular care goes a long way.
Cleaning Your Headphones
Dirt and earwax can build up, affecting sound and hygiene. Here’s how to clean them:
- Earpads:
- For pleather or synthetic leather: Slightly dampen a soft, microfiber cloth with water or a mild soap solution. Gently wipe down the earpads. Avoid saturating the material.
- For velour: Use a soft brush or a slightly damp cloth. Be careful not to press too hard, as velour can be delicate.
- If your earpads are removable (highly recommended!), you can often detach them and clean them more thoroughly. Some can even be washed with mild soap and water, but always check the manufacturer’s instructions first!
- Headband: Wipe with a slightly damp microfiber cloth.
- Earcups and Housing: Use a dry microfiber cloth to remove dust. For stubborn smudges, use a slightly damp cloth.
- Speaker Grilles: These can be tricky. Use a dry, soft brush (like a clean toothbrush) or a can of compressed air (held at a safe distance) to gently dislodge debris. Do NOT poke anything into the grilles.
- Jack and Cables: Ensure the 3.5mm jack and your headphone’s input port are clean. A dry cotton swab can gently clean the metal contacts. For cables, a slightly damp cloth can be used, ensuring they are completely dry before use.
Important Tip: Always ensure your headphones are completely dry before using them again or storing them.
Storing Your Headphones
Proper storage prevents damage:
- Use the Case: If your headphones came with a carrying case, use it! It protects them from dust, scratches, and accidental impacts.
- Avoid Extremes: Don’t leave your headphones in direct sunlight, extreme heat, or extreme cold, as this can damage the materials and electronics.
- Cable Management (Wired): Don’t wrap the cable too tightly around the headphones. Loose coiling is better to prevent internal wire damage.
Battery Care (Wireless Headphones)
Most wireless headphones use rechargeable lithium-ion batteries. To maximize battery life and longevity:
- Avoid prolonged periods at 0% or 100% charge if possible. Partial charges are generally fine.
- Don’t leave them plugged in constantly for days on end after they are fully charged, although modern devices have protection against overcharging.
- Store them with a partial charge if you plan to leave them unused for a long time (e.g., more than a month).
Troubleshooting Common Issues
Even the best gear can have hiccups. Here are some common problems and simple fixes:
1. No Sound or Only Sound in One Ear (Wired)
- Check Connections: Ensure the plug is fully inserted into both the headphone and the source device.
- Inspect the Cable: Look for any damage, kinks, or cuts. A bent or damaged jack can cause this.
- Test on Another Device: Try your headphones on a different phone or player. If they work elsewhere, the issue is with your original source device.
- Try Another Pair of Headphones: If another pair of headphones also doesn’t work on your device, the problem lies with your device’s audio jack itself.
2. No Sound or Connectivity Issues (Wireless)
- Check Battery: Is the battery charged? Plug them in and give them some time.
- Restart Devices: Turn both your headphones and your Bluetooth source device off and then on again.
- Re-Pair: Go to your device’s Bluetooth settings, “forget” your headphones, and then re-pair them.
- Check Volume: Ensure the volume is up on both your headphones and your source device. Sometimes there are separate volume controls.
