
Uncover the secrets to pristine audio with our guide to the best quality studio headphones. Learn what makes them essential for music creation and critical listening, understand key features, and discover how to choose the perfect pair for proven sound.
Best Quality Studio Headphones: Proven Sound for Every Listener

Hey everyone, Edward Cavitt here from Headphone Horizon! So, you’re chasing that “proven sound” – that crystal-clear, accurate audio that lets you hear every detail. Maybe you’re diving into music production, or perhaps you just want to experience your favorite tracks the way the artist intended. Whatever your reason, understanding studio headphones is your first step. These aren’t your average everyday cans.
Studio headphones are precision instruments, engineered to deliver an uncolored, flat frequency response, meaning they won’t artificially boost bass or treble. This accuracy is crucial for making informed mixing decisions or simply enjoying pure, unadulterated sound. Let’s break down what makes them special and how to find the perfect pair that will elevate your listening experience.
Why Studio Headphones Matter: More Than Just Music

You might be wondering, “Why can’t I just use my regular headphones?” Great question! While everyday headphones are designed for enjoyment – often with a boosted bass and treble to make music sound more exciting – studio headphones are built for accuracy. Think of it like this: a painter uses a clean, white canvas to get the truest colors, not a pre-painted one. Studio headphones provide that clean canvas for audio.
Their primary goal is to reveal the unvarnished truth of a sound. This means:
- Accurate Frequency Response: They aim to reproduce all frequencies (low bass, mid-range, high treble) at the same level. This is often referred to as a “flat” or “neutral” sound.
- Detailed Soundstage: They help you pinpoint where instruments are placed in a mix, creating a sense of space and depth.
- Reduced Distortion: Built for long listening sessions and critical tasks, they minimize listener fatigue and distortion, even at higher volumes.
This accuracy is indispensable for professionals in music production, mixing, mastering, and audio engineering. For enthusiasts, it means rediscovering your music collection with newfound clarity and detail. You’ll hear nuances you never noticed before, from the subtle breath of a vocalist to the precise strum of a guitar pick.
Key Features to Look For in Studio Headphones

When you start shopping, you’ll see a few terms that pop up repeatedly. Understanding these will help you narrow down your choices:
1. Open-Back vs. Closed-Back Design
This is arguably the most significant difference to consider. It affects both sound and isolation.
Open-Back Headphones:
- How they work: The earcups have perforations or grilles, allowing air and sound to pass in and out.
- Sound Quality: They tend to offer a wider, more natural soundstage. The open design prevents pressure buildup, leading to a more comfortable and airy listening experience.
- Isolation: Little to no sound isolation. Sound leaks in from your environment, and your music leaks out for others to hear.
- Best for: Critical listening in quiet environments, mixing, mastering, and home listening where external noise isn’t an issue.
Closed-Back Headphones:
- How they work: The earcups are sealed, preventing sound from escaping or entering.
- Sound Quality: They typically provide better bass response due to the sealed design. The soundstage can feel more intimate.
- Isolation: Excellent sound isolation. They block out ambient noise and prevent your music from disturbing others.
- Best for: Recording sessions (to prevent mic bleed), live monitoring, use in noisy environments, and commuting.
2. Driver Size and Type
Drivers are the heart of your headphones – they’re what actually produce the sound. While size isn’t everything, larger drivers (typically 50mm or more) can often move more air, potentially leading to a more dynamic and impactful sound, especially in the lower frequencies. Common driver types include:
- Dynamic Drivers: The most common type, using a coil of wire attached to a diaphragm inside a magnetic field. They offer a good balance of performance and affordability.
- Planar Magnetic Drivers: These use a large, flat diaphragm with a voice coil spread across its surface, suspended between magnets. They are known for exceptional detail, fast transient response, and minimal distortion. They are often found in higher-end studio headphones.
- Balanced Armature Drivers: Smaller and more efficient, often used in in-ear monitors (IEMs) but sometimes found in over-ear designs. They excel at reproducing detail in the mid and high frequencies.
3. Impedance (Ohms)
Impedance measures a headphone’s electrical resistance. It’s measured in Ohms (Ω).
- Low Impedance (under 50 Ω): These headphones are easier to drive and can be powered adequately by most devices, including smartphones, laptops, and portable music players.
- High Impedance (over 100 Ω, typically 250 Ω or higher): These require more power to reach optimal listening levels and deliver their best sound quality. They often sound better when connected to a dedicated headphone amplifier or audio interface.
If you plan to use your headphones with mobile devices, low impedance is usually the way to go. If you have an amplifier or are working in a studio environment with dedicated audio gear, higher impedance can offer superior sound quality and headroom.
4. Frequency Response
This refers to the range of audible frequencies (from the lowest bass to the highest treble) that the headphones can reproduce. A typical human ear can hear from about 20 Hz to 20,000 Hz. Studio headphones aim for a flat frequency response within this range, meaning they reproduce all these frequencies at a similar volume, without artificial emphasis.
You’ll often see specifications like “20 Hz – 20 kHz ± 3 dB.” The smaller the dB variation, the flatter and more accurate the response.
5. Comfort and Build Quality
You might be wearing these for hours, so comfort is paramount. Look for:
- Padded Headband: Ensures even pressure distribution.
- Plush Earpads: Made from materials like velour or synthetic leather that are breathable and soft.
- Adjustable Fit: The headband should extend enough to fit various head sizes comfortably.
- Weight: Lighter headphones are generally more comfortable for extended wear.
- Durable Materials: Metal yokes, robust plastic, and replaceable cables are signs of good build quality.
Top Brands Known for Quality Studio Headphones

When scouting for “proven sound,” certain brands consistently deliver excellence. Here are a few industry stalwarts:
- Sennheiser: A German brand legendary for its audio engineering. Models like the HD 600, HD 650, and HD 800 S are benchmarks for open-back neutral listening. Their HD 280 Pro is a closed-back workhorse for recording.
- Audio-Technica: Another Japanese giant, offering a wide range of headphones. The ATH-M50x is incredibly popular for its balanced sound and versatility, while the ATH-R70x is a respected open-back option.
- Beyerdynamic: This German company is known for its robust build quality and detailed sound. The DT 770 Pro (closed-back), DT 880 Pro (semi-open), and DT 990 Pro (open-back) are iconic studio staples.
- AKG: Famous for the K701/K702 and the legendary K240 series. They often offer a bright, airy sound with excellent spatial representation.
- Shure: Primarily known for microphones, Shure also produces excellent headphones, like the SRH840 and SRH940, which are praised for their accuracy.
Choosing Your First Pair: A Step-by-Step Guide
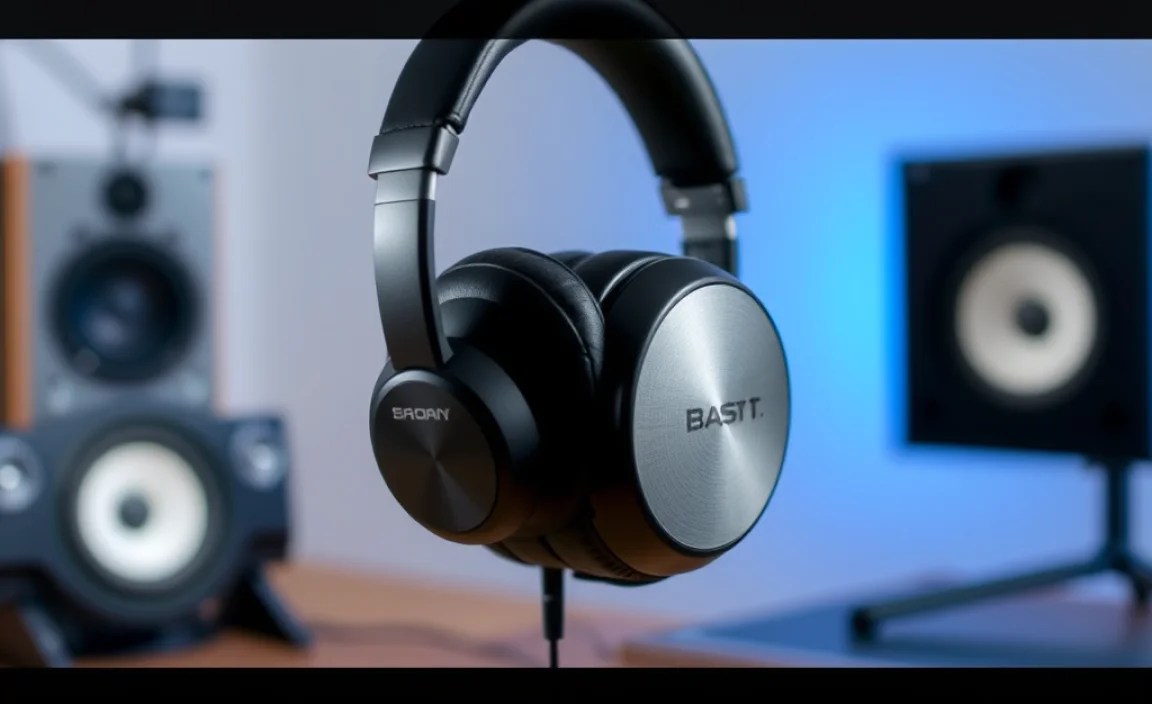
Ready to find your perfect studio headphones? Follow these steps:
Step 1: Define Your Primary Use Case
Where and how will you use them most?
- Quiet Home Listening/Mixing/Mastering: Prioritize open-back headphones for the widest soundstage and most natural reproduction.
- Recording Vocals/Instruments: Closed-back are essential to prevent sound from bleeding into your microphones.
- Working in a Noisy Office/Apartment: Closed-back will be your ally against distractions.
- Travel/Commute: Closed-back for isolation and durability.
Step 2: Consider Your Listening Environment
If you’re in a shared space or place where you need to be aware of your surroundings, isolation provided by closed-back headphones is crucial. If you have a dedicated, quiet listening room or studio, open-back headphones can offer a more immersive and less fatiguing experience.
Step 3: Determine Your Budget
Studio headphones range from under $100 to well over $1000.
- Entry-Level ($50 – $150): Great for beginners, offering a significant step up in accuracy from consumer headphones.
- Mid-Range ($150 – $300): Often feature better build quality, more refined sound, and higher impedance options suitable for basic amplifiers.
- Professional/High-End ($300+): Exceptional detail, advanced driver technologies (like planar magnetic), and premium materials. Often require dedicated amplification.
Step 4: Check Impedance and Amplification Needs
If you’re solely using your smartphone or laptop, stick to headphones with low impedance (e.g., 32-80 Ω).
If you have an audio interface or a dedicated headphone amplifier, you can explore higher impedance headphones (e.g., 250 Ω or more). These often reveal more detail and dynamics when properly powered.
To get the most out of your headphones, especially higher-impedance models, a headphone amplifier can make a significant difference. You can find standalone headphone amps or integrated ones within audio interfaces. A good starting point for understanding headphone amplification is resources like the Audio Science Review, which often delves into the technical aspects of headphone powering.
Step 5: Read Reviews and Compare Specs
Once you’ve narrowed down your choices based on design, intended use, and budget, dive into reviews from reputable audio sites and user feedback. Pay attention to descriptions of sound signature, comfort, and build quality.
Understanding Key Specifications: A Quick Reference
Here’s a handy table to help you compare headphone specifications:
| Specification | What it Means | Importance for Studio Headphones | Typical Range |
|---|---|---|---|
| Type | Open-back, Closed-back, Semi-open | Affects soundstage, isolation, and application (listening vs. recording) | N/A |
| Driver Size | Diameter of the speaker element | Larger drivers can move more air for fuller sound; 50mm is common | 30mm – 50mm+ |
| Frequency Response | Range of audible frequencies reproduced (Hz) | Aim for a wide, flat response (e.g., 20 Hz – 20 kHz) for accuracy | 20 Hz – 20 kHz or wider |
| Impedance (Ω) | Electrical resistance | Low impedance for direct connection to devices; High impedance for amplifiers | 32 Ω (low) to 600 Ω (high) |
| Sensitivity (dB/mW or dB/V) | How loud headphones play at a given power level | Higher sensitivity means they are easier to drive | 95 dB – 110 dB+ |
| Connectivity | Wired (detachable cable, straight/coiled) or Wireless | Studio headphones are almost exclusively wired for reliability and sound quality | Wired (3.5mm, 1/4″ adapter) |
Essential Maintenance for Longevity
Even the best quality studio headphones need a little care to keep them sounding and feeling great. Here are some simple maintenance tips:
Regular Cleaning
- Earpads: Gently wipe down earpads with a slightly damp, lint-free cloth. For velour pads, a dry brush can help remove dust. Avoid harsh chemicals. If your earpads are significantly worn or dirty, consider replacing them. Many manufacturers offer replacement pads, which is a great way to refresh your headphones.
- Headband: Wipe with a dry or slightly damp cloth.
- Earcups: Use a dry, soft cloth to remove dust and fingerprints. For grilles (on open-back models), a very soft brush or compressed air from a distance can dislodge debris.
- Cable: Wipe the cable with a dry cloth. Ensure connections are clean and free of debris.
Proper Storage
- Use the Original Case or a Pouch: Protects against dust, scratches, and accidental damage.
- Avoid Extreme Temperatures: Excessive heat or cold can damage the materials and drivers.
- Hang or Store Carefully: Avoid yanking on the cable when removing headphones. If hanging, ensure the weight is distributed evenly on the headband.
Cable Care
Studio headphones often feature detachable cables for easier replacement.
- Detachable Cables: When unplugging, grip the connector, not the wire.
- Straight vs. Coiled: Coiled cables are common in professional settings to prevent tugging and tangling, but can be heavier. Straight cables are often preferred for casual listening. Ensure you have the right cable type for your environment.
- Replacement: If a cable becomes faulty, replacing it is usually much cheaper than replacing the entire headphone unit.
Troubleshooting Common Issues
Even the best gear can sometimes act up. Here are a few quick fixes:
-
One Earbud Not Working
- Check the Cable Connection: Ensure the cable is securely plugged into both the headphone and your device. Try unplugging and reinserting it firmly.
- Try a Different Cable: If your headphones have a detachable cable, try a known-good replacement cable to see if the issue is with the cable itself.
- Test on Another Device: Plug the headphones into a different audio source (phone, laptop, audio interface) to rule out an issue with your main device.
- Clean the Jack: Sometimes lint or debris can accumulate in the headphone jack of your device. Use compressed air to clean it.
-
Low Volume
- Check Device Volume: Obvious, but worth double-checking.
- Check Impedance: If you have high-impedance headphones connected directly to a smartphone, they might not get loud enough. Consider a headphone amplifier.
- Check Audio Source Settings: Some software or operating systems have individual volume controls that might be set low.
-
Distorted or Crackling Sound
- Check Cable Integrity: Look for kinks, cuts, or damage on the cable. A damaged cable is a common culprit.
- Lower Volume: The source audio might be clipping (too loud) or your device might be struggling. Try lowering the volume significantly.
- Test on Another Device: This helps determine if the issue is with the headphones or the audio source.
-
Uncomfortable Fit or Pressure
- Adjust Headband: Ensure the headband is positioned correctly on your head.
- Earpad Material: If you find your current earpads uncomfortable (too hot, irritating), consider purchasing replacement earpads made of a different material (e.g., velour instead of pleather).
- Rest Breaks: Even the most comfortable headphones can become fatiguing after many hours. Take short breaks to let your ears rest.
