
Discover the best RF headphones for a clearer, more personalized TV experience. This guide simplifies selecting and using wireless RF headphones, perfect for those who want to enjoy audio without disturbing others, offering excellent range and reliable connections for your home entertainment.
Best RF Headphones for TV: Your Essential Guide to Clearer, Wireless Audio

Hey everyone, Edward Cavitt here from headphonehorizon! Are you tired of the TV volume wars in your household? Maybe your hearing isn’t quite what it used to be, and dialing up the sound means your family can hear the show from downstairs.
Or perhaps you just love immersing yourself in movies and sports without a care in the world. If any of that sounds like you, then wireless RF headphones might just be your new best friend. Forget tangled cords and limited movement; RF headphones offer a fantastic way to enjoy your favorite programs with exceptional clarity and freedom. Let’s dive in and find the best RF headphones for your TV setup!
Why Choose RF Headphones for Your TV?

When we talk about wireless headphones, you might first think of Bluetooth. And while Bluetooth is great for many things, for TV watching, Radio Frequency (RF) headphones often take the crown. They use a different technology to transmit audio, and this difference brings some big advantages for your home entertainment setup.
The RF Advantage Explained
RF headphones work by sending an audio signal from a base station (which is plugged into your TV) to the headphones themselves using radio waves. Think of it like a mini, private radio station just for your ears! This method offers:
- Excellent Range: RF headphones typically boast a much longer range than Bluetooth headphones. Many can easily reach 100 feet (30 meters) or more, allowing you to walk around your house, grab a snack, or do chores while still hearing your show perfectly.
- Stable Connection: Because they use radio frequencies, RF connections are generally less prone to interference from other wireless devices, leading to a more stable and reliable listening experience without annoying dropouts.
- Low Latency: For TV and movies, lag between the picture and sound is a deal-breaker. RF headphones are known for their very low latency, meaning the audio syncs up almost perfectly with what you’re seeing on screen. This is crucial for an immersive viewing experience and makes dialogues feel natural.
- Easy Setup: Most RF headphone systems are incredibly straightforward to set up. Plug the base station into your TV, power it up, and your headphones are usually ready to go. No complex pairing or app installations required!
- Multi-Headphone Support: Many base stations can support multiple headphones simultaneously. This is fantastic for couples or families who want to watch the same program at different volumes without disturbing each other.
While Bluetooth headphones are convenient for portability and connecting to smartphones and tablets, RF often provides a more robust and dedicated solution for home TV audio.
Understanding the Key Features of RF Headphones

When you’re shopping for the best RF headphones for your TV, there are a few key features that will make a big difference in your listening experience. Let’s break them down so you know what to look for.
Audio Quality
This is, of course, paramount. You want headphones that deliver clear, crisp sound. Look for:
- Driver Size: Larger drivers (usually measured in millimeters, like 40mm or 50mm) generally produce a fuller sound with better bass.
- Frequency Response: This tells you the range of sounds the headphones can reproduce. A wider range (e.g., 20Hz-20kHz, which is the typical range of human hearing) is ideal.
- Sound Profile: Some headphones are tuned for a more balanced sound, while others might emphasize bass. For TV, a balanced profile is often best for dialogue clarity and environmental sounds.
Comfort and Design
You’ll likely be wearing these for extended periods, whether it’s a movie marathon or a full sports event. Comfort is key!
- Earcup Material: Soft, breathable materials like faux leather or velour are generally more comfortable for long sessions than hard plastic.
- Headband Padding: A well-padded headband distributes weight evenly, preventing pressure points.
- Adjustability: Ensure the headband can be adjusted to fit your head size comfortably.
- Weight: Lighter headphones are generally more comfortable for extended wear.
Battery Life and Charging
Nothing ruins a viewing experience like a dead battery halfway through!
- Playtime: Check the advertised battery life. Most good RF headphones will offer 15-20 hours or more on a single charge.
- Charging Method: Some headphones charge via a USB cable, while others use a charging dock integrated into the base station. A dock can be very convenient – just place the headphones on it when you’re done.
- Rechargeable Batteries: Most modern RF headphones use rechargeable AA/AAA batteries or built-in lithium-ion batteries. Ensure they are easily replaceable if they are the removable kind, and that they hold a decent charge.
Range and Signal Stability
As mentioned, this is a superpower of RF technology.
- Advertised Range: Look for specifications around 100 feet (30 meters) or more.
- Frequency Band: Most RF headphones operate in the 900 MHz band, which is less congested than 2.4 GHz (often used by Bluetooth and Wi-Fi) and offers better penetration through walls.
Ease of Use and Connectivity
For beginners, simplicity is king.
- Plug-and-Play: The best systems are truly plug-and-play. Connect the base station to your TV’s audio output (usually a 3.5mm headphone jack, RCA, or optical port), power it on, and the headphones should connect automatically.
- Intuitive Controls: Volume control and power buttons should be easy to find and use on the headphones themselves.
- Multiple Inputs: Some base stations offer multiple input options (e.g., optical AND analog), giving you flexibility with different TVs or audio devices.
How to Choose Your TV’s Audio Output

Before you even start looking at headphones, you need to know how your TV outputs sound. This is the crucial first step in ensuring compatibility. Most modern TVs offer several options, but older models might be more limited.
Common TV Audio Output Ports
Here’s a rundown of what to look for on the back or side of your TV:
| Port Type | Appearance | Typical Use | RF Adapter Needed? |
|---|---|---|---|
| 3.5mm Headphone Jack | A small, round port, often labeled with a headphone icon. Looks like a standard headphone port on a smartphone or computer. | Direct headphone output. Commonly found on most TVs. | Usually no adapter needed; a 3.5mm to 3.5mm cable. |
| RCA Audio Out (Red & White) | Two circular connectors, one red (right channel) and one white (left channel). | Analog stereo audio output. Common on older and many newer TVs. | May need a 3.5mm to RCA adapter cable if your RF transmitter has a 3.5mm input. |
| Optical Audio Out (Digital) | A small, square-ish port, often with a plastic flap. Labeled “Optical” or “Digital Audio Out.” Emits a red light when active. | High-quality digital audio output. Standard on most modern HDTVs. Uses a Toslink cable. | May need an Optical to 3.5mm adapter or cable if your transmitter requires analog input. |
| HDMI ARC (Audio Return Channel) | One of the HDMI ports will be labeled “ARC” or “eARC.” | Allows audio to be sent back from the TV to an audio device (like a soundbar or receiver) using an HDMI cable. | Generally not used directly for RF headphones. You’d typically use a different port on the TV or a converter. |
Checking Your TV’s Manual or Settings
If you’re unsure, the best place to start is your TV’s user manual. It will detail all the audio output options available on your specific model. Alternatively, navigate through your TV’s on-screen settings menu. Look for sections like “Sound,” “Audio Output,” or “Speaker Settings.” This will often show you which ports are active or available for external audio devices.
Tip: If your TV only has HDMI ARC, you might need a separate HDMI ARC audio extractor to get an analog (3.5mm or RCA) or digital (optical) signal to feed into your RF transmitter base station. Fortunately, many RF headphone systems come with multiple adapter cables to cover most common scenarios.
Step-by-Step Guide: Setting Up Your RF Headphones
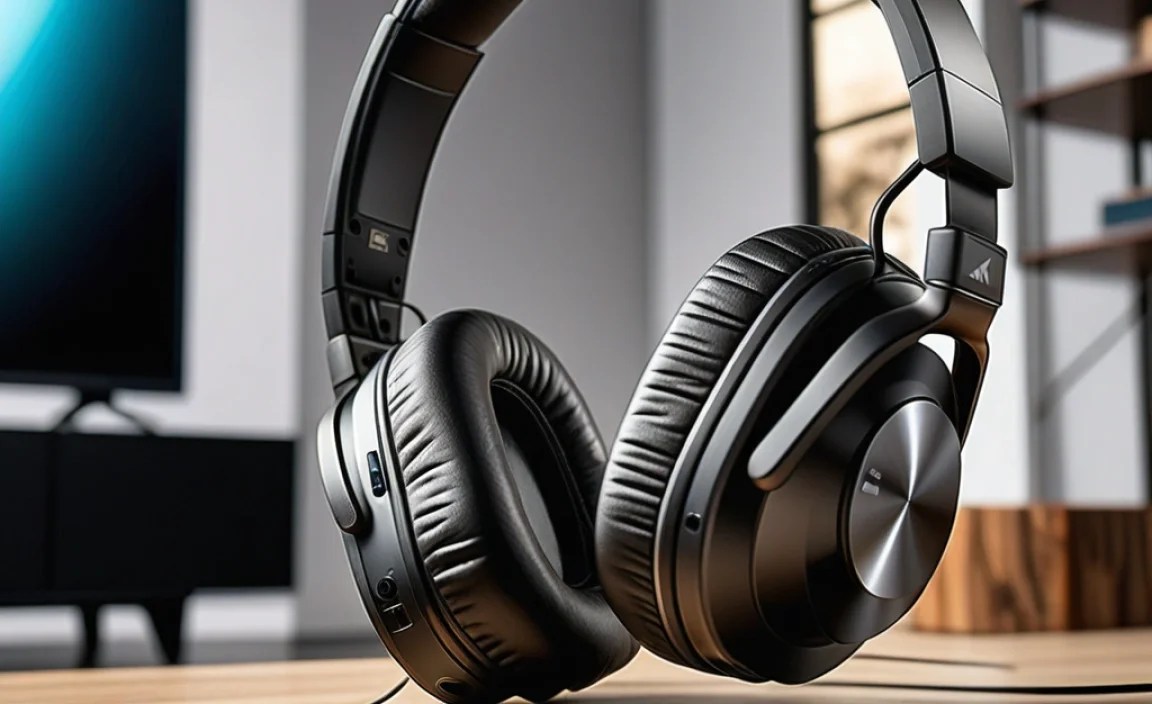
Once you’ve chosen your headphones and identified your TV’s audio output, the setup process is usually a breeze. Follow these steps, and you’ll be enjoying clear, personal audio in no time!
Step 1: Unbox and Connect the Base Station
Carefully unpack your RF headphones and the accompanying base station. The base station is the heart of the system; it’s what receives the audio from your TV and transmits it to the headphones.
- Power Connection: Plug the power adapter into the base station and then into a wall outlet. Some base stations may also power via USB from your TV.
- Audio Connection: This is where your TV’s audio output comes into play.
- For 3.5mm/Headphone Jack: Use the included 3.5mm to 3.5mm audio cable. Plug one end into your TV’s headphone jack and the other into the corresponding audio input on the base station (usually labeled “Audio In,” “Line In,” or a headphone icon).
- For RCA (Red & White): Use the included RCA cable (or a 3.5mm to RCA adapter cable). Connect the red and white plugs to your TV’s RCA audio out ports and the other end to the base station’s audio input.
- For Optical (Toslink): Use the included optical (Toslink) cable. Connect it from your TV’s optical out port to the optical input on the base station. Ensure any protective caps are removed from the cable ends.
- Important Note: After connecting, you’ll need to tell your TV to output its sound to the selected port. Go into your TV’s audio settings and select the appropriate output (e.g., “Headphone,” “Audio Out,” “Optical,” or “External Speakers OFF” to ensure sound doesn’t also come from the TV speakers).
Step 2: Power On and Pair the Headphones
Most RF headphone systems are designed for automatic pairing, making this part incredibly simple.
- Power the Base Station: Ensure the base station is powered on and connected to your TV’s audio source. You might see an indicator light confirming it’s active.
- Power the Headphones: Find the power button on your RF headphones. Press and hold it until the headphones turn on. Some models might have a dedicated pairing button, but often, just powering them on is enough.
- Automatic Pairing: In most cases, the headphones will automatically search for and connect to the base station. You’ll typically hear a chime or see an LED indicator light on both the base station and the headphones change color (e.g., from blinking to solid) to confirm a successful connection.
- Manual Pairing (If Needed): If the headphones don’t connect automatically, consult your headphones’ manual. There’s usually a process to manually initiate pairing mode on both the headphones and the base station. This might involve holding down a button for a few seconds.
Step 3: Adjust Volume and Test
Now for the moment of truth! It’s time to enjoy your audio.
- Adjust Headphone Volume: Locate the volume controls on your RF headphones. These are usually buttons or a scroll wheel on the earcup. Start with a low volume and gradually increase it to a comfortable listening level.
- Check from TV: Make sure your TV is set to output sound to the chosen audio port. If sound is still coming from your TV speakers, re-check your TV’s audio settings to disable them.
- Test Range: Walk around your listening area. Move further away from the base station, go into the next room, and see if the audio remains clear and stable. RF headphones are great for this!
- Enjoy: Sit back, relax, and enjoy your TV programs with pristine, personalized audio!
Top RF Headphone Systems for Your TV (Examples)
While I can’t give real-time stock updates, here are some popular and well-regarded RF headphone models and brands that consistently receive high marks for TV use. These are great starting points for your research.
What to Look For in Our Recommendations
- Ease of Setup: We prioritize models known for their plug-and-play simplicity.
- Audio Clarity: Essential for dialogue and immersive experiences.
- Comfort: For long listening sessions.
- Range and Reliability: The hallmark of good RF performance.
- Battery Life: To keep you watching, not charging.
Featured RF Headphone Systems
Here are a few types of systems you’ll commonly find, often from reputable brands like Sennheiser, Logitech, or specialized audio companies.
| Brand/Model Type | Key Features & Pros | Considerations |
|---|---|---|
| Sennheiser RS Series (e.g., RS 5000, RS 175) | Reputable audio brand, excellent sound quality. Usually feature easy setup, good comfort, and strong range. Often include optical input for better digital audio. The RS 5000 is known for its voice clarity boost. | Can be a higher price point. May require specific audio output on TV. |
| Avantree Audition Pro / HT4189 (RF focused) | Often bundled as a transmitter/headphone set. Known for low latency, good range, and ease of use. Some packages also include Bluetooth headphone options if you want versatility. | Sound quality might not match audiophile-grade Sennheiser, but excellent for general TV watching. |
| Sony RF Wireless Headphones (Various models) | Sony offers user-friendly RF systems. Typically come with comfortable designs, decent battery life, and straightforward charging docks. Good for everyday users. | Range can vary by model. May not have as many advanced audio features. |
| JVC Wireless TV Headphones (e.g., HA-RX370) | Often more budget-friendly options. Provide a reliable wireless connection and comfortable fit. Good for basic listening needs. | Sound quality and advanced features might be less sophisticated than premium brands. Range can sometimes be a bit less than top-tier. |
Where to Buy: You can typically find these on major online retailers like Amazon, Best Buy, Crutchfield, or directly from the manufacturer’s website.
When making your choice, always check the latest reviews and product specifications to ensure it meets your specific needs.
Troubleshooting Common RF Headphone Issues
Even the best technology can sometimes throw a curveball. If you’re experiencing issues with your RF headphones, don’t worry. Most problems are easily fixable. Here are a few common scenarios and how to tackle them:
No Sound
- Check Power: Ensure both the base station and the headphones are powered on. Check that the base station’s power adapter is plugged in securely.
- Source Selection: Confirm that your TV is set to output audio to the correct port (e.g., Headphone, Optical, Audio Out). This is the most common culprit!
- Volume Levels: Make sure the volume on both the headphones and potentially your TV (if applicable) is turned up. Start low and increase gradually.
- Audio Cable: Ensure the audio cable connecting the base station to the TV is plugged in firmly at both ends. Try a different audio cable if you have one.
- Input on Base Station: Some base stations have multiple inputs. Ensure the correct input is selected, or that the auto-detection is working if it has that feature.
Intermittent Sound / Static / Crackling
- Range: Are you too far from the base station? Try moving closer. Obstructions like thick walls or metal can also weaken the signal.
- Interference:
