
Quick Summary: Keep your Bluetooth headphones in top shape by protecting their charging cables from damage. This guide offers simple, effective methods to prevent fraying, bending, and breaks, ensuring your audio experience remains uninterrupted and your headphones last longer. Learn easy fixes and preventative tips for a reliable connection.
Bluetooth Headphone Issues: Essential Cable Protection for Longevity
Hey everyone, Edward Cavitt here from headphonehorizon! We all love the freedom of wireless audio, but let’s be honest, those Bluetooth headphones still rely on a trusty charging cable. More often than not, when our favorite headphones start acting up, the culprit isn’t the Bluetooth itself, but a damaged charging cable. A frayed wire, a bent connector, or a complete break can put a damper on your music, podcasts, or important calls. Don’t worry! Protecting these small but vital cords is easier than you think. This guide is all about simple, practical ways to shield your headphone cables, prevent common Bluetooth headphone issues, and keep your sound flowing without a hitch. Let’s dive in and give your headphones the care they deserve!
Why Cable Protection Matters for Your Bluetooth Headphones

While Bluetooth technology has liberated us from wires for listening, the charging cable remains the lifeline for our wireless audio companions. These small cables are often taken for granted, leading to wear and tear that can manifest in frustrating Bluetooth headphone issues. When a charging cable is compromised, it can lead to:
- Intermittent Charging: Your headphones might only charge when the cable is in a specific position, or stop charging altogether.
- Connection Problems: A damaged cable can sometimes interfere with the device’s ability to register a charge, making it seem like the headphones aren’t working.
- Complete Failure: In severe cases, a broken cable means your headphones can’t be recharged, effectively rendering them useless until repaired or replaced.
- Safety Hazards: Damaged cables can expose wires, creating a risk of electric shock or short circuits.
Preventing these issues is all about proactive care. Think of it like protecting your phone’s charger – a little attention goes a long way. According to the U.S. Consumer Product Safety Commission, proper care of electrical cords is essential for household safety and device longevity.
Common Causes of Bluetooth Headphone Cable Damage

Before we jump into solutions, let’s understand what typically causes these cables to fail:
- Bending and Crimping: This is the number one enemy. Sharply bending cables, especially near the connector or where the cable meets the strain relief (the flexible part at the end of the connector), weakens the internal wires. This often happens when headphones are stuffed into pockets, bags, or left tangled.
- Twisting and Pulling: Yanking the cable out of a port instead of gently pulling the connector can stress the internal connections. Storing them in a twisted mess also contributes to this.
- Fraying: Constant friction against surfaces, sharp objects in bags, or even pets chewing on them can cause the outer insulation to break down, exposing the wires.
- Water Damage: While many cables are somewhat resilient, prolonged exposure to moisture can corrode the connectors and damage the internal conductors.
- Heat Exposure: Leaving cables in hot environments, like a car dashboard on a sunny day, can degrade the plastic insulation and make it brittle.
Understanding these culprits helps us target our protection strategies effectively.
Step-by-Step Guide to Protecting Your Headphone Cables
Now, let’s get down to business with some practical steps you can take right now to protect your valuable charging cables.
Step 1: The Art of Proper Storage
How you store your headphones when not in use is crucial. Avoid the temptation to just toss them into your bag or pocket.
- Use a Dedicated Pouch or Case: Most headphones come with a carrying pouch or case. Use it! This provides a cushioned barrier against other items in your bag.
- Gentle Coiling: When coiling your cable, do so loosely. Avoid tight wraps or sharp bends. A simple loop, held together with a Velcro strap or a twist tie, is ideal.
- Avoid Overcrowding: If your bag is packed to the brim, try to position your headphones so the cable isn’t being squashed or bent by other objects.
Step 2: Mastering the Connection and Disconnection
The way you plug in and unplug your cable makes a difference. It might seem minor, but consistent improper handling can lead to damage over time.
- Hold the Connector, Not the Cable: Always grip the plastic or metal part of the connector when plugging in or unplugging the cable. This prevents undue stress on the wires where they enter the connector.
- Straight Insertion and Removal: Insert and remove the cable straight from the port. Wiggling or forcing it can damage both the cable’s connector and the port itself.
- Avoid Pulling from the Cable: Never pull the cable itself to disconnect it. This is a prime cause of internal wire breaks.
Step 3: Reinforce Vulnerable Points (DIY & Simple Gadgets)
The points where the cable meets the connectors are the weakest links. We can add extra support here.
Method A: Heat Shrink Tubing DIY
This is a very effective and clean-looking DIY solution. Heat shrink tubing is a plastic sleeve that shrinks tightly around wires when heated.
What You’ll Need:
- Assorted sizes of heat shrink tubing (available at electronics stores or online)
- A heat gun or a reliable lighter (use with caution!)
- Scissors or a craft knife
How To:
- Cut to Size: Cut a piece of heat shrink tubing long enough to cover at least an inch (2.5 cm) beyond the strain relief on both ends of your cable (where the cable enters the connector).
- Slide it On: Gently slide the tubing over the connector and onto the cable. Make sure it’s snug but can still move a little under the connector’s strain relief.
- Apply Heat: Slowly and evenly apply heat to the tubing. A heat gun is best, but a lighter can be used with extreme care. Keep the flame moving to avoid scorching the plastic or melting the connector. The tubing will shrink evenly, forming a protective, slightly rigid sleeve.
- Let it Cool: Allow the tubing to cool completely before using the cable.
Method B: Spiral Cable Wraps/Guards
These are pre-made plastic or rubber sleeves that you can wrap around your cable.
| Type | Pros | Cons |
|---|---|---|
| Spiral Wrap (Plastic/Rubber) | Easy to apply, flexible, adds a layer of abrasion resistance, comes in various colors. | Can add bulk, might eventually slip off if not secured properly. |
| Spring Coils (Metal/Plastic) | Excellent strain relief, very durable, forms a strong bend radius. | Can be trickier to install, adds significant stiffness, might scratch surfaces. |
How To Use:
- Choose your Wrap: Select a wrap that fits your cable thickness.
- Install: For spiral wraps, you typically start at one end and spiral it around the cable. For spring coils, you often need to remove the connector end (if possible on some chargers) or carefully thread the cable through the coil, shaping it around the critical stress points.
- Position: Ensure the wrap covers the strain relief area and extends a bit onto the cable and connector if possible.
Step 4: Cable Tidy Solutions
Keeping your cables organized prevents them from tangling and getting damaged when stored or transported.
- Velcro Cable Ties: Simple, reusable, and effective for keeping coiled cables neat.
- Cable Clips: Stick-on clips can be used on desks or walls to keep cables from falling and getting stressed.
- Dedicated Cable Organizers: Pouches with internal straps or compartments designed specifically for cables.
Step 5: Inspect and Maintain Regularly
Don’t wait until your headphones stop charging to check the cable. Make it a habit.
- Visual Checks: Periodically look for any signs of fraying, cracking, or damage to the insulation, especially near the connectors.
- Flex Test: Gently flex the cable near the connector. If you feel any stiffness, crumbling, or hear cracking sounds, it’s a warning sign.
- Clean Connectors: Ensure the charging port on your headphones and the connector on your cable are free of dust and debris. A puff of compressed air or a gentle wipe with a dry cotton swab can help.
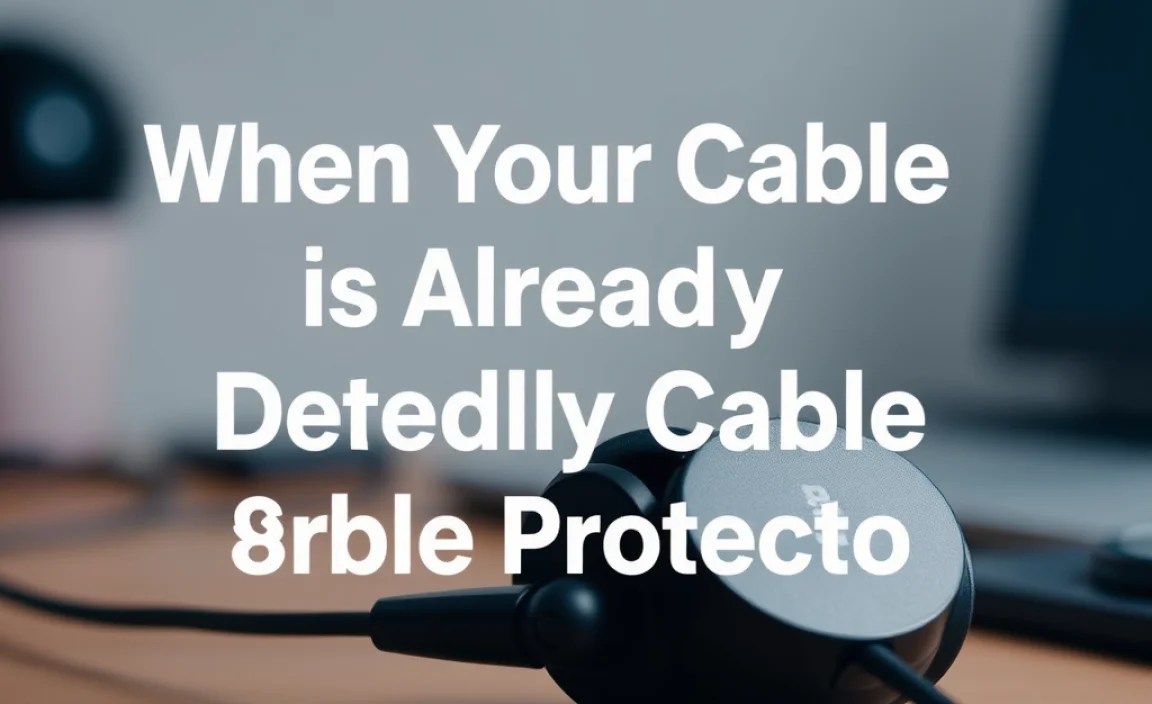
When Your Cable is Already Damaged: Quick Fixes & Considerations
Sometimes, you might find your cable is already showing signs of wear. Here are a few immediate actions and what to consider.
Minor Fraying
If you catch minor fraying early, you can often salvage the cable:
- Electrical Tape: For very minor damage, wrap a small section of high-quality electrical tape tightly around the frayed area. This is a temporary fix but can prevent it from worsening immediately.
- More Heat Shrink: If the fraying is just on the insulation, applying heat shrink tubing over the affected area (after ensuring no exposed wires) can seal it up.
Important Note: If you see any exposed metallic wires, the cable is severely damaged and poses a safety risk. It’s best to stop using it immediately and consider replacement.
Bent or Loose Connectors
Sometimes, the metal connector itself can become slightly bent or loose, causing charging issues.
- Gentle Realignment: Very carefully, using a small pair of flat-nosed pliers, you might be able to gently straighten a slightly bent connector. Be extremely cautious not to apply too much force, as you can easily break it off completely.
- Professional Repair or Replacement: For loose connectors or internal damage at the connector, professional repair is often difficult and costly for such small cables. It’s usually more practical to replace the cable.
When to Consider a Replacement Cable
Not all damage can be easily or safely fixed. Here’s when it’s time to bite the bullet and get a new cable:
- Exposed Wires: This is a safety hazard and requires immediate replacement.
- Complete Breaks: If the cable is severed or internally broken, it needs to be replaced.
- Intermittent Charging that Can’t Be Fixed: If you’ve tried minor fixes and the charging remains unreliable, the internal connections are likely compromised.
- Signs of Corrosion: A green or whitish residue on the connector indicates corrosion, which impedes conductivity.
- When the Cable is the Wrong Type: Ensure you are using the correct USB type (e.g., USB-C, Micro-USB) and charging standard for your headphones. Using incompatible cables can cause issues or damage.
When buying a replacement, look for cables from reputable brands, often referred to as “Amazon’s Choice” or from brands like Anker, UGREEN, or even the manufacturer of your headphones. These tend to be more durable than the cheapest generic options. Factors to consider when buying a new cable include:
| Feature | Why It Matters | What to Look For |
|---|---|---|
| Cable Length | Convenience for charging locations. | Choose a length (e.g., 3ft, 6ft) that suits your needs without being excessively long (which can lead to tangles). |
| Durability Features | Reinforced connectors, braided nylon exterior. | Look for descriptions like “reinforced,” “braided,” or “strain relief.” |
| Charging Speed Support | Ensures efficient charging. | Check if the cable supports USB Power Delivery (PD) or Quick Charge (QC) if your headphones or charger use these technologies. |
| Connector Quality | Reliable connection. | Gold-plated connectors can offer better conductivity and corrosion resistance. |
Tips for Extending the Life of Your Charging Cables
Here’s a summary of best practices to make your charging cables last as long as possible:
- Never use your headphones while they are charging if the cable feels stressed. Avoid bending the cable sharply to reach your ears while plugged in.
- Treat your cables gently. Avoid kinking, stepping on, or running over them with chair wheels.
- Store them appropriately. Use pouches, organizers, or gentle winding techniques.
- Invest in quality cables. Sometimes, paying a little more for a well-built cable pays off in the long run.
- Keep them dry. Protect them from spills and moisture.
- Reinforce weak points. Utilize heat shrink tubing or cable protectors on new or slightly worn cables.
By adopting these habits, you’re not just protecting a cable; you’re ensuring your Bluetooth headphones remain a trusty companion for your audio adventures.
Frequently Asked Questions (FAQ) about Bluetooth Headphone Cable Protection
Q1: My Bluetooth headphones won’t charge. Is it always the cable?
It’s often the cable, as they are the most common point of failure. However, it could also be a dirty charging port on the headphones, a faulty power source (like a USB port on an old computer), or even an internal battery issue with the headphones themselves. Always start by inspecting and testing the cable and its connection.
Q2: How can I tell if my charging cable is bad?
Look for visible signs of damage like fraying, exposed wires, or bent connectors. Also, if the cable only charges intermittently or requires you to bend it a certain way to get a charge, it’s a strong indicator the cable is failing internally.
Q3: Is it safe to use tape on a damaged charging cable?
For a very minor fray that doesn’t expose wires, electrical tape can be a temporary, quick fix to prevent further damage or snagging. However, it’s not a permanent solution, and if wires are exposed, it’s unsafe. Always prioritize replacing severely damaged cables.
Q4: Can I use a phone charger cable to charge my headphones?
Generally, yes, if the connectors match (e.g., both are USB-C or Micro-USB) and the amperage/voltage are compatible. Most modern headphones and phone chargers use standard USB voltages (5V). However, using a cable specifically designed for higher-power fast charging might not be necessary and could potentially be overkill, though usually safe. The most important thing is that the physical connector fits and the power delivery is stable.
Q5: How do I clean the charging port on my Bluetooth headphones?
Turn off your headphones. Use a can of compressed air to blow out any loose dust. For stubborn debris, gently use a wooden or plastic toothpick (never metal) to dislodge it, or a dry, lint-free cotton swab. Absolutely avoid liquids unless you’re sure they are electronics-safe and you allow ample drying time.
Q6: Will using a longer charging cable affect how quickly my headphones charge?
A longer cable, especially a low-quality one, can result in a slight voltage drop, potentially slowing down charging speed. For optimal charging, especially if your headphones support fast charging, it’s best to use a cable of moderate length (e.g., 3-6 feet) that is well-constructed and ideally rated for the charging speed you need.
Conclusion: Keep Your Audio Flowing
Your Bluetooth headphones are more than just gadgets; they’re your gateway to music, podcasts, and important calls. By taking a few simple steps to protect their charging cables, you’re investing in their longevity and ensuring a consistent, reliable audio experience. From smart storage habits and careful handling to reinforcing vulnerable spots with simple DIY methods or protective sleeves, these practices are straightforward and highly effective. Remember to inspect your cables regularly and don’t hesitate to replace them when they show signs of wear or damage. A little bit of care now can save you a lot of frustration and expense down the line, keeping your favorite tunes and important conversations uninterrupted. Happy listening, and happy protecting!
