
Quick Summary: Experiencing Bluetooth headphone issues with your in-ear buds? Before you toss them, discover simple, effective fixes! This guide helps you troubleshoot common connection, sound, and charging problems for your wireless earbuds, ensuring you get back to seamless listening quickly and easily.
Bluetooth Headphone Issues for In-Ear Headphones: Genius Fixes

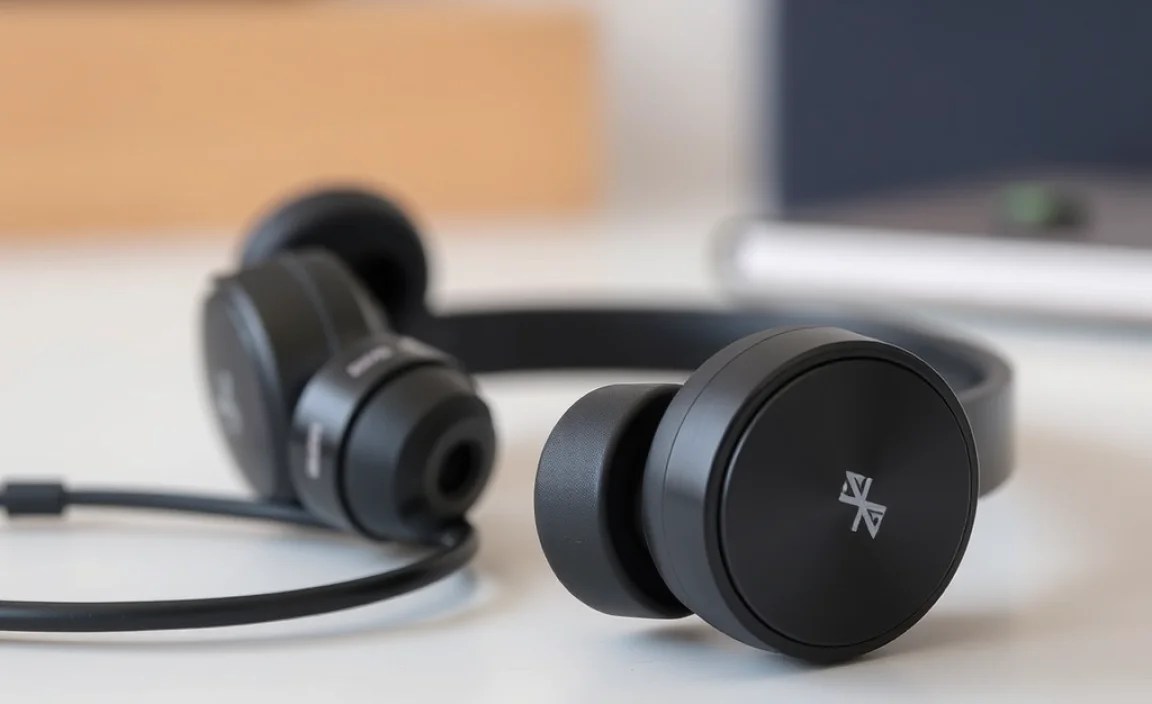
Hey there, fellow audio adventurers! Edward Cavitt here from headphonehorizon. It’s frustrating when your trusty wireless in-ear headphones decide to act up, isn’t it? Whether it’s a sudden drop in connection, crackling audio, or earbuds that refuse to charge, these little glitches can really throw a wrench into our listening experience. You might be a music lover who can’t start the day without your soundtrack, a student trying to focus on lectures, or a busy professional taking important calls. Whatever your reason, living with finicky Bluetooth headphones is a drag. But don’t worry! Most common problems are surprisingly easy to fix with a few straightforward steps. This guide is designed to be your go-to resource for tackling those annoying Bluetooth headphone issues for in-ear headphones, bringing clarity and calm back to your audio world.
Common Bluetooth Headphone Issues and How to Solve Them
Let’s dive into the most frequent headaches users experience with their wireless in-ear companions and explore some genius fixes that will have them working like new in no time. We’ll break these down into categories to make troubleshooting as painless as possible.
1. Connectivity Problems: Dropped Connections, Pairing Difficulties, and No Sound
This is arguably the most common issue. Your headphones might refuse to pair, disconnect randomly, or one earbud might stop working. Here’s how to get them talking to your devices again.
Step-by-Step Solutions for Connectivity Woes:
-
Restart Everything: The Universal Fix
This sounds almost too simple, but it’s incredibly effective. Turn off your Bluetooth headphones completely. Then, turn off the Bluetooth on your phone, tablet, or computer. Wait about 30 seconds, and then turn your headphones back on. After that, turn your device’s Bluetooth back on and try pairing again. This process essentially gives both devices a fresh start and can resolve many temporary glitches.
-
“Forget” and Re-Pair Your Device
Sometimes, a device’s memory can get a bit cluttered. On your phone or computer, go to your Bluetooth settings. Find your headphones in the list of paired devices. Select the option to “Forget Device” or “Unpair.” Once they are unpaired, put your headphones back into pairing mode (consult your headphone manual for how to do this – it often involves holding down a button on the charging case or earbuds themselves), and then search for them again on your device to re-pair them. This creates a clean slate for the connection.
-
Check Your Distance and Obstructions
Bluetooth has a limited range, typically around 30 feet (10 meters) in ideal conditions. Walls, especially thick ones, or even your own body can sometimes interfere with the signal. Try moving your device closer to your headphones and ensure there isn’t a significant physical obstruction between them. If you’re experiencing drops while moving around, this might be the culprit.
-
Update Your Device’s Software and Firmware
Outdated software can cause compatibility issues. For your smartphone, tablet, or computer, ensure the operating system is up to date. For the headphones themselves, many manufacturers offer companion apps that allow you to update their firmware. Check your headphone’s manual or the manufacturer’s website for instructions on how to do this. Keeping your firmware current is crucial for optimal performance and bug fixes.
For example, Apple regularly releases iOS updates that include Bluetooth improvements. You can check for updates by going to Settings > General > Software Update on your iPhone or iPad. Similarly, Android devices can be updated via Settings > System > System update. For firmware on your headphones, consult the specific brand’s support pages or app.
-
Reset Your Headphones to Factory Settings
If all else fails, a factory reset can often resolve persistent connectivity issues. This will erase all previous pairing information and settings from your headphones, returning them to their original state. The method for resetting varies greatly by brand and model. Common methods include placing earbuds in the charging case, closing the lid for a specific duration, and then pressing and holding a button on the case. Always refer to your headphone’s user manual for the precise instructions. A quick search for “[Your Headphone Brand and Model] factory reset” online will usually provide clear guidance.
2. Audio Quality Issues: Crackling, Static, or Muffled Sound
Nothing ruins your listening pleasure faster than poor sound quality. If your audio sounds like it’s coming through a tin can or has a persistent hiss, here are some things to try.
Troubleshooting Audio Glitches:
-
Clean Your Earbuds
This is a crucial, often overlooked, step. Earwax and debris can accumulate in the mesh grilles of in-ear headphones, muffling sound and even causing distortion. Gently clean the earbuds using a dry, soft brush (like a clean toothbrush or makeup brush) or a cotton swab lightly dampened with isopropyl alcohol (ensure it’s not dripping wet and let it dry completely before use). For stubborn earwax, a toothpick can be used very carefully, avoiding pushing debris further in.
Important Note: Never submerge your earbuds in water or cleaning solutions. Check your manufacturer’s guidelines for specific cleaning recommendations.
-
Check Audio Source and Settings
Sometimes, the problem isn’t your headphones but the audio file or the source device’s settings. Try playing a different song or audio source. If the issue persists, check your device’s audio settings. Ensure there are no equalizer presets that might be distorting the sound, or any noise reduction features that might be causing artefacts. Also, confirm that your headphones are selected as the audio output device.
-
Test on Another Device
To isolate the problem, try connecting your headphones to a different Bluetooth-enabled device. If the audio quality is good on another device, the issue likely lies with your original device’s settings or hardware. If the problem persists across multiple devices, your headphones are more likely to be the cause.
-
Disable Battery Saver Mode on Your Device
On some smartphones and laptops, battery saver modes can limit Bluetooth performance to conserve power, which can sometimes lead to audio stuttering or quality issues. Try disabling battery saver mode and see if your audio improves.
-
Check for Interference
Other wireless devices operating on the 2.4 GHz frequency, such as microwaves, Wi-Fi routers, and other Bluetooth devices, can cause interference. Try moving away from potential sources of interference to see if the audio quality improves. Some newer headphones support Bluetooth 5.0 and above, which offers better interference resistance.
3. Charging Problems: Earbuds Not Charging, Case Not Charging, or Short Battery Life
Wireless earbuds live and die by their battery. When they refuse to charge or die too quickly, it’s a major inconvenience.
Solutions for Charging Headaches:
-
Inspect Charging Ports and Contacts
Dirt, lint, or corrosion can accumulate in the charging port of your headphones and the charging case, preventing a proper connection. Carefully inspect both the earbuds’ charging pins and the case’s internal charging contacts. Use a dry cotton swab or a soft brush to gently clean them. For stubborn grime, a cotton swab lightly dampened with isopropyl alcohol can be effective, but ensure everything is thoroughly dry before reassembly or charging.
-
Try a Different Charging Cable and Power Source
Faulty charging cables are a common culprit. Try using a different USB cable that you know works with other devices. Similarly, try plugging the charging cable into a different USB port on your computer or a different wall adapter. If possible, try charging the case directly from a wall outlet rather than a computer USB port, as wall adapters often provide more consistent power.
-
Ensure the Case is Charged
Remember, the charging case itself needs to be powered to charge the earbuds. If the charging case’s battery is depleted, it won’t charge your earbuds. Connect the charging case to a power source and allow it to charge for a significant period (e.g., a couple of hours) to ensure it has sufficient power.
-
Check for Proper Fit in the Case
Ensure that your earbuds are seated correctly in their charging slots within the case. Sometimes, if they aren’t properly aligned, they won’t make contact with the charging pins. Gently push them into place until you hear or feel a click, or see an indicator light turn on.
-
Battery Health and Aging
Like all rechargeable batteries, the ones in your wireless earbuds and their case have a finite lifespan. If your headphones are several years old, it’s possible the batteries have simply degraded and can no longer hold a charge effectively. While this isn’t a “fix” in the traditional sense, it’s important to understand that battery wear is a natural process. For devices still under warranty, contact the manufacturer. For out-of-warranty devices, you might consider professional battery replacement services if available, or it might be time to look for a new pair.
4. Microphone Issues: Poor Call Quality or Mic Not Working
For calls and voice commands, a clear microphone is essential. If people can’t hear you or you’re constantly being asked to repeat yourself, follow these steps.
Improving Microphone Performance:
-
Clean the Microphone Openings
Your earbuds will have small openings for the microphone. Dust, earwax, or debris can easily clog these. Use a dry, soft brush or a toothpick with extreme care to gently clear any obstructions from these tiny holes. Refer to your user manual for the exact location of the microphone ports on your specific model.
-
Check App Permissions
Some apps require specific permissions to access your microphone. On your smartphone, go to your device’s Settings, then find Apps or Privacy, and look for Microphone permissions. Ensure that the app you are using for calls or voice commands has been granted permission to use the microphone.
-
Ensure Correct Earbud is Primary (if applicable)
Many true wireless earbuds designate one earbud as the primary one that handles the microphone input. If you’re only using one earbud, ensure it’s the one set as primary, or try switching which earbud you’re wearing. Some models allow you to change this setting in their companion app.
-
Test Other Communication Apps
Try using your headphones with a different calling or voice recording app. If the microphone works fine in one app but not another, the issue is likely with the app’s settings or compatibility, not your headphones.
-
Update Drivers/Software
As mentioned before, keeping your device’s operating system and your headphones’ firmware updated is vital. Outdated drivers can sometimes cause issues with microphone recognition and performance.
Understanding Bluetooth Codecs and Their Impact
While not a troubleshooting step, understanding Bluetooth codecs can help anticipate or diagnose certain audio quality issues. Codecs are essentially compression algorithms that encode and decode audio signals transmitted wirelessly. Different codecs offer varying levels of audio quality, latency, and power efficiency. For in-ear headphones, common codecs include SBC (the universal standard, often lower quality), AAC (popular for Apple devices, good quality), aptX and aptX HD (developed by Qualcomm, excellent quality and low latency), and LDAC (Sony’s high-resolution codec, best quality but drains more battery). Your device and headphones need to support the same codec for it to be used. If you’re experiencing audio lag or quality issues, ensuring both devices support a higher-quality codec can sometimes help, though direct troubleshooting usually involves the steps above.
You can often see which codec is being used in your device’s Bluetooth settings (especially on Android). For more information on codecs, resources like Bluetooth SIG’s guide can be very informative.
A Quick Reference Table for Common Issues
Here’s a handy table summarizing common problems and their initial go-to solutions:
| Problem | Likely Cause | First Steps to Try |
|---|---|---|
| Won’t pair / Connects then disconnects | Device interference, outdated software, corrupted pairing | Restart devices, “Forget” and re-pair, move closer |
| No sound from one or both earbuds | Clogged grille, pairing issue, one earbud not connected | Clean earbuds, re-pair, check balance settings |
| Crackling or static sound | Interference, dirty earbuds, low battery | Move away from interference, clean earbuds, ensure fully charged |
| Not charging | Dirty charging contacts, faulty cable/adapter, case not charged | Clean contacts, try different cable/adapter, charge case |
| Microphone poor quality | Clogged mic port, app permission, software issue | Clean mic ports, check app permissions, update software |
When to Seek Professional Help or Consider Replacement
While most Bluetooth earbud issues can be resolved with these DIY fixes, there are times when professional help or a replacement might be necessary. If your headphones are still under warranty and you’ve exhausted all troubleshooting steps, contact the manufacturer’s customer support. They can often guide you through advanced resets, offer repairs, or arrange for a replacement if the product is defective.
If your headphones are out of warranty, consider the cost of repair versus the cost of new earbuds. For minor issues like a cracked casing, local electronics repair shops might be an option. However, for internal electronic failures or battery degradation in older models, replacement is often the more practical and cost-effective solution.
Frequently Asked Questions (FAQ)
Here are some common questions beginner users might have about their Bluetooth in-ear headphones:
- Q1: Why does my Bluetooth keep disconnecting randomly?
- Random disconnections can be due to a few things: distance from your device, interference from other wireless signals (like microwaves or Wi-Fi routers), low battery on either the headphones or your device, or simply a software glitch. Try keeping your device close, moving away from potential interference sources, ensuring both are fully charged, and performing a “forget and re-pair” sequence.
- Q2: My left earbud isn’t working after I dropped it. What can I do?
- Unfortunately, physical damage can be tricky to fix. First, ensure it’s clean and properly paired. If it still doesn’t work, the internal components might be damaged. If it’s under warranty, contact the manufacturer. If not, search for “[Your Headphone Brand and Model] repair” online; some specialized services might offer repairs, but often it signifies the need for replacement.
- Q3: How do I make my Bluetooth earbuds sound louder?
- First, ensure your device’s volume is turned all the way up. Check your device’s audio settings for any volume limits or EQ settings that might be capping the output. Also, make sure your earbuds are clean, as earwax buildup can significantly muffle sound. On some devices, you might need to ensure the volume control for media playback is separate from the ringer volume.
- Q4: Can I use my Bluetooth headphones with multiple devices at once?
- Some higher-end headphones support “multi-point pairing,” allowing them to be connected to two devices simultaneously. However, most consumer-grade earbuds can only actively connect to one device at a time. To switch between devices, you usually need to disconnect from the first device before connecting to the second.
- Q5: My headphones won’t turn on at all. What’s wrong?
- The most common reason is a depleted battery. Make sure the charging case has power and the earbuds are seated correctly to charge. Clean the charging contacts on both the earbuds and the case. If they still don’t power on after charging for several hours, they might have a hardware failure, and you may need to contact support if under warranty.
