
Enhance your motorcycle rides with Bluetooth helmet headphones. This guide helps beginners choose, install, and use them for music, calls, and navigation safely. Discover essential features, installation tips, and how to stay connected without compromising safety. Make every ride more enjoyable and informed.
Bluetooth Headphones for Motorcycle Helmets: Essential Gear for Every Rider

Hey there, fellow riders! Edward Cavitt here from headphonehorizon. If you’ve ever wished you could enjoy your favorite tunes, catch up on podcasts, or even take important calls while cruising on your motorcycle, then you’ve come to the right place. Riding a motorcycle is an incredible freedom, and for many of us, that freedom is amplified by a great soundtrack.
But how do you get that sound into your helmet without compromising safety or comfort? That’s where Bluetooth headphones specifically designed for motorcycle helmets come in. They’re not just a gadget; they’re essential gear that can transform your riding experience. Forget tangled wires or bulky earbuds. We’re diving into how these nifty devices work, what to look for, and how to get them set up so you can focus on the road ahead.
Why You Need Bluetooth Headphones for Your Motorcycle Helmet

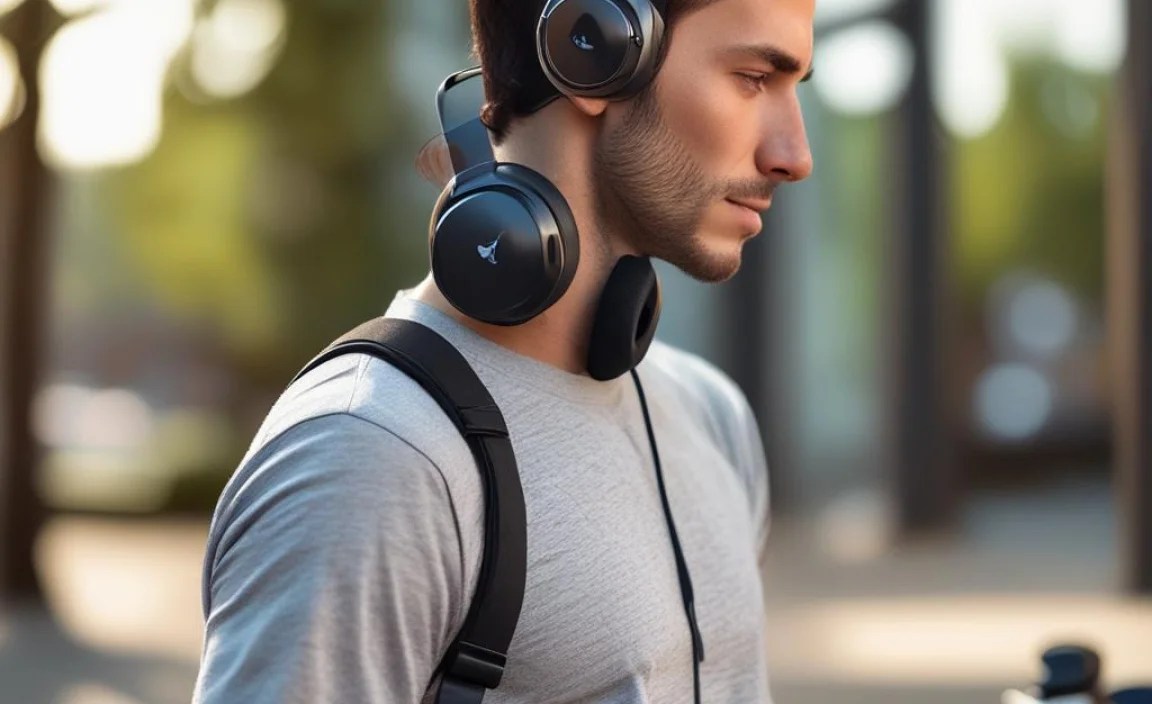
Let’s face it, the open road is calling, and you want to answer it with your playlist grooving. But safety is paramount. Traditional earbuds can fall out, get uncomfortable under a helmet, and actively block out important ambient sounds like sirens or horns – a serious safety hazard. Wired headphones are a tangled mess waiting to happen and can be incredibly annoying.
Bluetooth headphones for motorcycle helmets solve these problems elegantly. They are designed to fit snugly inside your helmet, stay put, and offer excellent audio quality without obstructing your vision or hearing of the environment. Plus, they offer hands-free convenience for calls and navigation, letting you keep your hands where they belong – on the handlebars.
Key Benefits at a Glance:
- Safety First: Integrate with your helmet, allowing crucial ambient sounds through while delivering audio.
- Hands-Free Convenience: Make calls, accept calls, and get GPS directions without taking your hands off the controls.
- Enhanced Riding Experience: Enjoy music, podcasts, or audiobooks for longer, more enjoyable rides.
- Comfort & Security: Designed to fit comfortably and securely within your helmet liner.
- Easy Connectivity: Simple Bluetooth pairing with your smartphone or other devices.
Types of Bluetooth Helmet Audio Systems

When you start looking for Bluetooth headphones for your motorcycle helmet, you’ll notice a few main types. Understanding these will help you pick the best fit for your needs and your helmet.
1. Integrated Helmet Systems
Some high-end helmets come with Bluetooth audio systems built right in from the factory. These are often the most seamless, with speakers and microphones perfectly positioned. However, they can be expensive, and you’re tied to the helmet model. If your current helmet doesn’t have this, don’t worry, there are other excellent options.
2. Aftermarket Headset Kits
These are the most common and versatile. They consist of a control unit that mounts to the side of your helmet, with boom microphones and flat speakers that tuck into the helmet’s ear pockets. You then pair this unit with your smartphone or GPS device. Most of these are universal and can be fitted into almost any motorcycle helmet.
3. Intercom Systems
If you frequently ride with a passenger or a group of friends, you might consider a Bluetooth intercom system. These systems allow you to communicate directly with other riders in your group, in addition to all the standard Bluetooth headphone features. They can be a bit more complex but are fantastic for organized group rides.
What to Look for in Motorcycle Helmet Bluetooth Headphones

Not all Bluetooth headsets are created equal. As a beginner, it’s easy to get overwhelmed by features. Here’s a breakdown of what really matters when you’re choosing:
Audio Quality
This is crucial for enjoyable listening. Look for headsets with good sound clarity, especially for highs and mids. While you won’t get audiophile-level bass at highway speeds due to wind noise, decent speakers will make your music and calls much clearer. Look for reviews that mention sound quality specifically.
Battery Life
Nothing kills a ride faster than dead headphones. For long tours or even just a full day of riding, you’ll want a headset with a battery that can last at least 8-10 hours of active use. Many offer more, and some can be topped up easily if you take a break.
Durability and Weatherproofing
Your gear needs to withstand the elements. Motorcycles mean exposure to wind, rain, dust, and vibrations. Ensure the headset is rated for outdoor use and has at least some level of water resistance (often indicated by an IP rating, like IPX5 or IPX7). The control unit should feel robust.
Ease of Use and Controls
You need to be able to operate your headset without fumbling. Look for intuitive button layouts that are easy to find and press, even with gloves on. Voice control is a great feature for advanced users, but simple, tactile buttons are essential for beginners.
Microphone Quality
If you plan to make calls or use voice commands, a good microphone is vital. Look for models with noise-canceling microphones to minimize wind and engine noise. A boom mic that can be positioned correctly is usually better than a tiny, embedded mic for voice clarity.
Connectivity and Range
Most headsets use Bluetooth 4.0 or newer. Newer versions generally offer better stability and power efficiency. Consider the range needed – if you plan to use an intercom with a group, you’ll need a longer range than if it’s just for your phone. Standard Bluetooth range is typically around 10-20 meters, while advanced intercom systems can go much further.
Compatibility
Ensure the headset can pair with your specific devices. Most connect to any Bluetooth-enabled smartphone, GPS unit, or music player. If you’re using a specific brand of GPS or communication system, check for compatibility listed by the manufacturer.
Speaker Size and Fit
The speakers need to fit comfortably inside your helmet’s ear pockets without pressing uncomfortably on your ears. Many aftermarket kits come with universal, slim speakers that fit most helmets. Some even offer optional high-fidelity speakers for a better audio experience.
Top Features to Consider
Here’s a quick rundown of features that can make a big difference:
- Noise Cancellation: Helps reduce wind noise for clearer audio and calls.
- Voice Commands: Allows hands-free operation for tasks like answering calls or navigating.
- GPS Voice Prompts: Direct navigation instructions from your phone or GPS.
- Music Sharing: Some systems let you share your audio with a passenger.
- Multi-point Pairing: Connect to two devices simultaneously (e.g., phone and GPS).
- App Control: Many modern headsets have companion apps for customization and firmware updates.
For more information on Bluetooth standards and their benefits, you can check out the official Bluetooth technology overview.
Step-by-Step Guide: Installing Your Bluetooth Headset
Installing a Bluetooth headset into your motorcycle helmet might seem daunting, but it’s usually a straightforward DIY process. Here’s how to do it:
Step 1: Prepare Your Helmet and Headset
First, lay out all the components of your new headset. Familiarize yourself with the control unit, speakers, microphone, and any mounting hardware or adhesive strips. Make sure your helmet liner is clean and dry. Most helmet liners can be removed or at least partially opened to give you access to the interior.
Step 2: Mount the Speakers
Locate the ear pockets inside your helmet. These are usually padded areas around where your ears will sit.
- Most headsets come with slim, flat speakers.
- Carefully place each speaker into its respective ear pocket.
- Use the included adhesive pads to secure them in place. Ensure they are positioned directly over your ears for optimal sound.
- Avoid placing them too far forward or backward, as this can affect clarity.
Step 3: Position the Microphone
The microphone is usually attached to a flexible boom arm on the control unit, or it might be a separate piece.
- If it’s a boom mic, gently feed it through the helmet shell (if there’s a designated hole) or position it near your mouth, typically on the left side.
- Ensure the microphone is at the right height to pick up your voice clearly without being obtrusive.
- If it’s a small, clip-on mic, find a spot on the inside of the chin bar area that keeps it close to your mouth.
Step 4: Mount the Control Unit
The control unit houses the battery and Bluetooth electronics. It’s usually mounted on the outside of the helmet.
- Most units come with a strong adhesive mount. Clean the surface of your helmet thoroughly where you intend to mount it – typically on the lower left or right side of the helmet shell, near the base.
- Carefully peel the backing from the adhesive and press the unit firmly onto the helmet. Hold it in place for the recommended time (usually 30-60 seconds) to ensure a secure bond. Some systems offer clamp mounts for helmets with a lip, which can be a zero-damage option.
Step 5: Route and Connect the Cables
Carefully tuck all wires neatly into the helmet liner. Most modern helmets have channels or gaps where you can hide wires.
- Connect the speaker and microphone cables to the main control unit.
- Ensure no wires are pinching or pressing uncomfortably against your head or face.
- Zip ties or small pieces of tape can help keep wires tidy.
Step 6: Test the System
Once everything is installed:
- Turn on the headset.
- Follow the manufacturer’s instructions to pair it with your smartphone or other device.
- Make a test call, play some music, and try out any voice commands.
- Wear the helmet to check for comfort and ensure no pressure points or loose wires are bothering you.
If you’re unsure about any step, consult your headset’s user manual or look for video tutorials specific to your model. Many manufacturers provide excellent video guides.
Using Your Bluetooth Headphones Safely on the Road
Now that you have your gear installed, it’s crucial to use it safely. The goal is to enhance your ride, not detract from your awareness.
Volume Control: The Golden Rule
This cannot be stressed enough: Never crank the volume to the maximum. You need to be able to hear important external sounds like sirens, car horns, and other traffic. A good rule of thumb is to keep the volume at a level where you can still clearly hear what’s happening around you. Many modern headsets have speed-sensitive volume, which can be very helpful.
Awareness is Key
While music is great, never let it distract you. Regularly scan your surroundings. If you’re using GPS, set your route before you start riding. If you need to adjust settings or take a call, pull over to a safe location.
Legality Check
In some regions, there are laws regarding helmet audio devices. It’s your responsibility to know and obey the regulations in your area. For example, some jurisdictions may permit only one earbud or require that noise-canceling features are off. The National Highway Traffic Safety Administration (NHTSA) provides general safety guidelines, but local laws vary.
Practice Makes Perfect
Get used to operating the headset controls while parked before you hit the road. Know which button does what instinctively, so you don’t have to look away from the road when you need to adjust something.
Maintenance and Care for Your Bluetooth Headset
To ensure your Bluetooth headset lasts and performs well, a little basic maintenance goes a long way.
Cleaning
- Control Unit: Wipe down the exterior with a slightly damp cloth. Avoid harsh chemicals.
- Speakers & Microphone: Gently clean any dust or debris with a soft brush or a dry cloth. If the speaker covers are removable, you can clean them separately.
- Cables: Ensure cables are not frayed. If they get dirty, wipe them with a damp cloth.
Charging
Always use the charger provided by the manufacturer, or one with the correct voltage and amperage. Don’t overcharge for extended periods if your device doesn’t have smart charging. Fully charging before a long ride is a good habit.
Storage
When not in use, store your helmet in a safe place, away from extreme temperatures and moisture. This protects both the helmet and the integrated headset.
Firmware Updates
If your headset has a companion app, check periodically for firmware updates. These can improve performance, fix bugs, and sometimes add new features.
Pros and Cons of Bluetooth Motorcycle Helmet Headphones
Like any gear, these systems have their upsides and downsides. Here’s a balanced view:
Pros:
- Enhanced safety through hands-free operation.
- Improved rider experience with music, calls, and navigation.
- Discreet and comfortable integration into the helmet.
- Reduced fatigue on long rides by providing entertainment.
- Modern systems offer advanced features like intercom and voice control.
Cons:
- Can be an additional expense.
- Requires proper installation for comfort and effectiveness.
- Audio quality can be compromised by wind noise at high speeds.
- Battery life might be a concern for very long, continuous rides without charging opportunities.
- Potential for distraction if not used responsibly.
A Quick Comparison Table: Popular Features
Here’s a look at how some common features might stack up. This is a general guide, and specific models will vary widely in performance and price.
| Feature | Beginner-Friendly Importance | Advanced Rider Benefit | What to Look For |
|---|---|---|---|
| Audio Quality | Clear voices for calls/GPS, decent music playback | Rich, balanced sound that overcomes wind noise | Reviews mentioning clarity, speaker quality (e.g., 40mm drivers) |
| Battery Life | At least 8 hours for a full day’s ride | 10-15+ hours for multi-day touring | Advertised talk/music playback time, quick charging capabilities |
| Ease of Use | Intuitive buttons, easy pairing | Voice commands, multi-point pairing, app control | Large, tactile buttons; simple pairing process; clear LED indicators |
| Durability/Waterproofing | Resistant to rain and dust | Durable, shock-resistant construction for rough conditions | IPX5 rating or higher, robust casing |
| Microphone | Clear voice for calls | Excellent noise cancellation for clear communication at speed | Boom microphone with wind protection, noise-canceling tech |
Frequently Asked Questions (FAQ)
Q1: Do I need special headphones for a motorcycle helmet?
Yes, it’s highly recommended. Standard earbuds can fall out, be uncomfortable under a helmet, and pose a safety risk by blocking ambient noise. Motorcycle helmet Bluetooth headsets are specifically designed to fit inside helmets, stay secure, and provide a balance between audio entertainment and situational awareness.
Q2: How do I know if a Bluetooth headset will fit my helmet?
Most aftermarket Bluetooth headsets use slim, flat speakers and a universal control unit mount. These are designed to be compatible with the vast majority of motorcycle helmets. Always check the product description for compatibility notes or look for reviews from users with similar helmet brands and models. Many come with extra adhesive pads or different mounting options to help with fit.
Q3: Can I use my standard Bluetooth headphones with my motorcycle helmet?
While you might be able to fit some smaller, low-profile earbuds, it’s generally not ideal. They often aren’t secure, can cause discomfort by pressing between your ear and the helmet padding, and may not offer the audio clarity needed to overcome wind noise. Dedicated motorcycle headsets are engineered for this specific environment.
Q4: What is an intercom system for motorcycles?
An intercom system allows you to communicate wirelessly with other riders, typically those on the same Bluetooth network. This is perfect for communicating with a passenger
