
Quick Summary: Establish a simple daily routine to keep your headphones pristine. Regular cleaning prevents dust buildup, removes earwax, and protects your investment, ensuring optimal sound quality and hygiene. This guide offers an easy, step-by-step approach for all headphone types.
How To Clean Headphones Daily Routine: Proven Essential
Hey there, audio adventurers! Edward Cavitt here from Headphone Horizon. We all love that immersive audio experience, right? Whether you’re diving into your favorite playlist, catching up on podcasts, or winning that crucial game, your headphones are your trusty companions. But just like any gear you use daily, they can gather a bit of… well, life. Dust bunnies, earwax, and invisible grime can sneak their way in, affecting sound quality and even hygiene. Don’t worry, it’s not as daunting as it sounds! We’re going to build a super simple, super effective daily cleaning routine that will keep your headphones sounding fantastic and feeling fresh. It’s easy, quick, and will make a world of difference!
Why Daily Headphone Cleaning Matters More Than You Think

It might seem like overkill to clean your headphones every single day, but consider this: your headphones are in constant contact with your skin and the environment. Think about where you place them – on your desk, in your bag, or even around your neck. This exposes them to airborne dust, lint, and tiny particles. More importantly, they sit on or in your ears, which naturally produce earwax and oils. Over time, this buildup can:
- Degrade Sound Quality: Clogged earcups or speaker grilles can muffle sound, making your music less clear and vibrant.
- Become a Hygiene Hazard: Earwax and sweat are breeding grounds for bacteria. For in-ear headphones, this can lead to ear infections.
- Shorten Lifespan: Grime can damage delicate internal components and affect the integrity of materials like leather or foam.
- Cause Discomfort: Dirty earcups or ear tips can feel sticky, itchy, or just plain unpleasant.
A quick daily spruce-up is your best defense against these issues. It’s about preserving your listening experience and protecting your health. According to the National Institute for Occupational Safety and Health (NIOSH), maintaining your personal protective equipment (which headphones can be for noise blocking) is crucial for their effectiveness and your safety.
Gathering Your Essential Cleaning Supplies

You don’t need a fancy arsenal for daily headphone cleaning. A few common household items are all you need. Having these ready makes the routine even quicker and easier.
What You’ll Need:
- Microfiber Cloths: These are your best friends. They are soft, absorbent, and won’t scratch surfaces. Keep a couple handy – one for general wiping and another for a quick dry.
- Isopropyl Alcohol (70% solution): This is excellent for disinfecting surfaces without being too harsh. It evaporates quickly.
- Cotton Swabs (or Q-tips): Perfect for reaching into small nooks and crannies.
- Soft Brush (optional but recommended): A small, soft-bristled brush (like a makeup brush or a dedicated electronic cleaning brush) can gently sweep away loose dust.
- Water: For light cleaning of non-electronic parts.
For those of you with expensive headphones, it’s always wise to consult your manufacturer’s guide. Many provide specific cleaning recommendations. For instance, Sennheiser offers detailed care instructions on their website, which is a great example of manufacturer support.
Your Simple Daily Headphone Cleaning Routine (Step-by-Step)
This routine is designed to be quick, effective, and adaptable to most headphone types, whether they’re over-ear, on-ear, or in-ear earbuds.
Step 1: The Gentle Wipe-Down (All Headphone Types)
Start with the exterior. Take a clean, dry microfiber cloth and gently wipe down the headband, earcups, and any visible plastic or metal parts. This removes loose dust and fingerprints. Think of it as a morning greeting for your headphones!
Step 2: Disinfecting Surfaces (All Headphone Types)
Lightly dampen a clean microfiber cloth with a 70% isopropyl alcohol solution. Don’t oversaturate it! Gently wipe all the surfaces you touched in Step 1, including the earcup exteriors and headband. This is where the disinfection happens, killing germs without damaging most materials. Allow these parts to air dry for a minute before proceeding.
Step 3: Tackling Ear Tips and Nozzles (In-Ear Headphones/Earbuds)
This is the most crucial part for earbuds. Gently remove the silicone or foam ear tips.
- For Silicone Tips: Wash them with mild soap and water, rinse thoroughly, and dry them completely with a clean cloth or let them air dry. You can also wipe them with a slightly alcohol-dampened cloth.
- For Foam Tips: These are trickier. Do NOT use alcohol or water, as it can degrade the foam. Gently wipe them with a dry microfiber cloth to remove surface dust. If they are very dirty, you might consider replacing them, as foam tips are often consumable.
For the earbud nozzles themselves (where the sound comes out), take a dry cotton swab, or one very lightly dampened with isopropyl alcohol. Gently swab around the openings, being careful not to push debris further into the speaker grille. A dry, soft brush can also be useful here to dislodge any visible lint or dust before you use the swab.
Step 4: Cleaning Earcups and Grilles (Over-Ear & On-Ear Headphones)
For over-ear and on-ear headphones, the earcups are key. If your earcups have fabric or pleather/leather covers, follow the same disinfection procedure as Step 2 with an alcohol-dampened cloth.
The speaker grilles (the mesh part you see inside the earcups) can accumulate dust and earwax. Take a dry, soft brush and gently brush away any debris. For stubborn bits, a dry cotton swab can be used carefully around the edges of the grille, but avoid pressing directly onto the mesh itself.
Step 5: The Final Polish and Reassembly
Once all parts are clean and dry, give your headphones one last quick wipe with a clean, dry microfiber cloth for a polished look. If you removed ear tips, reattach them securely.
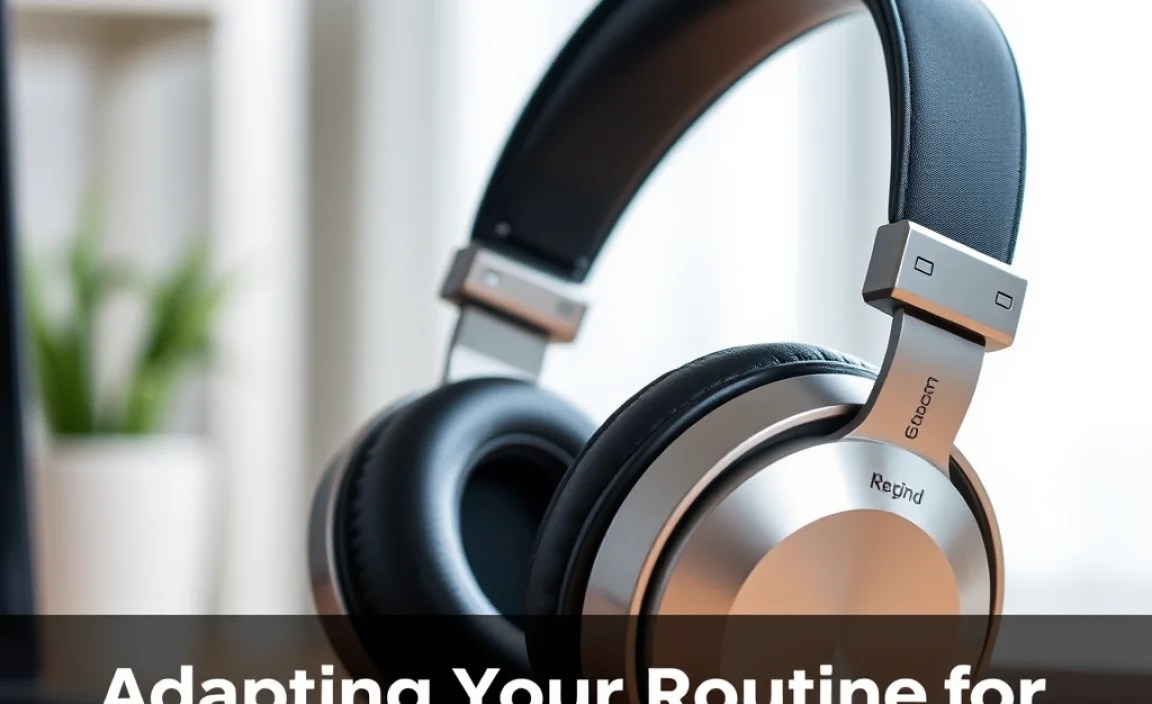
Adapting Your Routine for Different Headphone Types

While the general steps apply broadly, there are nuances for different headphone designs.
| Headphone Type | Daily Routine Variations | Key Areas to Focus On |
|---|---|---|
| Over-Ear Headphones | Wipe down earcups (especially pleather/leather), headband, and exterior plastic/metal. Use a soft brush on the speaker grilles. | Earcup surfaces, headband padding, exterior chassis. |
| On-Ear Headphones | Similar to over-ear, but with more emphasis on the smaller ear cushions. Ensure they are clean and free from earwax and skin oils. | Ear cushions, bridge/headband, exterior. |
| In-Ear Monitors (IEMs) / Earbuds | Most critical. Focus on ear tip hygiene (washing/wiping) and cleaning the nozzle/speaker grille. Detach and clean/dry ear tips thoroughly. | Ear tips (silicone, foam), nozzle/speaker grille, body of the earbud. |
| True Wireless Stereo (TWS) Earbuds | Same as IEMs, but also involves quickly wiping down the charging contacts on the earbuds and the inside of the charging case with a dry cloth or a lightly alcohol-dampened swab. | Ear tips, nozzles, charging contacts, charging case interior. |
For TWS earbuds, pay special attention to the charging contacts. A build-up of earwax or debris can prevent them from charging properly. A quick wipe with a dry cotton swab or a very lightly alcohol-dampened one (ensure it’s dry before placing in the case) usually does the trick. The inside of the charging case can also collect dust, so give it a quick wipe down.
Occasional Deep Cleaning: Beyond the Daily Quick Fix
While daily quick cleans are fantastic, there might be times when your headphones need a more thorough session. This is usually when you notice stubborn marks, sticky residues, or if you’ve used them in particularly dusty or humid environments. A deep clean might involve:
- Removing Earpads/Earcups: Many over-ear headphones allow you to detach the earpads for a more thorough cleaning. Check your manual! You can often wash fabric pads gently by hand (air dry completely!) or wipe down pleather/leather with a dedicated cleaner.
- Cleaning Detachable Cables: If your headphones have a removable cable, unplug it and wipe it down with a damp cloth. Ensure it’s fully dry before reattaching.
- Deeper Grille Cleaning: For very stubborn debris in grilles, you might use a very lightly dampened cotton swab with water or a mild detergent solution, but be extremely cautious and ensure no moisture gets inside.
Remember to always allow components to dry completely before reassembling or using your headphones. For detailed guidance on specific materials, resources like Audiophile Style’s comprehensive guide can offer material-specific advice.
Tips for Maintaining Headphone Hygiene
Beyond cleaning, some simple habits can significantly boost your headphone hygiene:
- Store Them Properly: When not in use, keep your headphones in a protective case or a clean, designated spot away from dust and direct sunlight.
- Avoid Sharing: Especially with in-ear headphones, sharing can transfer bacteria and earwax.
- Wash Hands Before Use: A simple habit that reduces the amount of dirt and oil transferred to your headphones.
- Be Mindful of Moisture: Avoid using heavily sweating during rigorous workouts with headphones that aren’t designed for it, or wipe them down immediately afterward. Moisture can encourage bacterial growth and damage components.
- Listen Responsibly: While not directly about cleaning, maintaining safe listening volumes, as recommended by organizations like the World Health Organization (WHO), also contributes to overall ear health and reduces strain, which indirectly benefits your listening gear.
Troubleshooting Common Headphone Cleaning Issues
Sometimes, even with a routine, you might run into a snag. Here are a few common issues and how to tackle them:
- Stubborn Wax Stuck in Grilles: Try a dry toothpick or a blunted needle to gently dislodge it, being extremely careful not to puncture any mesh or damage internal components. Follow up with a dry cotton swab.
- Sticky Residue on Earcups: This could be from sweat or certain cleaning products. Try a slightly more concentrated alcohol solution (still 70%) on a cloth, and wipe the affected area. Follow with a dry cloth.
- Foam Eartips Degrading: Foam tips have a lifespan. If they are tearing or crumbling, it’s time to replace them. Daily brushing is the best “cleaning” for foam.
- Unpleasant Odor: This is usually a sign of trapped moisture and bacteria. Ensure thorough drying, and use the alcohol wipe for disinfection. For persistent issues, consider replacing ear tips or earpads if possible.
Always remember to be gentle. Headphones contain delicate electronics, and aggressive cleaning can cause irreversible damage.
Frequently Asked Questions About Daily Headphone Cleaning
Q1: How often should I really clean my headphones daily?
It’s best to do a quick wipe-down every day, especially after use. A more thorough clean of ear tips or grilles can be done every few days or as needed.
Q2: Can I use household cleaners like Windex or kitchen sprays?
No, absolutely not! These cleaners can contain harsh chemicals that can damage the materials of your headphones, like plastics, coatings, or even the drivers themselves. Stick to water, mild soap (for detachable parts), and isopropyl alcohol.
Q3: My headphones smell a bit. What can I do?
This often indicates trapped moisture and bacteria. Ensure they are completely dry after cleaning. Use the 70% isopropyl alcohol on a cloth for disinfection. If the smell persists, especially for earbuds with detachable tips, consider replacing the tips or earpads and ensuring thorough drying.
Q4: How do I clean the fabric on my headphone earcups?
For fabric earcups, a soft brush can remove loose dust. For deeper cleaning, you can try a very mild soap and water solution applied to a cloth (don’t saturate the cloth or the earcup). Gently dab the fabric and allow it to air dry completely. Avoid using excessive moisture.
Q5: Is it safe to use compressed air on my headphones?
It can be, but with caution. Use short bursts from a distance to blow away dust from grilles or exterior surfaces. Never spray directly into ports or complex internal areas, as the propellant can be moisture-laden or the force can damage sensitive components.
Q6: What’s the best way to clean the charging case for my TWS earbuds?
Use a dry microfiber cloth to wipe the exterior. For the interior, use a dry cotton swab to pick up any dust. If there’s persistent lint, a very lightly alcohol-dampened swab can be used, ensuring it’s dry before you place earbuds back in to charge.
Conclusion: Your Sound, Your Health, Pristine
There you have it! Establishing a simple, daily routine for cleaning your headphones is one of the most impactful, yet often overlooked, aspects of headphone ownership. It’s not about striving for sterile perfection every moment, but about taking a few simple steps consistently to ensure your audio gear remains hygienic, performs at its best, and lasts longer. By dedicating just a minute or two each day, you’re investing in clearer sound, healthier ears, and a more enjoyable listening experience for years to come. So grab your microfiber cloth, maybe a trusty cotton swab, and make that quick clean part of your daily ritual. Your ears (and your headphones) will thank you!
