
Quick Summary: Regularly cleaning your kids’ headphones ensures a hygienic listening experience and prolongs their life. This guide provides simple, safe, and effective methods using common household items to keep headphones germ-free and in great condition. Protect your child’s ears and gear with these easy steps.
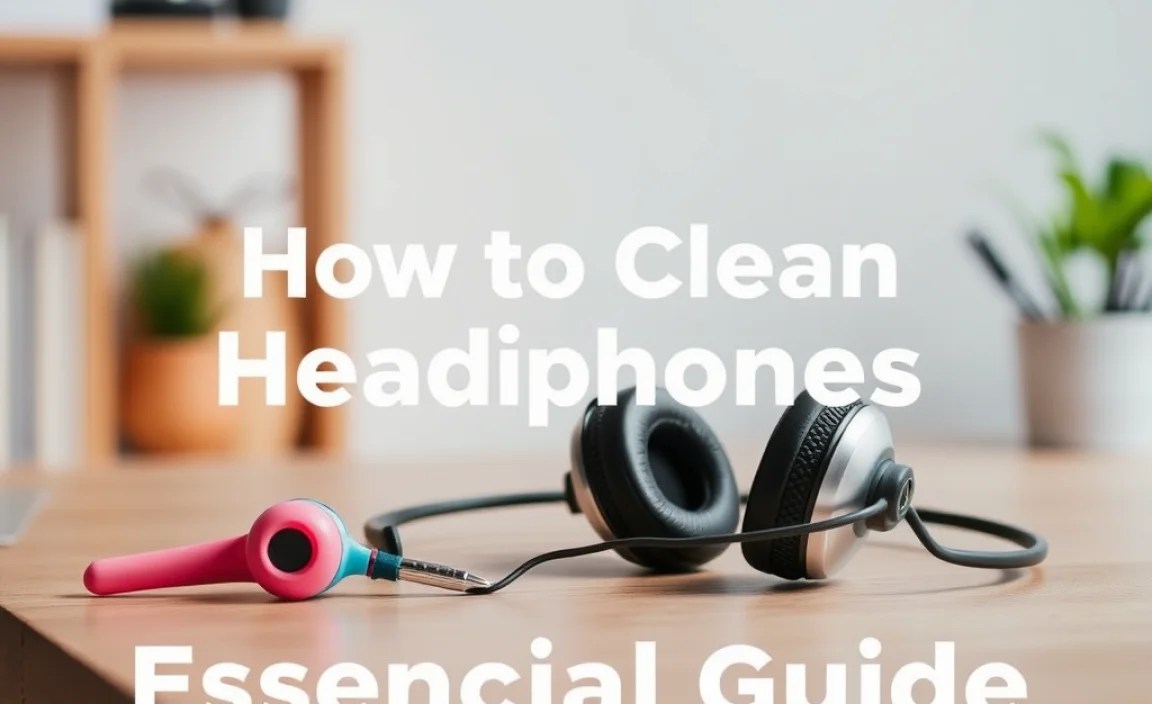
How to Clean Headphones for Kids: An Essential Guide for Parents

As a parent, you want the best for your children, and that includes their health and their favorite gadgets. Headphones are a fantastic tool for learning, entertainment, and even quiet time. But let’s be honest, those earcups and wires can quickly become a breeding ground for dirt, earwax, and germs, especially with little ones using them. Keeping them clean isn’t just about aesthetics; it’s crucial for hygiene and ensuring everyone hears their favorite songs or podcasts clearly. Don’t worry, cleaning kids’ headphones is straightforward! With a few simple tools and a little know-how, you can easily make them sparkle again. Let’s dive into this essential guide to keeping your child’s headphones in top shape.
Why Cleaning Kids’ Headphones is Important
Children’s headphones often go through more than just regular wear and tear. They might be shared, accidentally dropped, or simply exposed to more grubby hands. Regular cleaning addresses several key areas:
- Hygiene: Earwax, sweat, and general grime can accumulate, creating an environment where bacteria can thrive. This can be transferred to your child’s ears, potentially leading to infections. Maintaining cleanliness is a simple way to promote better ear health.
- Sound Quality: Clogged earcups or debris on speaker grills can muffle sound, making it harder for your child to hear clearly. This can detract from their listening experience, whether they’re enjoying music, audiobooks, or educational content.
- Longevity of the Product: Dirt and grime can degrade materials over time, leading to wear and tear. Keeping headphones clean helps preserve their condition, ensuring they last longer and saving you money in the long run.
- Comfort: Dirty earcups can feel sticky or unpleasant against the skin. Clean headphones are simply more comfortable to wear for extended periods.
Tools You’ll Need for Cleaning
The good news is you likely have most of what you need right at home! Here’s a basic checklist:
- Soft, lint-free cloths (microfiber cloths are excellent)
- Cotton swabs (Q-tips)
- Mild soap or detergent (like dish soap or a gentle hand soap)
- Distilled water (optional, but good for avoiding mineral deposits)
- Rubbing alcohol (isopropyl alcohol, at least 70% concentration) – use sparingly and with caution.
- A soft-bristled brush (like an old, clean toothbrush)
- A small bowl or container
- Clean, dry towels
Important Safety Note: Always ensure headphones are unplugged and powered off before cleaning.
Step-by-Step Guide to Cleaning Headphones
We’ll break this down by the different parts of the headphones, making it easy to manage. Remember to be gentle throughout the process.
Step 1: Cleaning the Earpads (Cushions)
The earpads are often the dirtiest part. The best method depends on the material of the earpads.
For Removable Earpads:
- Detach the Earpads: Carefully remove the earpads from the headphone cups. Most earpads attach with small clips or can be gently pried off. Consult your headphone’s manual if you’re unsure.
- Gentle Wash: If the earpads are made of fabric or pleather that can handle a bit of moisture, mix a small amount of mild soap with lukewarm water in a bowl. Dip a soft cloth into the soapy water, wring it out thoroughly so it’s just damp, and gently wipe the earpads.
- Rinse (if needed): If the earpads are heavily soiled, you might need to rinse them. Use a separate cloth dampened with plain water to wipe away any soap residue. Be careful not to soak them.
- Dry Thoroughly: This is a critical step. Gently pat the earpads with a dry towel. Then, let them air dry completely in a well-ventilated area away from direct sunlight or heat. This can take several hours or even overnight, depending on how damp they got. Never reattach damp earpads, as this can lead to mold and odors.
For Non-Removable Earpads:
- Damp Cloth Wipe: Mix a tiny drop of mild soap into a bowl of distilled water (or just use plain water). Dampen a soft, lint-free cloth with the solution, wring it out until it’s barely damp.
- Wipe Gently: Carefully wipe down the surface of the earpads. Avoid getting moisture into the seams or speaker holes.
- “Rinse” with another damp cloth: Use a second cloth, dampened only with clean water, to wipe away any soap residue. Again, ensure the cloth is only slightly damp.
- Wipe Dry: Use a clean, dry cloth to gently pat and wipe the earpads, removing as much moisture as possible.
- Air Dry: Allow the headphones to air dry completely for several hours before using them or storing them.
Step 2: Cleaning the Headband
The headband can also accumulate grime and hair. The cleaning process is similar to non-removable earpads.
- Damp Cloth: Use a soft cloth dampened with a mild soap and water solution (or just plain water), wrung out well.
- Wipe Clean: Gently wipe down the headband. If it has fabric padding, be careful not to saturate it.
- Remove Residue: Use a second, lightly damp cloth with clean water to remove any soap residue.
- Dry: Pat dry with a clean, dry cloth and allow it to air dry completely.
Step 3: Cleaning the Earcups and Casing
The plastic or metal parts of the earcups are usually easier to clean.
- Wipe Down: Dampen a soft cloth with a mild soap and water solution. Wipe down the exterior of the earcups and any plastic or metal housing.
- Stubborn Grime: For tougher spots, a cotton swab dipped in the mild soap solution can be useful for getting into nooks and crannies.
- Drying: Wipe with a dry cloth to remove moisture.
Step 4: Cleaning the Speaker Grills and Small Openings
This area requires extra care to avoid damaging the delicate speaker components.
- Dry Brush: Use a soft-bristled brush (like a clean, dry toothbrush) to gently dislodge any loose dust or debris from the speaker grills. Brush outwards, away from the speaker.
- Cotton Swab (Dry): For very light dust, a dry cotton swab can be carefully used on the grill surface.
- Alcohol Wipe (Optional & Cautious): For stubborn grime or to sanitize, you can very lightly dampen a cotton swab with isopropyl alcohol (70% or higher concentration). Gently dab at any visible gunk on the exterior of the grill. Avoid pushing anything into the speaker. The alcohol evaporates quickly, minimizing moisture risk. Never use this on the earpads.
- Important: Do not poke anything sharp into the speaker grill, and do not spray any liquid directly onto the headphones.
Step 5: Cleaning the Cable and Connector
The audio cable and the plug that goes into the device can also get dirty.
- Cable: Dampen a cloth with mild soap and water, wring it out thoroughly, and gently wipe down the cable. Then wipe with a clean, damp cloth and finally a dry cloth.
- Connector (Plug): The metal connector can sometimes accumulate dirt or corrosion. You can use a cotton swab lightly dampened with isopropyl alcohol to clean the metal prongs. Be sure it’s dry before plugging it into any device. A dry cotton swab is often sufficient for light cleaning.
When to Use Disinfectants
For general cleaning, soap and water are usually sufficient and safest. However, if a child has been sick or you want an extra layer of sanitization, you might consider using a disinfectant. Always use these cautiously and sparingly:
- Isopropyl Alcohol (70%+): This is the most common and effective disinfectant for electronics.
- Disinfecting Wipes: Choose wipes specifically designed for electronics or those with low alcohol content. Avoid wipes with bleach or harsh chemicals.
How to Use Safely:
- Never spray directly: Always spray the disinfectant onto a cloth or cotton swab, then wipe the surface.
- Wipe, don’t soak: Ensure the cloth or swab is only lightly damp.
- Target specific areas: Focus on hard surfaces like the earcups and headband. Be extremely cautious around speaker grills and any fabric.
- Ventilate: Ensure good airflow while cleaning and allow ample drying time.
- Check manufacturer guidelines: Some manufacturers may advise against using certain disinfectants. It’s always best to check the manual if possible.
According to the Centers for Disease Control and Prevention (CDC), cleaning and disinfecting electronic devices appropriately can help reduce the spread of germs.
Cleaning Different Types of Kids’ Headphones
While the general steps remain the same, the specific materials can influence your approach.
Over-Ear Headphones
These typically have larger earpads. If they are removable and washable, that’s ideal. If not, focus on gentle wiping to avoid saturating the cushioning.
On-Ear Headphones
On-ear pads are usually smaller and sit directly on the ear. They can accumulate earwax and sweat quickly. Be extra diligent in wiping them down and ensuring they are completely dry.
In-Ear Headphones (Earbuds)
These are often the trickiest due to their small size and direct contact with the ear canal.
- Ear Tips: If your earbuds have silicone or foam ear tips, remove them. Silicone tips can usually be washed with mild soap and water. Rinse them thoroughly and dry them completely before reattaching. Foam tips are trickier; gentle wiping with a slightly damp cloth and ensuring they are completely dry is best. Avoid soaking foam tips as they can degrade.
- Earbud Body: Use a dry cloth or a cotton swab lightly dampened with isopropyl alcohol to wipe down the plastic body of the earbuds. Be very careful around any mesh covers where sound emerges.
- Charging Case: Use a dry cloth to wipe the exterior. For any built-up grime in crevices, a dry cotton swab is effective. Ensure the charging port remains dry.
For earbuds, given their proximity to the ear canal, regular cleaning is especially important. A consistent habit can prevent buildup and potential infections.
Headphone Cleaning Success: A Comparison Table
Here’s a quick overview of what to use for different headphone parts:
| Headphone Part | Recommended Cleaning Tool/Method | Caution Needed |
|---|---|---|
| Earpads (Fabric/Pleather) | Damp cloth with mild soap & water; Thorough air dry | Do not soak; Ensure 100% dry before re-use |
| Earpads (Non-removable) | Slightly damp cloth with mild soap & water; Dry wipe; Air dry | Minimal moisture; Avoid saturation |
| Headband | Slightly damp cloth with mild soap & water; Dry wipe; Air dry | Dampness control |
| Earcups (Plastic/Metal) | Damp cloth with mild soap & water; Dry cloth | None significant |
| Speaker Grills | Dry soft brush; Dry cotton swab; Lightly alcohol-dampened cotton swab (exterior only) | Extremely gentle; No poking; Avoid moisture ingress |
| Cable | Damp cloth with mild soap & water; Dry cloth | None significant |
| Connector (Plug) | Dry cotton swab; Lightly alcohol-dampened cotton swab | Ensure dry before use |
| In-Earbud Tips (Silicone) | Mild soap & water wash; Thorough dry | Ensure 100% dry before re-use |
Troubleshooting Common Kids’ Headphone Issues
Sometimes, despite cleaning, issues pop up. Here are a few common ones:
- Lingering Odor: If earpads smell musty even after cleaning, they might not have dried completely, or the material itself has absorbed odors. Ensure thorough drying. For fabric earpads, a very mild disinfectant spray (like diluted vinegar, allowed to dry fully) might help, but test in an inconspicuous spot first.
- Scuffs and Marks: Minor scuffs on plastic can sometimes be buffed out with a soft cloth and a tiny bit of plastic polish (if available and safe for your material). Test this very carefully in a hidden area.
- Sticky Residue: This is often from spilled drinks or sticky fingers. Use a slightly damp cloth with mild soap and water, and then follow up with a clean damp cloth to remove all residue.
Preventative Measures: Keeping Headphones Cleaner for Longer
An ounce of prevention is worth a pound of cure! Here are some tips to minimize how often you need to deep clean:
- Hand Washing: Encourage your child to wash their hands before using headphones, especially if they’ve been playing outdoors or eating.
- Dedicated Storage: Provide a small pouch or case for the headphones. This keeps them protected from dust and potential damage when not in use.
- No Sharing (if possible): While sharing is a part of childhood, for hygiene-sensitive items like headphones, it’s best to have individual pairs if feasible.
- Regular Wipes: A quick wipe-down with a dry or slightly damp cloth every few days can prevent significant buildup.
- Designated Use: If possible, have a pair for home and another for travel, or for specific activities like schoolwork versus playtime.
Creating simple habits can make a big difference in the cleanliness and longevity of your child’s headphones.
Frequently Asked Questions (FAQ)
Q1: How often should I clean my child’s headphones?
A: It’s a good idea to do a quick wipe-down every week or two. A more thorough cleaning, addressing earpads and crevices, can be done monthly or whenever you notice visible dirt or grime.
Q2: Can I use wet wipes to clean kids’ headphones?
A: Yes, but with caution. Use wipes designed for electronics or those with minimal chemicals. Avoid getting moisture into speaker grills or seams. Always wring out excess liquid from any wipe before using it on headphones.
Q3: My child’s headphones have fabric earpads. How do I clean them safely?
A: Fabric earpads can be cleaned with a slightly damp cloth and mild soap, but they must be dried completely before reuse. Avoid saturating them. If they are removable, hand-washing in cool water with a tiny bit of detergent and air-drying thoroughly is the best method, but ensure they are 100% dry.
Q4: What if my child’s headphones smell bad?
A: Odors are often due to moisture or trapped dirt. Ensure the headphones are completely dry after cleaning. For persistent odors, you can try a dry, lightly scented sachet placed near the headphones, or in some fabric cases, a very diluted vinegar solution on a cloth dabbed and left to dry completely. However, always perform a spot test first.
Q5: Is it safe to use rubbing alcohol on headphones?
A: Yes, isopropyl alcohol (70% or higher) is generally safe for hard plastic parts and connectors. Use it sparingly on a cotton swab and allow it to dry completely. Avoid using it on speaker grills where it could seep in, and never use it on fabric or soft earpads as it can damage them.
