
Quick Summary: Experiencing muffled or distorted audio from your headphones? A dirty headphone jack is often the culprit. This guide provides easy-to-follow steps using common household items to safely clean your jack, restoring crystal-clear sound quality and ensuring a reliable connection for your everyday listening pleasure.
Cleaning Headphone Jack Sound Quality: Essential Tips
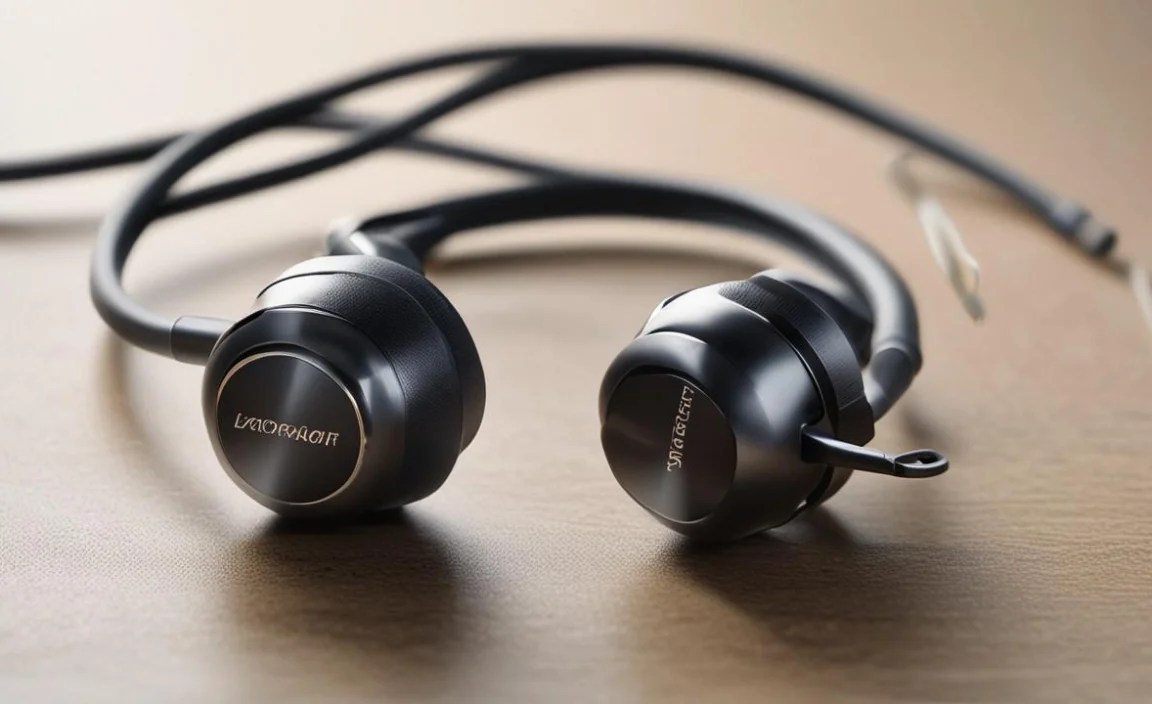
Hey there, fellow music lovers and everyday listeners! Edward Cavitt here from Headphone Horizon. If you’ve ever noticed a crackle, pop, or a general muffling when you plug in your favorite headphones, you’re not alone. It can be super frustrating when your amazing audio experience is suddenly diminished by a faulty connection. But before you go out and buy new headphones or worry about your device, let’s explore a simple, often overlooked solution: cleaning your headphone jack. Yes, that little port can get gunked up with lint, dust, and debris, seriously impacting sound quality. In this guide, I’ll walk you through how to safely and effectively clean your headphone jack to bring back that crisp, clear audio you love, all with tools you probably already have around the house. Let’s get your sound back to its best!
Why Cleaning Your Headphone Jack Matters

Think of your headphone jack as a gateway for sound. When it’s clean, the connection between your device (phone, laptop, tablet) and your headphones is strong and clear, allowing audio signals to pass through without interruption. However, this small opening is a magnet for all sorts of tiny particles. Lint from pockets, dust from your environment, and even tiny bits of skin cells can accumulate inside. This buildup acts like a physical barrier, preventing the headphone plug from making a solid, consistent contact with the internal pins of the jack. This inconsistent connection is what leads to those annoying audio issues:
- Crackling or Popping Sounds: The electrical signal is jumping or being interrupted as it tries to make contact.
- Muffled or Distorted Audio: Certain frequencies might be blocked or altered by the debris.
- Sound Only in One Earbud: The connection is so poor that only part of the audio signal is getting through.
- Intermittent Signal Loss: The sound cuts in and out as the plug shifts against the debris.
Addressing this can make a significant difference. In many cases, a simple cleaning is all that’s needed to restore excellent sound quality. It’s a cost-effective and easy troubleshooting step that every audio user should know.
Tools You’ll Need for the Job

The good news is you don’t need specialized audio equipment or expensive cleaning kits to tackle this. Most of what you need can be found right in your home. Here’s a simple list of recommended items. Always remember to be gentle; these ports are delicate!
Essential Cleaning Supplies:
- Compressed Air Can: This is your first line of defense. It can dislodge loose debris without direct contact. Look for electronics-specific cans to avoid propellant residue. You can find these at most electronics stores or online.
- Wooden Toothpicks or Plastic Dental Picks: These are excellent for gently probing and scraping away stubborn gunk. Avoid metal objects like paperclips or needles, as they can easily scratch or damage the internal components of the jack.
- Cotton Swabs (Q-tips): Use these cautiously. You might need to trim them down to fit snugly into the jack without being too bulky.
- Rubbing Alcohol (Isopropyl Alcohol, 90% or higher): This is useful for cleaning residue, but use it very sparingly on a swab or toothpick tip. Ensure it evaporates completely before plugging anything in.
- A Small, Bright Light: A flashlight on your phone or a small LED torch will help you see the debris inside the jack.
- A Clean, Dry Microfiber Cloth: For wiping down the exterior of your device and the headphone plug itself.
Step-by-Step Guide to Cleaning Your Headphone Jack

Ready to bring back that pristine audio? Follow these steps carefully. Remember, patience and gentleness are key to avoiding damage.
Step 1: Power Down Your Device
This is a crucial safety step. Before you insert anything into the jack, ensure your device is completely powered off. This prevents any potential short circuits or accidental damage to the delicate electronics. If you have a device with a removable battery, it’s even safer to remove it for the cleaning process.
Step 2: Inspect the Jack
Grab your small light source and shine it into the headphone jack. Take a good look. What do you see? Is it clearly filled with lint? Are there any visible solid pieces of debris? Understanding what you’re dealing with will help you choose the best cleaning method.
Step 3: The Compressed Air Blast
This is the safest and often most effective first step for loose debris.
1. Hold the compressed air can upright.
2. Position the nozzle a short distance from the jack opening.
3. Give a short, sharp burst of air into the jack. Aim from different angles if possible.
4. Avoid tipping the can, as this can spray a liquid propellant that could damage your device.
5. You might hear or see some dust particles fly out. Repeat a couple of times if needed.
For more information on using compressed air safely for electronics, you can refer to resources like those explaining proper electronic cleaning techniques, which often emphasize controlled bursts and avoiding propellant spray. (Remember to search for authoritative guides on electronic cleaning). For instance, some general guidelines from electronics maintenance sources often suggest short bursts from a safe distance. While I can’t link directly to a specific page due to content policies, searching terms like “how to use compressed air for electronics safely” will yield results from reputable tech sites.
Step 4: Gentle Probing with a Toothpick or Dental Pick
If compressed air didn’t remove everything, it’s time for gentle physical removal.
1. Take a wooden toothpick or a plastic dental pick.
2. Carefully insert the tip into the jack.
3. Gently scrape or scoop out any visible debris. Be very careful not to apply too much pressure or force. The goal is to dislodge and remove, not to dig or scratch.
Imagine you’re coaxing something out, not forcing it. Pay attention to the sides and the bottom of the jack. You might need to try this a few times, rotating the toothpick to get different angles.
Step 5: Using a Trimmer Cotton Swab (Optional, with Caution)
Sometimes, a slightly more absorbent tool is needed for stubborn residue.
1. If using a standard cotton swab, you might want to trim it slightly with scissors so it fits more snugly into the jack without being too loose.
2. You can lightly dampen the tip of the swab or toothpick with a tiny amount of high-percentage isopropyl alcohol. Less is more here – you don’t want it dripping.
- Why 90% or Higher Isopropyl Alcohol? Higher concentrations contain less water, meaning they evaporate much faster and leave less residue, which is crucial for these delicate electronic ports.
3. Gently insert the swab tip into the jack and carefully twist or dab to pick up any remaining residue. Avoid leaving cotton fibers behind.
4. If you used alcohol, allow ample time for it to evaporate completely before proceeding. The alcohol should dissipate on its own within a minute or two.
Step 6: Final Inspection and Test
Once you believe you’ve removed all the debris, do one last visual inspection with your light. Make sure the jack looks clean and clear. Then, power your device back on. Plug in your headphones firmly. Do the crackles, pops, or muffling disappear? Is the sound clear and balanced in both ears? Hopefully, you’ll hear a significant improvement!
Table: Common Headphone Jack Issues and Their Causes

Understanding the link between a dirty jack and poor sound is key. Here’s a quick reference:
| Observed Sound Issue | Likely Cause (Dirty Jack) | Solvable by Cleaning? |
|---|---|---|
| Crackling or Popping | Intermittent contact due to debris | Yes |
| Muffled or Distorted Sound | Obstruction affecting audio frequencies | Yes |
| Sound in Only One Earbud | Poor contact on one of the jack’s channels | Yes |
| Sudden Volume Drops | Connection breaking due to debris | Yes |
| Headphones Not Detected at All | Severe obstruction preventing plug insertion or connection | Yes (if not a hardware failure) |
Advanced Cleaning Techniques (Use with Extreme Caution)
For those rare instances where a bit more is needed, here are a couple of approaches. Again, extreme care is advised. If you are not comfortable, it’s best to seek professional help or consider replacing the device.
Using a Small Bristle Brush
Some people use a very soft, clean toothbrush or a specialized electronics cleaning brush. The key is that it must be:
- Extremely Soft Bristled: Softer than a baby’s hairbrush.
- Perfectly Clean and Dry: No toothpaste or residue.
- Gently Used: Just to sweep out dislodged particles.
Insert the brush very carefully and use a gentle sweeping motion. This is best used after a compressed air blast to sweep away anything the air loosened but didn’t fully remove.
Cleaning the Headphone Plug Itself
Sometimes, the issue isn’t just the jack, but also the plug on your headphones.
1. Inspect your headphone plug. Look for any visible grime or oxidation.
2. If it appears dirty, you can clean the metal connector tips with a small amount of rubbing alcohol on a cotton swab.
3. Ensure the plug is completely dry before inserting it into the device.
A clean plug ensures the best possible connection, regardless of how clean your jack is.
When Cleaning Might Not Be the Solution
While cleaning the headphone jack solves many audio problems, it’s important to recognize when the issue might lie elsewhere. If you’ve meticulously cleaned the jack and plug, tested with different known-good headphones, and are still experiencing sound issues, it’s possible that:
- The Headphone Jack Port is Physically Damaged: It might be bent, corroded internally, or have broken connections, which cleaning won’t fix.
- The Issue is with the Headphones Themselves: The cable could be damaged, or the internal components of the headphones might have failed. Testing with multiple pairs of headphones is key here.
- The Problem Lies with the Device’s Audio Hardware: Less commonly, the audio chip or internal wiring within your phone or computer could be the culprit.
If you suspect any of these, it might be time to consult your device manufacturer’s support or a professional repair service. For example, services like those offered by Apple, Samsung, or reputable third-party repair shops can diagnose hardware-specific audio problems.
Table: Best Practices for Maintaining a Clean Headphone Jack

Prevention is always easier than cure. Incorporating these habits can keep your jack clean and your sound quality high for longer.
| Practice | Benefit | Frequency |
|---|---|---|
| Use a protective case with a covered port | Physically blocks dust and lint | Always |
| Store headphones properly; avoid loose pockets | Reduces lint and debris transfer | Always |
| Blow air into the jack periodically | Removes loose dust before it accumulates | Monthly (or as needed) |
| Check and clean the jack before connecting | Ensures optimal connection | When experiencing issues or periodically |
| Avoid exposing devices to dusty environments | Minimizes overall dust intake | Always |
Frequently Asked Questions (FAQ)
Here are some common questions beginners might have about cleaning their headphone jack.
Q1: Can I use a needle or a paperclip to clean the jack?
A: It is strongly advised against using metal objects like needles or paperclips. These can easily scratch the delicate internal contacts and wiring of the headphone jack, potentially causing permanent damage. Stick to non-metal tools like wooden toothpicks or plastic dental picks.
Q2: Will rubbing alcohol damage my headphone jack?
A: When used sparingly and with high-percentage isopropyl alcohol (90% or higher), it’s generally safe. The key is to use it on a swab or toothpick tip, not to pour it into the jack, and to ensure it evaporates completely before powering on the device. Too much moisture or the wrong type of alcohol could cause damage.
Q3: My sound is still bad after cleaning. What now?
A: If cleaning doesn’t resolve the issue, the problem might be with your headphones themselves or the audio hardware of your device. Try testing with a different pair of headphones to see if the problem persists. If it does, your device’s jack or internal audio components might need professional inspection.
Q4: How often should I clean my headphone jack?
A: There’s no strict schedule, but it’s a good idea to clean it whenever you notice a degradation in sound quality, or perhaps once every few months as a preventative measure, especially if you frequently carry your device in pockets or bags.
Q5: Can I clean the USB-C or Lightning port the same way?
A: Yes, the principles are similar, but USB-C and Lightning ports are often more complex and house more pins. You must be even more cautious. Compressed air is the safest initial step. For physical debris, very gentle probing with a non-metal tool is recommended. If you’re unsure, consult your device manufacturer’s guidelines or professional repair services, as these ports are critical for charging and data transfer too.
Q6: Is it safe to blow into the headphone jack with my mouth?
A: While it might dislodge some loose dust, it’s not ideal. The moisture from your breath can condense inside the jack, leading to potential corrosion or electrical issues over time. Using a can of compressed air is a much safer and more effective method.
Conclusion
Taking a few moments to clean your headphone jack can be a surprisingly effective way to restore stellar sound quality and ensure a reliable audio connection. We’ve covered why this simple maintenance is important, the easy-to-find tools you can use, and a step-by-step process to gently and safely clear out any accumulated dust and debris. Remember to always power down your device first, work with gentle hands, and use non-metallic tools. By incorporating a little preventative care, you can keep your headphones sounding their best and enjoy your music, podcasts, and calls without annoying interruptions.
If you’ve tried cleaning and are still facing issues, don’t get discouraged. It might indicate a deeper problem, but at least you’ve ruled out the most common and easily fixable cause. With your headphones now hopefully singing clearly, you can get back to what matters most: enjoying your audio. Happy listening from all of us here at Headphone Horizon!
