
Crochet leaves for headphones add a unique, personalized touch to your audio gear. This easy craft project transforms ordinary headphones into a statement piece, enhancing both style and comfort. Learn the simple steps to create beautiful crocheted leaves and attach them securely, perfect for beginners looking to personalize their accessories.
Crochet Leaves for Headphones: An Essential Craft for Personalized Style

Hey there, fellow audio adventurers! Edward Cavitt here from Headphone Horizon. We all love our headphones – they’re our gateway to immersive music, important calls, and focused work. But imagine giving them a little extra flair, a touch of personality that’s uniquely yours. That’s where the charming craft of crocheting leaves for headphones comes in!
It might sound a bit niche, but trust me, it’s a wonderfully simple and rewarding project. Whether you’re a seasoned crafter or have never picked up a hook before, this guide will walk you through creating beautiful, handcrafted leaf embellishments that will make your headphones stand out. Let’s dive into this delightful way to express your creativity and add a personal touch to your everyday listening experience.
Why Crochet Leaves for Your Headphones?
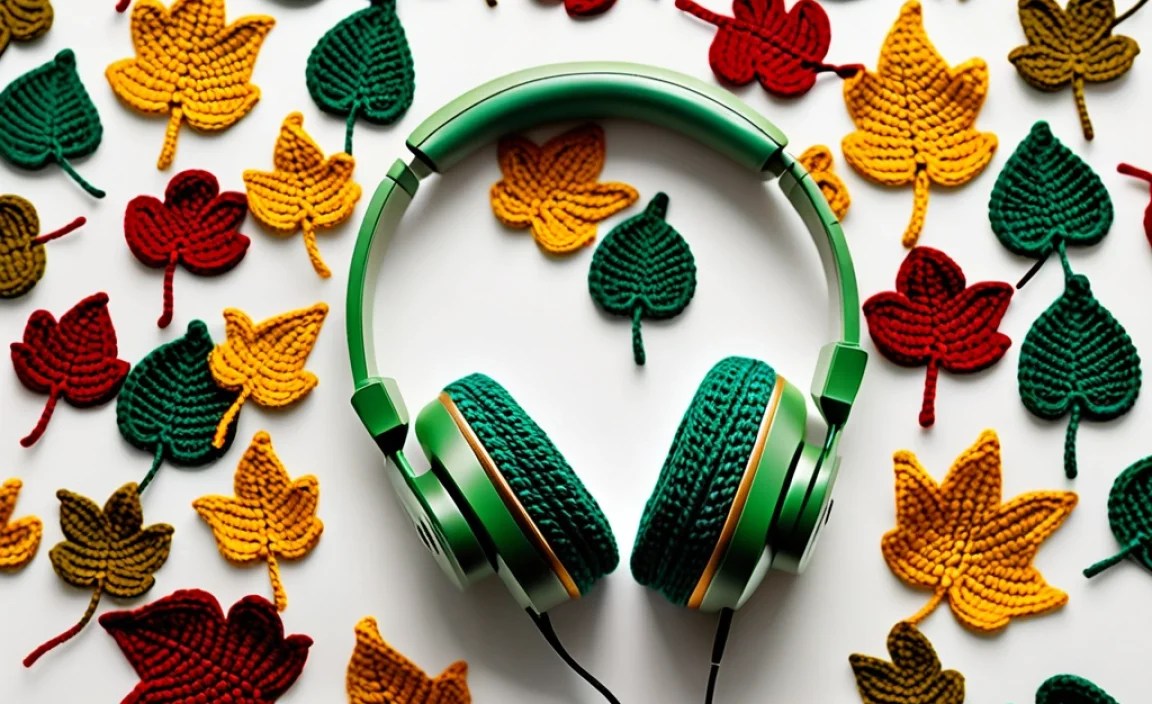
In a world of mass-produced tech, personalization is key. Crocheting leaves for your headphones offers a fantastic opportunity to inject your own style into an everyday item. It’s more than just decoration; it’s a way to connect with your belongings on a more personal level. Here are a few reasons why this craft is essential for any headphone enthusiast looking to add a unique touch:
- Unique Personalization: Stand out from the crowd with custom-designed headphone accents.
- Express Your Creativity: Experiment with colors, sizes, and textures to match your mood or outfit.
- Comfort Enhancement: Soft, crocheted elements can sometimes add a subtle layer of comfort to earcups.
- Gift Idea: Homemade crocheted leaves make thoughtful and unique gifts for friends and family.
- Mindful Crafting: The repetitive motions of crocheting can be a relaxing and therapeutic activity, a great way to unwind.
This simple DIY project doesn’t require advanced skills, making it accessible for beginners. You’ll be amazed at how a few stitches can transform your headphones into a wearable piece of art.
Getting Started: Your Crochet Leaf Essentials
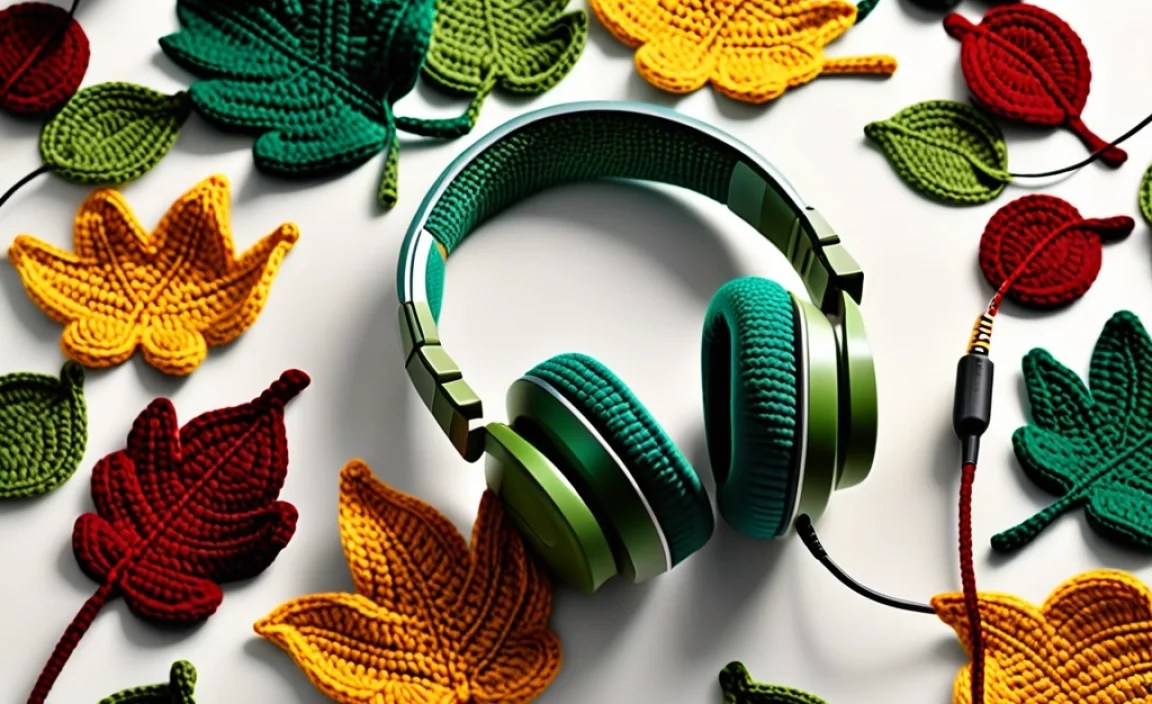
Before you begin crocheting your headphone embellishments, let’s gather the necessary supplies. The beauty of this craft is its simplicity, meaning you don’t need a lot of specialized equipment. Think of it as upgrading your headphones with a touch of handmade charm!
Materials You’ll Need:
- Yarn: Cotton or acrylic yarns are excellent choices. They are durable, come in a vast array of colors, and are easy to work with. Consider variegated yarn for a natural, multi-toned leaf effect.
- Crochet Hook: The size of your hook will depend on your yarn weight. A common choice for this project is a hook between 3mm and 5mm (US size D/3 to H/8). Check your yarn label for a recommended hook size.
- Yarn Needle: For weaving in ends (tucking away those little yarn tails).
- Scissors: A sharp pair for cutting yarn.
- Optional: A few small beads or buttons can be added to the center of the leaves for extra detail.
Understanding Basic Crochet Stitches: A Quick Primer
For these simple leaves, you’ll primarily need to know a few fundamental crochet stitches. Don’t worry if you’re new to crochet; these are some of the first stitches most people learn, and they are quite forgiving. If you need a visual, searching for video tutorials online for each stitch is highly recommended. Many excellent resources are available from trusted crafting sites and educational institutions.
Here are the essential stitches:
- Chain (ch): The foundation of most crochet projects. It’s a series of loops made by pulling yarn through a loop on your hook.
- Single Crochet (sc): A basic, short stitch that creates a dense fabric.
- Half Double Crochet (hdc): Taller than a single crochet, it creates a slightly looser texture.
- Double Crochet (dc): A taller stitch that works up quickly and creates a more open fabric.
- Slip Stitch (sl st): Used to join rounds or move across stitches without adding height.
Step-by-Step Guide: Crocheting Your First Leaf

Let’s get crafting! This guide will show you how to make a simple, classic leaf shape. We’ll start with the stem and work our way out to the pointed tip. You can adjust the length and width by adding or reducing stitches in certain rows.
Pattern for a Basic Crochet Leaf
This pattern uses common abbreviations. You’ll find definitions of these stitches in the section above.
Using your chosen yarn and hook:
- Start: Chain 10 (ch 10).
- Row 1: Work 1 sc in the 2nd chain from the hook, 1 hdc in the next chain, 1 dc in the next 2 chains, 1 hdc in the next chain, 1 sc in the next 3 chains, and 3 sc in the last chain. Now, we’ll work on the other side of the chain. Work 1 sc in the next 3 chains (along the bottom of the starting chain), 1 hdc in the next chain, 1 dc in the next 2 chains, 1 hdc in the next chain, and 1 sc in the last chain. You should have a pointed shape.
- Row 2: Ch 1 (this does not count as a stitch). Turn your work. Work 1 sc in the first stitch, 1 hdc in the next stitch, 1 dc in the next 2 stitches, 1 hdc in the next stitch, 1 sc in the next 3 stitches. In the center stitch of the previous row’s middle point, work 3 sc. Now, work 1 sc in the next 3 stitches on the other side, 1 hdc in the next stitch, 1 dc in the next 2 stitches, 1 hdc in the next stitch, and 1 sc in the last stitch.
- Row 3: Ch 1. Turn your work. Work 1 sc in the first stitch, 1 hdc in the next stitch, 1 dc in the next 2 stitches, 1 hdc in the next stitch, 1 sc in the next 3 stitches. In the center stitch of the previous row’s middle point, work 3 sc. Now, work 1 sc in the next 3 stitches on the other side, 1 hdc in the next stitch, 1 dc in the next 2 stitches, 1 hdc in the next stitch, and 1 sc in the last stitch.
Finishing the Leaf:
- To create a point: After completing Row 3 (or as many rows as you desire for width), you will work one more small section to create the leaf’s tip.
- Work 1 sc in the first 3 stitches. Work 1 hdc in the next stitch. Work 1 dc in the next 2 stitches. Work 1 hdc in the next stitch. Work 1 sc in the next 3 stitches. Work 1 sl st in the last stitch.
- Fasten off: Cut your yarn, leaving a tail of about 6 inches. Pull this tail through the loop on your hook to secure it.
Weave in ends: Using your yarn needle, carefully thread the yarn tails through the back of your stitches to hide them. Trim any excess yarn close to the fabric.
Variations and Customization
Once you’ve mastered the basic leaf, feel free to experiment! This is where the real fun begins.
- Size: Adjust the starting chain length to make larger or smaller leaves.
- Shape: Play with the number of stitches in each section (sc, hdc, dc) to create fatter or skinnier leaves. For a more pointed tip, you might use fewer dc stitches and more sc. For a rounder leaf, you might incorporate more hdc and dc stitches in the main body.
- Color: Don’t be afraid to use vibrant or muted colors! A gradient yarn can create a beautiful, natural look. You could also make stems in a contrasting green.
- Details: Add a small bead or button to the center of the leaf for an extra touch. You can also crochet a small stem and attach it.
Attaching Your Crochet Leaves to Headphones
Now that you have your beautiful crocheted leaves, it’s time to attach them to your headphones. The goal is to make them secure but also reversible, so you can remove them if needed without damaging your headphones. Safety is key here—we don’t want anything interfering with the sound or functionality of your gear.
Attachment Methods:
Here are a few reliable ways to attach your leaves:
- Sewing: This is the most secure method.
- Thread your yarn needle with a length of yarn that matches your leaf (or a neutral color).
- Position the leaf where you want it on the earcup or headband.
- Carefully sew the leaf onto the headphone cushion. Use small, sturdy stitches, going through the crocheted fabric and around the edge of the headphone cushion. Be gentle and avoid pushing too hard, especially if your headphones have delicate materials. Aim to stitch through the outer edge of the earcup material, if possible, rather than directly into the speaker grille.
- Ties/Straps: For a less permanent and easily removable option.
- Create a small chain loop on one side of your leaf.
- To attach, secure the leaf by wrapping a separate, thin yarn strand or ribbon through the loop and around the headphone band or earcup. Tie a secure knot.
- Alternatively, crochet a longer, thinner “stem” or “vine” that can be used to tie the leaf on.
- Fabric Glue (Use with Caution!): While possible, this is generally not recommended for direct earcup attachment as it can damage materials or stiffen them. If you choose this method, ensure the glue is specifically designed for fabric and apply it very sparingly to the very edge of the leaf, adhering it to a non-fabric, non-speaker part of the headphone band or a removable earcup cover. Always test on an inconspicuous area first.
Where to Attach:
- Earcups: The outer side of the earcups is a popular spot. Ensure you don’t cover any ventilation ports or microphone holes.
- Headband: The top part of the headband can be a great canvas for multiple leaves or a single statement piece.
- Cable (if applicable): For wired headphones, you could attach a small leaf near the jack or where the cable splits.
Important Note: Always ensure your attachments do not impede the comfort of wearing your headphones, cover any crucial controls, or interfere with the sound quality by pressing against speaker grilles.
A Table of Stitches for Reference
Here’s a quick reference for the stitch abbreviations commonly used in crochet patterns, including those for making leaves:
| Abbreviation | Full Name | Description |
|---|---|---|
| ch | Chain | The basic foundation stitch. Creates a series of loops. |
| sc | Single Crochet | A short, dense stitch. Creates a tight fabric. |
| hdc | Half Double Crochet | Taller than sc, shorter than dc. Creates a slightly looser texture. |
| dc | Double Crochet | A taller stitch that works up quickly. Creates an open fabric. |
| sl st | Slip Stitch | Used to join rounds or move yarn without adding height. |
Tips for Success and Troubleshooting
As with any craft, you might run into a few snags. Here are some tips and common issues addressed to help you on your crafting journey.
Common Issues and Solutions:
- Leaf is too floppy: Try using a slightly smaller crochet hook, or a denser stitch like single crochet (sc) for the main body of the leaf. You could also try a yarn with less drape.
- Leaf is too stiff: Use a larger crochet hook or a stitch like double crochet (dc) or treble crochet (tc) for a more open fabric.
- Edges are uneven: Ensure you are counting your stitches carefully at the end of each row and correctly identifying the first stitch after turning.
- Yarn tangles easily: Sometimes yarn can twist as you work. Gently let the yarn ball or skein hang and rotate to untwist itself.
- Attachment feels insecure: Consider reinforcing the attachment with extra stitches or trying the sewing method if you used ties.
Long-Term Care for Your Crocheted Headphones
Your crocheted embellishments add charm, but they also mean your headphones need a little extra care:
- Cleaning: For minor dust or dirt, a soft brush or a slightly damp cloth can work. For deeper cleaning, you might consider detaching the leaves (if possible) and hand-washing them gently with mild soap and water, then laying them flat to dry. Never submerge your headphones in water.
- Wear and Tear: Like any yarn craft, the embellishments can snag. Be mindful of jewelry or rough surfaces that could catch the yarn.
- Storage: When not in use, store your headphones in a case or a safe place where they won’t be crushed or snagged.
Frequently Asked Questions (FAQ)
Here are some common questions beginners might have about crocheting leaves for headphones:
-
Q: Can I really do this if I’m a complete beginner?
A: Absolutely! This project is designed with beginners in mind. The basic stitches are easy to learn, and you can find plenty of incredibly helpful video tutorials online to guide you through each step. Start with a simple pattern, and you’ll be surprised at how quickly you gain confidence.
-
Q: What if I don’t want to sew the leaves on permanently?
A: That’s a great question! We’ve covered several attachment methods. Using yarn ties or creating a small loop to thread a string through for tying is a fantastic way to keep them removable. This is perfect if you like to change your accessories often or only use the embellishments for special occasions.
-
Q: Will crocheted leaves affect the sound quality of my headphones?
A: As long as you ensure the leaves are attached to the outer surfaces and do not press against the speaker grille or block any acoustic vents, they should not affect sound quality. It’s crucial to be mindful of placement and avoid covering any part of where the sound comes from.
-
Q: How do I choose the right yarn and hook size?
A: For headphone leaves, cotton or acrylic yarns in a medium-weight (worsted weight) are ideal. They are durable and easy to manage. Most yarn labels will recommend a hook size. For beginners, starting with a hook around 3.5mm to 4.5mm (US size E/4 to 7) is versatile. If your stitches look too loose, try a smaller hook; if they’re too tight, try a larger one.
-
Q: Can I make leaves in different colors and combine them?
A: Yes, absolutely! This is where your creativity shines. You can make clusters of leaves in varying shades of green, or mix and match colors for a vibrant look. Many crafters create a “leaf garland” effect by connecting several leaves with a chain or stem, which can then be attached to the headphone band.
-
Q: How do I care for my crocheted headphone decorations?
A: Gentle care is best. For light dust, a soft brush works well. If they get a bit grimy, you can hand-wash the crocheted parts gently with cool water and mild soap. Lay them flat to dry completely. Avoid machine washing or drying, as this can damage the yarn and the attachment. If possible, detach them before washing.
Conclusion: Elevate Your Listening Experience with a Personal Touch
There you have it – a straightforward guide to crocheting charming leaves that can transform your headphones from ordinary to extraordinary. This project is a wonderful introduction to the world of crochet and a fantastic way to add a personal, handcrafted element to your cherished audio gear. It’s more than just making something pretty; it’s about engaging in a mindful craft that results in a tangible piece of art you can enjoy every day. Whether you
