
Quick Summary: Discover how ear covers for headphones offer essential protection against wear, tear, and environmental damage. Learn about different types, their benefits, and how they can extend the life of your favorite audio gear, ensuring a pristine listening experience for longer.
Ear Covers For Headphones: Essential Protection for Your Audio Gear

Hey everyone, Edward Cavitt here from Headphone Horizon! We all love our headphones, right? They’re our companions for music, podcasts, calls, and escaping into our own worlds. But just like any cherished possession, they need a little TLC to keep them sounding and looking their best. Today, we’re diving into something simple yet incredibly effective: ear covers for headphones. These aren’t just about aesthetics; they’re a crucial layer of defense that can significantly extend the lifespan of your beloved cans and keep your listening experience top-notch. Let’s explore why these little accessories are a big deal!
What Are Headphone Ear Covers?
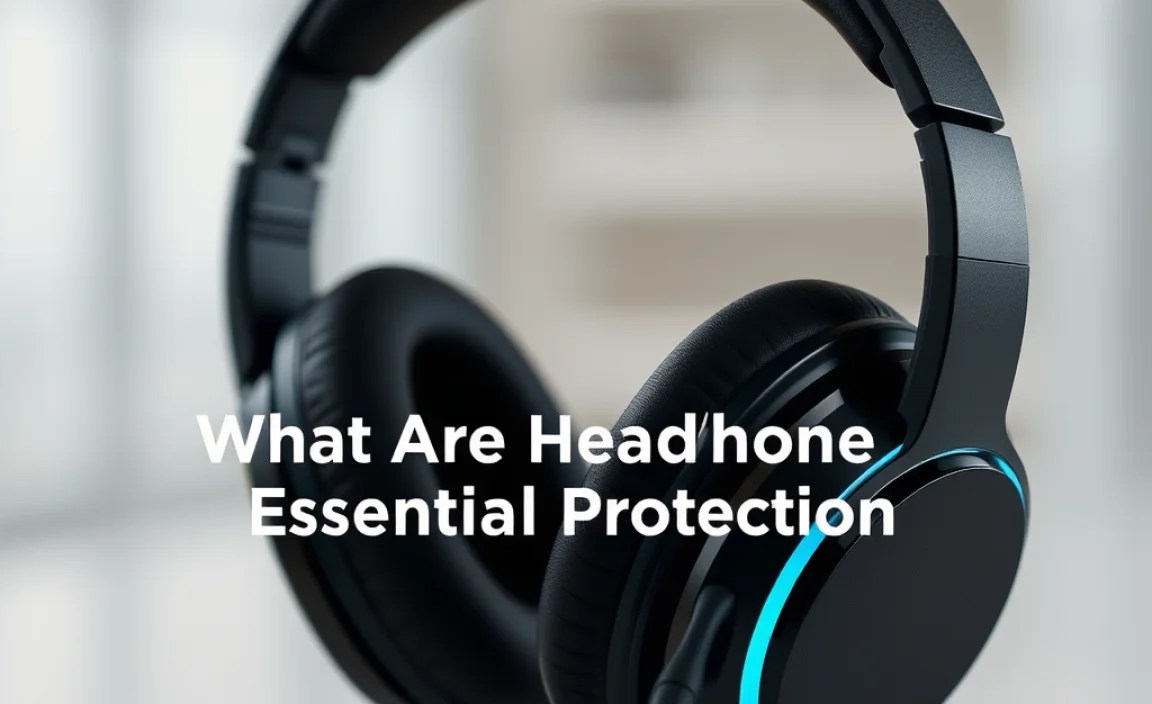
At their core, headphone ear covers, often referred to as headphone earpads, earcups, or ear cushions, are the soft, padded components that rest against your ears. They are designed to provide comfort during extended listening sessions, create a passive seal for better sound isolation, and contribute to the overall audio quality.
However, when we talk about “ear covers” in the context of protection, we often mean an overlying layer or a replacement for the original earpads. These can be made of various materials like velour, leather (genuine or synthetic), memory foam, and even specialized fabrics designed for breathability or sweat resistance. Think of them like a protective case for your earbuds or a screen protector for your phone – they serve a vital protective function.
Why You Need Ear Covers: The Protective Power

Your headphones, especially the earpad area, are exposed to a lot. Daily use means sweat, oils from your skin, makeup, dirt, and general wear and tear. Over time, these elements can degrade the material, leading to:
- Material Degradation: Earpads can crack, peel, or become stiff, making them uncomfortable or unsightly.
- Hygiene Concerns: Accumulated sweat and grime can be unhygienic and lead to unpleasant odors.
- Reduced Comfort: Worn-out earpads lose their cushioning, making your headphones uncomfortable to wear for extended periods.
- Compromised Sound Quality: A damaged seal from worn earpads can affect passive noise isolation and the way sound is delivered to your ears.
- Aesthetics: Let’s face it, worn-out earpads just don’t look good.
Ear covers are the perfect solution to combat these issues. They act as a barrier, shielding the original earpads from direct contact with your skin and the environment. This preserves the integrity and lifespan of your headphones.
Types of Ear Covers (and What They’re Made Of)

The world of ear covers for headphones offers a variety of materials, each with its own set of benefits and drawbacks. Understanding these can help you choose the best option for your needs and preferences.
1. Velour Covers
Description: Velour covers are made from a soft, plush fabric that feels very similar to velvet. They are known for their comfort and breathability.
- Pros:
- Highly comfortable and soft.
- Excellent breathability, reducing heat buildup.
- Good for long listening sessions, especially in warmer climates.
- Less likely to cause allergic reactions for some users.
- Cons:
- Can absorb liquids (sweat, spills) more readily than leather.
- May not offer as strong a passive noise isolation seal as leather.
- Can be more prone to showing dust and hair.
2. Leather Covers (Genuine & Synthetic/PU Leather)
Description: These covers mimic the look and feel of traditional leather earpads. Genuine leather is premium and durable, while synthetic (often called PU or pleather) is a more affordable alternative.
- Pros:
- Excellent for passive noise isolation due to a tighter seal.
- Durable and resistant to spills and moisture.
- Easy to clean with a simple wipe.
- Offers a premium aesthetic.
- Cons:
- Can cause ears to get warm and sweaty, especially during long use or in hot weather.
- May develop cracks or peel over time (especially synthetic leather).
- Can feel less breathable and potentially less comfortable for some individuals compared to velour.
3. Cooling Gel / Breathable Fabric Covers
Description: These are often made from specialized athletic fabrics or incorporate cooling gel layers. They are engineered to actively dissipate heat and wick away moisture.
- Pros:
- Superior heat reduction and sweat management.
- Ideal for athletes or those who frequently experience ear warmth.
- Comfortable and often lightweight.
- Cons:
- May offer less passive noise isolation than leather.
- Can be more expensive than standard fabric or PU leather options.
- Durability can vary depending on the specific material and construction.
4. Specialized / Hybrid Covers
Description: Some covers combine materials, like a velour surface with a memory foam core and a leatherette trim. These aim to offer a balance of comfort, isolation, and durability.
- Pros:
- Can offer a good mix of comfort, sound isolation, and temperature regulation.
- Often designed with specific headphone models in mind for a perfect fit.
- Cons:
- Can be more complex to clean.
- Price point might be higher.
Brands Known for Quality Replacement Earpads/Covers

While many generic options exist, some brands have built a reputation for producing high-quality replacement earpads that can serve as excellent protective covers. Companies like Dekoni Audio and Brainwavz are frequently recommended by audiophiles and users looking for durable, comfortable, and sound-enhancing replacements.
These brands often offer a range of materials and designs tailored to popular headphone models. They focus on materials that not only protect but can also sometimes improve the acoustic properties of your headphones, offering better comfort, seal, and sound signature. Always check compatibility with your specific headphone model before purchasing.
Your Step-by-Step Guide: Applying Ear Covers
Installing new ear covers is usually a straightforward process, but it can vary slightly depending on the headphone model and the type of earcup attachment. Here’s a general guide that should help you get started.
Tools You Might Need:
- Your new ear covers
- A small, non-metallic pry tool (like a guitar pick or plastic spudger) – optional, for stubborn clips
- A soft, lint-free cloth
- Rubbing alcohol (isopropyl alcohol) – optional, for cleaning
Step 1: Prepare Your Workspace
Find a clean, well-lit area to work. Lay out your new ear covers and your headphones. Make sure you have a steady surface to place your headphones on to avoid any accidental drops.
Step 2: Gently Remove the Old Earpads
This is often the trickiest part.:
- Examine the Attachment: Look closely at how your current earpads are attached. They might be clipped on, slipped over a lip, or glued in place (though glue is rarer for typical user-replaceable parts).
- Prying/Pulling: For most headphones, you can gently pull the old earpads away from the earcup. Start at one edge and work your way around. If they feel stuck, there might be small clips holding them. In this case, you might need to very carefully use a plastic pry tool or guitar pick to release the clips. Avoid using metal objects, as they can scratch your headphones.
- Note the Orientation: As you remove them, pay attention to which earpad is for the left and which is for the right, and their orientation. Sometimes there’s a specific alignment.
Step 3: Clean the Earcup
Once the old pads are off, you’ll see the plastic housing of the earcup. This is a great opportunity to clean it.
- Use a dry, lint-free cloth to wipe away any dust or debris.
- If there’s any residue from the old earpads or grime, you can lightly dampen the cloth with water or a small amount of rubbing alcohol. Be careful not to let any liquid seep into the headphone drivers (the speaker part). Wipe gently and allow to air dry completely before proceeding.
Step 4: Install the New Ear Covers
This is the reverse of removal.
- Align the New Pads: Position the new ear cover over the earcup. Make sure it’s oriented correctly (left vs. right if applicable).
- Secure the Edges: If your pads simply slip over a lip, carefully tuck the edge of the new cover into the groove around the earcup. Work your way around, ensuring a snug fit everywhere.
- Press into Place: If the pads have clips or a specific seating mechanism, align the new pads and press firmly and evenly around the edges until you hear or feel them snap or seat into place.
- Check for Gaps: Once installed, gently feel around the edges to ensure there are no large gaps and that the cover is securely attached.
Step 5: Test Your Headphones
Put your headphones on and listen. Do they feel comfortable? Is the seal good? Does the sound seem right? Minor changes in sound are possible with different materials, but major issues might indicate an improper fit.
Maintaining Your Investment: Beyond Earpads
While ear covers are paramount, keeping your headphones in top shape involves a bit more. Proper maintenance ensures longevity and optimal performance.
1. Regular Cleaning
- Earpads: Wipe down your ear covers regularly with a dry or slightly damp cloth to remove surface dirt and oils. For deeper cleaning, follow the manufacturer’s recommendations for the specific material.
- Headband: Clean the headband similarly, especially if it’s padded.
- Housing: Gently wipe down the plastic or metal housing with a soft cloth.
- Drivers (Grilles): Be extremely careful here. Use a very soft brush (like a makeup brush or specialized headphone brush) to gently dust the grilles. Never spray liquids directly onto the headphones.
2. Storage Matters
When you’re not using your headphones, store them properly:
- Use a Case: A dedicated hard-shell headphone case is the best way to protect them from bumps, dust, and potential damage during travel or storage.
- Avoid Extreme Temperatures: Don’t leave headphones in direct sunlight, a hot car, or freezing conditions. Extreme temperatures can damage materials and electronics.
- Prevent Cable Strain: Don’t wrap the cable too tightly around the headphones. This can weaken the internal wires over time. Loosely coil the cable instead.
3. Handle with Care
- Avoid Dropping: This might seem obvious, but drops are a leading cause of headphone damage.
- Detachable Cables: If your headphones have a detachable cable, disconnect it when storing or traveling to prevent strain on the ports.
- Keep Away from Moisture: Avoid using headphones in heavy rain or submerging them in water (unless they are specifically rated for it, like some sports earbuds).
Troubleshooting Common Earcup Issues
Even with the best care, you might encounter some common problems with headphone earcups.
| Problem | Possible Cause | Solution |
|---|---|---|
| Earpads peeling or cracking | Material wear and tear; exposure to oils/sweat; age. | Replace earpads with new ear covers. For minor peeling on leatherette, try carefully trimming the loose bits with tiny scissors. (See step-by-step guide above). |
| Uncomfortable pressure points | Worn-out padding; earpads not fitting correctly; headphone design. | Replace with new, thicker earpads or ear covers designed for comfort. Ensure correct installation. If it’s a headphone design issue, consider ear hooks or different headphone types. |
| Excessive heat/sweat | Non-breathable earpad material (e.g., some PU leather); prolonged use in warm environments. | Switch to velour, fabric, or cooling gel ear covers. Take breaks during long listening sessions. Ensure good ventilation around your ears. |
| Poor passive noise isolation | Damaged earpad seal; earpads not fitting snugly; worn-out padding. | Replace earpads. Ensure a tight seal around the earcup. Leather or thicker memory foam earpads often provide better isolation. Check if the headphones fit correctly on your head. |
| “Crinkling” sound when moving | Loose earpad material or internal padding shifting. | Secure the earpad cover better. If the internal padding is loose, it might require professional repair or replacement of the earcup assembly. |
For more in-depth troubleshooting, especially regarding sound issues or component failures, reliable sources like the iFixit headphone repair guides can offer valuable insights into the internal workings and common fixes.
Frequently Asked Questions (FAQ)
Q1: How often should I replace my headphone ear covers?
This varies greatly depending on usage, material, and care. Generally, you should consider replacing them every 1-3 years. Look for signs of wear like peeling, cracking, flattening, or a persistent unpleasant odor. Frequent use in hot, humid conditions or heavy sweat can accelerate wear.
Q2: Can changing ear covers affect my headphone’s sound quality?
Yes, absolutely. Earpads form a critical part of the headphone’s acoustic seal. Different materials and thicknesses can subtly alter the sound profile, particularly bass response and soundstage. Thicker pads might slightly reduce bass quantity but increase comfort, while denser materials can enhance isolation and bass impact.
Q3: Are “cooling” ear covers effective?
Many users find cooling gel or specialized breathable fabric covers to be quite effective at reducing heat buildup and sweat. Their effectiveness can depend on the specific design and the ambient temperature. They are a great option for those who listen in warm environments or tend to get warm ears.
Q4: Can I use generic ear covers on my specific headphone model?
It’s best to try and find ear covers specifically designed or recommended for your headphone model. While generic covers might fit, they may not offer the optimal seal, comfort, or acoustic performance. Brands like Dekoni Audio and Brainwavz often list compatible headphone models for their products.
Q5: How do I clean actual earphone/headphone drivers?
You should almost never need to clean the drivers directly. They are sensitive internal components. If dust accumulates on the grilles covering the drivers, use a very soft, dry brush (like a makeup brush or an anti-static brush) and gently brush away the dust. Never use liquids or compressed air directly on or near the driver area, as this can cause permanent damage. If your ear covers are replaceable, focus your cleaning efforts there.
Q6: My ear covers are attached with glue. What should I do?
If your ear covers are glued and not designed for easy user replacement, it can be a more involved process. Sometimes, a gentle solvent (like isopropyl alcohol) applied carefully to the edge can help loosen the adhesive. However, this carries a risk of damaging the headphone housing or internal components. For glued earpads, it’s often best to research your specific headphone model for known replacement methods or consult a professional repair service. Some users opt for specialized ‘earpad adapter rings’ that allow clamping new earpads over glued ones.
Conclusion: Protecting Your Sonic Sanctuary
Investing in your headphones means wanting them to perform and last. Ear covers are a simple, cost-effective, and highly impactful way to achieve this. They protect against the daily grind, keep things hygienic, enhance comfort, and can even subtly refine your listening experience. Whether you’re looking to refresh worn-out pads or add an extra layer of defense to a brand-new pair, choosing the right ear covers is a smart step for any audio enthusiast.
