
Quick Summary:
Upgrade your Beats headphones easily with new ear pads! This guide shows you how to replace them for better comfort, improved sound, and a refreshed look. Learn why it’s a smart move and get step-by-step instructions for a perfect fit.
Hey headphone fans, Edward Cavitt here from Headphone Horizon! Ever feel like your beloved Beats headphones aren’t as comfy as they used to be, or maybe the sound quality has taken a dip? You’re not alone! Much like the tires on your car, the ear pads on your headphones are subjected to daily wear and tear. Fortunately, replacing them is one of the simplest and most rewarding upgrades you can make. It’s like giving your headphones a brand-new lease on life, enhancing both comfort and acoustic performance without needing to buy an entirely new set. Let’s dive into why new ear pads are an essential upgrade for your Beats!
Why Upgrade Your Beats Ear Pads? The Benefits You Can Hear (and Feel!)

Your Beats headphones might be fantastic out of the box, but time and use can diminish their initial comfort and sound isolation. Worn-out ear pads can lead to discomfort during long listening sessions, and they can also negatively impact the way your audio sounds. But fear not! Swapping out old ear pads for new ones is a game-changer. It’s not just about aesthetics; it’s about revitalizing the core experience of using your headphones.
Comfort is King (or Queen!)
Let’s face it, if your headphones hurt your ears, you’re not going to wear them for long. Over time, the original cushioning in ear pads can compress, flatten, and even start to degrade. This can lead to:
- Pressure points: You might start feeling uncomfortable pressure on or around your ears.
- Heat buildup: Old, worn pads can trap more heat, making your ears feel sweaty and clammy.
- Reduced seal: A compromised seal means less of the sound stays in and less outside noise gets out.
New ear pads, especially those made from plush memory foam or premium protein leather, can restore that out-of-the-box comfort. They contour better to your head, providing a softer, more luxurious feel for hours of enjoyable listening.
Sound Quality That Pops
This might surprise some of you, but your ear pads play a crucial role in the sound you hear! The seal created between the ear pad and your head is vital for:
- Bass response: A tight seal is essential for delivering those deep, punchy bass notes that Beats are known for. If the seal is broken, the bass can sound weak or muffled.
- Sound isolation: Good ear pads act as a barrier, preventing ambient noise from interfering with your music and stopping your music from leaking out and disturbing others.
- Soundstage: The way sound is presented, or the “soundstage,” can also be subtly influenced by the material and firmness of your ear pads.
Fresh, well-fitting ear pads ensure a consistent seal, allowing the drivers in your Beats to perform at their best. This means clearer highs, more defined mids, and that powerful bass you love.
Aesthetic Makeover
Let’s be honest, worn, peeling ear pads can make even the most stylish headphones look a bit sad. Over time, the faux leather can crack and flake, leaving bits of material on your ears and looking less than premium. Replacing your ear pads is a fantastic way to:
- Refresh the look: Give your headphones a clean, new appearance.
- Personalize your style: Many aftermarket pads come in a variety of colors and materials, allowing you to customize your Beats.
It’s a simple fix that can make your headphones feel and look brand new again.
Choosing the Right Ear Pads for Your Beats

Not all ear pads are created equal, and the best choice for you will depend on your specific Beats model and your personal preferences. Here’s what to consider:
Identify Your Beats Model
This is the most important first step. Beats headphones come in various models, and ear pads are often not interchangeable between them. Common models include:
- Beats Studio (e.g., Studio 2.0, Studio 3.0)
- Beats Solo (e.g., Solo 2, Solo 3)
- Beats Pro
- Beats Mixr
- Beats EP
Check the branding on your headphones, or look for the model name printed inside the headband or on the earcups themselves. Once you know your model, you can search for compatible replacements. Reputable aftermarket sellers will clearly list which Beats models their ear pads are designed for.
Material Matters
The material of your ear pads significantly impacts comfort, durability, and sound isolation. The most common options are:
- Protein Leather (or PU Leather): This is the most common material, mimicking the feel of real leather. It’s usually smooth, easy to clean, and offers good durability. High-quality protein leather can feel very premium and soft.
- Velour/Suede: Less common for Beats replacements, velour pads offer a softer, more breathable feel, which can be great for long listening sessions in warmer environments. They might offer a slightly different acoustic profile.
- Hybrid (Protein Leather + Fabric/Mesh): Some pads combine materials, using protein leather on the sides for durability and a breathable fabric on the surface that contacts your skin for added comfort.
For most users seeking a balance of comfort, sound isolation, and durability similar to the originals, high-quality protein leather is often the go-to choice. If breathability is a major concern, a hybrid option or exploring velour might be worth considering.
Comfort Features
Beyond the basic material, look for features that enhance comfort:
- Memory Foam: Many aftermarket pads feature memory foam cushioning. This material conforms to the shape of your ears and head, providing excellent pressure distribution and a personalized fit.
- Thicker Padding: Some replacements offer thicker pads than the originals, which can create a deeper ear cup and a more comfortable space for your ears, especially if your ears tend to touch the drivers.
- Ergonomic Design: Look for pads that are shaped to fit naturally around the ear without pressing in uncomfortably.
Sound Profile Considerations
While most replacement pads aim to replicate the original sound, different materials and densities can have subtle effects. For example:
- Thicker, denser pads might offer slightly better passive noise isolation and potentially a bit more controlled bass.
- Softer, less dense pads might feel more comfortable but could reduce isolation slightly.
For the most part, sticking to reputable brands that specify compatibility with your Beats model will ensure a sound profile that’s very close to the original. If you’re an audiophile seeking to alter the sound, that’s a more advanced topic, but for a simple upgrade, aim for direct replacements.
Step-by-Step: Replacing Your Beats Ear Pads
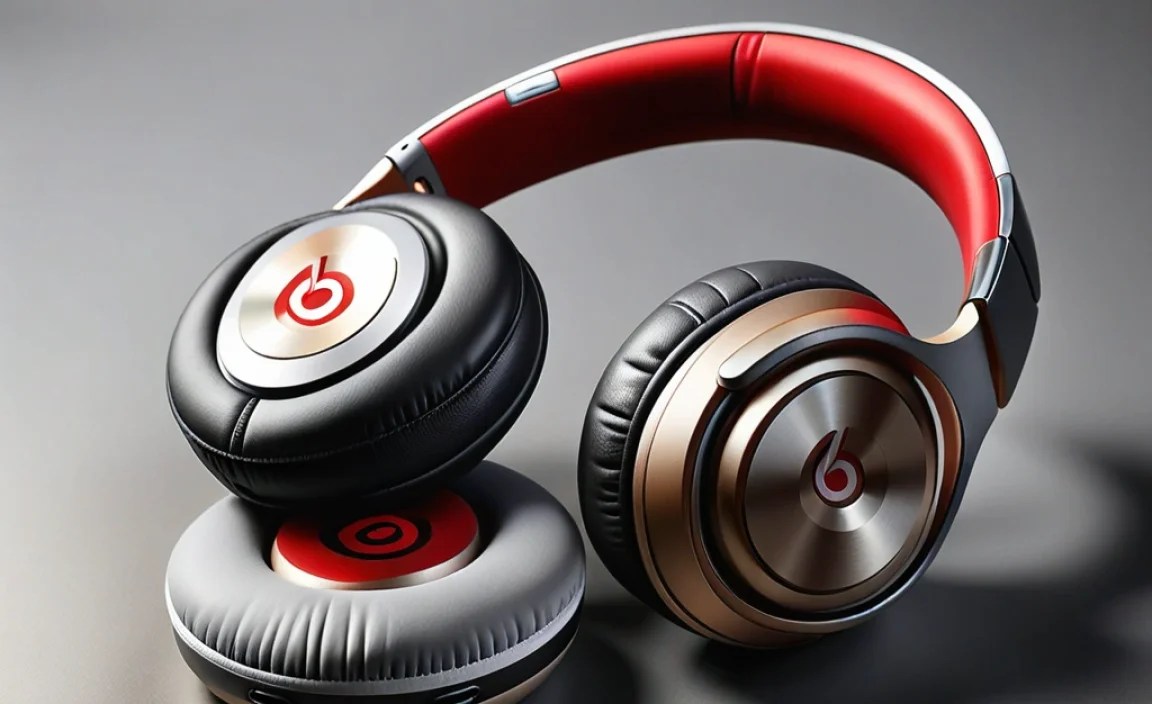
Replacing ear pads on most Beats headphones is a straightforward process. While there can be slight variations between models, the general principle involves gently prying off the old pads and snapping on the new ones. Here’s a general guide that applies to many popular models like the Beats Studio series.
Tools You Might Need
For most replacements, you won’t need many complicated tools, which is why it’s such a simple upgrade! However, having these on hand can make the process smoother:
- A plastic opening tool or guitar pick (to gently pry without scratching)
- A small, flat-head screwdriver (use with extreme caution, or preferably avoid if possible)
- Your new replacement ear pads
- A soft cloth (for cleaning)
Important Note: Always be gentle! The goal is to detach the old pads and attach the new ones without damaging your headphones.
Step 1: Prepare Your Workspace and Headphones
Find a clean, well-lit area to work. Place your headphones on a soft surface like a microfiber cloth to prevent scratches. Take a moment to examine how the current ear pads are attached. You’ll usually see a seam or a lip where the pad meets the headphone’s plastic housing.
Step 2: Gently Remove the Old Ear Pads
This is where you’ll need to be patient and careful.
- Locate the seam: Look for where the edge of the ear pad tucks into or clips onto the earcup.
- Use your tool: Carefully insert a plastic opening tool or the edge of a guitar pick between the ear pad and the earcup housing.
- Gently pry: Work your way around the edge, gently prying upwards. You’re aiming to release the clips or tabs holding the old pad in place. Avoid using excessive force.
- Listen for clicks: You might hear small clicks as the clips disengage.
- Never force it: If it feels like too much resistance, reassess. You might be prying in the wrong spot or using too much force.
For some models, the old pads might be glued on. If this is the case, gentle heat from a hairdryer (on a low setting, held at a distance) can sometimes soften the adhesive, making removal easier. However, most aftermarket replacements are designed to clip on, so this is less common.
Step 3: Clean the Earcup Housing
Once the old pads are off, take a moment to clean the area where they were attached. Use a dry, soft cloth to wipe away any dust, debris, or old adhesive residue that might be present. A clean surface will ensure the new pads seat properly.
Step 4: Attach the New Ear Pads
New ear pads typically have a lip or a series of clips that align with indents or hooks on the headphone’s earcup.
- Align the pad: Position the new ear pad over the earcup, paying attention to how the original pad was oriented.
- Match the seams/clips: Line up the edge of the new pad with the corresponding groove or set of clips on the earcup.
- Press firmly: Starting at one point, gently press the edge of the new pad down and inwards. You should feel or hear it “snap” or “click” into place.
- Work your way around: Continue pressing around the entire circumference of the ear pad until it is securely attached and flush with the earcup.
- Double-check the fit: Ensure there are no gaps and the pad feels stable.
Step 5: Test Your New Pads
Put your headphones on! They should feel more comfortable, create a better seal around your ears, and your audio should sound crisp and full. Take them for a spin with your favorite tracks.
| Beats Model | Common Replacement Method | Typical Material | Considerations |
|---|---|---|---|
| Beats Studio (2.0/3.0) | Clip-on, sometimes with a small adhesive strip. Pry gently. | Protein Leather, Memory Foam | Ensure good seal for bass. Lots of aftermarket options. |
| Beats Solo (2/3) | Often snap or glue on. Usually a simpler replacement. | Protein Leather, Memory Foam | Smaller pads, precise fit is key. |
| Beats Pro | Snap-on with a plastic ring. More robust. | Protein Leather, thicker foam. | Designed for heavy use; replacements should match. |
| Beats Mixr | Clip-on, similar to Studio. | Protein Leather, Memory Foam | Often requires a bit more force to snap in. |
Troubleshooting Common Issues
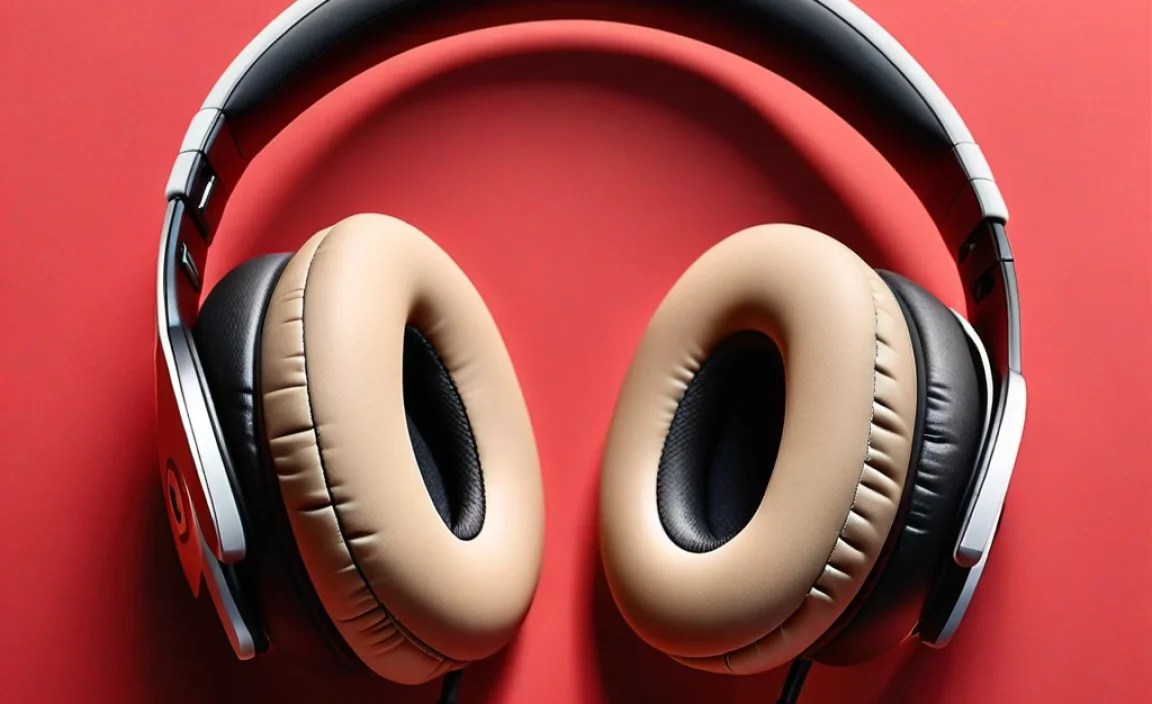
Even with a simple upgrade, you might run into a minor snag. Here’s how to handle them:
- Pad won’t snap on: Double-check that you have the correct pad for your model. Ensure no debris is blocking the clips. Sometimes, you need to exert a bit more firm, even pressure.
- Gap around the edge: The pad might not be seated correctly. Try removing it and reattaching, ensuring all clips engage.
- New pads feel too tight: Some memory foam pads can feel firmer initially. They often soften and conform after a few hours of use. If they remain uncomfortable, you may need to try a different brand or material.
- Sound seems “off”: A proper seal is crucial. Ensure both pads are creating an airtight seal around your ears. If one side seems worse, re-seat that pad.
Where to Buy Replacement Ear Pads

You’ve got a few excellent avenues for finding quality replacement ear pads:
- Amazon and Online Retailers: This is often the easiest place to find a wide selection of replacement pads from various brands. Look for sellers with high ratings and positive reviews that specifically mention compatibility with your Beats model.
- Specialty Audio Accessory Sites: Websites dedicated to headphone accessories often carry premium replacement pads made by brands like Dekoni Audio, Brainwavz, or others that focus on comfort and sound quality.
- Direct from Beats (Less Common/Expensive): While Apple/Beats does offer some repair services and parts, they often don’t sell individual ear pad replacements directly to consumers at a DIY price point. It’s usually more cost-effective to go the aftermarket route.
When purchasing, always cross-reference the product description to confirm it explicitly states compatibility with your specific Beats headphone model. Reading reviews can also give you insight into the comfort, durability, and sound quality of a particular set of pads.
Frequently Asked Questions (FAQ)
Q1: How often should I replace my Beats ear pads?
This really depends on how much you use your headphones and the conditions they’re exposed to. For most people who use their headphones daily, you might start noticing wear and tear after 1-3 years. If you notice reduced comfort, peeling material, or a significant decrease in sound isolation, it’s definitely time for a change.
Q2: Are aftermarket Beats ear pads as good as the originals?
Many aftermarket ear pads are excellent, and some are even superior to the original pads in terms of comfort and durability. Brands specializing in audio accessories, like Dekoni Audio or Brainwavz, often use higher-quality materials such as genuine sheepskin leather or premium memory foams. Just be sure to choose reputable brands and check reviews.
Q3: Will replacing my ear pads affect the warranty on my Beats headphones?
Generally, replacing wear-and-tear items like ear pads with aftermarket parts will not void your manufacturer’s warranty. However, if you damage your headphones during the replacement process, that specific damage would likely not be covered. For original Beats replacements, if available, this would not affect your warranty.
Q4: Can I use ear pads from one Beats model on another?
It’s generally not recommended unless the product description explicitly states they are compatible. Different Beats models have different earcup shapes and sizes, and using the wrong pads can result in a poor fit, compromised sound, and potential damage to the headphones.
Q5: My new ear pads feel stiff. Is that normal?
Yes, this can be normal, especially with new memory foam or protein leather pads. They often need a short break-in period. Wear them for a few hours a day for a few days, and they should soften and conform to your ears, providing increased comfort. Give them some time!
Q6: How do I clean my new ear pads?
For most protein leather pads, a slightly damp cloth (water is usually fine, avoid harsh chemicals) is sufficient. Wipe them gently. For stubborn spots, a tiny amount of mild soap diluted in water can be used, followed by a clean, damp cloth to remove any residue. Always allow them to air dry completely before use.
Q7: Can I use Beats ear pads on other brands of headphones?
Typically, no. While some universal headphone pads exist, Beats ear pads are specifically designed to fit the unique shape and mounting system of Beats headphones. Trying to force them onto other brands will likely not work and could damage either the headphones or the pads.
Conclusion: A Small Upgrade for a Big Impact
As you can see, upgrading your Beats ear pads is more than just a quick fix; it’s an investment in your listening experience. For a minimal cost and effort, you can restore lost comfort, potentially improve sound quality, and give your favorite headphones a fresh, new look. Whether your current pads are worn out, uncomfortable, or simply outdated, a fresh set is one of the smartest, most accessible upgrades you can make. So, don’t let worn-out ear pads hold you back from enjoying your music to the fullest. Grab a compatible pair, follow these simple steps, and rediscover the joy of listening with your revitalized Beats!
