
Upgrade your listening experience with the right earcup comfort! Replacing old or uncomfortable earcups is a simple, affordable way to make your favorite headphones feel new again, improving sound quality and preventing discomfort during long listening sessions. Learn how to choose and swap them out easily.
Earcup Comfort: The Essential Upgrade Your Headphones Deserve

Hey audio adventurers! Edward Cavitt here from headphonehorizon, your friendly guide to all things sound. Ever found yourself fiddling with your headphones, trying to find that sweet spot for comfort, only to end up with sore ears after just an hour?
You’re not alone! The earcups are where the magic (and the pressure!) happens, directly impacting how long you can enjoy your music, podcasts, or calls. Believe it or not, those soft cushions are often the first thing to wear out, and upgrading them can be a game-changer.
It’s like giving your beloved headphones a new lease on life, making them feel and sound better than ever. Let’s dive into why earcup comfort is crucial and how you can easily achieve it!
Why Earcup Comfort Matters More Than You Think

Your headphones are more than just speakers for your ears; they’re a personal portal to your audio world. The earcup is the primary interface between you and that world.
When they’re uncomfortable, it’s not just a minor annoyance – it can actually detract from your listening experience. Think about it: are you truly immersing yourself in that symphony or catching every nuance of a crucial audiobook narration when you’re constantly shifting, feeling pinched, or dealing with sweaty ears?
Beyond the physical discomfort, earcup integrity plays a vital role in sound quality. The seal created by the earcups is essential for accurate bass response and effective noise isolation. Worn-out or ill-fitting earcups can break this seal, leading to a thinner sound and allowing external noise to bleed in, forcing you to turn up the volume unnecessarily. This can be detrimental to your hearing health. According to the National Institute on Deafness and Other Communication Disorders (NIDCD), prolonged exposure to loud sounds can cause irreversible hearing damage.
Swapping out your earcups is a fantastic way to:
- Enhance Comfort: Say goodbye to pinching, pressure points, and irritation.
- Improve Sound Quality: Restore a proper seal for better bass and isolation.
- Extend Headphone Lifespan: Give your existing headphones a fresh start instead of buying new ones.
- Personalize Your Look: Some replacement earcups come in different colors and materials.
- Promote Hygiene: Old earcups can harbor germs and odors; fresh ones are hygienic.
Common Earcup Problems and What Causes Them
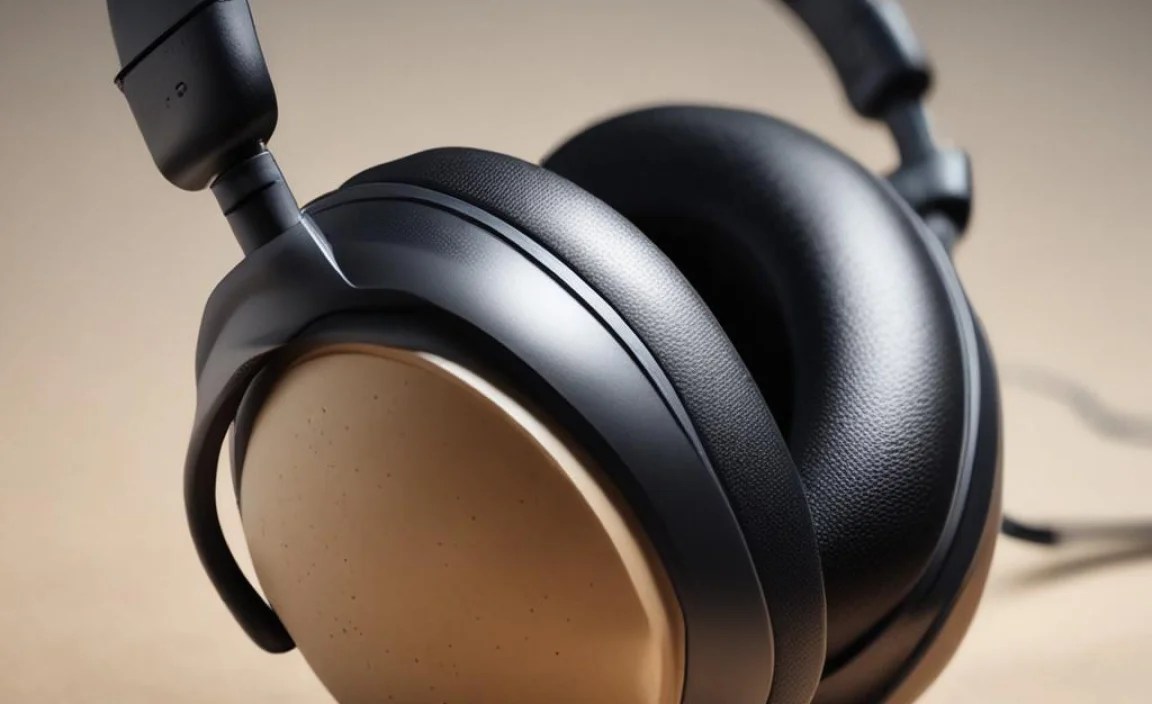
Even the most well-made headphones experience wear and tear. The most common culprit affecting earcup comfort is simply time and use. Here are a few issues you might encounter:
- Cracked or Peeled Material: The faux leather or pleather on many earcups is notorious for degrading over time due to friction, exposure to skin oils, sweat, and environmental factors like humidity and temperature fluctuations.
- Flattened Cushioning: The foam inside the earcups loses its loft and support with prolonged compression. This reduces their ability to cushion your ears and create a proper seal.
- Debris and Odors: Over time, earcups can accumulate dead skin cells, sweat, and dust, leading to unpleasant smells and potentially impacting hygiene.
- Loose Fit: The stitching or adhesive holding the earcups together might weaken, causing them to become loose or detach.
Understanding these common issues is the first step to fixing them. Fortunately, most of these problems have straightforward solutions!
Types of Earcup Materials and Their Pros & Cons

The material of your earcups significantly impacts comfort, sound, and durability. When looking for replacements, you’ll likely encounter these common options:
| Material | Pros | Cons | Best For |
|---|---|---|---|
| Velour/Velvet | Highly breathable, soft to the touch, reduces friction noise, good for long listening sessions, can improve soundstage for some headphones. | Less effective at noise isolation compared to leather, can attract dust and pet hair, may not be as durable as leather. | Warm environments, long listening sessions, users prone to sweating, audiophiles seeking a more open sound. |
| Sheepskin Leather | Extremely soft, supple, excellent passive noise isolation, durable, feels premium. | Can be expensive, less breathable (can get warm), may eventually crack or peel with extreme wear, can be harder to clean. | Noise-sensitive environments, users prioritizing premium feel and durability, cold/moderate climates. |
| Protein Leather (PU Leather) | Durable, easy to clean, good passive noise isolation, generally more affordable than sheepskin. | Can feel less premium than sheepskin, breathability is moderate, can become stiff or peel over time, may have a distinct odor initially. | Everyday use, users needing easy maintenance, budget-conscious buyers, good all-around performers. |
| Hybrid Materials (e.g., Protein Leather with Velour Contact Surface) | Combines the benefits of different materials – e.g., breathability of velour where it touches the ear with the durability and isolation of protein leather elsewhere. | Can be designed in many ways; performance varies by specific product, may be pricier than single-material options. | Users seeking a balance of comfort, isolation, and durability; can be a great compromise. |
Consider your listening environment and personal preferences. Do you often get hot ears? Velour might be ideal. Do you need to block out the world? Leather or protein leather will offer better isolation. For many, a hybrid approach offers the best of both worlds.
Choosing the Right Replacement Earcup
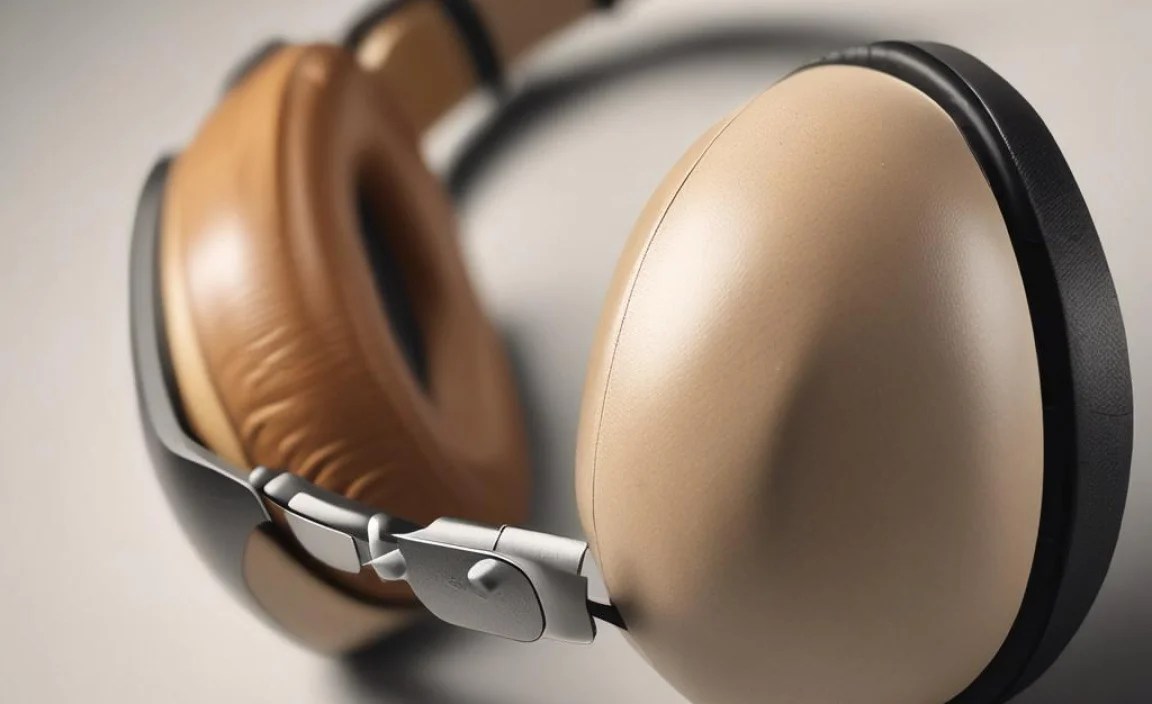
So, you’ve decided to upgrade. Great! Now, how do you pick the perfect replacements? Here’s a step-by-step guide:
Step 1: Identify Your Headphone Model
This might seem obvious, but it’s crucial. The earcups are model-specific. Look for the brand and model name on the headband, the side of the earcups, or in your original purchase documentation. If the branding has worn off, search online for images of your headphones or check their serial number if accessible.
Step 2: Measure Your Existing Earcups (If Unsure)
If you can’t find the exact model name or are looking at generic replacements, measure your current earcup. You’ll generally want to measure the external dimensions (length and width, or diameter if round) and sometimes the internal hole where the driver is housed. Most replacement earcup listings will provide dimensions, so match them as closely as possible.
Step 3: Research Replacement Earcup Brands and Retailers
Many reputable third-party companies specialize in replacement earpads. Some popular ones include:
- Dekoni Audio
- Brainwavz
- YAXI
- Comply (often for in-ear tips but they have some headphone options too)
You can also check directly with the headphone manufacturer, though they might be more expensive or only offer original parts. E-commerce giants like Amazon and eBay can be good sources, but always check seller reviews and product descriptions carefully.
Step 4: Consider Material and Comfort Again
Refer back to our table on materials. Think about your most common use case:
- Home Listening: Prioritize comfort and perhaps soundstage enhancement with velour.
- Commuting/Office: Focus on noise isolation with protein or sheepskin leather.
- Exercise: Look for breathable, sweat-resistant materials (though dedicated sport headphones are often better here).
Step 5: Check Compatibility and Fitment Guides
Reputable earcup sellers will often provide lists of compatible headphone models. Use these religiously. Some earcups are designed to clip on, while others use adhesive. Pay attention to how they attach.
Step 6: Read Reviews!
See what other users with your headphone model say about the replacement earcups. Do they mention improved comfort? Any issues with fit? Changes in sound? Reviews are invaluable.
How to Replace Your Headphone Earcup: A Simple Guide
This is often much easier than it looks! The exact method varies slightly by headphone model, but the principles are usually the same. You typically won’t need many, if any, tools.
Tools You Might Need (Optional)
- A thin plastic tool (like a guitar pick or plastic pry tool) – to gently unclip old earpads.
- A small flathead screwdriver (use with extreme caution, or ideally avoid) – if there are small clips.
- Tweezers – for removing any residual adhesive.
- A clean cloth – for wiping down the housing.
Step-by-Step Replacement Process
Let’s assume your headphones have earcup pads that are either clipped on or held by adhesive. This is the most common type.
- Prepare Your Workspace: Find a clean, well-lit area. Lay out your new earcups and any tools you might need.
- Remove the Old Earcup:
- For Clipped/Snapped-On Earcups: Gently insert a plastic pry tool or your fingernail into the seam between the earcup and the headphone housing. Slowly and carefully work your way around, applying gentle pressure. The old earcup should unsnap or unclip. Avoid using excessive force, which can break plastic clips.
- For Adhesive-Backed Earcups: You might see a slight lip where the earcup meets the housing. Carefully try to pry the edge up with a plastic tool. Sometimes, old adhesive can be stubborn. If so, a hair dryer on a low setting held a few inches away might help soften it slightly, making it easier to peel off. Be very careful not to overheat or melt any plastic components.
- For Earcups with a Plastic Ring: Some earcup pads have a plastic ring that slots into a groove around the driver housing. You might need to gently rotate the earcup to release it, or there might be small tabs to press.
- Clean the Housing: Once the old earcup is removed, inspect the headphone housing. If the old earcup used adhesive, there might be residue. Gently peel or roll it off with your finger. Use a slightly damp cloth (not wet!) to wipe away any dust or grime from the surfaces where the new earcup will sit. Ensure it’s completely dry.
- Attach the New Earcup:
- For Clipped Earcups: Align the new earcup with the housing. You should feel or see the points where it needs to snap in. Starting from one corner or edge, apply firm, even pressure. Work your way around, feeling each clip engage. If it doesn’t feel secure, check the alignment again.
- For Adhesive-Backed Earcups: Most replacement earcup pads come with a new adhesive backing pre-applied or with a separate adhesive ring. Carefully peel off the protective film from the adhesive. Align the new earcup precisely where the old one was. Start pressing down firmly from the center outwards, ensuring a good seal all around the edge.
- For Ring-Fit Earcups: Carefully slot the new earcup’s retaining ring into the groove on the headphone housing. You may need to rotate it until it clicks or locks into place.
- Test Them Out: Put your headphones on. Do they feel comfortable? Is the seal good? Play some music and listen for any changes in sound quality. If something feels off, you may need to gently remove and reposition the earcup.
Important Note: If you have particularly intricate headphones or are unsure, it’s always best to search for a video tutorial specific to your headphone model on platforms like YouTube. Visual guides can be incredibly helpful!
When to Consider More Advanced Customizations
While straightforward earcup replacement is the most common upgrade, dedicated enthusiasts sometimes explore further customizations. These can impact comfort and sound, but require more care and research.
Types of Earcup Fillings
Beyond the basic foam, some premium replacement earcups use different fillings:
- Memory Foam: Conforms to the shape of your head and ears, offering excellent comfort and a good seal.
- High-Density Foam: Offers firmer support and can sometimes improve bass response due to a more consistent seal.
- Gel Inserts: Can provide a cooling sensation and moldable comfort.
- Combination Fillings: Many high-end pads use a mix, like memory foam with a gel layer.
These specialized fillings usually come in pre-made earcup designs rather than being something you’d typically buy separately to stuff into existing earcups.
Modding Your Headphones
For the truly adventurous, “modding” can refer to anything from swapping earcups to altering internal damping materials or even modifying the headphone housing itself. This is where things can get technically complex and potentially void warranties. Resources like Super Best Audio Friends forums and dedicated head-fi communities offer deep dives into these practices. It’s recommended for experienced users who understand the risks and potential rewards. For most of us, focusing on high-quality earcup replacements is the perfect balance of enhancing comfort and sound without the technical headaches.
Frequently Asked Questions (FAQ)
Q1: How often should I replace my headphone earcups?
Most earcups, depending on material and usage, benefit from replacement every 1-3 years. If you notice cracking, peeling, significant flattening of the padding, or persistent smells, it’s definitely time for an upgrade.
Q2: Will new earcups change the sound of my headphones?
Yes, they can. A better seal often improves bass response. Different materials can also subtly alter treble or midrange frequencies. Velour might make the sound feel slightly more open, while denser materials might tighten the bass. It’s usually a positive change, especially if your old pads were worn out.
Q3: Can I use earcups from a different brand on my headphones?
Sometimes, yes! Many third-party replacement earcup manufacturers create designs intended to fit multiple headphone models. Always check compatibility lists or measure your existing earcup dimensions carefully before purchasing generic replacements.
Q4: My headphone earcups are sewn on. Can I still replace them?
This is less common for replaceable earcup designs. If they appear sewn or permanently attached, they might not be designed for user replacement. However, some high-end headphones might use a fabric lip that can be carefully tucked or un-tucked. It’s best to check the specific model’s documentation or look for online guides.
Q5: How do I clean my new earcups?
For most materials (especially protein or sheepskin leather), use a slightly damp microfiber cloth. For velour, a very gentle brush or a slightly damp cloth worked carefully might suffice. Always ensure they are completely dry before use. Avoid harsh chemicals or soaking the earcups.
Q6: Are expensive replacement earcups worth the money?
Often, yes. Higher-priced earcups from reputable brands typically use better materials, have more consistent construction, and are designed for specific headphone acoustics. If you use your headphones extensively, the increased comfort and potential sound improvement can justify the cost.
Give Your Ears the Comfort They Deserve
Upgrading your headphone earcups is one of the most effective and accessible ways to breathe new life into your audio gear. It’s a small change that can yield significant improvements in both comfort and sound quality, making your listening sessions more enjoyable and extending the useful life of your headphones. Whether you’re a seasoned audiophile looking to fine-tune your sound or a casual listener simply wanting to banish ear fatigue, the perfect replacement earcups are out there waiting for you.
Don’t let worn-out, uncomfortable earcups dictate your listening experience any longer. Take a little time to research, choose wisely, and follow the simple steps to replace them. You’ll be rewarded with headphones that feel like new, sound their best, and keep your ears happy, no matter how long your playlist is. Happy listening!
