
Quick Summary: Don’t toss those headphones yet! This guide offers simple, step-by-step tips for fixing a broken headphone jack. Learn to identify common issues, gather the right tools, and perform basic repairs to restore your audio experience affordably and effectively.
Fix Broken Headphone Jack Repair Tips: Your Essential Guide
Hey audio adventurers! Edward Cavitt here from Headphone Horizon. We’ve all been there: your favorite headphones suddenly cut out, the left earbud goes silent, or static crackles through your music. It’s frustrating when your trusty audio companions decide to take a break! But before you relegate them to the tech graveyard, grab a cup of your favorite brew, and let’s explore how you might just be able to fix that broken headphone jack yourself. Most of the time, a faulty jack isn’t a death sentence for your headphones; it’s often a fixable issue that can save you money and bring your music back to life. This guide is designed for everyday listeners and DIY enthusiasts who want clear, simple steps to get their headphones working again.
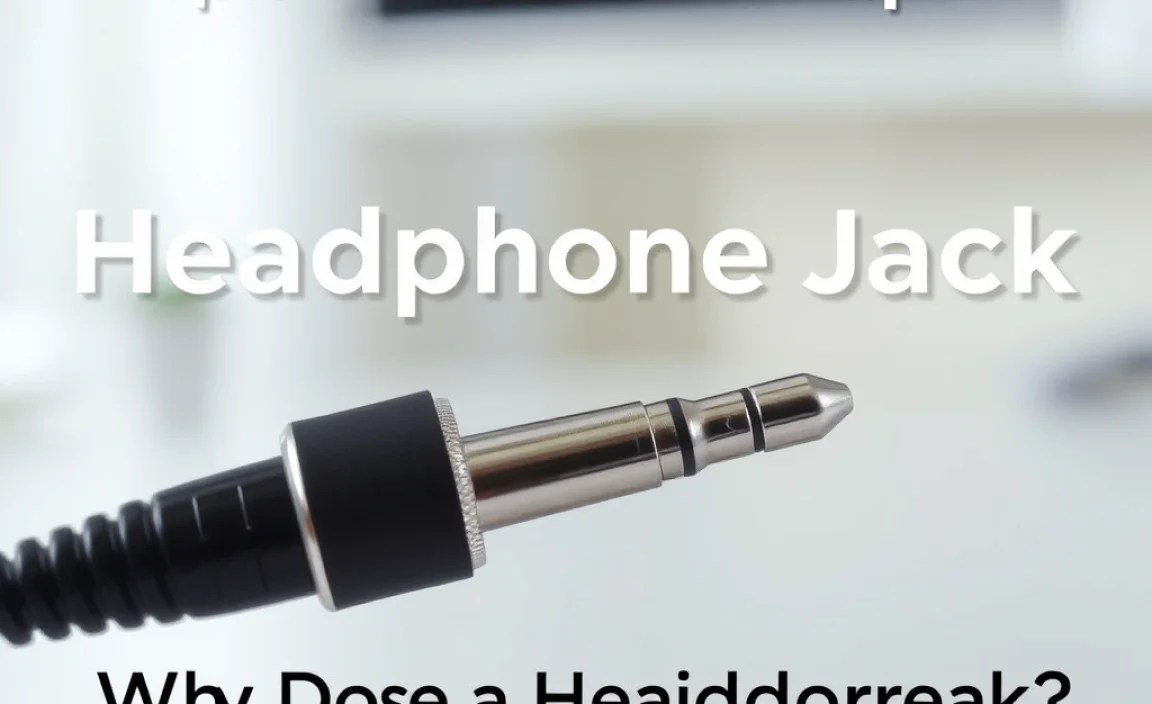
Why Does a Headphone Jack Break? Common Culprits
Before we jump into the fixes, it’s helpful to understand why headphone jacks tend to fail. They’re small, constantly moving parts, and honestly, they take a beating!
- Physical Strain: This is probably the most common reason. Yanking the plug from your device, tripping over the cord, or storing headphones carelessly can all put stress on the delicate connection between the jack and the cable.
- Wear and Tear: Over time, the constant plugging and unplugging, bending, and flexing can degrade the internal wiring and solder points within the jack itself.
- Corrosion: Exposure to moisture, sweat, or even just air can lead to corrosion on the metal contacts of the jack, leading to poor conductivity and audio dropouts.
- Manufacturing Defects: While less common, sometimes a jack might have had a minor flaw from the factory that eventually gives out.
Is Your Headphone Jack Actually Broken? Diagnosing the Problem

The first step to fixing a problem is understanding what the problem actually is! Here’s how to troubleshoot your headphone jack:
- Test with Different Devices: Plug your headphones into another phone, tablet, or computer. If they work perfectly there, the issue is likely with the device’s headphone port, not your headphones.
- Test Different Headphones: Plug a known working pair of headphones into the device you were using. If those headphones work fine, then your original pair definitely has a jack issue.
- Wiggle Test: Plug your headphones into your device and gently wiggle the headphone plug where it enters the jack. Listen for any changes in sound – crackling, intermittent audio, or full sound returning. If wiggling makes a difference, it strongly suggests a loose connection at the jack.
- Check for Visible Damage: Inspect the headphone jack itself. Is it bent, corroded, or excessively dirty? Look closely at the cable where it enters the jack – is there any fraying or exposed wire?
Gathering Your Repair Arsenal: Essential Tools

Don’t be intimidated by the word “tools”! For most simple headphone jack repairs, you won’t need a complex workshop. Here’s a list of what you’ll likely need:
- Replacement Headphone Jack: You can find these online from electronics suppliers or on sites like Amazon or eBay. Look for a TRRS (Tip-Ring-Ring-Sleeve) jack if your headphones have a microphone, or a TRS (Tip-Ring-Sleeve) jack for standard stereo headphones.
- Soldering Iron and Solder: A small, low-wattage soldering iron (around 15-30W) is ideal for delicate electronics. Leaded or lead-free solder specifically for electronics work is best.
- Wire Strippers: Small, precision wire strippers are crucial for carefully removing insulation from the headphone wires without damaging them.
- Pliers/Tweezers: Small needle-nose pliers or good quality tweezers are helpful for holding small wires and components.
- Heat Shrink Tubing or Electrical Tape: This will be used to insulate the newly soldered connections and protect them.
- Multimeter (Optional but Recommended): This tool can help diagnose electrical continuity and ensure your connections are sound. You can find affordable ones online.
- Magnifying Glass (Optional): Helpful for seeing tiny wires and solder points.
- Cutting Tool: A sharp craft knife or hobby blade for carefully trimming away old jack material if necessary.
- Safety Glasses: Always protect your eyes when working with tools and soldering.
Step-by-Step Guide: How to Fix a Broken Headphone Jack

Now for the main event! Follow these steps carefully. Remember, patience is key, and it’s okay if your first attempt isn’t perfect. This process assumes the break is at the jack itself, where the cable connects to the plug.
Step 1: Carefully Prepare the Cable
Many headphone jacks have a plastic housing that covers the solder points. You’ll need to remove this to access the wires.
- If the jack housing is screwed on, use a tiny screwdriver to remove the screws and separate the housing.
- If it’s a molded plastic housing, you might need to carefully cut it away. Use a sharp craft knife to make a shallow cut around the circumference of the housing where it meets the cable. Be extremely cautious not to cut into the internal wires. Gently pry the housing apart. Some housings might slide off after being cut or pried open.
- Once the housing is off, you’ll see the wires connected to the different metal terminals (solder points) of the jack. You’ll also likely see a thicker, often braided “ground” wire, and then thinner “signal” wires (usually red for the right channel and white or green for the left channel, and sometimes a separate wire for a microphone).
Step 2: Identify and Desolder Old Connections
This is where we disconnect the old, broken jack.
- Note or take a clear picture of how the wires are connected to the old jack terminals. This is crucial for re-soldering the new one correctly.
- If the wires are still attached to the old jack, heat up your soldering iron and carefully touch the tip to each wire’s solder joint on the terminal. The solder should melt. Gently pull the wire away with tweezers or by nudging it with the soldering iron tip. Avoid pulling hard, as this could damage the wire itself.
- If the old jack is completely mangled or fused, you might need to carefully cut the wires as close to the old jack terminals as possible.
Step 3: Prepare the New Headphone Jack and Wires
Get everything ready for the new connection.
- If your new headphone jack came with a housing, slide it onto the headphone cable before you do any soldering. You won’t be able to put it on later!
- Carefully strip about 5-10mm of insulation from the end of each wire coming from your headphone cable. Be precise – you want to expose the thin metal wire strands without cutting them.
- If the wires are very fine, you might need to twist the strands together neatly. If they appear oxidized or dull, you can tin them by applying a tiny bit of solder to them – this makes them easier to solder to the new jack.
Step 4: Solder the New Jack
This is the most critical step. Accuracy here means good sound.
Headphone jacks typically have 3 (TRS) or 4 (TRRS) connection points. Here’s a common layout:
Common Headphone Jack Terminal Layout (viewed from the soldering side):
| Terminal Name | Typical Wire Color(s) | Audio Channel/Function |
|---|---|---|
| Tip (T) | White / Green | Left Audio Channel |
| Ring (R) | Red | Right Audio Channel |
| Sleeve (S) | Black / Copper (often braided wire) | Ground |
| Extra Ring (TRRS) | Often Blue or bare wire | Microphone (if applicable) |
- Refer to the picture you took or the notes you made (or the table above if you have a standard jack).
- Heat the terminal on the new jack with your soldering iron.
- Touch the tinned end of the corresponding wire to the heated terminal. Add a small amount of solder if needed to create a clean, shiny connection.
- Work carefully, ensuring that no solder bridges connect adjacent terminals. This is a common cause of issues.
- Repeat for all wires (left channel, right channel, ground, and microphone if present).
Step 5: Insulate and Reassemble
Protect your hard work!
- Once all wires are soldered, carefully inspect your work. Ensure each wire is securely attached and that there are no unintended connections (solder bridges) between terminals.
- If your new jack came with a separate housing, carefully slide it back into place and secure it with any screws.
- If you had to cut a molded housing, you can use electrical tape or heat shrink tubing to secure and insulate the area where the cable meets the jack for added protection. Cut a piece of heat shrink tubing long enough to cover the solder joints and extend a bit onto the cable, then slide it over the connections and heat it gently with a heat gun or the side of your soldering iron (carefully!) until it shrinks snugly.
Step 6: Test Your Work
The moment of truth!
- Plug your repaired headphones into your device.
- Play some music or audio.
- Listen carefully to both the left and right channels.
- Check if the microphone works, if applicable.
- Gently wiggle the jack again. The sound should remain consistent and clear.
If everything works, congratulations! If not, don’t despair. Re-examine your solder joints, check for bridges, and ensure the wires are connected to the correct terminals based on your headphone’s wiring.
Alternative Scenario: Cleaning a Dirty Headphone Jack

Sometimes, the issue isn’t a broken wire but simply a dirty or corroded jack port on your device. This is less about repairing the headphone jack itself and more about cleaning the port it plugs into. This is a common and often very simple fix!
Tools for Cleaning:
- Clean, dry cotton swabs
- Isopropyl alcohol (90% or higher concentration)
- Compressed air can
Cleaning Steps:
- Power Off: Always turn off the device completely before cleaning the port.
- Initial Blow: Use a can of compressed air to blow out any loose dust or debris from the port. Hold the can upright and use short bursts.
- Dampen a Swab: Lightly dampen a cotton swab with isopropyl alcohol. Don’t soak it – you don’t want liquid pooling in the device.
- Gentle Cleaning: Carefully insert the damp swab into the headphone port and gently swirl it around. Be very gentle; the internal contacts are delicate. Try to clean the sides and bottom of the port.
- Drying: Allow the port to air dry completely. You can use another dry cotton swab or a gentle burst of compressed air to help speed this up.
- Retest: Once completely dry, turn your device back on and test your headphones.
For more complex port cleaning or if you suspect internal component damage on your device, consult the manufacturer’s guidelines or a professional repair service. For example, Apple provides support articles on cleaning device ports.
When to Call a Professional
While DIY repairs are rewarding, there are times when it’s best to seek professional help:
- Complex Headphone Designs: Some high-end or specialized headphones have intricate wiring or proprietary connectors that are difficult to work with.
- Damage Beyond the Jack: If the cable is frayed or damaged significantly further up from the jack, it might be too complex for a simple jack replacement.
- Lack of Confidence: If you’re uncomfortable with soldering or working with tiny components, it’s always better to get professional assistance to avoid causing more damage.
- Expensive Headphones: For very costly headphones, the risk of a DIY error might outweigh the potential savings. A professional repair service can offer peace of mind.
Frequently Asked Questions (FAQ)
Q1: How much does it usually cost to fix a headphone jack?
A: If you do it yourself, the cost is very low, usually just the price of a replacement jack and solder, typically under $10-20. Professional repair costs can vary widely, from $25 to over $100, depending on the complexity and the service provider.
Q2: Can I use super glue to fix a broken jack?
A: Generally, no. Super glue might hold a physically broken housing together, but it won’t fix the internal wire connections, which are the most common cause of a “broken” jack. It can also make future repairs much harder.
Q3: My headphones still don’t work after replacing the jack. What’s wrong?
A: This could be due to several reasons: a bad solder joint, solder bridging two contacts, a damaged wire further up the cable, or an issue with the headphone drivers themselves. Double-check your soldering and wire connections. If those are good, the problem might lie elsewhere in the headphones.
Q4: What is a TRRS jack and why does it matter?
A: TRRS stands for Tip-Ring-Ring-Sleeve. It’s a type of connector that has four conductive parts, allowing for stereo audio (left and right channels) plus a microphone channel and a ground. Most modern smartphones and laptops use TRRS jacks. A standard TRS jack (Tip-Ring-Sleeve) only has three parts for stereo audio and ground.
Q5: Is cleaning the headphone port on my phone safe?
A: Yes, cleaning the port on your device is generally safe if done carefully. Use only isopropyl alcohol and a cotton swab, and ensure the port is completely dry before plugging headphones back in. Avoid poking sharp or conductive objects into the port.
Q6: How can I prevent my headphone jack from breaking in the future?
A: Handle your headphones with care! Avoid yanking the cable; always grip the plug. Don’t bend the cable sharply at the jack. When storing them, coil them loosely rather than tightly, and use a protective case if possible. Be mindful of where the cable is to avoid snagging or stepping on it.
Your Audio Adventure Continues
There you have it – a comprehensive guide to tackling that broken headphone jack! It might seem a little daunting at first, especially if you’re new to soldering, but the process is quite manageable with a bit of patience and the right tools. Fixing your own headphones not only saves you money but also gives you a real sense of accomplishment and a deeper appreciation for your gear. Remember to handle your audio equipment with a little extra care going forward, and you can keep the music playing for a long, long time. Happy listening, and don’t hesitate to dive into more tips and guides here at Headphone Horizon!
