
Quick Summary: Don’t toss those headphones yet! This guide offers simple, effective solutions for a broken headphone jack. Learn to troubleshoot common issues and employ DIY fixes to restore your audio, saving you money and hassle. Get your music back with these genius fixes.
Fix Broken Headphone Jack Solution: Genius Fixes Anyone Can Do
Hey audio adventurers, Edward Cavitt here from headphonehorizon! Is your favorite pair of headphones suddenly silent, or worse, producing that frustrating crackle and pop? The culprit might be a broken headphone jack. It’s a common problem that can leave you feeling disconnected from your music, podcasts, or important calls. But before you look for a replacement, let’s explore some “genius” fixes that are surprisingly simple and can bring your beloved headphones back to life. We’ll break down the common causes, guide you through easy troubleshooting, and offer practical, DIY solutions that don’t require an engineering degree. Get ready to rediscover your sound!
Why Do Headphone Jacks Break Anyway?
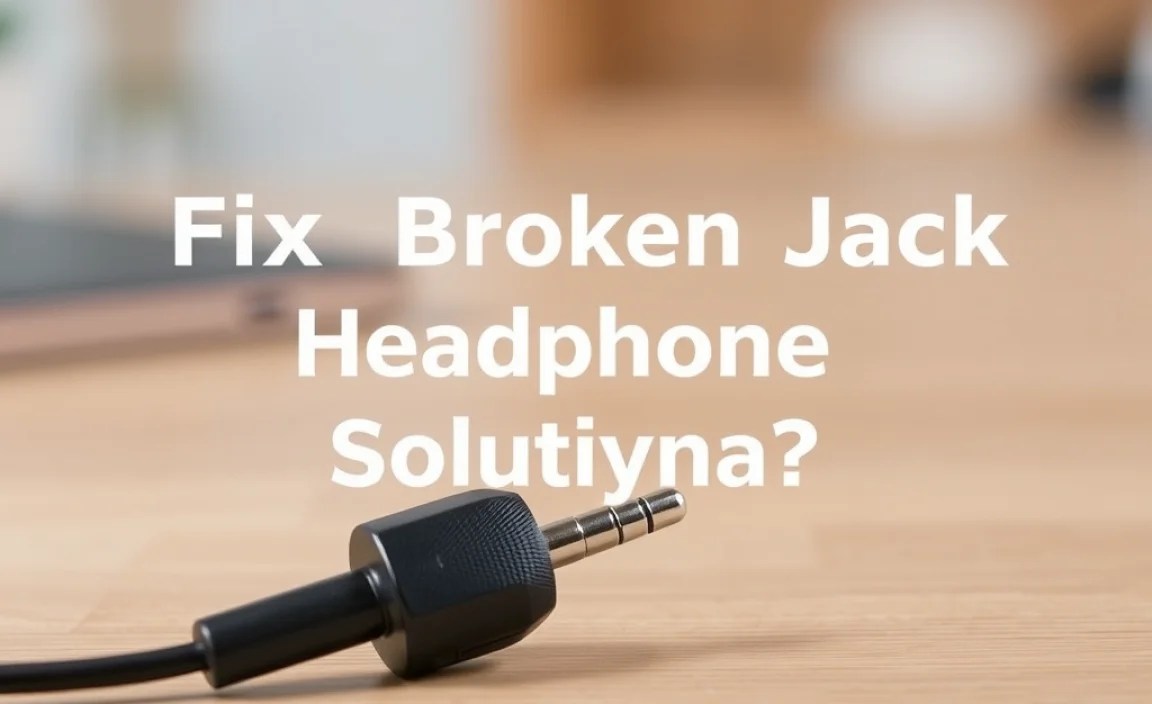
It might seem like a simple piece of metal and plastic, but like anything we use regularly, headphone jacks are susceptible to wear and tear. Understanding why they fail is the first step to fixing them. Most of the time, it’s not a mysterious electrical fault, but a physical one. Here are the most common culprits:
- Physical Stress: This is number one! Repeatedly bending the plug where it meets the cable, yanking the cord instead of pulling the plug, or dropping your device with headphones plugged in can all put immense strain on the delicate internal connections. This stress can lead to frayed wires or internal breaks.
- Corrosion: Earbuds and headphone jacks can be exposed to moisture and sweat. Over time, this can cause corrosion on the metal contacts of the jack itself or within the headphone port of your device. Corrosion acts like an insulator, preventing a clean connection.
- Dirt and Debris: Small particles of dust, lint, or pocket gunk can find their way into the headphone port of your device or even on the jack itself. This buildup can create an obstruction or interfere with the electrical connection.
- Manufacturing Defects: While less common, sometimes a headphone jack is simply not built to last. Poor soldering internally or weak materials can lead to premature failure.
- Accidental Damage: We’ve all been there – catching the cord on something and yanking it, or stepping on it. These sudden jerks can tear wires or break the solder joints within the jack housing.
Is It Really the Headphone Jack, or Your Device? Let’s Troubleshoot!

Before we dive into fixing the headphones themselves, it’s crucial to a determine if the problem lies with the jack, the cable, the headphones, or the device you’re plugging them into. This simple step can save you a lot of unnecessary work!
Step 1: Test Your Headphones on Another Device
This is the most fundamental troubleshooting step. If your headphones work perfectly fine when plugged into a different phone, laptop, or audio player, then the issue is almost certainly with the original device’s headphone port. If they still don’t work, then the problem is with your headphones.
Step 2: Test Another Set of Headphones on Your Device
Plug a different pair of headphones (that you know are working) into the suspect device and port. If these headphones also don’t work, or produce static, it strongly suggests the problem is with the device’s headphone jack port. If the other headphones do work, then your original headphones are the likely culprits.
If both tests point to your device’s port, you might be looking at either cleaning the port or, in more severe cases, needing a professional repair for the device itself. For advice on cleaning device ports, you can check out resources like this guide on cleaning electronic ports from iFixit, a trusted name in electronics repair.
Genius Fixes for a Broken Headphone Jack: DIY Solutions

So, you’ve confirmed the issue is with your headphones, specifically the jack. Don’t despair! Many common problems can be addressed with some simple tools and a bit of patience. Here are our top genius fixes.
Fix 1: Clean the Headphone Jack (The Easiest Fix!)
Often, a seemingly broken jack is just dirty. This is especially common if you store your headphones in a pocket or bag.
Tools You’ll Need:
- Compressed air can
- Toothpick or plastic spudger
- Isopropyl alcohol (90% or higher) – optional
- Cotton swab – optional
Steps:
- Turn Off Your Device: Always a good safety practice when working with electronics.
- Inspect the Jack: Look closely at the metal plug of your headphones. Can you see any visible dirt, lint, or gunk lodged in the crevices or on the metal contacts?
- Blast it with Air: Use a can of compressed air to blow out any loose debris. Hold the can upright and give short, sharp bursts. Aim towards the jack.
- Gently Scrape Away Debris: If compressed air didn’t do the trick, carefully use a toothpick or a plastic spudger (a non-metallic tool is best to avoid scratching) to gently dislodge any stubborn gunk. Be very careful not to damage the internal wires.
- Deeper Clean (Optional): For persistent grime, you can dip a cotton swab very lightly in isopropyl alcohol and gently swab the metal contacts. Ensure the alcohol evaporates completely before plugging anything back in.
- Test: Plug your headphones back in and see if the audio is restored.
This fix is incredibly effective for minor connectivity issues caused by buildup. It’s so simple, it feels like magic!
| Pros | Cons |
|---|---|
| Extremely easy and quick. Requires minimal tools. Safe for most headphone jacks. |
Only effective for dirt/debris issues. Won’t fix internal wire breaks or corrosion. |
Fix 2: The “Wiggle Test” & Cable Reinforcement
If you notice audio cutting out when you move the cable near the jack, you likely have a loose connection internally where the cable enters the jack housing. This is the most common failure point.
Tools You’ll Need:
- Heat shrink tubing (various sizes) OR strong electrical tape OR Sugru moldable glue
- Utility knife or sharp scissors
- Lighter or heat gun (for heat shrink)
- Wire strippers (if wires are exposed)
- Soldering iron and solder (if wires are broken and need rejoining – advanced)
Steps for Reinforcement (If Wires Aren’t Severed):
- Test for Loose Connection: Gently bend and wiggle the cable where it meets the jack. If the sound cuts in and out or changes volume, this fix is for you.
- Prepare the Jack: Carefully inspect the point where the cable enters the plastic/metal housing of the jack. You might need to gently remove some of the outer jacket material if it’s too bulky.
- Apply Reinforcement:
- Heat Shrink Tubing Method: Slide a piece of heat shrink tubing (large enough to cover the original jack housing and extend a bit onto the cable) over the jack. Gently heat it with a lighter or heat gun, moving constantly, until it shrinks snugly around the jack and cable. This can provide crucial structural support. You might need to carefully cut away some of the original jack’s outer plastic to allow the heat shrink to grip the cable effectively.
- Electrical Tape Method: Wrap the area tightly and securely with several layers of good quality electrical tape. Build up a robust reinforcement that prevents excessive bending.
- Sugru Moldable Glue Method: Sugru is wonderful for this. Knead a small amount of Sugru, mold it around the jack and the cable entry point, and let it cure according to the package instructions. It forms a strong, flexible rubber-like grip.
- Test: Gently tug and bend the reinforced area to ensure it’s sturdy. Plug in and test your audio.
Steps for Internal Wire Repair (Advanced):
If testing reveals exposed or broken wires within the jack housing, this is a more involved repair.
- Access Internal Wires: Carefully use a utility knife to cut away a small section of the black plastic housing of the headphone jack to expose the internal wires. Be extremely delicate as there are typically three or four very thin wires (left audio, right audio, ground, and sometimes a microphone wire or common wire). You may need to expose a small section of each wire’s insulation.
- Identify Broken Wires: Gently tug on each wire. If one breaks free easily, that’s your culprit. You can also use a multimeter if you have one.
- Strip Wires: If the wires are intact but the connection is broken, you’ll need to carefully strip a tiny amount of insulation (about 1-2mm) from the end of each wire you need to reconnect using wire strippers or a very sharp craft knife.
- Re-solder Connections: This requires a soldering iron. You’ll need to carefully re-solder the exposed wire strands to their original connection points on the jack’s terminals. This is a delicate process that requires practice. A common diagram for a 3.5mm jack wiring can be found on electronics forums or sites like All About Circuits.
- Insulate and Reinforce: Once soldered, use small pieces of heat shrink tubing over each individual solder joint, then use a larger piece of heat shrink or electrical tape over the entire repaired section for reinforcement.
- Test: After allowing everything to cool and secure, test your headphones.
The reinforcement method is genius because it doesn’t require perfect soldering skills and can prevent future breaks. The internal wire repair is for those who are comfortable with a soldering iron.
| Method | Pros | Cons |
|---|---|---|
| Cable Reinforcement (Tape/Sugru) | Prevents further damage. Easy to apply. No soldering required. Adds structural integrity. |
Doesn’t fix internal breaks. Can look a bit DIY. |
| Heat Shrink Tubing | Provides strong, professional-looking reinforcement. Durable. Good strain relief. |
Might require trimming original jack housing. Requires heat source. |
| Internal Wire Repair (Soldering) | Fixes actual broken wires. Restores full functionality. Permanent solution. |
Requires soldering skills and tools. Delicate process. Risk of further damage if done incorrectly. |
Fix 3: Replacing the Headphone Jack (The Ultimate DIY Fix)
If your jack is physically damaged (bent, broken off) or the internal wires are beyond repair, the most robust “genius fix” is to replace the entire jack. This is more involved but can make your headphones feel almost new.
Tools You’ll Need:
- Replacement 3.5mm headphone jack (available online from electronics suppliers)
- Soldering iron and solder
- Wire strippers
- Utility knife or wire cutters
- Heat shrink tubing (various sizes)
- Pliers (optional, for holding small parts)
- Magnifying glass (highly recommended)
- Multimeter (optional, but helpful for testing continuity)
Steps:
- Cut Off the Old Jack: Use wire cutters or a utility knife to cleanly cut off the old, broken headphone jack. Cut the cable about 1-2 inches away from the jack housing, ensuring you leave enough exposed cable to work with.
- Prepare the Cable: Carefully remove the outer black insulation from the headphone cable end (about 1-1.5 inches). You’ll expose a shield wire (often braided) and typically three or four insulated inner wires (left, right, ground, possibly mic).
- Expose Inner Wires: Gently strip about 1/4 inch of insulation from the end of each inner wire. Be careful not to nick the fine strands. Unbraid the shield wire and twist it together to form a single strand. Some jacks might require you to directly solder to the shield.
- Identify Jack Terminals: Examine your new headphone jack. It will have small metal terminals. You need to identify which terminal corresponds to the tip (left), ring (right), sleeve (ground), and any other function (like mic). A diagram of 3.5mm jack wiring is essential here. You can search online for “3.5mm headphone jack wiring diagram“.
- Tin Wires and Terminals: Apply a small amount of solder to the stripped ends of your headphone wires (“tinning”) and to each terminal on the new jack. This makes joining them much easier.
- Solder Connections: Carefully solder each prepared headphone wire to its corresponding terminal on the new jack. Use a magnifying glass and steady hands. If you’re unsure about which wire goes where, a multimeter can help by testing continuity between the old cable and the jack terminals before you cut.
- Insulate and Reinforce: Once the solder joints are complete and cooled, slide small pieces of heat shrink tubing over each individual solder joint to insulate them. Then, slide a larger piece of heat shrink tubing over the entire assembly, covering the jack housing and extending onto the headphone cable. Heat it to shrink for a robust and protected connection.
- Test Thoroughly: Plug in your newly repaired headphones and test all functions (left, right, volume controls if applicable).
Replacing the jack is arguably the most “genius” fix because it completely renews the most common failure point, giving your headphones a new lease on life. It requires precision and patience, but the reward is fully functional audio!
| Pros | Cons |
|---|---|
| Restores headphones to near-original functionality. Permanent solution for a damaged jack. Cost-effective if you value your headphones. |
Requires soldering skills and tools. Delicate process Small parts can be difficult to handle. Need to source a replacement jack. |
When to Call It Quits (Or Seek Professional Help)

While these DIY fixes can work wonders, there are times when the damage is too extensive, or the effort might outweigh the cost of new headphones. Consider these points:
- Severely Damaged Cable: If the cable itself is frayed, cut, or damaged extensively along its length (not just near the jack), it’s often better to replace the headphones.
- Internal Speaker Damage: If you’ve tried all the jack fixes and still have no sound, or if the sound is distorted from the speakers themselves, the problem lies deeper than the jack.
- Very Cheap Headphones: For earbuds that cost less than $10, the time and effort involved in complex repairs might not be worth it.
- Lack of Tools/Confidence: If you don’t have the necessary tools or feel uncomfortable with delicate repairs, it’s okay to seek out a local electronics repair shop.
- High-End/Sentimental Headphones: For valuable or cherished headphones, investing in a professional repair might be the best option to ensure quality work.
Frequently Asked Questions (FAQ) – Your Headphone Jack Worries Solved!
Q1: Can I really fix a broken headphone jack myself?
Yes! For many common issues like dirt, loose connections, or minor cable damage near the jack, simple DIY solutions are very effective. More complex repairs like soldering a new jack require specific skills and tools but are also achievable for enthusiasts.
Q2: What’s the most common reason my headphone jack stops working?
By far, the most common reason is physical stress and bending at the point where the cable enters the jack. This causes internal wires to break or fray over time.
Q3: How can I tell if it’s my headphones or my phone/laptop that’s broken?
Test your headphones on a different device, and test a different pair of headphones on your original device. If your headphones don’t work on any device,
