
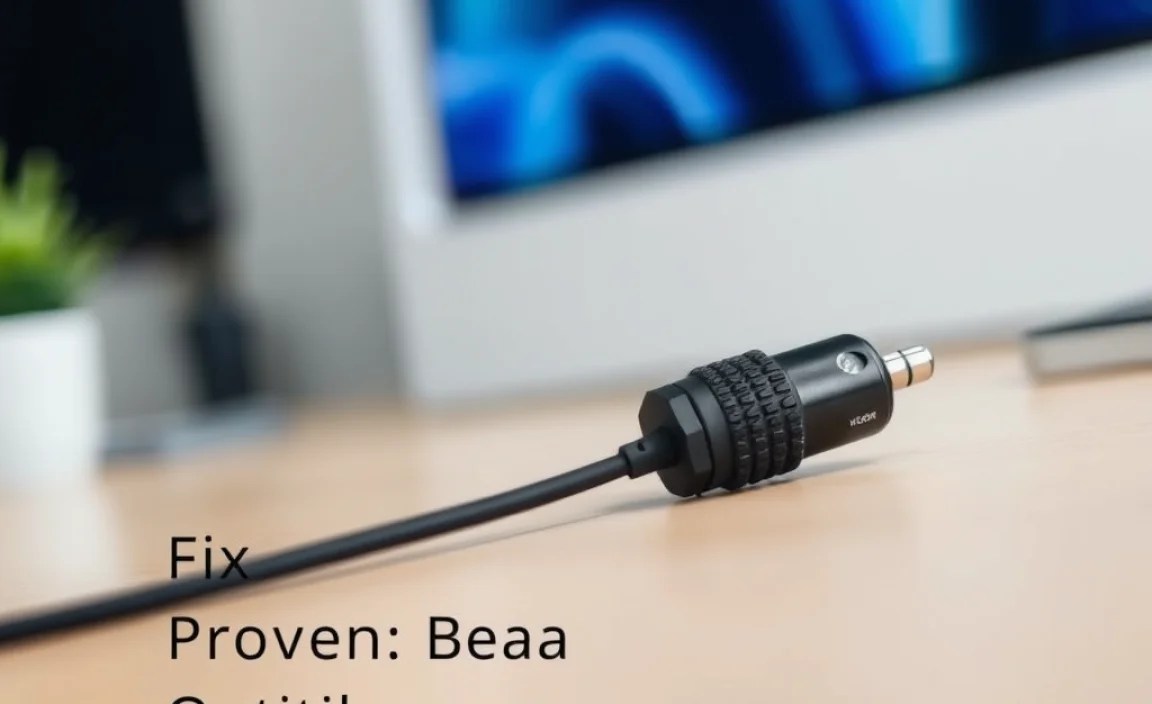
Broken Xbox headphone jack got you down? Don’t worry, Edward here from Headphone Horizon! This guide offers simple, proven fixes to get your audio back. We’ll troubleshoot common issues and walk you through easy solutions, so you can get back to gaming and chatting without missing a beat.
Fix Broken Headphone Jack Xbox: Proven Effortless Fix

Ah, the familiar hum of the Xbox, the thrill of the game, and then… silence. Or worse, a crackly, distorted mess where your sweet game audio or team chat should be. For many gamers, a broken headphone jack on their Xbox controller can be a major buzzkill. It’s frustrating when an essential piece of your gaming setup stops working, leaving you disconnected from the immersive worlds you love. But before you panic or consider a costly repair, know this: many common headphone jack issues are surprisingly fixable, often with simple steps you can do yourself. I’m Edward Cavitt, your guide from Headphone Horizon, and I’m here to demystify the process, turning what seems like a daunting technical problem into a straightforward, achievable fix. Let’s dive in and get your headset back in the game!
Why Does the Xbox Headphone Jack Break? Common Culprits

Before we jump into the fixes, it’s helpful to understand what usually causes a headphone jack to go south. Knowing the ‘why’ can help prevent future issues and guide our troubleshooting. Most problems stem from physical wear and tear or simple connectivity glitches. Here are the most common offenders:
- Physical Damage: This is the big one. Jamming the jack in forcefully, yanking the cable, or accidentally dropping the controller can bend or break internal connections. Over time, this stress can loosen things up.
- Dust and Debris: Yes, even tiny bits of lint or dust can find their way into the jack port over time. This can create a barrier, preventing a clean connection and leading to crackling or no audio at all. Think of it like trying to plug in a USB drive with a bit of fluff in the port – it just won’t seat properly.
- Corrosion: If your controller has been exposed to moisture (even humidity or sweat), corrosion can build up on the metal contacts inside the jack port. This interferes with electrical signals.
- Bent or Damaged Pins: The headphone jack itself has small pins that make contact with the port. If these pins are bent, dirty, or broken, you’ll experience audio problems.
- Software Glitches: Less common, but sometimes the Xbox itself can have a temporary audio glitch that makes it seem like the jack is the problem. A quick restart can often resolve these.
- Faulty Headset: It’s also worth considering if the issue might be your headset rather than the controller. We’ll touch on this too!
Troubleshooting Your Xbox Headphone Jack: A Step-by-Step Approach

Alright, let’s get down to business. We’re going to work through a series of checks and fixes, starting with the simplest and moving towards slightly more involved solutions. Remember, patience is key! We want to avoid causing further damage, so proceed gently.
Step 1: The Simple Re-plug and Test
This sounds almost too simple, but you’d be surprised how often this works. Sometimes, the connection just isn’t seated perfectly.
- Ensure your headset is fully unplugged from the controller.
- Take a moment to give the controller a quick visual inspection for obvious physical damage.
- Firmly but gently re-insert the headphone jack all the way into the controller’s audio port. You should feel a satisfying “click” or snug fit.
- Try plugging in your headset again.
- Turn on your Xbox and test the audio. Play a game or access the dashboard to see if the sound is working correctly.
If this solves it, fantastic! You’re back in action without a hitch. If not, don’t worry, we have more steps to try.
Step 2: Inspect and Clean the Jack Port
Dust, lint, and grime are silent audio assassins. A dirty port is a very common reason for a malfunctioning jack. Here’s how to clean it safely:
What You’ll Need:
- A can of compressed air
- A dry, lint-free cloth (like a microfiber cloth)
- Optional: A wooden or plastic toothpick (never metal!)
Cleaning Process:
- Power Down: Make sure your Xbox controller is turned off and disconnected from the console.
- Visual Inspection: Hold the controller up to a light source. Look carefully into the headphone jack port. Do you see any visible dust bunnies, lint, or debris?
- Compressed Air Blast: Hold the can of compressed air upright (this prevents propellant spray). Position the nozzle a few inches away from the port and give it a few short, sharp bursts of air. Angle the bursts to try and push any loose debris out of the port, not deeper in.
- Gentle Manual Cleaning (If Needed): If compressed air didn’t do the trick, and you can see stubborn debris, you can try using a toothpick. Crucially, use a wooden or plastic toothpick, not metal, to avoid scratching or shorting the internal contacts. Gently try to dislodge any visible particles. Be very careful not to push debris further in or scrape aggressively.
- Wipe Down: Use the dry, lint-free cloth to wipe the outside of the port and the surrounding area on the controller.
- Re-test: Plug your headset back in and see if the audio is working.
This cleaning step often resolves crackling, static, or intermittent audio issues caused by a poor connection.
Step 3: Check Your Headset
It’s easy to blame the controller, but sometimes the headset itself is the culprit. Let’s rule this out.
- Test on Another Device: If possible, plug your headset into a different device – a smartphone, tablet, computer, or even another Xbox controller. Does it work perfectly there?
- Test a Different Headset: If you have another headset available, plug it into your Xbox controller. Does the other headset work without issues?
If your headset works fine on other devices, the problem is likely with your Xbox controller. If another headset works on your Xbox, the problem is likely with your original headset. If neither headset works on your Xbox, the issue points more strongly to the controller’s jack.
Step 4: Look for Physical Damage to the Jack Plug
Now, let’s examine the plug on your headphone cable.
- Carefully inspect the metal tip of the headphone plug. Are any of the small metal segments bent, broken, or missing?
- Are the tip, ring, and sleeve (the different sections of the jack) clean? Sometimes buildup can occur here too. You can try cleaning these metal contacts gently with a dry cloth or a cotton swab slightly dampened with isopropyl alcohol (ensure it dries completely before re-inserting).
If the plug itself looks damaged, this could be the source of your problem. Replacing the headset might be the best solution in this case.
Step 5: Check Controller Settings and Software
While not a direct “fix” for a broken jack, sometimes a software glitch can mimic hardware failure. Let’s ensure your Xbox is set up correctly.
- Restart Your Xbox: A simple reboot can clear temporary software issues.
- Press and hold the Xbox button on the console for about 10 seconds until it completely powers off.
- Wait for about 30 seconds.
- Press the Xbox button again to turn the console back on.
- Check Audio Settings: Navigate to your Xbox’s Settings menu. Look for options related to “General” > “Volume & audio output”. Ensure that the correct audio output device is selected and that volume levels are set appropriately. Sometimes, headset audio might be muted or set to chat only.
- Update Controller Firmware: If you’re using a wireless controller, its firmware can sometimes cause issues. Connect your controller via a USB cable to your Xbox or PC and check for firmware updates. You can usually do this through the Xbox Accessories app on your Xbox or Windows PC. Here’s a good resource from Microsoft on updating controllers: updating controller firmware.
Step 6: The “Wiggle Test” (Proceed with Caution!)
This is a common “hacker” fix that can sometimes indicate the nature of the problem, but it should be done with extreme care. If you suspect an internal connection is loose:
- Plug your headset into the controller.
- Play some audio or a game.
- Gently wiggle the headphone jack plug while it’s plugged in. Try wiggling it up and down, side to side, and in and out slightly.
What to look for:
- Does the audio cut in and out or crackle more as you wiggle it?
- Does a specific position bring the audio back?
If wiggling the jack temporarily restores audio or makes the problem worse, it strongly suggests a loose internal connection within the controller’s audio port. This is often a sign that the port itself may need repair or replacement, as the solder points connecting it to the controller’s circuit board may have cracked.
Advanced Fixes: When to Call in the Pros (or DIY Carefully)

If the simpler steps haven’t worked, and the “wiggle test” suggests an internal issue, you’re likely facing a hardware problem with the jack itself. At this point, your options become a bit more involved.
Option 1: Controller Replacement
For many gamers, especially those with older or heavily used controllers, the most practical and often cost-effective solution is simply to replace the controller. New controllers come with a fresh jack port and a warranty, offering peace of mind. The cost of a new controller can sometimes be less than the time and effort (or professional repair cost) of fixing an old one.
Pros of Replacement:
- Guaranteed working jack.
- Modern features (if upgrading).
- No technical skills required.
- Warranty provided.
Cons of Replacement:
- Cost of a new controller.
- May need to re-pair with your Xbox.
- Environmental impact of discarding old electronics.
Option 2: Professional Repair
There are third-party repair services that specialize in console and controller repairs. If you have a sentimental attachment to your controller or it’s a special edition, this might be worth considering.
Pros of Professional Repair:
- Can potentially save your favorite controller.
- Experts handle the delicate soldering work.
- Often more economical than buying a new high-end controller.
Cons of Professional Repair:
- Cost can vary; sometimes exceeding controller cost.
- Turnaround time can be lengthy.
- Finding a reputable service requires research.
- Warranty on the repair might be limited.
Option 3: DIY Repair (For the Technically Inclined)
This is the most challenging option and is only recommended for those with experience in electronics repair, specifically soldering. The headphone jack is typically soldered onto the controller’s main circuit board. If the solder joints have failed, they can sometimes be re-soldered.
What you might need:
- Controller disassembly tools (e.g., small Phillips head screwdrivers, plastic spudgers).
- Soldering iron with a fine tip.
- Solder wire.
- Desoldering braid or pump.
- Magnifying glass or microscope.
- Isopropyl alcohol for cleaning.
- A reliable guide or video tutorial specific to your controller model.
Important Considerations for DIY Repair:
- Voids Warranty: Opening your controller will absolutely void any remaining warranty.
- Risk of Further Damage: It’s very easy to damage delicate traces on the circuit board or other components if you’re not experienced.
- Complexity: Even skilled technicians can find controller internals tricky.
If you’re considering this, I highly recommend watching detailed teardown and repair videos for your specific Xbox controller model. Resources like iFixit often have excellent guides and tools for electronics repair.
Troubleshooting Table: Quick Reference
Here’s a quick rundown to help you diagnose the issue:
| Symptom | Possible Cause | Recommended Action |
|---|---|---|
| No Audio at All | Headset not plugged in fully, dirty jack port, faulty headset, controller software issue, internal jack damage. | Re-plug, clean port, test headset elsewhere, restart Xbox, check settings. |
| Crackling or Static | Dirty jack port, loose internal connections, damaged cable/plug, debris in port. | Clean port thoroughly, gently wiggle test (exercise caution), inspect cable. |
| Audio Cuts In and Out | Loose internal connection, damaged cable, interference (less likely for jack itself but possible). | Wiggle test (caution), inspect cable, consider internal repair/replacement. |
| Chat Audio Works, Game Audio Doesn’t (or Vice Versa) | Incorrect headset settings on Xbox, faulty headset wiring (specific channels). | Check Xbox audio output settings, test headset with another device. |
Frequently Asked Questions (FAQ)
Q1: Can I use my phone headphones with my Xbox controller?
A1: Yes, most standard smartphone headphones with a 3.5mm TRRS (Tip-Ring-Ring-Sleeve) connector will work with modern Xbox controllers that have the 3.5mm jack. Some older controllers might require an adapter. The key is that the plug is compatible.
Q2: My controller is still under warranty. Should I try to fix it myself?
A2: Absolutely not! If your controller is under warranty, attempting any DIY repair will void it. Contact Microsoft Support or the retailer you purchased it from to arrange for a warranty repair or replacement. You can find information on Xbox support here: Xbox Support.
Q3: What’s the difference between a 2.5mm jack and a 3.5mm jack on a controller?
A3: Most modern Xbox controllers use a 3.5mm jack, which is the standard size for most consumer headphones and headsets. Older Xbox 360 controllers used a proprietary 2.5mm jack, and often required a specific adapter to use standard headphones. Always check your controller model to be sure.
Q4: How often should I clean my Xbox headphone jack?
A4: It’s a good idea to give it a quick visual check and perhaps a blast of compressed air every few months, or whenever you notice audio issues. If you use your headset extensively or in dusty environments, you might want to clean it more frequently.
Q5: Does the specific type of cable matter for the headphone jack?
A5: For standard audio and microphone input/output, a standard 3.5mm audio cable should work. However, some high-end gaming headsets use specialized cables that might carry additional data for features like surround sound processing. If your headset has such features and they stop working, and the jack itself seems physically okay, investigate the headset’s proprietary cable or software.
Q6: I tried all the steps, but my headphone jack still doesn’t work. What now?
A6: If you’ve gone through all the troubleshooting steps, including testing your headset elsewhere and cleaning the port, and the issue persists, it’s highly probable that the headphone jack port on your controller has experienced internal hardware failure. Your best options at this point are to either replace the controller or investigate professional repair services.
Conclusion: Get Your Audio Back on Track!
Dealing with a broken headphone jack on your Xbox can feel like a significant setback to your gaming experience. The good news is that many of these issues are common and, thankfully, often fixable with a bit of know-how and patience. We’ve walked through cleaning the port, checking your hardware, ensuring software settings are correct, and even discussed when it might be time for a replacement or professional help.
