
Quick Summary: Don’t toss your favorite headphones if the jack is broken! This guide offers simple, beginner-friendly methods to diagnose and potentially fix a damaged headphone jack, saving you money and hassle. We’ll cover basic checks, common DIY fixes, and when it’s time to seek professional help, ensuring you can get back to your audio in no time.
Fix Broken Headphone Jack: Your Genius, Effortless How-To Guide
Hey there, audio lovers and everyday listeners! Edward Cavitt here, your guide from Headphone Horizon. We all know the sheer frustration: blasting your favorite tunes, diving into a podcast, or prepping for an important call, and suddenly… silence. Or worse, a crackly, distorted mess. The culprit? Often, it’s our trusty headphone jack that’s decided to call it quits. Before you relegate those beloved headphones to the dusty drawer of no return, let’s explore how you might just bring them back to vibrant life. Fixing a broken headphone jack might sound daunting, but with a few simple steps and a bit of patience, you might be surprised at what you can achieve. This guide is designed to be your go-to resource, demystifying the process so you can get back to enjoying crystal-clear sound without breaking the bank.
Why Does a Headphone Jack Break Anyway?
It’s a common problem, and there are usually a few culprits behind a busted headphone jack. Understanding these can help you prevent future issues and guide your repair efforts.
- Wear and Tear: This is the most frequent reason. Repeated plugging and unplugging, especially if done vigorously, can loosen connections inside the jack or strain the cable where it enters the jack.
- Cable Strain: Yanking the cord, stepping on it, or allowing it to get caught on furniture can put immense stress on the delicate wires within the cable, often leading to breaks near the jack.
- Internal Wire Breaks: The tiny wires inside the headphone cable transmit audio signals. These can fray or break internally over time, especially with constant bending and movement.
- Bent or Damaged Jack: Accidentally bending the metallic part of the jack itself can cause internal damage or prevent it from making proper contact with the audio port.
- Corrosion or Debris: Over time, the metal components of the jack can corrode, or small pieces of debris can accumulate, interfering with the electrical connection.
Diagnosing the Problem: Is It Really the Jack?
Before we dive into fixing, let’s make sure the headphone jack is indeed the problem. Sometimes, the issue might be with your device’s audio port.
Simple Tests to Pinpoint the Fault:
- Test with Another Pair of Headphones: Plug a different pair of headphones into the same device. If they work perfectly, the issue is almost certainly with your original headphones.
- Test Your Headphones on Another Device: Plug the problematic headphones into a different audio source (e.g., another phone, laptop, or tablet). If they still don’t work or have the same issues, the headphones are the likely culprit.
- Wiggle Test: Plug the headphones into your device and gently wiggle the connector where it meets the jack. If you hear sound cutting in and out or changing in quality as you move it, this strongly indicates a loose connection at the jack or within the cable near the jack.
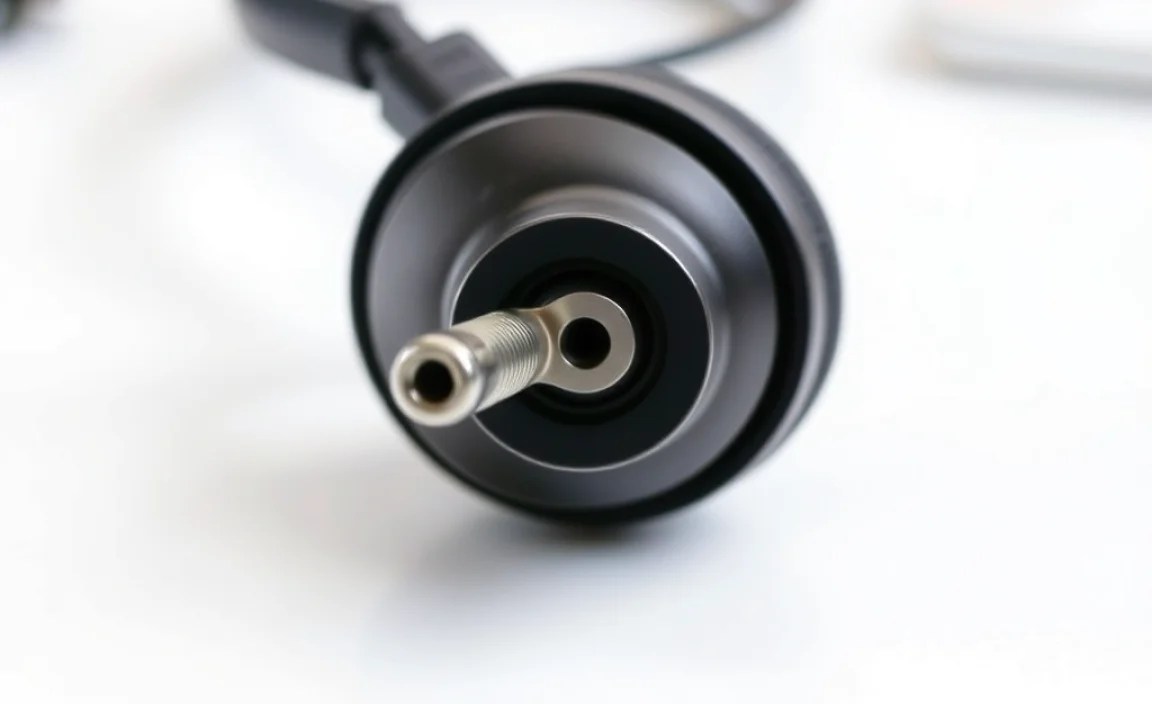
- Visual Inspection: Carefully examine the headphone jack itself. Look for any visible signs of damage, bending, or corrosion. Also, inspect the cable where it enters the jack for any fraying or damage.
Tools You Might Need for a DIY Fix
Depending on the repair, you might need a few basic tools. Don’t be intimidated; these are generally easy to find!
- Small Phillips Head Screwdriver and/or Prying Tools: For opening up the jack housing if it’s a modular design.
- Wire Strippers or a Sharp Knife/Blade: To carefully strip the outer insulation of the headphone cable.
- Soldering Iron and Solder: The most robust way to fix broken internal wires. If you’re new to soldering, there are plenty of beginner tutorials online, such as those found on educational platforms like Coursera.
- Heat Shrink Tubing or Electrical Tape: To insulate and protect repaired wire connections.
- Magnifying Glass: To help see the tiny wires.
- Patience and a Steady Hand: These are crucial!
Common Fixes for a Broken Headphone Jack (Beginner-Friendly)
Let’s get to the good stuff! Here are a few methods you can try, starting with the simplest.
Method 1: The Cleaning Approach (For Debris or Minor Corrosion)
Sometimes, the jack is fine, but dirt or grime is preventing a good connection. This is the easiest fix and worth trying first.
- Gather Your Supplies: You’ll need a can of compressed air and a cotton swab dipped very lightly in isopropyl alcohol (rubbing alcohol). Ensure the alcohol is 90% or higher for best results and dries quickly.
- Clean the Jack: Gently spray some compressed air into the headphone jack of your device to blow out any loose dust or debris.
- Dab with Alcohol: Dampen a cotton swab with isopropyl alcohol. Gently swipe the inside edges of the headphone jack. Be careful not to saturate it. The alcohol helps dissolve grime and evaporates quickly.
- Dry It Out: Let the jack air dry completely for a few minutes. You can use a little more compressed air to speed this up.
- Test: Plug your headphones back in and see if the connection is improved.
Method 2: Cable Repair (When Wires are Exposed or Broken Near the Jack)
This is for when you see visible damage to the cable right where it meets the jack, or if the wiggle test suggested a break there.
Sub-Method 2a: Simple Reconnection with Electrical Tape
This is a temporary fix but can sometimes work wonders if the internal wires aren’t completely severed.
- Examine the Cable: Look closely at the cable where it enters the headphone jack. If the outer rubber insulation is split and you can see the colored wires (usually red, white, green, and a bare ground wire) peeking out, this method might help.
- Gently Reposition Wires: Very carefully, using tweezers if needed, try to push the exposed wires back together so they are touching each other as they should be.
- Secure with Electrical Tape: Tightly wrap the damaged area with electrical tape. Build up a few layers to create a secure, protective sleeve. Ensure the tape extends a little onto the intact cable and the jack itself.
- Test: Plug in your headphones and test for sound. This method works by ensuring the wires are touching again.
Note: This is often a short-term solution, as the internal stress can cause it to fail again.
Sub-Method 2b: Soldering for a Permanent Fix
This is the most reliable DIY method if internal wires have broken and you’re comfortable with soldering.
- Prepare the Jack Housing: Most headphone jacks are encased in plastic. You might need to carefully pry open this plastic housing or unscrew it if there are tiny screws. Some jacks are molded and cannot be opened easily; in those cases, you’ll need to replace the entire jack and cable.
- Identify the Wires: Inside the jack housing, you’ll see wires connected to different terminals. Typically, there are four wires:
- Ground (often bare copper or black)
- Left Audio Channel (often green or white)
- Right Audio Channel (often red or blue)
- Microphone/Control Wire (if applicable, often a different color or a shielded wire)
Having a diagram for your specific type of jack can be incredibly helpful. A quick search for “headphone jack wire colors” might give you context.
- Ground usually connects to the longest terminal.
- Left and Right Audio connect to shorter terminals.
- Mic/Control connects to the remaining terminal.
Tip: If you’re new to soldering, practicing on some scrap wire first can build your confidence. Websites like Adafruit’s Learning System offer excellent soldering tutorials.
Method 3: Replacing the Entire Headphone Jack
If your jack is physically mangled, or if the cable is damaged far from the jack and you want a clean repair, replacing the entire jack is an option. This requires a bit more precision.
Steps for Jack Replacement:
- Purchase a Replacement Jack: You can buy replacement 3.5mm headphone jacks online from electronics suppliers. Look for jacks that match your needs (e.g., stereo, with microphone support).
- Cut Off the Old Jack: Cut the headphone cable about 1-2 inches away from the existing jack.
- Strip the Cable: Carefully strip away the outer insulation of the headphone cable, exposing the inner wires. Then, strip the insulation from each individual wire.
- Prepare the New Jack: Examine your new jack. It will have terminals clearly marked or arranged for ground, left, right, and mic (if applicable).
- Solder the Wires: Following the color coding and terminal layout of your new jack (which may differ from your old one – check its instructions!), tin and solder each wire as described in Method 2b.
- Insulate and Secure: Use heat shrink tubing and electrical tape to insulate all connections and reinforce the new jack connection.
- Test: Test your headphones thoroughly.
When to Call a Professional or Consider Replacement
Not every broken headphone jack is a candidate for DIY repair. Here’s when you might want to step back:
- Unopened, Molded Jacks: Many modern headphones have jacks which are completely molded from plastic. There’s no way to open them to access the internal connections.
- Severely Damaged Cable: If the cable is frayed or damaged extensively along its length, not just at the jack, a repair might not be worth the effort.
- Lack of Confidence or Tools: If you’re uncomfortable with fine-detail work, soldering, or simply don’t have the right tools, forcing a repair could cause more damage. You can often find local electronics repair shops that can help.
- Cost vs. Value: For very inexpensive headphones, the time and effort involved in repair might outweigh the cost of simply buying a new pair.
For high-end or cherished headphones, consider professional repair services. Established audio repair shops or even some manufacturers offer repair services. The U.S. government’s Consumer Product Safety Commission offers resources and tips on electronics safety that are good to keep in mind when undertaking any repair: CPSC – Electrical Safety.
Table: Common Headphone Jack Faults and Solutions
| Symptom | Likely Cause | Easiest Fix | More Permanent Fix |
|---|---|---|---|
| No sound in one or both earcups, or intermittent sound when wiggling cable near jack. | Loose internal wire connection at the jack. | Electrical tape wrap (temporary). | Soldering wires to a new jack or re-soldering to old jack terminals. |
| Crackling or distorted audio, especially noticeable at higher volumes. | Internal wire break, poor connection, or damaged jack. | Cleaning the jack. | Soldering repair or jack replacement. |
| Headphones completely silent on all devices. | Major wire break or internal jack damage. | N/A | Soldering repair or jack replacement. |
| Audio cuts out when cable is moved. | Cable strain break near the jack. | Electrical tape wrap (temporary). | Soldering repair or jack replacement. |
FAQ: Your Burning Questions About Headphone Jack Repairs
Q1: My headphone jack is bent. Can I fix it?
A: If the metal plug itself is slightly bent, you can very carefully try to straighten it using pliers. However, if it’s severely bent or cracked, it likely has internal damage and might need to be replaced entirely.
Q2: How do I know which wire connects to which terminal on the jack?
A: This is crucial for soldering! The most common pinout for a standard 3.5mm stereo jack is: The longest terminal is Ground. The next terminals (often split by a small insulator) are for the Left and Right audio channels, usually in that order from inside out. If your headphones have a microphone, there will be a fourth terminal for that.
For specific wire colors and their functions, a quick internet search for “headphone jack wire colors guide” can provide diagrams. Always double-check diagrams related to your wire colors.
Q3: I don’t have a soldering iron. Are there any other ways to fix broken wires?
A: For a truly reliable fix, soldering is highly recommended. However, some people have had temporary success using specialized conductive glue or very carefully twisting and securing wires with tiny connectors, but these are generally less durable and prone to failure. If you don’t have a soldering iron, consider borrowing one or buying an inexpensive beginner kit.
Q4: My headphones have a microphone. Does that make the repair harder?
A: Yes, a bit. If your headphones have a microphone in the inline remote or the cable, there will be an extra wire and an extra terminal on the jack to connect. You’ll need to identify this wire (it’s often braided or shielded) and connect it to the correct terminal on your replacement jack. It adds another point of potential failure, so precision is key.
Q5: Is it safe to try fixing my headphones myself?
A: Yes, for the most part. As long as you are working with unplugged devices and are careful not to cause short circuits (which could damage your audio source), there’s minimal risk. The most important safety aspect is ensuring your repaired connections are well-insulated with electrical tape or heat shrink tubing to prevent them from touching each other or anything else.
Q6: I tried fixing it, but it still doesn’t work. What now?
A: Don’t get discouraged! Troubleshooting is part of the process. Double-check all your soldered connections for continuity (a multimeter can help here if you have one). Ensure no wires are touching that shouldn’t be. If the damage is extensive or the jack is molded and irreparable, it might be time to accept that these headphones have reached the end of their road or seek professional help.
Conclusion: Bringing Your Audio Back to Life
Having a broken headphone jack can feel like a real setback, interrupting your flow and your ability to enjoy your favorite sounds. But as we’ve explored, it doesn’t always mean the end of the line for your beloved headphones. From simple cleaning to more involved soldering fixes, many common jack problems are within the grasp of the everyday listener willing to give it a try. Remember to start with the easiest diagnostic steps, gather your tools, and approach the repair with patience.
Even if a DIY repair doesn’t pan out, you’ve gained valuable knowledge about your gear, and you’ll be better equipped to decide on the next steps – whether that’s seeking professional help or investing in a new pair. Most importantly, you’ve explored the possibility of extending the
