
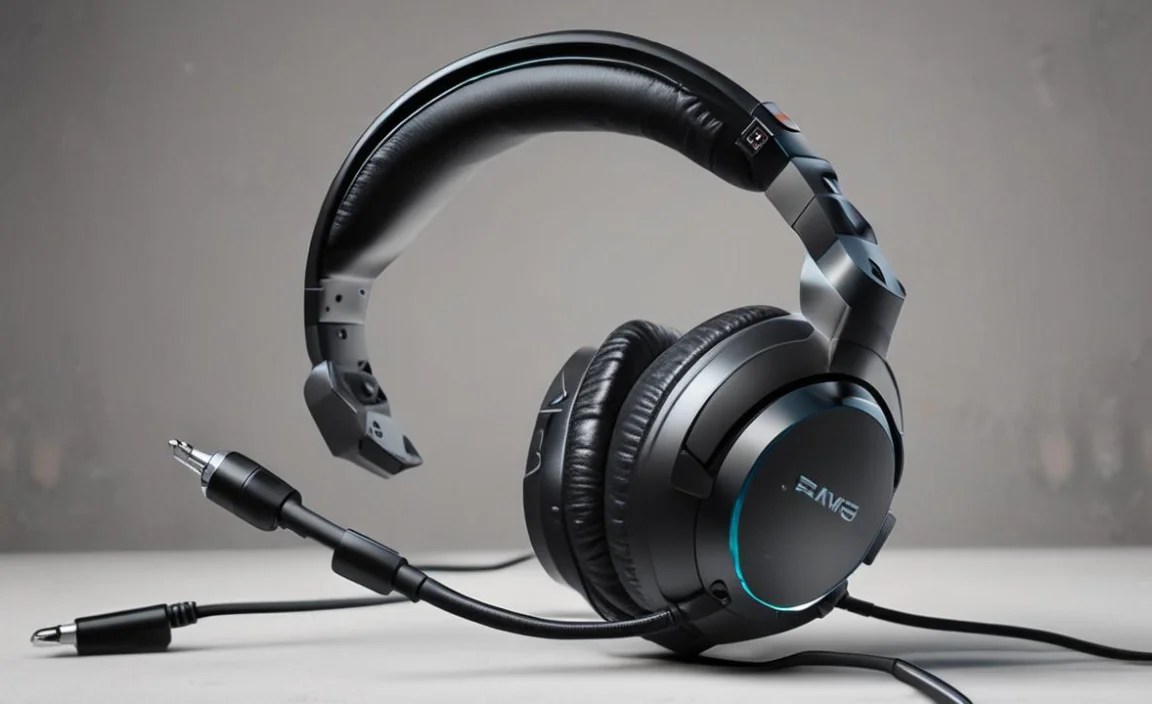
Quick Summary: This guide provides straightforward steps to troubleshoot and fix common issues with wired gaming headsets. Learn to identify problems with audio, microphone, and connection, empowering you to resolve them quickly and get back to your game without replacing your gear.
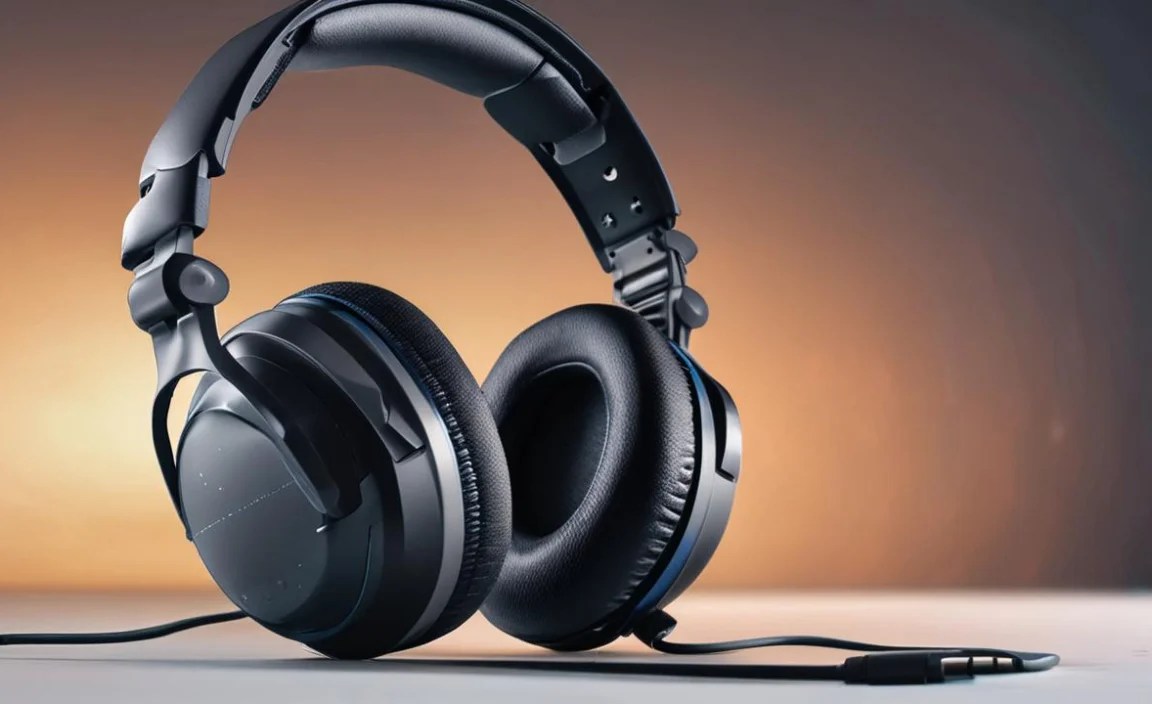
How To Fix Your Wired Gaming Headset: An Essential Guide for Gamers
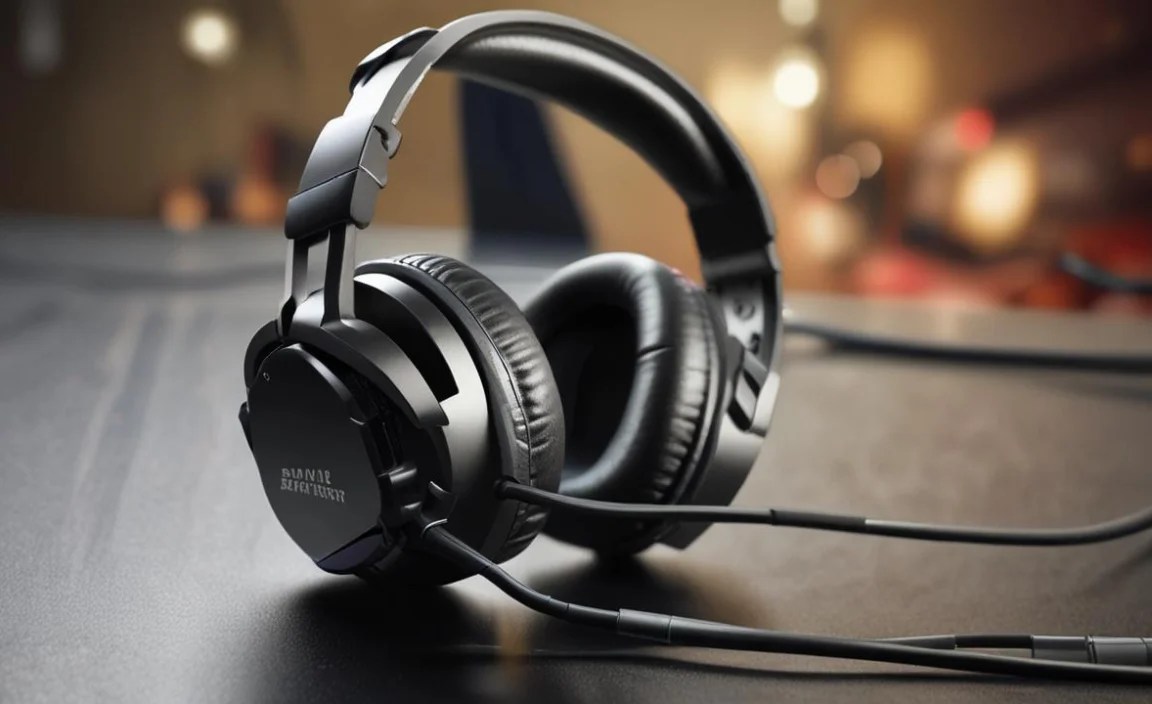
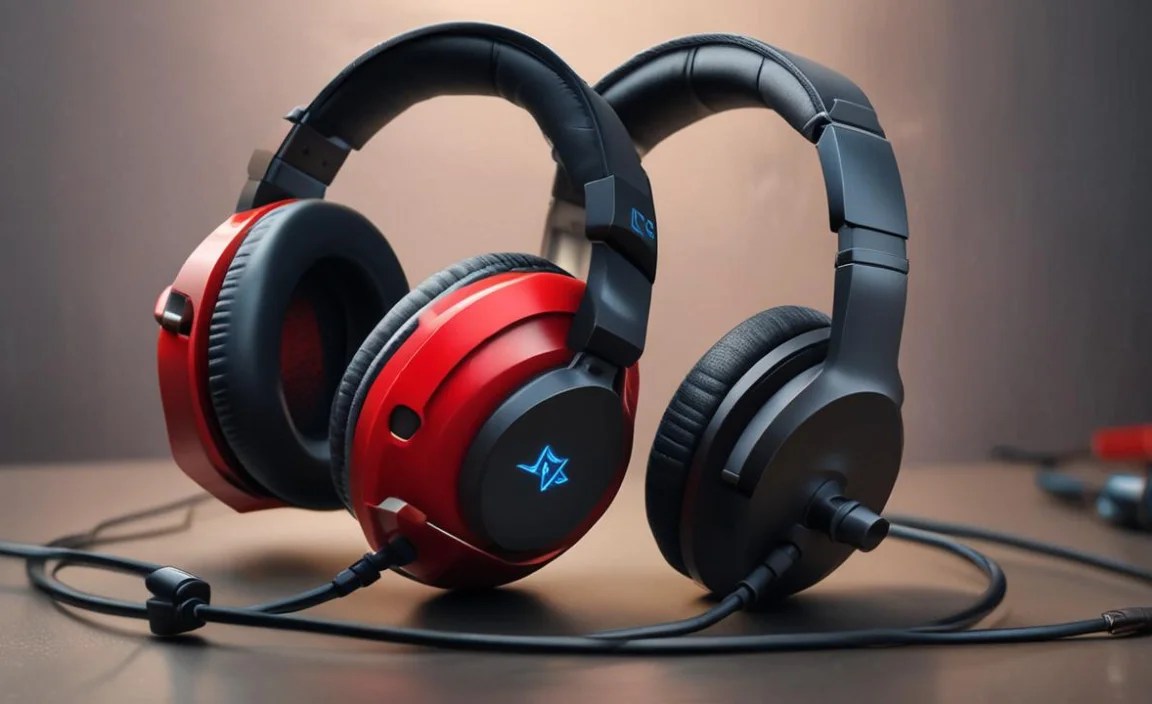
Hey there, fellow gamers! Edward Cavitt here, your guide to all things audio at headphonehorizon. If you’re anything like me, your gaming headset is more than just an accessory – it’s your connection to the virtual world, your team’s lifeline, and your portal to immersive soundscapes. So, when your trusty wired gaming headset starts acting up – maybe the audio cuts out, the mic isn’t picking up your voice, or the connection feels a bit… wobbly – it can be super frustrating. But don’t worry! Before you rush out to buy a new one, let’s explore some simple, effective ways you can troubleshoot and fix those common wired gaming headset issues. We’ll break it down, step by step, so you can get back to dominating the game with crystal-clear sound and communication.
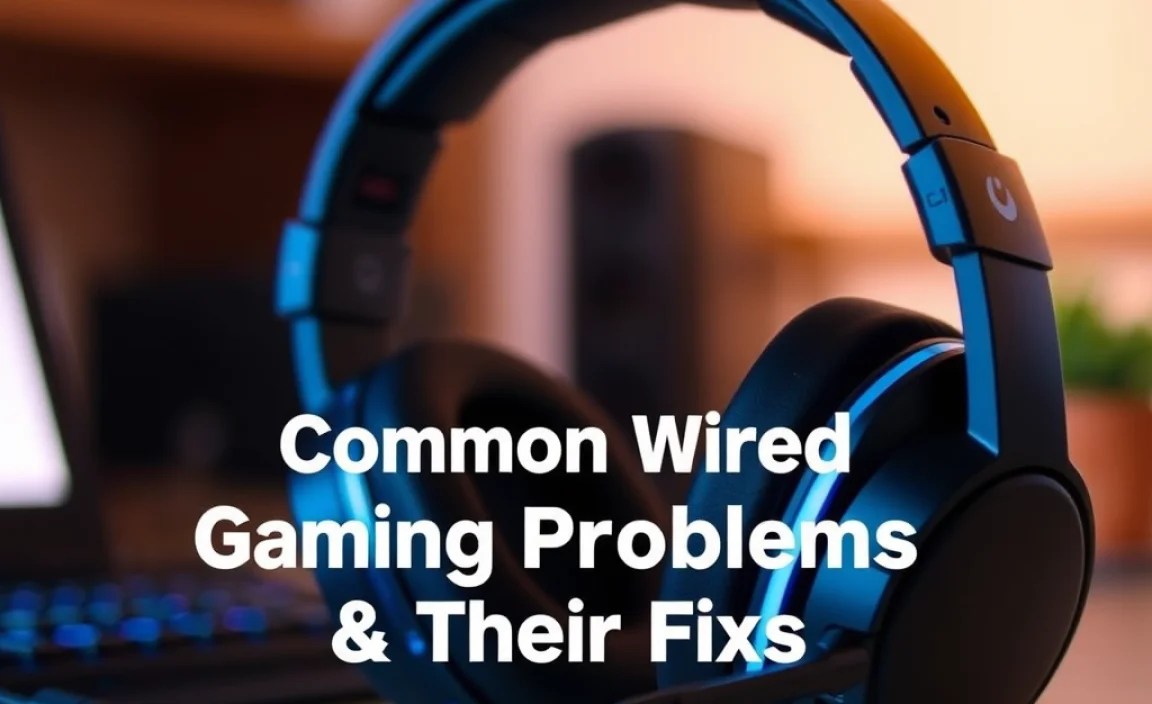
Common Wired Gaming Headset Problems & Their Fixes
Wired gaming headsets, while generally reliable, can encounter a few snags. Most issues boil down to connection problems, software conflicts, or simple physical damage. Let’s dive into the most frequent culprits and how to tackle them.
1. No Sound or Intermittent Audio

This is probably the most common and annoying problem. One minute you’re enjoying the immersive audio, the next… silence. Or perhaps it’s a constant crackling or dropping sound. Here’s how to sort it out:
Check the Basics First
Before we get technical, let’s cover the easy stuff:
- Volume Levels: Is the volume turned up on your headset, your PC/console, and within the game itself? Sometimes a simple slider adjustment is all it takes.
- Mute Button: Check if your headset has a physical mute button. It might have been accidentally pressed.
- Audio Output Device: On your PC, ensure your gaming headset is selected as the default audio output device. On consoles, navigate to sound settings and select the correct input/output.
Troubleshooting the Connection
A loose or damaged connection is a prime suspect for audio issues.
- Reseat the Plug: Unplug your headset’s audio jack from your PC or console and plug it back in firmly. Make sure it’s fully inserted. If it’s a USB headset, try a different USB port.
- Inspect the Cable: Gently examine the entire length of the headset cable for any visible damage. Look for cuts, kinks, or fraying, especially near the earcups and the plug.
- Test Other Ports/Devices: If possible, try plugging your headset into a different USB port, a different audio jack, or even a different computer or device. This helps determine if the issue is with the headset or your gaming setup.
Software Shenanigans
Sometimes, it’s not the hardware, but the software throwing a tantrum.
- Restart Your Device: A simple reboot of your PC or console can clear temporary glitches.
- Update Audio Drivers (PC): Outdated or corrupted audio drivers are a common cause of sound problems.
- Search for “Device Manager” in Windows.
- Expand “Sound, video and game controllers.”
- Right-click your audio device and select “Update driver.”
- Choose “Search automatically for drivers.” If Windows finds nothing, you might need to visit your motherboard or sound card manufacturer’s website for the latest drivers. For more in-depth driver troubleshooting, consult resources like Intel’s guide on updating drivers.
- Check for Software Updates: Ensure your operating system and any gaming/communication software (like Discord or Steam) are up-to-date.
- Disable Audio Enhancements: Sometimes, Windows audio enhancements can cause conflicts.
- Right-click the speaker icon in your system tray.
- Select “Sounds.”
- Go to the “Playback” tab.
- Right-click your headset and select “Properties.”
- Navigate to the “Enhancements” tab (or “Advanced” tab on some systems) and try disabling all enhancements.
2. Microphone Not Working or Poor Quality
Being heard loud and clear is crucial for team communication. If your mic is silent or sounds like you’re underwater, try these fixes:
Basic Microphone Checks
It’s easy to overlook the simple things:
- Mic Mute Switch: Most headsets have a physical mute switch, often on the cable or earcup. Make sure it’s not engaged.
- Mic Position: Ensure the microphone boom is positioned correctly. It should typically be near your mouth, but not directly in front of it to avoid excessive breath noise. Some mics are directional, so experiment with angles.
- Microphone Privacy Settings (Windows 10/11): Your operating system might be blocking microphone access.
- Go to Settings > Privacy > Microphone.
- Ensure “Allow apps to access your microphone” is turned ON.
- Scroll down to “Allow desktop apps to access your microphone” and make sure it’s also enabled.
Connection and Device Settings
Similar to audio, the connection and how your system recognizes the mic matter.
- Re-plug and Test: Unplug and replug the headset. If it’s a headset with separate mic and audio jacks (less common now, but good to know), ensure they are in the correct ports.
- Select the Correct Input Device: In your PC’s sound settings (Sounds > Recording tab) or on your console, ensure your headset’s microphone is set as the default recording device.
- Adjust Microphone Levels:
- In Windows Sound Settings (Recording tab > Headset Microphone Properties > Levels), ensure the microphone volume is not too low (or too high, which can cause distortion).
- Make sure “Microphone Boost” isn’t set excessively high, as this can also introduce noise.
- Test on Another Device: Just like with no sound, try your headset’s microphone on another computer or device to isolate the problem.
Software and Driver Issues
Drivers and software can prevent your mic from functioning correctly.
- Update Microphone Drivers: In Device Manager, look for your microphone under “Audio inputs and outputs” or “Sound, video and game controllers.” Update its driver following the same steps as for audio drivers.
- Check Communication Software Settings: If you use Discord, TeamSpeak, or in-game voice chat, ensure the correct microphone is selected within their respective audio settings. Make sure voice activation isn’t set too high, or push-to-talk isn’t accidentally enabled.
- Test with Different Applications: Try using your microphone with multiple applications (e.g., Voice Recorder app, Skype, Discord) to see if the issue is application-specific.
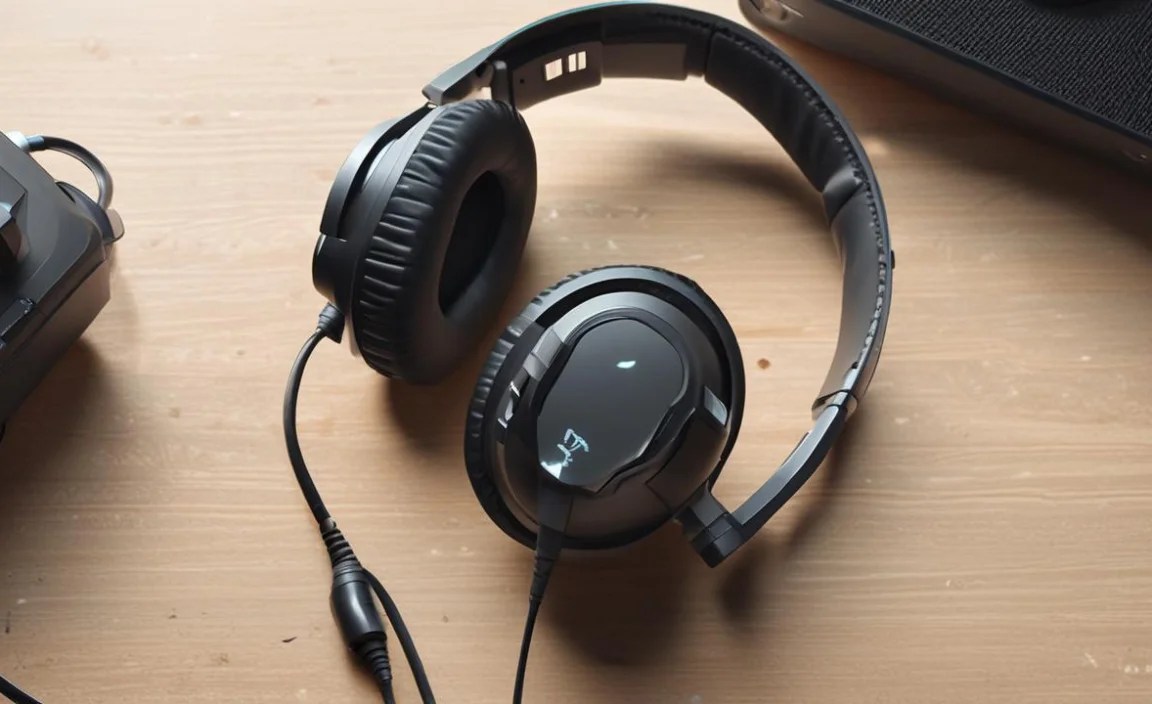
3. One Ear Cup Not Working
This is a specific, yet common, problem where audio only comes through one side of your headset.
Physical Inspection is Key
Often, this points to a specific point of failure:
- Inspect the Cable: This is the most likely culprit. Carefully examine the cable, particularly where it connects to the earcup. Any fraying, kinks, or extreme bending here can break the internal wire for that earcup.
- Check the Audio Jack Connection: Ensure the plug is fully inserted. Sometimes, a partially inserted plug can lead to one channel cutting out. Try wiggling the plug gently to see if the sound flickers – this often indicates a loose connection within the jack itself.
- Examine the Earcup Hinges: If your headset has rotating earcups, check the hinge area. Constant twisting and turning can put stress on the wires inside, leading to a break.
Testing and Isolation
Rule out other possibilities:
- Test on Another Device: Do you get sound in both earcups when plugged into a different phone, tablet, or PC? If yes, the problem is likely with your original device’s audio output or settings. If no, the headset itself is almost certainly the issue.
- Check Stereo Balance: On your PC (Sound Settings > Playback > Headset Properties > Levels), ensure the left and right balance sliders are centered and not accidentally pushed all the way to one side.
If you’ve done all this and only one ear cup works, it unfortunately points to an internal cable break within the headset. Depending on your comfort level with soldering and small electronics, this might be repairable, but for most users, it often means it’s time for a replacement or to contact the manufacturer for warranty service.
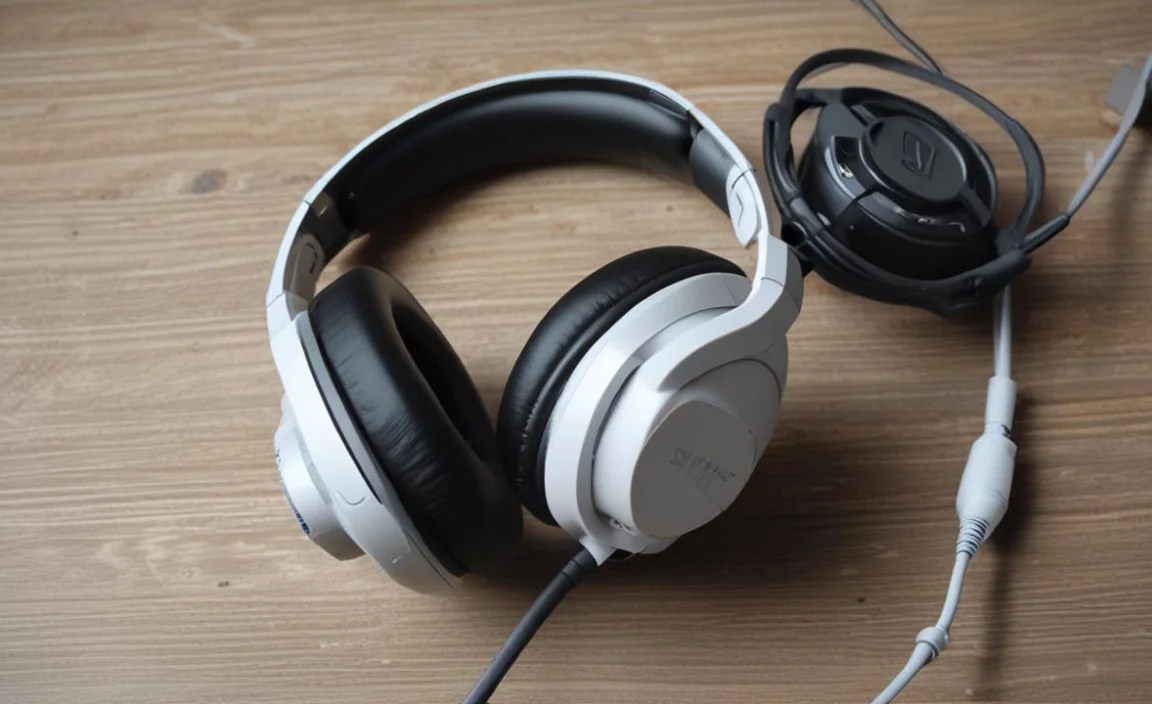
4. Connector Issues (3.5mm Jack, USB)
The point where your headset meets your device is critical. Problems here can manifest as the issues above, or as the headset not being recognized at all.
3.5mm Jack Problems
These are the traditional audio plugs, often with a combined mic/audio connection (TRRS) or separate plugs (TRS).
- Physical Damage: Inspect the metal jack. Is it bent, corroded, or broken? A damaged jack cannot make proper contact.
- Dirt and Debris: Sometimes, lint or other gunk can get lodged in the jack port of your device or on the plug itself. Use compressed air or a dry cotton swab to gently clean both. Be very careful not to damage the internal contacts.
- Proper Insertion: Ensure the jack is fully seated. For TRRS jacks (often used on laptops and mobile devices), they need to be plugged in all the way to enable both audio and mic.
USB Connector Problems
USB connections are generally more robust but can still fail.
- Damaged Plug/Cable End: Check the USB connector on your headset’s cable. Bent pins or a loose connection within the connector housing are signs of damage.
- Bent USB Port: Inspect the USB port on your PC or console. If it looks bent or obstructed, it could be the issue.
- Faulty USB Port: As mentioned earlier, try a different USB port. Some ports might have connectivity issues.
- Driver Conflicts: USB devices can sometimes be affected by driver problems. Uninstalling and then reinstalling the USB drivers in Device Manager (under “Universal Serial Bus controllers”) can sometimes help. Ensure your motherboard’s chipset drivers are also up-to-date.
5. Static, Hum, or Buzzing Sounds
This type of interference can ruin immersion and make communication impossible.
Identify the Source
Often, it’s related to power or interference:
- Ground Loop Interference: This is common if your headset is plugged into a PC that’s also connected to multiple other devices via audio cables. Using a USB headset or a USB sound card can sometimes bypass ground loop issues.
- Electrical Interference: Keep your headset cable away from power cables, fluorescent lights, or other sources of electromagnetic interference.
- Poor Power Supply/Grounding: On PC, ensure your power supply unit (PSU) is adequate and properly grounded. Issues with PC audio components can sometimes be linked to power delivery.
Software and Settings
- Adjust Microphone Boost: As mentioned before, excessive microphone boost can introduce static.
- Disable Audio Enhancements: These can sometimes create unwanted noise.
- Try a Different USB Port: For USB headsets, try a different port, preferably one directly on the motherboard (back of the PC) rather than a front panel port or hub, as these can sometimes have better power delivery and less interference.
Hardware Issues
- Damaged Cable: A frayed or damaged cable can act as an antenna, picking up ambient electrical noise.
- Faulty Headset Components: In rare cases, the internal components of the headset itself might be faulty, causing noise.
Troubleshooting Tools and Materials
While many fixes require no tools, some might benefit from having a few handy:
| Tool/Material | Purpose |
|---|---|
| Compressed Air Can | Cleaning ports and connectors gently. |
| Cotton Swabs (dry) | For detailed cleaning of jacks and ports. |
| Magnifying Glass | Inspecting cables and connectors for subtle damage. |
| Small Screwdriver Set (if applicable) | For disassembling certain headset models (use with caution!). |
| Soldering Iron (advanced) | For repairing broken wires internally (requires skill). |
| Multimeter (advanced) | Testing continuity of wires in the cable (requires skill). |
When to Consider Replacement
While many issues are fixable, some are clear indicators that your headset has reached the end of its lifespan. If you encounter any of the following, it might be time to start looking for a new gaming headset:
- Severely Damaged Cable: If the wire is clearly broken, frayed extensively, or chewed through, it’s often unsalvageable and poses a safety risk.
- Physical Damage to Headset: Cracks in the headbands, broken earcup attachments, or shattered plastic can compromise the headset’s structure and function.
- Water Damage: Any liquid ingress is usually a death sentence for electronics.
- Cost of Repair vs. New: If a repair requires specialized parts or a lot of time and you’re not confident doing it yourself, the cost might approach that of a new, perhaps upgraded, headset.
Warranty and Manufacturer Support

Don’t forget about your warranty! Most gaming headsets come with a manufacturer’s warranty (typically 1-2 years). If your headset is still under warranty and you’ve tried basic troubleshooting, contacting the manufacturer’s support is your best next step. They can often guide you through advanced troubleshooting or arrange for a repair or replacement. Always keep your proof of purchase handy!
For example, if you own a popular brand like Logitech, their support page often has extensive troubleshooting guides and contact information. Checking their official support portal is a great way to find model-specific advice and warranty claim procedures. You can find information on many tech product warranties from consumer protection agencies like the Federal Trade Commission.
Frequently Asked Questions (FAQ)
Q1: My wired gaming headset is not detected by my PC at all. What should I do?

First, try a different USB port or the 3.5mm audio jack if your headset has one. Ensure the connection is fully plugged in. Restart your PC. Then, check your Device Manager (search for it in Windows) and look under “Sound, video and game controllers” or “Universal Serial Bus controllers” for any yellow exclamation marks, which indicate driver issues. Try updating or reinstalling relevant drivers.
Q2: Can I fix a broken wire on my gaming headset myself?

Yes, it’s possible, but it requires patience and some basic soldering skills. You’d need to carefully strip the wire insulation, identify the individual wires (often color-coded), and solder them back together. It’s a delicate process, and if done incorrectly, it could worsen the problem or damage the headset further. For many, it’s not worth the risk if the headset is inexpensive.
Q3: Why does my headset make a buzzing sound only when my PC lights up?

This strongly suggests electrical interference or a ground loop. Try plugging your headset into a different USB port, preferably one directly on the rear of your PC’s motherboard. Ensure your headset cable isn’t running parallel or wrapped around power cables. Some USB sound cards or adapters can also help isolate the headset from PC noise.
Q4: My microphone sounds distant or muffled even though it’s close to my mouth.

Ensure the microphone isn’t muted. Check its position – some mics work best at a slight angle to the mouth. Also, check the input volume and boost levels in your sound settings. If they are too low, your voice will sound faint. Sometimes, the microphone capsule itself can become clogged
