
Quick Summary: Facing a silent gaming headset? Don’t worry! This guide offers proven, tool-free solutions to fix common headset problems. Learn simple troubleshooting steps, from checking connections to cleaning contacts, to get your audio back in the game quickly and easily.
Hey there, fellow gamers and audio enthusiasts! Edward Cavitt here from headphonehorizon, your go-to buddy for all things sound. Ever been in the middle of an epic boss battle or a crucial team chat, only for your gaming headset to suddenly go silent or start crackling? It’s incredibly frustrating, right? You don’t want to miss a single in-game cue or a witty remark from your squad. Before you panic and reach for the toolbox, let me tell you, there are often simple, tool-free fixes that can bring your beloved headset back to life. We’re going to walk through some proven solutions that are so easy, you’ll wonder why you didn’t try them sooner. Let’s get your game audio sorted without any complex procedures!
Troubleshooting Your Gaming Headset: The Tool-Free Approach

When your gaming headset decides to act up, it’s rarely a sign of a deep, irreparable issue. More often than not, the problem lies with simple connectivity, minor software glitches, or just a bit of dust and grime messing with the signals. The good news is that most common audio problems can be resolved with patience and a few straightforward checks – no screwdrivers or soldering irons required! This guide is designed for everyone, whether you’re a seasoned gamer or just starting out, to help you fix your gaming headset without tools.
Step 1: The Humble Restart – A Digital Reset Button

It sounds almost too simple, but you’d be surprised how often a basic restart can solve a multitude of tech issues, including headset problems. This is the digital equivalent of taking a deep breath and starting fresh.
- Restart Your Gaming Device: Whether you’re on a PC, PlayStation, Xbox, or Nintendo Switch, a full shutdown and restart can clear temporary glitches in the system that might be preventing your headset from working correctly.
- Unplug and Re-plug the Headset: While the device is restarting, take a moment to unplug your headset from its port. Once the device is back up and running, plug the headset back in firmly.
This simple step can often resolve issues where the computer or console isn’t properly recognizing the audio device.
Step 2: Checking Your Connections – The Foundation of Audio

Poor connection is probably the most common culprit behind a malfunctioning gaming headset. Let’s ensure everything is snug and secure.
For Wired Headsets:
- Verify the Plug: Ensure the 3.5mm jack or USB connector is fully inserted into the correct port on your device. Sometimes, it might just be a little loose.
- Inspect Ports: Take a quick look at both the headset’s connector and the port on your device. Are there any visible obstructions, dust bunnies, or bent pins (especially on USB connectors)? Gently try to blow any dust out.
- Try a Different Port: If your device has multiple USB ports or audio jacks, try plugging your headset into a different one. This helps rule out a faulty port on your device.
For Wireless Headsets:
- Check Battery Life: This is a no-brainer, but a dead battery will definitely stop your headset from working. Ensure it’s adequately charged.
- Re-establish Pairing: Wireless headsets need to be paired with their source device (e.g., your PC or console). Turn off your headset, then turn it back on and put it in pairing mode (refer to your headset’s manual for specific instructions, usually involves holding a button). Then, go into your device’s Bluetooth or device settings and search for the headset to reconnect.
- Check Dongle (if applicable): If your wireless headset uses a USB dongle, make sure it’s securely plugged in. Try a different USB port for the dongle as well.
Step 3: Volume Controls – The Obvious Suspects
It sounds básico, but so many audio issues stem from simple volume settings. Let’s double-check all the levels.
On Your Headset:
- Check the Inline Volume Wheel/Buttons: Many wired headsets have a small wheel or buttons on the cable for volume control. Make sure this isn’t turned all the way down.
- Mute Button: Similarly, check for a mute button on the headset or its cable. It might have been accidentally activated.
- On-Ear Controls (Wireless): Wireless headsets often have volume and mute controls directly on the earcups. Ensure these are set correctly.
On Your Device (PC/Console):
- System Volume: Navigate to your device’s sound settings and ensure the master volume is up.
- Application Volume: On PCs, in particular, individual applications (like your game or voice chat software) have their own volume sliders. Make sure the game’s audio isn’t muted or set too low within its own settings.
- Sound Output Device: Verify that your gaming headset is selected as the default audio output and input device in your system’s sound settings. It’s easy for the system to default to speakers or another device after an update or reconnection.
For Windows users, you can quickly access sound settings by right-clicking the speaker icon in the taskbar. For more detailed control, explore the “Sound Control Panel” options.
Step 4: Cleaning Contacts – Giving Your Headset a Fresh Start

Over time, dust, dirt, and even a little bit of sweat can build up on the electrical contacts of your headset’s connectors or charging ports. This gunk can interfere with the signal flow. Here’s how to clean them without tools.
For Wired Headset Jacks (3.5mm):
- Use a Dry Cloth: Gently wipe the metal tip of the 3.5mm jack with a clean, dry, lint-free cloth (like a microfiber cloth used for glasses).
- Compressed Air (Optional, if available): If you have a can of compressed air (often used for cleaning keyboards), a short burst into the audio port on your device can dislodge dust without physical contact. Never use your mouth to blow into ports, as this introduces moisture.
For USB Connectors:
- Visual Inspection: Look closely at the USB plug. If you see visible debris, try to gently dislodge it with a toothpick (use with extreme caution to avoid bending the connector) or preferably, a short burst of compressed air.
- Wipe Gently: You can try gently wiping the metal part of the USB connector with a dry, lint-free cloth.
For Wireless Headset Charging Ports:
- Visual Inspection: Look into the charging port on the headset. Dust and lint are common culprits.
- Toothpick/Plastic Tool (Carefully): If you see debris, very gently use a toothpick or a small plastic tool to try and coax it out. Be extremely careful not to damage the small pins inside the port.
- Compressed Air: A short burst of compressed air directed into the port can be very effective.
Important Note: Never use liquids or abrasive materials to clean electrical contacts. Moisture and harsh chemicals can cause more damage than good. If you’re unsure or uncomfortable, it’s best to skip this step.
Step 5: Software and Driver Checks – The Digital Brains
Sometimes, the issue isn’t with the hardware itself, but with the software or drivers that tell your computer how to communicate with your headset.
On PC (Windows Focus):
- Check Device Manager: Search for “Device Manager” in the Windows search bar and open it. Look under “Audio inputs and outputs” and “Sound, video and game controllers.” See if your headset is listed without any yellow exclamation marks (which indicate a problem).
- Update Drivers: If your headset is listed with an error, or if you suspect driver issues, right-click on your headset’s name in Device Manager and select “Update driver.” Choose “Search automatically for drivers.” If Windows doesn’t find anything, you might need to visit the headset manufacturer’s website for specific driver downloads.
- Reinstall Devices: You can also try right-clicking the headset in Device Manager and selecting “Uninstall device.” Then, unplug and replug the headset to have Windows attempt to reinstall it.
- Windows Audio Troubleshooter: Windows has a built-in troubleshooter. Search for “Troubleshoot settings” and find the audio troubleshooter. It can automatically detect and fix common audio problems.
On Consoles:
Consoles are generally simpler. While you can’t update individual drivers in the same way as a PC, ensuring your console’s system software is up-to-date is crucial. Go to your system settings and check for system updates. Also, make sure the game or application you’re using has its audio settings configured correctly.
For more in-depth information on PC audio settings, you might find resources from Microsoft’s support website helpful, such as their guides on troubleshooting sound problems.
Step 6: Testing on Another Device – The Isolation Test
This is a fantastic way to determine if the problem lies with your headset or with the device you’re trying to use it with. If you have another computer, phone, or game console available, try plugging your headset into that.
- If it works on another device: This strongly suggests the issue is with your original device (e.g., faulty port, software conflict, disabled audio output).
- If it doesn’t work on another device: This points more towards a problem with the headset itself.
This step is invaluable for narrowing down the possibilities and saving you time and frustration on unnecessary troubleshooting.
Common Gaming Headset Issues and Their Tool-Free Fixes

Let’s break down some specific problems you might encounter and how these tool-free methods apply.
| Problem | Likely Cause & Tool-Free Fixes |
|---|---|
| No Sound at All |
|
| Crackling or Static Sound |
|
| Microphone Not Working |
|
| Only One Earcup Works |
|
| Wireless Headset Won’t Connect |
|
When to Consider Professional Help or Replacement
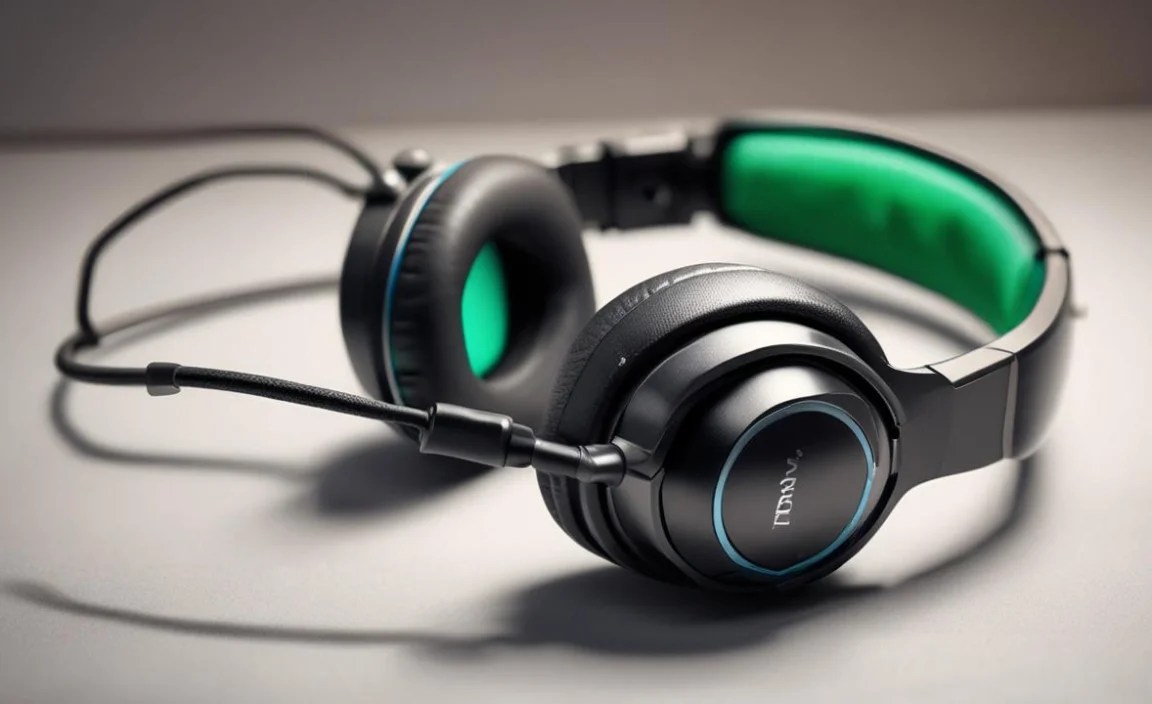
While these tool-free methods cover a vast majority of common issues, there are times when you might be facing a more serious hardware failure. If you’ve tried all the steps above and your headset still isn’t working, it could be:
- Internal cable damage: A wire inside the headset might have broken.
- Damaged drivers/speakers: The actual audio components might be faulty.
- Water or physical damage: Dropping the headset or exposing it to liquid can cause permanent issues.
In these cases, attempting to fix it yourself without tools won’t be effective. You might need to look into whether your headset is still under warranty for a repair or replacement from the manufacturer. If not, it might be time to consider investing in a new headset. However, before you do, make sure you’ve exhausted all the simple fixes first!
Frequently Asked Questions (FAQ)
Q1: My gaming headset suddenly stopped working. What’s the very first thing I should check?

The very first thing to check is your volume controls! Ensure your headset isn’t accidentally muted and that the volume on both the headset itself and your gaming device is turned up. Also, confirm that your headset is still selected as the primary audio output device in your system’s sound settings.
Q2: Can I use something like rubbing alcohol to clean my headset jack?

It’s generally not recommended to use liquids like rubbing alcohol, especially directly on ports or jacks, unless specifically instructed by the manufacturer and even then, with extreme caution. Moisture and chemicals can damage the delicate electronic components. A dry, lint-free cloth is the safest bet for cleaning external connectors. If there’s buildup inside a port, a short burst of compressed air is a better, non-contact option.
Q3: My friend can hear me fine, but I can’t hear them through my headset. What’s wrong?

This usually means your microphone is working, but your audio output is not. Double-check that your headset is set as the default audio output device on your PC or console. Also, check the in-game or voice chat application’s audio settings to ensure the correct output device is selected there and that the volume isn’t set to zero or muted within the app itself.
Q4: My wireless headset keeps disconnecting. How can I fix this without tools?

Frequent disconnections on a wireless headset can be caused by a weak battery, interference, or a poor connection. Ensure your headset is fully charged. Try re-pairing it with your device. Also, try moving closer to the USB dongle or Bluetooth receiver and minimize other wireless devices or potential sources of interference (like microwaves or other strong Wi-Fi signals) near your setup.
Q5: My headset works on my PC but not my PlayStation (or vice-versa). Is it broken?

This scenario strongly suggests the problem isn’t with the headset itself, but rather with the specific device’s settings, ports, or software. Check your PlayStation’s audio output settings to ensure the headset is recognized and selected. Restart your PlayStation and try plugging the headset into a different USB port if applicable. Ensure your console’s system software is up to date.
Q6: How often should I clean my headset’s audio jack?

You don’t need to clean your audio jack regularly unless you start noticing audio issues like crackling or intermittent sound. If you play in a dusty environment or your headset gets exposed to a lot of use, a quick wipe with a dry cloth every few months can be good preventative maintenance. The key is to only clean it if you suspect it’s contributing to a problem.
Conclusion
There you have it! You’ve navigated through the common pitfalls and learned a series of simple, tool-free techniques to get your gaming headset back in top shape. From the magic of a simple restart and meticulous connection checks to the power of volume control and gentle cleaning, you’re now equipped to tackle.
