
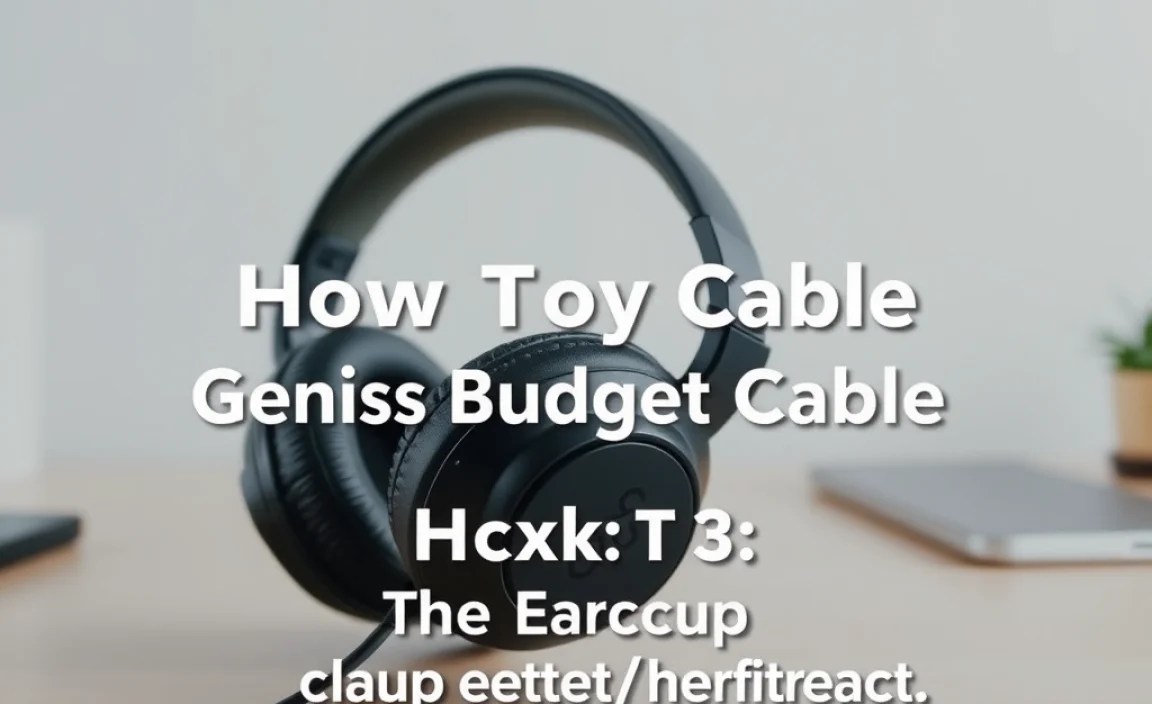
Quick Summary: Don’t toss those beloved headphones just yet! This guide offers simple, budget-friendly hacks to fix common headphone cable issues. Learn easy DIY repairs, discover useful tools you might already have, and get your audio back in action without breaking the bank.
Is there anything more frustrating than reaching for your headphones, ready to dive into your favorite playlist or podcast, only to be met with silence or crackling static? A damaged headphone cable is a common annoyance that can quickly put a damper on your audio experience. Before you consider buying a new pair, especially when your current headphones are perfectly good apart from this one issue, know this: many cable problems can be fixed with a few simple tools and a little patience. We’re going to walk through some genius, budget-friendly hacks that will help you get your audio back in working order, saving you money and reducing electronic waste. It’s about empowering you to be a little more hands-on with your gear!
Why Do Headphone Cables Break? Understanding the Culprit

Before we grab our tools, it helps to understand why headphone cables tend to fail. Most often, it’s due to wear and tear, especially at the points where the cable is most stressed. Think about how you store your headphones, how you plug them in and out, and how much tension the cable endures.
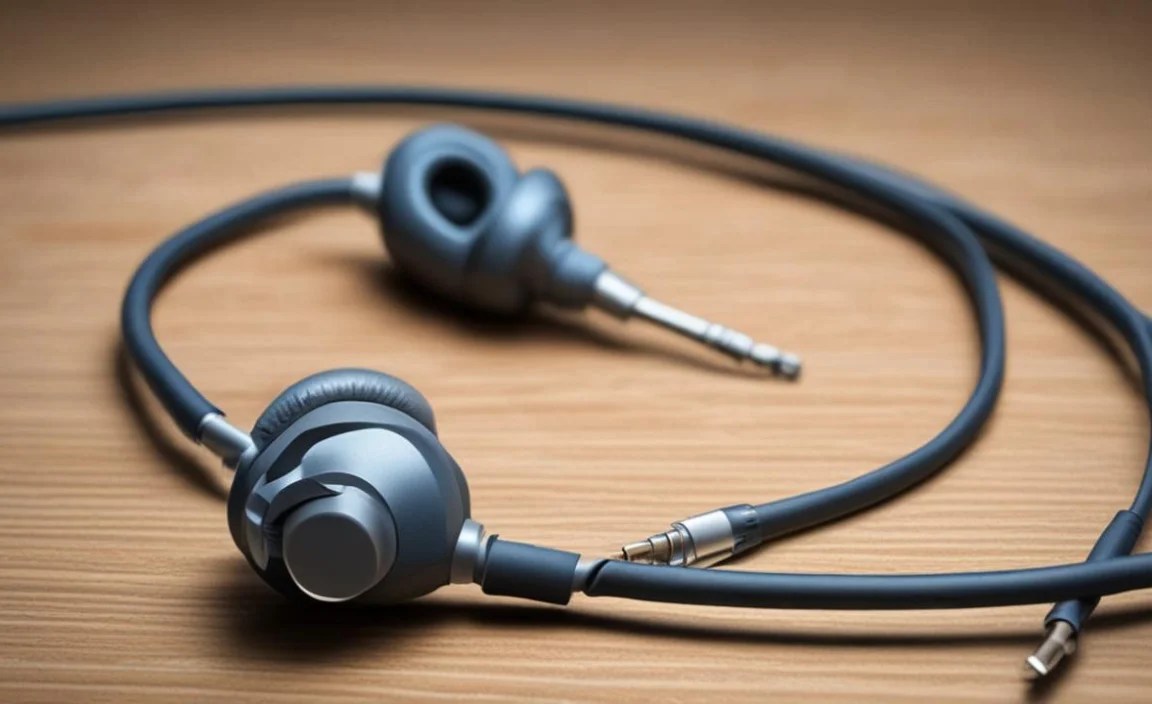
- The Jack: The 3.5mm audio jack is inserted and removed countless times, and the cable leading into it experiences bending and twisting. This is a prime spot for breakage.
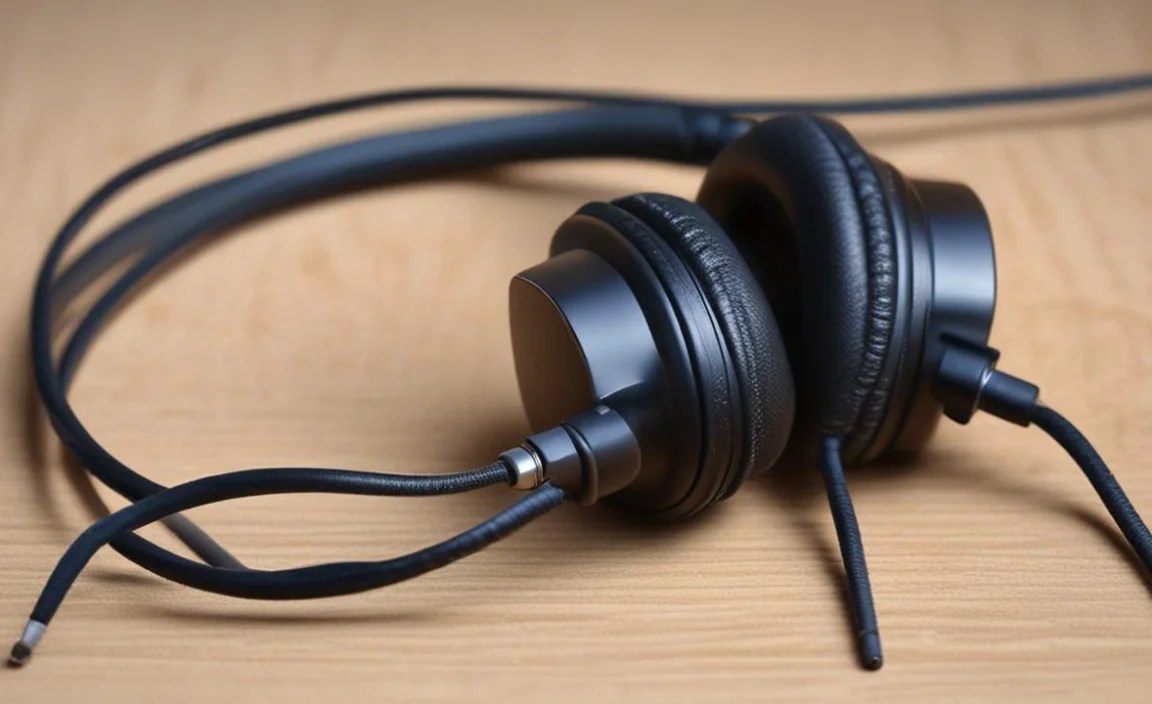
- The Earcup Connection: For many headphones, the cable connects near the earcup. This area can also be subjected to pulling and bending, particularly if the cable dangles freely.
- Mid-Cable Damage: While less common for audible issues, sharp bends, kinks, or even accidental cuts through daily use can damage the internal wires.
- Internal Wire Fatigue: The thin wires inside the cable can break from repeated flexing, leading to intermittent audio or complete silence in one or both earbuds.
Understanding these common failure points will make it easier to identify where your cable might be having trouble and guide your repair efforts.
The Essential Toolkit for Budget Headphone Cable Repairs
The good news is you don’t need a fancy electronics lab to fix most headphone cable issues. Many of the tools you might already have around the house can get the job done. For a few dollars, you can pick up small, specialized items that will make the process even smoother.
Must-Have Tools You Likely Own:
- Scissors or Wire Strippers: For neatly cutting away damaged cable insulation.
- Small Flathead Screwdriver: Useful for gently prying open certain jack housings or earcuff parts if needed (be very gentle!).
- Pliers (Needle-nose are best): For gripping small components or bending wires.
- Tape (Electrical tape or strong packing tape): For insulating repaired connections and providing a protective outer layer.
- Lighter or Matches: For carefully shrinking heat shrink tubing (if you have it, see below) or sealing frayed ends of non-conductive material.
- Magnifying Glass: To get a closer look at tiny wires and connections.
Optional (But Highly Recommended) Budget-Friendly Additions:
- Heat Shrink Tubing: A fantastic, professional-looking solution for insulating and reinforcing cable repairs. Available in various sizes at hardware or electronics stores for a few dollars.
- Solder and Soldering Iron: For permanent, reliable wire connections. If you plan on doing more DIY electronics, this is a worthwhile small investment. You can often find starter kits for under $30. (Though many of our hacks will avoid this for maximum beginner-friendliness!)
- Multimeter: For advanced users to test continuity. This isn’t necessary for most simple fixes but can help diagnose complex issues.
Having these items ready will make approaching your headphone cable repair much less daunting.
Hack 1: The “Re-Crimp” for Loose Jacks

This is one of the most common issues: the cable coming out of the 3.5mm audio jack becomes loose, leading to intermittent sound or a complete loss of audio when the cable is moved. Sometimes, the plastic housing around the jack can come apart a bit, exposing the wires.
When to Use This Hack:
- Sound cuts out when you move or jiggle the headphone jack.
- The plastic at the end of the headphone jack looks slightly cracked or separated.
- You can see multiple wires starting to fray at the very base of the jack.
How to Do It:
- Inspect the Damage: Look closely at where the cable enters the metal part of the 3.5mm jack. Is the plastic housing loose? Are wires exposed?
- Gently Remove Housing (If Possible): Some jack housings are designed to be unscrewed or gently pried apart. Use a small flathead screwdriver to very carefully see if you can loosen the plastic cap. If it’s fused or you feel resistance, don’t force it; you might need to work around it.
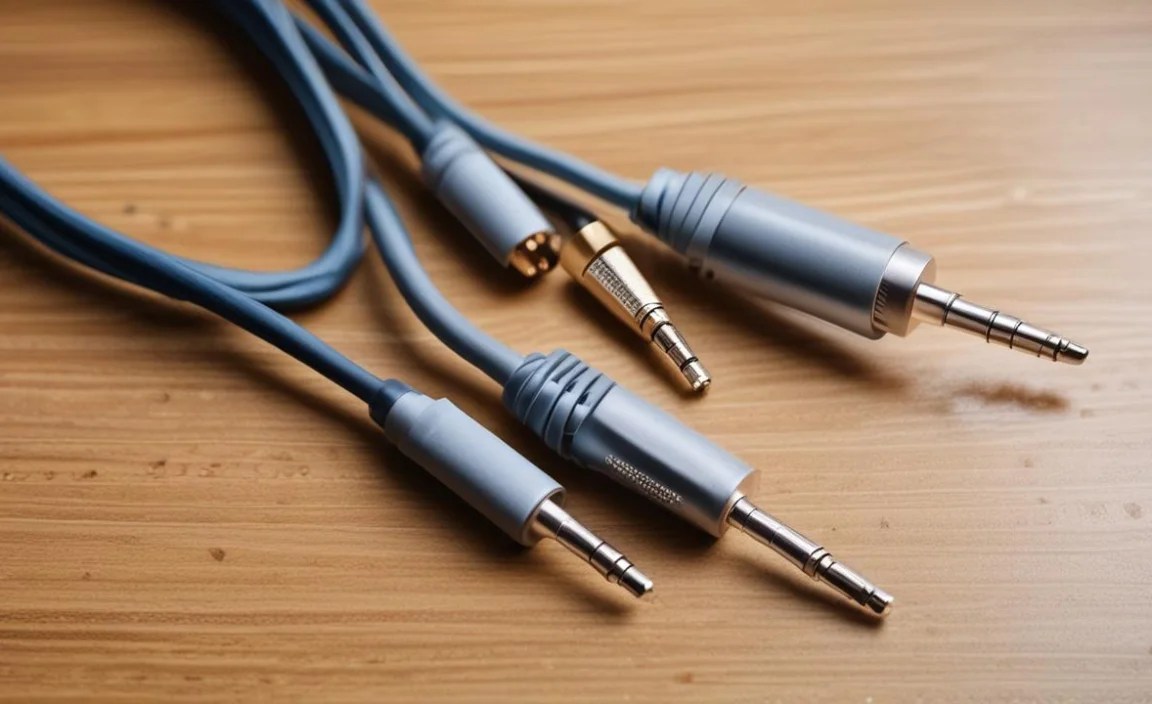
- Identify the Wires: Inside, you’ll typically find 3 or 4 thin wires (left audio, right audio, ground, and sometimes a microphone wire). These are usually color-coded (common colors are red, black, white, green, or blue).
- Check for Breaks: With your magnifying glass, examine each wire. Are any broken? Are any exposed and touching each other?
- The “Re-Crimp” Solution (No Soldering): If the wires are intact but the connection is loose, the goal is to secure them.
- If the plastic housing came off, you can try carefully re-seating the wires into their original positions.
- Next, use a small amount of electrical tape or even strong packing tape to tightly wrap the area where the cable enters the jack. This mimics the strain relief and secures the connection. Wrap it smoothly to avoid bumps.
- If you have heat shrink tubing, cut a piece large enough to cover the strained area and the jack housing. Slide it over the cable, position the wires if needed, and then use a lighter to gently heat and shrink it, creating a snug, protective sleeve.
- Test: Plug your headphones in and gently wiggle the jack. Listen for clear audio in both ears.
Pros:
- Extremely budget-friendly (uses existing tools/minimal cost for tape/tubing).
- Quick to attempt.
- Non-invasive if the housing can’t be opened.
Cons:
- May not be a permanent fix if internal wires are severely damaged.
- Can look a bit DIY without heat shrink.
Hack 2: The Splice for Mid-Cable Breaks
If your sound cuts out when you tug on a section of the cable between the jack and the earcup, you likely have a break in one or more of the internal wires. This is a bit more involved but very achievable.
When to Use This Hack:
- Sound cuts out intermittently or completely when you move a specific section of the cable away from the jack or earbuds.
- You can see or feel a pinch, kink, or potential cut in the cable.
How to Do It:
- Locate the Break: Gently bend and flex the cable along its length, listening for when the sound cuts out or crackles. This will help you pinpoint the damaged spot. Mark it lightly with a pen if needed.
- Carefully Strip the Outer Insulation: Using sharp scissors or wire strippers, make a shallow, longitudinal cut (along the length of the cable, not all the way around) through the outer rubber/plastic insulation at the damaged spot. You want to expose the colored wires inside without cutting them. Carefully peel back this outer layer to reveal the inner wires.
- Expose the Inner Wires: Each of the inner colored wires will have its own thin insulation. Very carefully use your wire strippers or scissors to strip about 1/4 to 1/2 inch of insulation from the end of each of these inner wires. Be extremely gentle, as they tear easily. You’ll usually find 3-4 wires.
- Twist and Connect (The Budget Method):
- Identify the corresponding wires from the two sides of the break. For example, if you have a red wire from the left side and a red wire from the right side, these likely need to be connected.
- Twist the exposed ends of the matching wires together securely. Do this for all pairs.
- Insulate Each Connection: This is crucial! You must prevent the bare wires from touching each other.
- Using Electrical Tape: Wrap each twisted wire connection individually and tightly with a small piece of electrical tape. Ensure no bare metal is showing.
- Using Heat Shrink Tubing (Recommended): If you have heat shrink, slide a piece of tubing over the main cable before you strip the inner wires. After twisting the wires, slide a small piece of heat shrink tubing over each individual connection. Heat gently with a lighter until it shrinks snugly around the wire. Then, slide a larger piece of heat shrink tubing over all individual connections and shrink that to act as the main cable jacket.
- Reinforce and Protect: Once all wires are insulated, wrap the entire repaired section generously with electrical tape to provide durability and strain relief. You can also use more heat shrink tubing if you have a larger piece.
- Test: Plug in your headphones and test the audio. Gently flex the repaired area to ensure the connection is stable.
Pros:
- Fixes breaks inside the cable for a functioning audio experience.
- Can be done with basic tools.
- Heat shrink tubing offers a cleaner, more durable finish.
Cons:
- More delicate than the jack repair.
- Requires careful stripping and insulation.
- Can look messy if not done neatly, especially with just tape.
- Soldering creates a much more robust connection if you’re comfortable with it.
Hack 3: The Earcup Reattachment/Reinforcement

For headphones where the cable enters near the earcup, this point can also become a weak spot. If the cable is loose, or the plastic around the entry point is damaged or cracked, it can lead to connection issues or further damage.
What Is the “Cable Entry Point”?
This is the spot where the headphone cable physically connects to or enters the housing of the earcup. On some headphones, the cable is permanently attached; on others, it might be removable. If it’s permanently attached, the cable sheath can fray or split open right at this entry point.
When to Use This Hack:
- The cable feels loose where it enters the earcup.
- The plastic around the cable entry has cracked or looks worn.
- You experience audio issues when moving the headphones around your head, suggesting a loose connection near the earcup.
How to Do It:
- Access the Connection: If your headphones have a removable cable at the earcup, gently detach it. If the cable is fixed, you’ll need to carefully examine the entry point. Sometimes, a portion of the earcup housing might need to be gently pried open (use a small, non-metallic tool if possible to avoid scratching plastic). Again, be gentle and only do this if it seems the housing is designed to be opened.
- Inspect for Wire Damage: Once accessed, check the wires leading into the earcup. Are any frayed, broken, or disconnected? Similar to the mid-cable break, you’ll need to repair any damaged wires by stripping, twisting, and insulating them.
- Secure a Loose Cable: If the cable itself is just loose within its housing but the internal wires are fine, the goal is to secure it and prevent further movement.
- Using Hot Glue (Carefully!): A small, controlled amount of hot glue can be used to re-secure the cable jacket where it enters the earcup housing. Apply it only to the outer jacket and the housing, not to internal wires. Let it cool completely.
- Using Heat Shrink Tubing: If there’s enough exposed cable jacket at the entry point, slide a piece of heat shrink tubing over the cable and shrink it to create a robust, reinforced entry point that acts as strain relief.
- Using Tape: Tightly wrap the cable entry point with electrical tape to add rigidity and protection.
- Reinforce Cracked Housing: If the plastic housing is cracked, you can try using a strong adhesive like super glue or epoxy (follow product instructions carefully). For a more robust repair, consider applying a layer of Sugru (an air-curing rubber moldable glue) around the cracked area to reinforce it.
- Test: Reassemble any parts you opened and test the audio. Move the headphones around to ensure the connections are solid.
Pros:
- Addresses a specific, common failure point on many headphones.
- Can extend the life of headphones where the cable connection is the issue.
- Relatively straightforward for most users.
Cons:
- Disassembly of earcups can be tricky and risks damage if not careful.
- Hot glue can be messy and isn’t always a permanent solution.
- Requires more precision than other hacks.
Table: Common Headphone Cable Problems and Their Budget Fixes
Here’s a quick overview to help you troubleshoot:
| Problem Description | Likely Cause | Recommended Budget Hack | Difficulty Level | Estimated Cost (if any) |
|---|---|---|---|---|
| Intermittent sound, cuts out when moving jack | Loose connection at the 3.5mm jack | Re-crimp/Tape/Heat Shrink the jack housing | Easy | $0-5 (for tape/tubing) |
| No sound in one or both ears, often when cable is bent | Broken internal wire(s) in the cable | Splice and insulate mid-cable break (tape or heat shrink) | Medium | $0-10 (for tape/tubing) |
| Sound cuts out when moving headphones near earcup | Loose connection or break at the earcup entry point | Secure cable entry point (hot glue, heat shrink, tape), repair wire if needed | Medium | $0-10 (for glue/tape/tubing) |
| Complete silence from one or both sides, no movement triggers it | Severed wire, potentially further inside the cable near the source device or earcup | Inspect and splice/repair, or consider replacement if too complex | Medium-Hard | $0-10 (for tape/tubing) |
When to Consider Professional Help or Replacement
While these budget hacks are fantastic for extending the life of your headphones, they aren’t always a magical solution. There are times when it’s best to draw the line and consider other options:
- Complex Internal Wiring: Some high-end headphones have very intricate wiring, including multiple independent grounds or complex shielding. Trying to splice these without proper knowledge or tools can cause more damage.
- Water Damage: If your headphones have been exposed to significant water, corrosion can set in, making repairs extremely difficult and unreliable.
- Severely Damaged Connectors: If the metal 3.5mm jack itself is bent, broken, or corroded, it might be beyond a simple fix.
- Time vs. Money: If a repair is taking hours and you’re becoming frustrated, it might be more practical to put that time towards researching a new pair or seeking professional repair.
- Cost of Materials: If you need to buy a soldering iron, specialized tools, or high-quality replacement parts, the “budget” aspect can start to fade, especially for less expensive headphones.
For more information on general electronics repair and safety, resources like the Electronics Tutorials website offer a wealth of knowledge, though always ensure you adapt advice for the delicate nature of headphone components.
