
Quick Summary: Encountering headphone problems like static or intermittent audio? A simple, clean brush might be your surprisingly effective solution! Learn how to safely and easily clean headphone ports and jacks to restore clear sound and prevent future issues. This beginner-friendly guide makes headphone maintenance a breeze.
Fix Headphone Issues With Brush: The Genius Solution You Didn’t Know You Needed
Hey everyone, Edward Cavitt here from Headphone Horizon! We all love sinking into our favorite playlists, podcasts, or movie soundtracks with our trusty headphones. But what happens when that crystal-clear audio suddenly turns staticky, crackly, or just plain stops working? It can be incredibly frustrating, especially when you don’t want to spend a fortune on repairs or replacements. Before you throw in the towel or start researching new models, I’ve got a surprisingly simple, yet incredibly effective trick up my sleeve that can solve many common headphone woes: a humble brush. Yes, you read that right! This genius solution is all about gentle cleaning, and it’s something almost anyone can do. Let’s dive in and get your headphones sounding their best again!
Why Your Headphones Might Be Misbehaving

Before we grab a brush, it’s crucial to understand why your headphones might be acting up. Most audio issues stem from one of two places: the headphones themselves or the device they’re connected to. For wired headphones, the most common culprits are:
- Dust and Debris: Over time, the 3.5mm audio jack (the little plug) and the headphone port on your phone, laptop, or tablet can accumulate dust, lint, pocket fuzz, and other microscopic gunk. This buildup creates a barrier, preventing a clean connection.
- Loose Connections: While sometimes due to internal damage, intermittent audio or crackling can also be a sign that the connection isn’t as snug as it should be, often caused by the very debris mentioned above.
- Oxidation: Metal components, especially the contacts on the audio jack, can oxidize over time. This creates a slight resistance and can lead to poorer sound quality.
- Minor Damage: While a brush won’t fix a physically broken jack or port, it can often resolve issues that look like damage but are actually just dirt-related.
For wireless headphones, issues can be more varied, including Bluetooth connectivity problems, battery life issues, or driver malfunctions. However, even wireless headphones often have a charging port or occasional wired listening capability where a bit of targeted cleaning can help. Our primary focus today, though, is on the common connection-based issues solvable with a simple brush.
The “Brush It Off” Method: What You’ll Need

This is where the magic happens—it’s all about simplicity. You don’t need a workshop or fancy tools. Here’s what you’ll want to gather:
Essential Tools:
- A Clean, Small Brush: This is the star of the show! The best options are:
- A soft-bristled toothbrush: Make sure it’s NEW and clean, or one that has been thoroughly washed and dried with no toothpaste residue.
- A clean makeup brush: A small, soft-bristled one works wonders.
- A dedicated electronics cleaning brush: These are specifically designed for delicate components.
- Compressed Air (Optional but Recommended): A can of compressed air can help blow out loose debris before you brush.
- Microfiber Cloth: For wiping down the exterior of your headphones or device.
- Isopropyl Alcohol (90% or higher – for stubborn grime, use with extreme caution): This is for more stubborn, sticky residue and should be used sparingly.
- Cotton Swabs (for alcohol application, if used): Ensure they are lint-free.
Important Note: Never use water or liquids directly inside the headphone jack or port. Moisture can cause short circuits and permanent damage. Always ensure everything is completely dry before reconnecting anything.
Step-by-Step: How to Fix Headphone Issues With a Brush
Alright, let’s get those headphones singing again! Follow these steps carefully:
Step 1: Power Down and Disconnect
This is the most critical safety step. Before you do anything, ensure your device is powered off or, if it’s a smartphone or tablet, put it in airplane mode. Disconnect your headphones completely from the device.
Step 2: Inspect the Port and Jack
Using good lighting, take a close look at the headphone port on your device and the audio jack on your headphones. Can you see any visible lint, dust, or gunk? Sometimes it’s obvious, other times it’s packed in there, making a clean connection impossible.
Visual Inspection Table:
| Component | What to Look For | Potential Issue |
|---|---|---|
| Device Headphone Port (3.5mm) | Lint, dust, pocket fluff, grime, or debris clinging to the inside walls or at the bottom. | Static, crackling, intermittent audio, no sound in one or both earbuds. |
| Headphone Audio Jack (Plug) | Dust, dirt, or grime on the metallic bands (which carry the audio signal) or on the tip. | Poor connection, muffled sound, static, dropouts. |
Step 3: The Gentle Blast (Optional but Recommended)
If you have compressed air, hold the can upright and give a short, sharp blast into the port. Do this from a slight distance (about 6-8 inches) to avoid propellant freezing. This can dislodge looser debris. Aim and use short bursts. You can also do this for the headphone jack itself, but be very careful not to spray directly at close range.
Step 4: The Brush Itself!
This is where the brush comes in. Gently insert the tip of your clean, dry brush into the headphone port of your device. Move it around carefully, especially along the sides and the bottom of the port. The goal is to dislodge any packed-in dust or lint.
- For the Device Port:
- Insert the brush’s bristles gently.
- Rotate and wiggle slightly to loosen debris.
- Draw the brush out slowly, taking the loosened debris with it.
- Repeat this process a few times, cleaning the brush between attempts if necessary.
- For the Headphone Jack:
- Hold the headphone jack.
- Gently brush any visible debris off the metallic rings.
- Pay attention to the very tip of the jack.
Pro Tip: If you’ve used the brush, you can give another short blast of compressed air to blow away anything the brush loosened.
Step 5: Dealing with Stubborn Grime (Use with Caution!)
If you see sticky residue or very stubborn grime that brushing alone isn’t removing, you can use a tiny amount of high-percentage isopropyl alcohol. This should be a last resort and done with extreme care.
- Dip the very tip of a cotton swab or your brush into the isopropyl alcohol. Ensure it’s just damp, not wet. Squeeze out any excess.
- Gently dab or brush the affected area in the port or on the jack.
- CRITICAL: Allow the port and jack to air dry COMPLETELY before plugging anything back in. This can take several minutes. Isopropyl alcohol evaporates quickly, but it’s essential to be patient. You can use a clean, dry microfiber cloth to gently wipe the exterior of the headphone jack if needed, but avoid stuffing anything deep into the device port.
According to the U.S. Food & Drug Administration (FDA), using alcohol-based sanitizers on electronics requires caution due to potential damage to certain finishes or plastics over prolonged exposure. For cleaning ports, minimal, quick contact is usually fine, but always err on the side of caution and allow for thorough drying.
Step 6: Test Your Headphones
Once you are absolutely sure everything is dry, reconnect your headphones to your device. Power on your device (if you turned it off) and test your audio. Hopefully, you’ll hear a significant improvement, with static gone and audio clear!
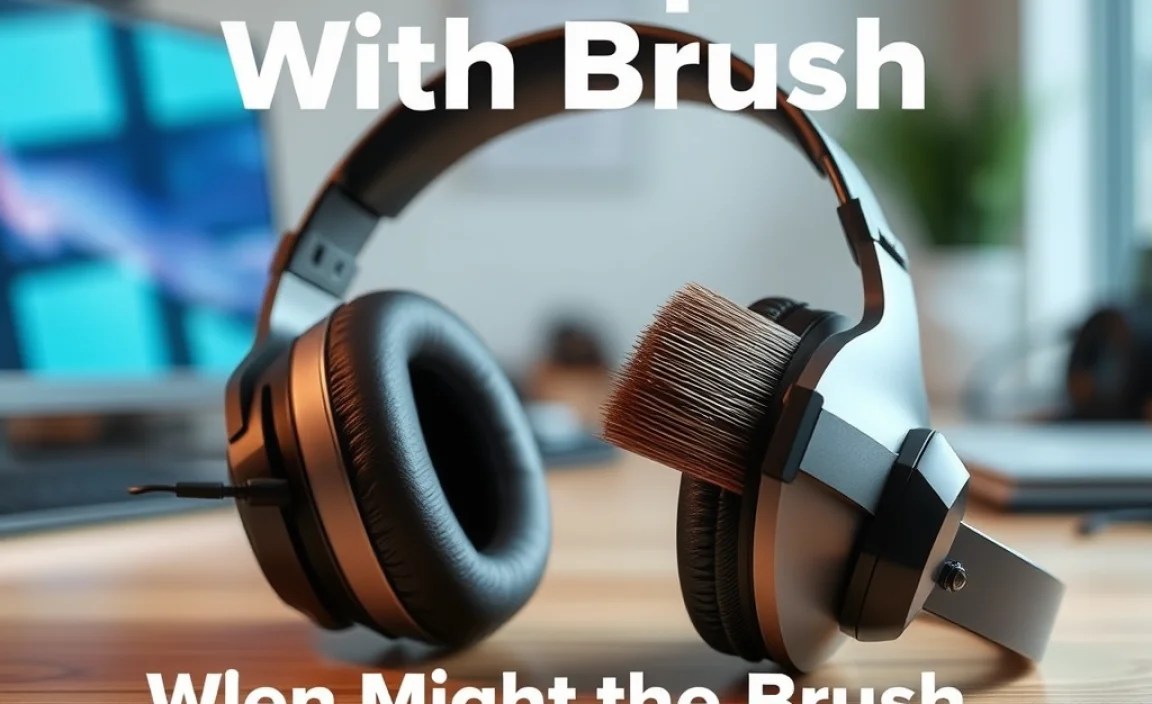
When Might the Brush Not Be Enough?
While the brush-and-air method is incredibly effective for many common issues, it’s not a universal fix. If you’ve tried cleaning thoroughly and are still experiencing problems, it might indicate a more serious issue:
- Physical Damage: If the headphone jack itself is bent, or the port on your device looks damaged internally (bent pins, cracked casing), the brush won’t help.
- Internal Wiring: The wires within the headphone cable can fray or break, especially near the plug or near the earcup. This requires repair or replacement of the headphones.
- Device Audio Chipry: In rare cases, the audio output chip on your device might be failing.
- Software Glitches: Sometimes, software settings or glitches can cause audio problems. Restarting your device or checking audio settings can resolve these.
- Bluetooth Issues (for wireless): If you have wireless headphones, the issue might be with the Bluetooth connection, pairing, or the internal components of the headphones themselves, none of which a physical cleaning of a port will solve.
If cleaning doesn’t work, it might be time to consider professional repair or explore options for new headphones. However, for at least 70-80% of common audio connection problems, this simple cleaning trick is a lifesaver!
Preventing Future Headphone Woes
Now that you’ve hopefully revived your headphones, let’s talk about keeping them in top condition. A little preventative care goes a long way!
Tips for Maintenance:
- Keep Ports Clean: Make it a habit to use compressed air or a gentle brush on your headphone ports every month or so.
- Store Headphones Properly: When not in use, store your headphones in a case or a safe place where they won’t collect excessive dust or get their jacks jammed into pockets with loose change and lint.
- Handle with Care: Avoid yanking the cable when disconnecting headphones. Grasp the plug itself.
- Avoid Extreme Environments: Keep your headphones away from excessive moisture, heat, or sand.
- Inspect Regularly: Give your headphones and their connection points a quick visual check now and then.
Frequently Asked Questions (FAQ)
Q1: Can I use a cotton swab to clean my headphone port?
Yes, you can, but be very careful. Ensure the cotton swab is not shedding lint. It’s often better to use a brush so you don’t push debris further in. If you use a swab, use it to gently swab the sides and bottom, and then use compressed air to really clear it out. Never leave bits of cotton behind!
Q2: Is it safe to use rubbing alcohol on my headphone jack or port?
It can be, but only if it’s high-percentage isopropyl alcohol (90% or higher) and used very sparingly. It must be completely dry before use. Dampen a cotton swab or the tip of a brush, clean the area quickly, and then let it air dry thoroughly. Too much liquid or improper drying can cause damage.
Q3: My headphones are crackling, but they look clean inside the port. What else could it be?
If the port and jack look clean, the issue might be with the cable itself (a fray or break internally, especially near the plug), or an issue with the drivers inside the headphones. It could also be a problem with the audio source device. Try testing the headphones on a different device to see if the problem persists.
Q4: How often should I clean my headphone ports?
For most people, a light cleaning with compressed air or a brush once a month is sufficient. If you frequently carry your devices in dusty environments or your pockets, you might want to check and clean them more often, perhaps every couple of weeks.
Q5: I have wireless headphones. Do I need to clean their charging port?
Yes, absolutely! Just like wired headphone ports, charging ports can accumulate dust and lint, which can prevent your headphones from charging properly or intermittently. The same gentle cleaning methods (compressed air, a soft brush) apply to charging ports as well. Ensure it’s dry before charging.
Q6: My device has a USB-C or Lightning port for audio. Can I use a brush on these?
Yes, the same principle applies. USB-C and Lightning ports can also get clogged with debris. You can use a clean, soft brush or compressed air to gently clean them. Be extra careful with these ports as they have more delicate pins than a standard 3.5mm jack.
Conclusion: Sound Advice for Your Ears
There you have it! Who knew a simple brush could be such a powerful tool in your audio arsenal? Tackling those pesky headphone issues doesn’t always require a trip to the repair shop or a new purchase. By understanding the common culprits—mostly dust and debris—and employing this gentle, DIY cleaning method, you can often restore your headphones to their former glory. Remember to always prioritize safety by powering down devices and ensuring everything is dry before reconnecting. Mastering this simple maintenance technique should give you more confidence in caring for your gear, leading to clearer sound and a more enjoyable listening experience. So next time static invades your audio sanctuary, don’t despair – grab that brush and give your headphones the clean connection they deserve!
