
Quick Summary: Experiencing headphone problems? A deep clean is often the simple, genius solution! This guide walks you through safely cleaning your headphones to resolve common issues like crackling audio, low volume, and connectivity problems, restoring them to their prime performance without costing a dime. Get ready for crystal-clear sound again!
Fix Headphone Issues: Deep Clean’s Genius Solution
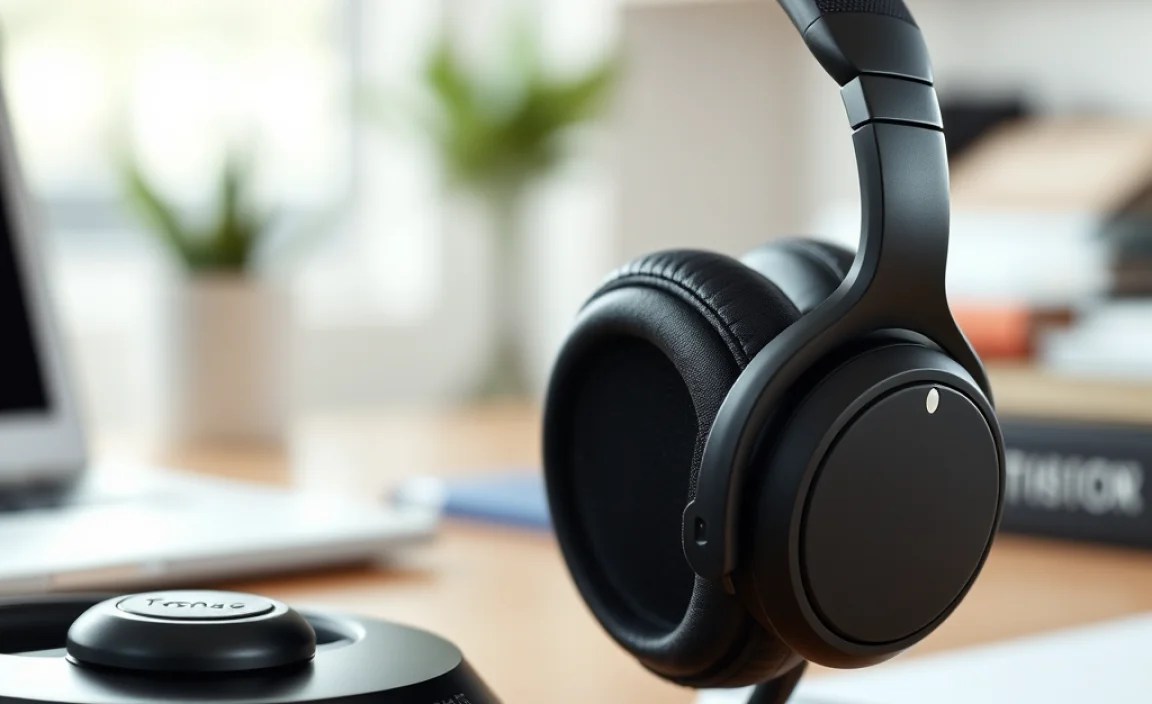
Hey there, audio adventurers! Edward Cavitt here from headphonehorizon. Are your beloved headphones acting up? Maybe the sound has dimmed, there’s an annoying crackle, or perhaps one side has gone completely silent. It’s frustrating when your portal to sonic bliss suddenly falters. Before you rush out to buy a new pair or get bogged down in complex technical guides, consider this: the most ingenious solution to many common headphone problems is surprisingly simple and incredibly effective – a deep clean! In this guide, we’ll demystify the process of giving your headphones a thorough, safe, and beneficial clean that can breathe new life into them. Get ready to restore your listening experience to its former glory!
Why a Deep Clean is Your Headphone’s Best Friend

Our headphones are constantly exposed to the elements of our daily lives. They sit in bags, get touched by our hands (which aren’t always spotless!), and can even attract earwax and dust. Over time, this buildup can significantly impact sound quality and connectivity. Think of it like this: if dirt and gunk clog up a tiny speaker or a delicate connection point, how can sound possibly travel through clearly?
A gentle, yet thorough, deep clean tackles these obstructions directly. It’s not just about aesthetics; it’s about restoring the optimal performance of your headphones. Common issues like:
- Reduced volume in one or both earcups.
- Crackling or static sounds during playback.
- Intermittent audio dropouts.
- Problems with microphone clarity.
- Connectivity issues (especially with wired connections or charging ports).
can often be traced back to simple physical blockages. By carefully removing this buildup, you’re essentially clearing the pathway for pure, unadulterated sound to reach your ears.
Understanding Your Headphone’s Anatomy: What Needs Cleaning?
Before we dive into the cleaning process, it’s helpful to know the key areas that accumulate grime and affect performance. Most headphones, whether over-ear, on-ear, or in-ear, share common components that are susceptible to dirt.
1. Earcups and Earpads
These are the parts that sit directly on or in your ears. They collect sweat, earwax, skin oils, and general dust. For removable earpads, this is an excellent starting point. For non-removable ones, careful surface cleaning is crucial.
2. Speaker Grilles/Mesh
Located just behind the earpads, these tiny holes are where the sound emerges. They are notorious for trapping earwax, dust, and other debris, which can muffle sound or even create static. This is often the most critical area for sound quality issues.
3. Headband
While less impactful on sound, the headband can collect sweat and oils, becoming uncomfortable and potentially attracting more dust. Keeping it clean also preserves the materials.
4. Cables and Connectors (for wired headphones)
The 3.5mm jack, USB connectors, and the cable itself can accumulate dirt and oxidation. A dirty jack can lead to intermittent sound or a complete loss of audio in one channel. A study on materials science highlights the impact of oxidation on electrical contacts, which is directly relevant here.
5. Charging Ports and Earbud Tips (for true wireless earbuds)
Tiny charging ports can become clogged with lint and debris, preventing proper charging. The silicone or foam tips of earbuds also collect earwax and oils.
Essential Tools for a Safe and Effective Deep Clean

You don’t need a professional lab to clean your headphones. A few common household items and some gentle care are all you need. It’s important to use the right tools to avoid damaging delicate components.
Here’s a list of what you’ll likely need:
- Microfiber Cloths: Several clean, dry ones are essential for wiping down surfaces without scratching.
- Cotton Swabs (Q-tips): Perfect for getting into small nooks and crannies, especially around speaker grilles.
- Rubbing Alcohol (Isopropyl Alcohol) – 70% concentration: Lightly dampening a cotton swab with this can help dissolve grime and oils. Avoid over-saturation.
- Distilled Water: For a milder cleaning solution if alcohol seems too harsh for certain materials.
- Soft-bristled Brush: A clean, dry toothbrush or a small, dedicated electronics cleaning brush works wonders for dislodging debris from grilles.
- Toothpicks or a Plastic Spudger: For very gently prodding out stubborn debris from tight spots. Be extremely careful not to puncture anything.
- Compressed Air Can: Useful for blowing dust and loose particles out of grilles and ports, but use in short bursts and at a distance.
- Mild Soap (Optional, for earpads): A tiny amount of gentle hand soap mixed with water can be used for washing fabric or leatherette earpads.
Important Safety Tip: Always ensure your headphones are unplugged and powered off before you begin cleaning. Never submerge any part of your headphones in water or cleaning solutions. For electronics, less is more when it comes to liquids.
Step-by-Step Guide: Reviving Your Headphones with a Deep Clean
Let’s get down to business! Follow these steps to give your headphones the spa treatment they deserve, focusing on critical areas for sound quality.
Step 1: Disassemble as Much as Possible (Safely!)
If your earpads are removable, gently detach them. Many earpads have a small lip that tucks into a groove, or they might be held on by small clips. Consult your headphone’s manual if you’re unsure. For true wireless earbuds, remove the silicone tips.
Why this helps: This allows for a much more thorough cleaning of both the earpads and the earcups themselves, ensuring no trapped dirt is missed.
Step 2: Clean the Earpads and Headband
For Leatherette/Protein Leather Earpads:
- Wipe them down with a dry microfiber cloth to remove surface dust.
- Lightly dampen a cotton swab or microfiber cloth with a solution of 70% isopropyl alcohol or a very mild soap and water mixture.
- Gently wipe the surface of the earpads. Pay attention to seams where dirt can collect.
- Immediately wipe them dry with a clean, dry microfiber cloth.
- Allow them to air dry completely before reattaching.
For Fabric Earpads:
- Brush off loose debris with a soft-bristled brush.
- Mix a tiny drop of mild soap with distilled water.
- Dampen a microfiber cloth very lightly with this solution and gently blot or wipe the fabric. Avoid saturating the material, as this can damage the foam inside.
- Dampen a separate cloth with just distilled water and wipe away any soap residue.
- Press with a dry microfiber cloth to absorb moisture.
- Let them air dry completely.
For the Headband:
- Use a slightly damp microfiber cloth (with water or a very diluted alcohol solution) to wipe away sweat and grime.
- Dry thoroughly with a separate, clean microfiber cloth.
Why this helps: Removing oils and sweat from earpads and headbands improves comfort and hygiene, and prevents material breakdown.
Step 3: Tackle the Speaker Grilles – The Sound Saver!
This is where the magic happens for sound quality issues. Be incredibly gentle here – the speaker diaphragm is delicate!
- Initial Debris Removal:
- Use a dry, soft-bristled brush (like a clean toothbrush) to gently brush away any loose dust or visible earwax from the grilles. Brush away from the center of the grille.
- If you have a can of compressed air, hold it at a distance (about 6-8 inches) and use short, controlled bursts to blow dust out of the grilles. Never spray too close or at an angle that could force debris further in.
- Stubborn Grime Removal:
- Lightly dampen a cotton swab with 70% isopropyl alcohol. Ensure it’s damp, not wet. Squeeze out any excess liquid.
- Very gently dab and swirl the damp swab over the speaker grille surface. The alcohol will help break down hardened earwax and oils.
- Avoid pressing through the grille into the speaker drivers. Your goal is to clean the surface of the grille.
- Immediately follow up with a dry cotton swab to absorb any remaining moisture and lift loosened debris.
- For any particularly stubborn bits lodged in the grille holes, you can very carefully use the tip of a toothpick or a plastic spudger to gently dislodge them. Be extremely cautious not to push too hard or pierce the grille material.
Why this helps: Clogged speaker grilles are the number one culprit for muffled sound, low volume, and crackling. Cleaning them directly restores sound clarity and volume.
Step 4: Clean Cables and Connectors
For Wired 3.5mm Jacks:
- Ensure the jack is dry.
- Lightly dampen a cotton swab with 70% isopropyl alcohol.
- Gently swab the metal tip and the surface of the connector.
- Allow it to air dry completely for a few minutes before plugging back into your device.
For USB-C or Micro-USB Ports (on headphones or charging cases):
- Use a dry, soft-bristled brush or a can of compressed air (short bursts, at a distance) to remove loose lint and dust.
- If debris is stuck, a non-metallic probe like a wooden or plastic toothpick can be used very gently to coax it out. Be extremely careful not to damage the internal pins.
Why this helps: Oxidation and dirt on connectors can cause signal degradation, leading to intermittent audio or connection failures. A clean connection ensures a stable signal.
Step 5: The Final Assembly and Test
Once all components are completely dry (this is crucial!), reattach the earpads and earbud tips. Plug your headphones in, power them on, and play some of your favorite music. Listen closely. Do the problematic crackles and pops seem to have disappeared? Is the volume clearer and more balanced? You should notice a significant improvement!
Troubleshooting Specific Headphone Types
While the general cleaning principles apply across the board, a few types of headphones have specific considerations.
True Wireless Earbuds (Like AirPods, Galaxy Buds, etc.)
These little powerhouses are prone to earwax buildup on the mesh covering the speaker and in the charging contacts. Keeping the charging case clean is also vital.
Cleaning True Wireless Earbud Tips:
- Remove the silicone tips.
- Wash them gently with mild soap and water, or wipe with a diluted alcohol solution.
- Rinse thoroughly and dry completely.
Preventing Charging Issues:
- Regularly inspect the charging contacts on the earbuds and inside the case for grime.
- Use a dry cotton swab or a piece of paper towel to gently wipe these contacts clean.
- Compressed air can help clear lint from the charging case’s interior.
Over-Ear and On-Ear Headphones
These often have larger earpads that can trap more oil and sweat, and the speaker grilles tend to be more exposed or have more intricate designs.
Earpad Material Matters:
Be mindful of the earpad material when choosing your cleaning solution. Genuine leather requires different care than pleather or fabric. Always test cleaning solutions in an inconspicuous spot first.
Gaming Headsets and Microphones
If your microphone isn’t picking up your voice clearly, the issue might be a clogged microphone port or grille. Use the same gentle methods as cleaning speaker grilles with cotton swabs after ensuring the microphone is powered off and disconnected.
When is a Deep Clean Not Enough?
While a deep clean can fix a surprising number of headphone issues, it’s not a miracle cure for everything. If after a thorough cleaning, you’re still experiencing problems, it might be time to consider other factors:
- Driver Damage: The internal speaker (driver) itself could be physically damaged, which cleaning cannot fix.
- Cable Damage (Internal): For wired headphones, the internal wiring can break, especially near the connectors, due to wear and tear. This is usually not repairable by the user.
- Electronic Component Failure: In wireless headphones, internal circuitry can fail, leading to connectivity problems or no sound at all.
- Software Glitches: Sometimes, especially with Bluetooth headphones, a simple reset or re-pairing can solve intermittent issues.
- Source Device Issues: Ensure the problem isn’t with your phone, computer, or audio player. Try your headphones with a different device.
- Water or Physical Damage: If your headphones have been dropped, exposed to excessive moisture, or damaged physically, deep cleaning won’t help.
| Common Headphone Issue | Likely Cause | Deep Clean Solution | When to Seek Professional Help/Replace |
|---|---|---|---|
| Low Volume/Muffled Sound | Blocked speaker grilles (earwax, dust) | Gentle cleaning of grilles with brush, swabs, and alcohol. | If cleaning doesn’t restore volume or clarity. |
| Crackling/Static Audio | Dirty connectors, debris in grilles, or internal cable fraying. | Clean connectors (jack/USB briefly), clean grilles. | If issue persists after cleaning, especially if it’s only in one ear. |
| One Side Not Working | Dirty connector, internal cable damage, or driver failure. | Clean jack/connector thoroughly. Check earpad seal. | If cleaning doesn’t help, likely internal damage. |
| Bluetooth Connectivity Issues | Dirty charging contacts, software glitch, or interference. | Clean charging contacts/ports. Reset headphones. Re-pair device. | If issue persists after reset and cleaning. |
| Microphone Not Working | Blocked mic port, dust, or internal damage. | Gently clear mic port with dry brush or air. | If issue persists after clearing the port. |
Maintaining Your Headphones for Lasting Performance
Once you’ve rescued your headphones with a deep clean, a little ongoing maintenance can go a long way in preventing future issues and keeping them in top shape.
- Wipe Down Regularly: After each use, a quick wipe with a microfiber cloth can remove sweat and oils before they have a chance to build up.
- Store Properly: Use a headphone stand or a protective case when not in use. Avoid cramming them into a tight space, which can stress cables and earpads.
- Keep Them Dry: Avoid using headphones during heavy rain or intense workouts where excessive sweat is a major factor, unless they are specifically designed for such conditions.
- Clean Connectors Periodically: A quick swipe of your headphone jack or charging ports every month or so can prevent buildup.
- Avoid Harsh Chemicals: Stick to mild cleaning agents like diluted isopropyl alcohol or water.
For more in-depth information on headphone care and maintenance, resources like the CNET guide provide excellent practical advice.
