
Quick Summary: Experiencing problems with your in-ear headphones? This beginner-friendly guide offers simple solutions for common issues like no sound, crackling, or intermittent audio. Learn easy troubleshooting steps to get your earbuds working perfectly again, saving you time and money.
Fix Headphone Issues for In-Ear Headphones: Your Essential Guide!
Hey there, fellow audio lovers! Edward Cavitt here from Headphone Horizon. We all love the immersive experience our in-ear headphones provide, whether we’re jamming to our favorite tunes, getting lost in a podcast, or taking an important call. But what happens when they decide to act up? That dreaded silence, static hiss, or one earbud going rogue can be frustrating, especially when you’re on the go. Don’t despair! Most common in-ear headphone problems have simple fixes that anyone can do. This guide is designed to walk you through the most frequent issues and their straightforward solutions, so you can get back to enjoying crystal-clear sound without a fuss. Let’s dive in and get those earbuds singing again!
Common In-Ear Headphone Problems and How to Solve Them
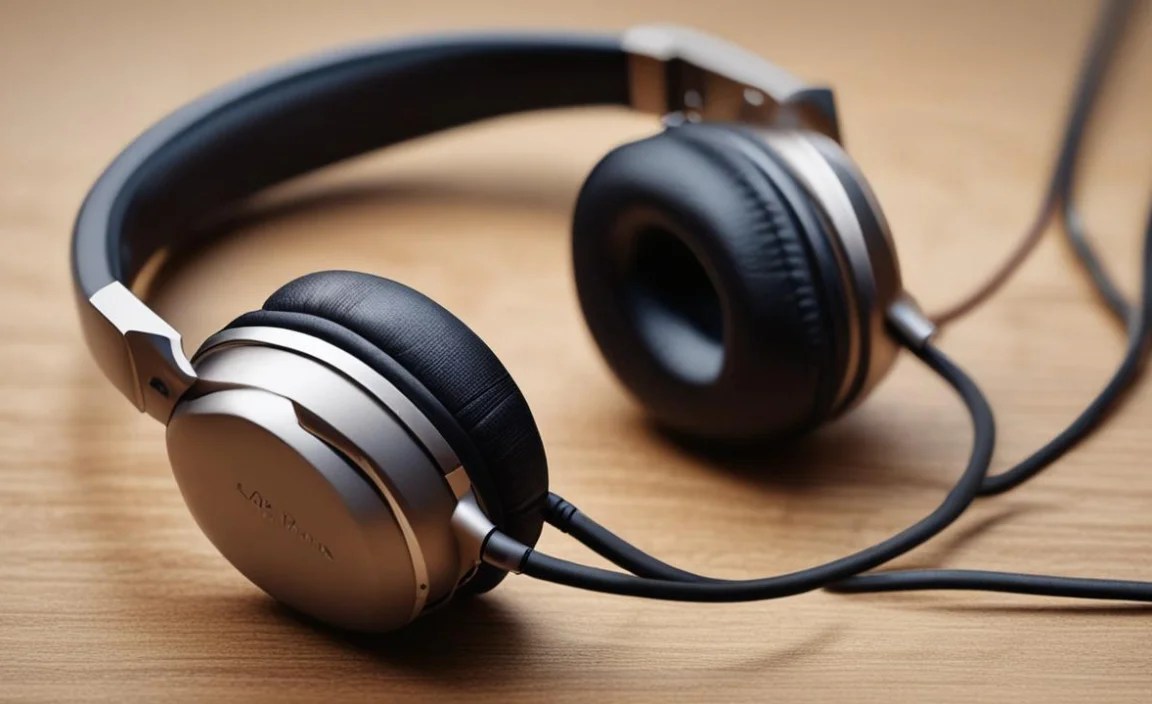
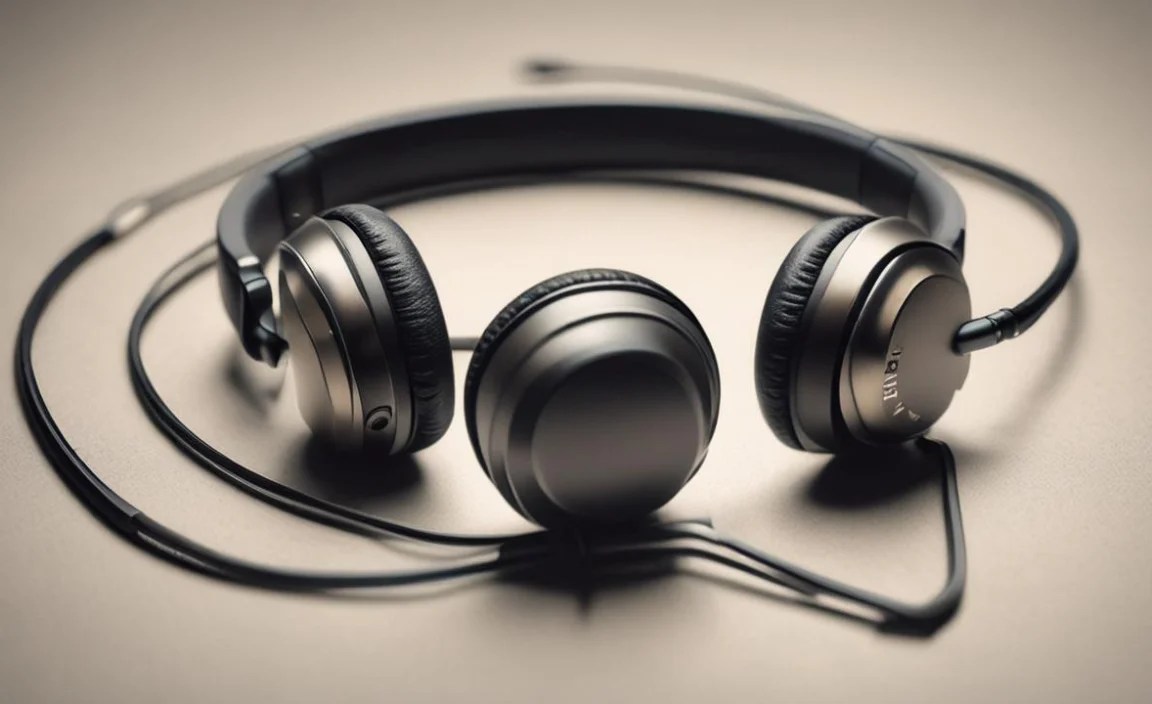
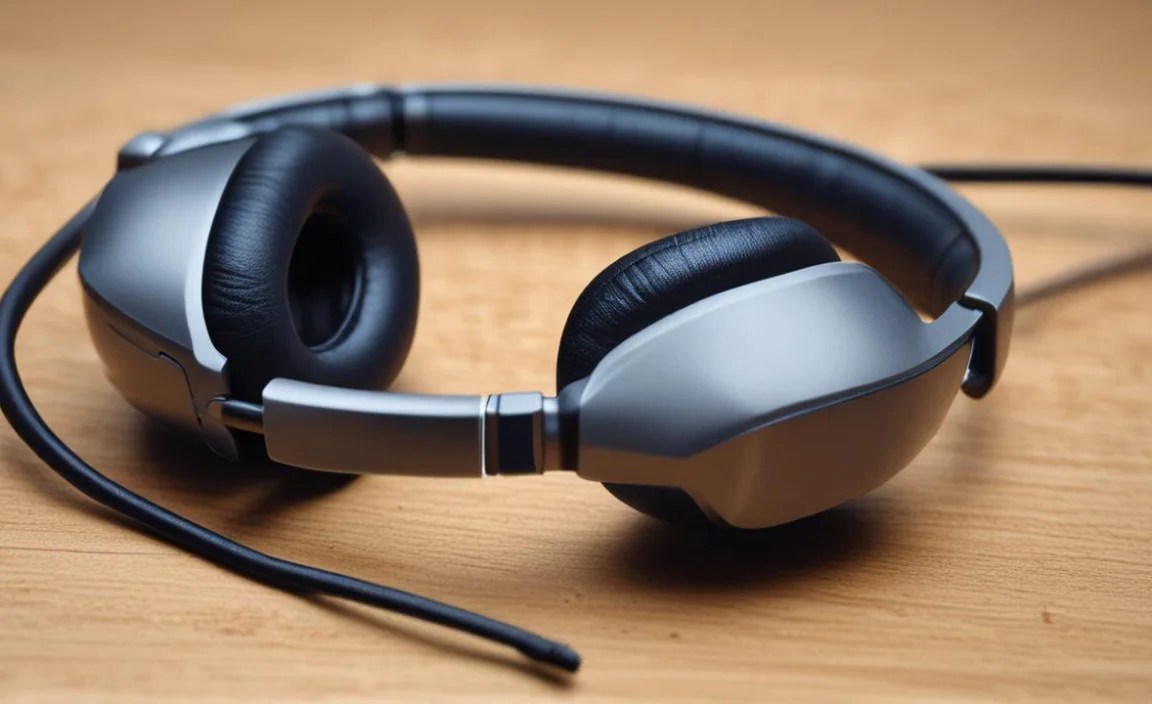
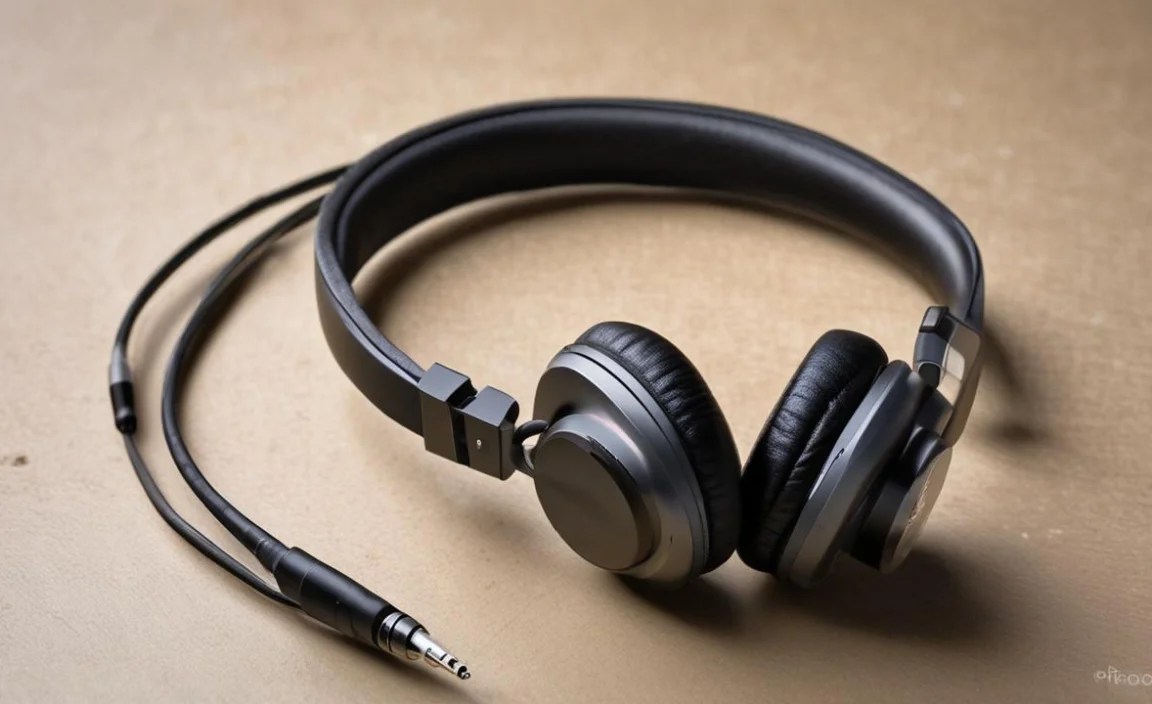
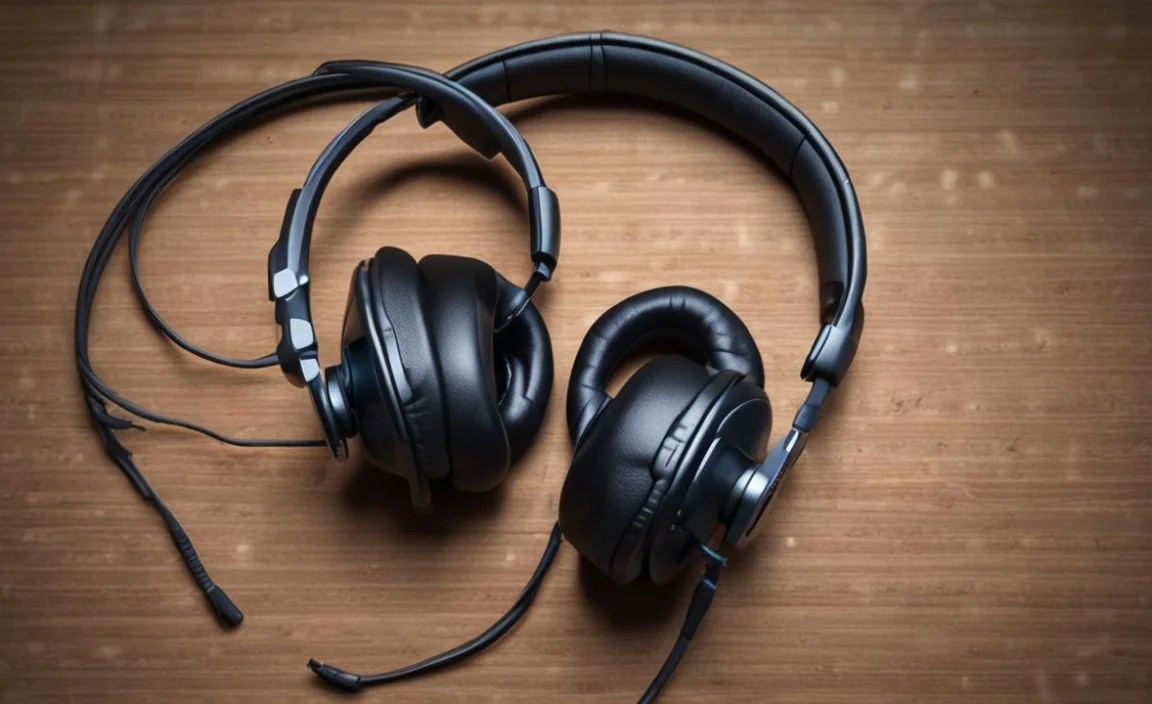
It’s incredibly common for in-ear headphones, affectionately known as earbuds or IEMs, to develop quirks over time. Whether it’s a loose connection, a bit of grime, or a software hiccup, these issues can significantly impact your listening experience. Before you consider replacing them, let’s explore some of the most frequent culprits and how to tackle them with confidence.
1. No Sound from Either Earbud

This is perhaps the most frustrating issue. You plug in your headphones, expecting to hear your audio, but… nothing. Here’s how to diagnose and fix this:
Check the Basics:
- Is the Volume Up? It sounds obvious, but double-check your device’s volume settings. Sometimes it’s just set too low or muted.
- Are the Headphones Properly Plugged In? Ensure the headphone jack is fully inserted into your device’s audio port. Give it a gentle push. If it’s a wireless connection, make sure they are paired and connected in your device’s Bluetooth settings.
- Try Another Device: The quickest way to check if the problem is with your headphones or your device is to plug them into a different phone, tablet, or computer. If they work on another device, the issue lies with your original device’s audio port or settings.
- Inspect the Audio Port: Gently look inside your device’s audio port. Lint, dust, or debris can accumulate and prevent a proper connection. You can try to carefully blow out any obstructions or use a non-metal tool like a wooden toothpick or a can of compressed air. Be very gentle.
Software Glitches:
- Restart Your Device: Sometimes, a simple restart of your phone or computer can resolve temporary software bugs that might be interfering with audio output.
- Check Audio Output Settings: On some devices, you can manually select the audio output. Ensure your headphones are selected as the primary audio source. For example, on an iPhone, swipe down from the top right corner to access Control Center; on Android, you might find this in the Quick Settings panel or Sound settings.
2. Sound Only in One Earbud

This is a very common annoyance. You’re listening, and suddenly, one side goes silent. Here’s what to do:
Physical Connections & Damage:
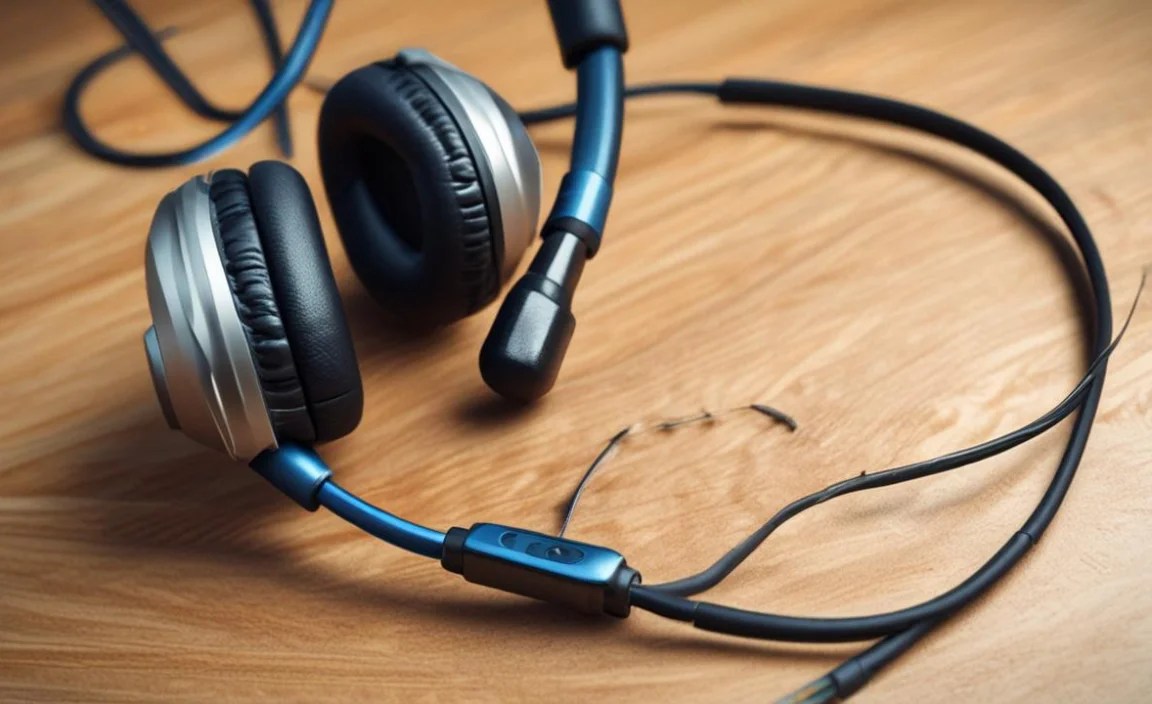
- Inspect the Cable: Carefully examine the entire length of the headphone cable, especially near the jack and the splitter where the cable divides for each earbud. Look for any visible damage, kinks, or fraying. If you find any, it might be the cause.
- Gently Wiggle the Jack: With the headphones plugged in and playing audio, gently wiggle the headphone jack where it connects to your device. If the sound flickers or returns when you move it, the problem is likely a loose connection at the jack or within the cable itself. This often indicates a damaged cable that may be difficult to repair professionally.
- Clean the Jack: Sometimes, dirt on the headphone plug can cause intermittent connections. Gently clean the metal part of the jack with a dry, lint-free cloth.
Device-Related Checks:
- Test on Another Device: Again, plug your headphones into a different audio source. If the problem persists, the headphones are likely at fault.
- Check Device Audio Balance: Some devices have a balance setting that controls the volume between the left and right channels. Navigate to your device’s accessibility settings (often under “Audio” or “Sound”) and ensure the balance is centered. For example, on iOS, go to Settings > Accessibility > Audio/Visual. On Android, look in Settings > Accessibility > Hearing enhancements or similar.
Here’s a quick table to help you decide the next steps based on your testing:
| Test Performed | Headphones Work on Other Device? | Problem Persists on Other Device? | Likely Cause | Recommended Action |
|---|---|---|---|---|
| No Sound in Either Earbud | Yes | No | Device’s audio port or settings | Troubleshoot your device’s audio settings. |
| No Sound in Either Earbud | No | Yes | Headphones themselves (cable, drivers) | Inspect cable; consider repair or replacement. |
| Sound Only in One Earbud | Yes | No | Device’s audio balance or port | Check device accessibility settings. |
| Sound Only in One Earbud | No | Yes | Headphones themselves (cable, internal wiring) | Inspect cable for damage; often needs replacement. |
3. Crackling, Static, or Distorted Sound
A fuzzy or distorted audio signal can ruin the listening experience. This can stem from a few different sources:
Dirty Connections:
- Clean the Headphone Jack and Port: As mentioned before, dirt and debris are common culprits. A clean connection is crucial. For the headphone jack, use a dry, lint-free cloth. For the device’s port, try compressed air or a soft brush very gently.
- Clean Both Earbuds: Sometimes, a dirty earbud grill can affect sound quality. Gently clean the mesh on the earbuds with a dry, soft brush. Avoid using liquids, as they can damage the internal components.
Cable Issues:
- Inspect for Damage: Creases, cuts, or fraying in the cable are often the cause of crackling. If you find any, the internal wires might be damaged, leading to intermittent or distorted sound.
- Strain Relief: Pay attention to the points where the cable attaches to the earbuds and the jack. These are called “strain relief” areas. If they look worn or damaged, this can be an issue.
Software and Interference:
- Close Unnecessary Apps: Sometimes, other apps running in the background can consume processing power or bandwidth, leading to audio glitches. Try closing apps you’re not using.
- Update Drivers/Software: If you’re using headphones with a computer, ensure your audio drivers are up to date. For wireless headphones, check for firmware updates for both the headphones and your device. You can often find this information on the manufacturer’s website. For example, for Windows updates, you can check the Microsoft support page on updating drivers.
- Reduce Wireless Interference: For Bluetooth headphones, other devices emitting radio waves (like microwaves, Wi-Fi routers, or other Bluetooth devices) can cause interference. Try moving closer to your audio source or away from potential sources of interference.
4. Low Volume Output
Even with the volume slider at maximum, your headphones might not be as loud as you’d like. There are a few reasons for this:
Device & App Settings:
- Master Volume vs. App Volume: Be aware that some apps have their own volume controls independent of your device’s main volume. Ensure the volume within the app itself is turned up.
- Volume Limiter Settings: Many smartphones and operating systems have a “volume limiter” or “headphone safety” feature designed to protect your hearing by capping the maximum volume. Check your device’s sound or accessibility settings to ensure this isn’t set too low. You can find more information on safe listening levels. For example, the World Health Organization has guidelines on preventing hearing loss.
- Low Volume Source: The volume level is also dependent on the original audio source. A poorly recorded track or a quiet podcast will sound quieter regardless of your equipment.
Headphone Limitations:
- Sensitivity / Impedance: Some headphones, especially higher-end ones, have higher impedance ratings. This means they require more power from your audio source to achieve a high volume. Connecting high-impedance headphones to a device not designed to power them will result in lower-than-expected volume.
- Sound Leakage: If your earbuds don’t create a good seal in your ears, you might lose sound pressure, making them seem quieter.
5. Intermittent Sound or Dropouts (Especially Wireless)

This is a common frustration for wireless headphone users. Your music cuts in and out unexpectedly. Let’s troubleshoot:
Bluetooth Connectivity:
- Distance: Bluetooth has a limited range. Ensure your headphones are within the recommended distance of your paired device (usually around 30 feet or 10 meters, but this can vary).
- Obstructions: Physical objects between your device and headphones, like walls or even your own body, can weaken the Bluetooth signal. Try keeping your device in a pocket on the same side of your body as the main headphone component, if applicable.
- Interference: As mentioned earlier, Wi-Fi routers, microwaves, and other Bluetooth devices can cause interference. Try turning off other Bluetooth devices temporarily or moving away from interference sources.
- Re-Pair Your Headphones: Sometimes, the Bluetooth connection just needs a reset. “Forget” your headphones in your device’s Bluetooth settings, then re-pair them.
- Check Battery Levels: Low battery on either the headphones or the source device can sometimes lead to unstable connections. Ensure both are adequately charged.
Wired Headphones (Less Common but Possible):

If you’re experiencing dropouts with wired headphones, it’s almost always a problem with the cable or the jack. Refer back to the troubleshooting steps for “Sound Only in One Earbud” and “Crackling Sound” as a damaged cable is the most probable cause.
6. One Earbud Not Charging or Not Detected
This is particularly common with true wireless earbuds that charge in a case.
Charging Case and Earbud Issues:
- Clean Charging Contacts: Both the charging contacts on your earbuds and inside the charging case can get dirty, preventing a proper charge. Gently clean these metal contacts with a dry cotton swab or a pencil eraser. Ensure there’s no debris.
- Check Case Battery: Make sure the charging case itself is charged. If the case battery is dead, it won’t be able to charge your earbuds.
- Reseat the Earbuds: Take the earbuds out of the case and firmly place them back in, ensuring they “click” into place. Sometimes they just need to be repositioned to make proper contact.
- Firmware Update: Check the manufacturer’s app or website to see if there’s a firmware update available for your earbuds. Updates can fix bugs related to charging and detection.
- Reset the Earbuds: Many true wireless earbuds can be reset to factory settings. Consult your earbud’s manual or the manufacturer’s website for instructions on how to perform a reset. This often involves placing them in the case and holding a button or tapping a sequence.
Device Compatibility (Less Common):
Ensure your charging cable and power adapter are compatible with your earbud case. Using uncertified or incorrect chargers can sometimes lead to charging issues.
When to Seek Professional Help or Consider Replacement
While most issues are fixable with these DIY steps, some problems indicate a deeper hardware failure. If you’ve tried all the relevant troubleshooting steps and your headphones still aren’t working correctly, it might be time to:
- Contact Manufacturer Support: If your headphones are still under warranty, reach out to the manufacturer. They can guide you through more advanced troubleshooting or arrange for a repair or replacement.
- Consider Repair Services: For higher-end headphones, there are specialized repair services that can fix damaged cables or drivers. However, for many budget-friendly earbuds, the
