
Is your favorite wired headphone suddenly silent or playing with one ear? Don’t toss them just yet! This guide offers simple, step-by-step solutions to diagnose and fix common headphone wire issues, saving you money and letting you get back to your music.
How to Fix Headphone Wire Wired: Your Essential Guide
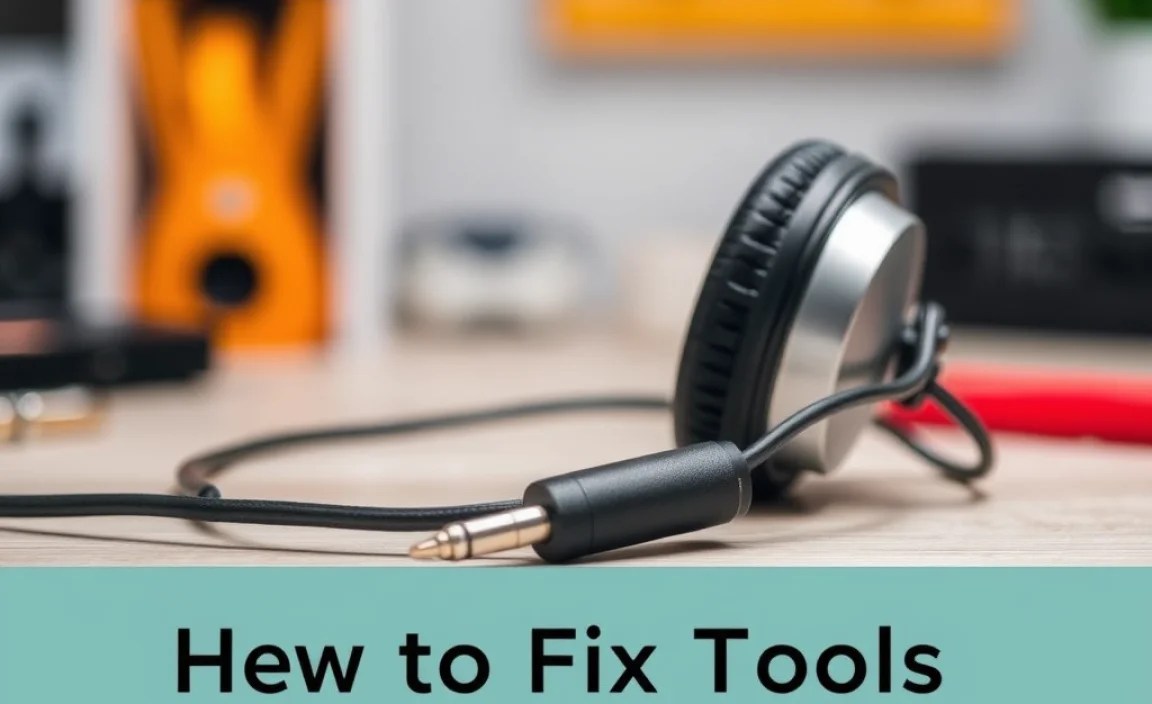
It’s a familiar frustration: you reach for your trusty wired headphones, ready to dive into your favorite playlist or podcast, only to find one side is dead silent, or the sound is crackly and unreliable. Before you consider replacing them, know that many common headphone wire issues are surprisingly fixable! As an audio enthusiast, I’ve learned that a little patience and a few simple tools can often breathe new life into your beloved headphones. This guide is designed for everyday listeners, aiming to demystify the process and empower you to tackle those annoying wire problems yourself. We’ll walk through common causes and provide practical, easy-to-follow solutions, so you can enjoy clear, uninterrupted sound again without breaking the bank.
Understanding the Common Culprits: Why Your Headphone Wire Fails
Before we grab our tools, let’s understand what’s typically going wrong. Headphone wires, especially those that see daily use, are prone to wear and tear. The most frequent offenders are usually related to how the wire interacts with the headphones themselves, the audio jack, and the stresses of being moved around.
- Internal Wire Breaks: The thin wires inside the main cable, carrying the audio signal, can break. This often happens near connection points (like the earcups or the jack) due to repeated bending or stretching.
- Loose Connections at the Jack: The 3.5mm audio jack, the part you plug into your device, can become loose from the wire. This is common if the cable is often yanked or stressed at this point.
- Damage to the Earcup/Headphone Housing: Sometimes, the wire might be fine, but the connection point where it enters the headphone earcup has become damaged or disconnected internally.
- Strain at the Y-Splitter: If your headphones have a Y-splitter (where the left and right earbud wires meet), this area can be a weak point.
- Water or Moisture Damage: While less common for wired headphones compared to earbuds, moisture can corrode internal connections.
Essential Tools for the Job

You don’t need an expensive electronics lab to fix your headphone wire. Here are a few common household items and readily available tools that will serve you well:
- Wire Strippers or a Sharp Craft Knife/Box Cutter: For carefully removing the outer insulation of the headphone cable to access the inner wires. (Safety first! Always cut away from yourself.)
- Soldering Iron and Solder: The most reliable way to reconnect broken wires. Basic soldering skills are beneficial, but we’ll keep it simple.
- Electrical Tape or Heat Shrink Tubing: To insulate and secure your repaired connections, preventing shorts and further damage. Heat shrink tubing provides a cleaner, more durable finish.
- Small Pliers (Needle-nose are best): For holding small wires and components.
- Magnifying Glass (Optional but helpful): To see those tiny wires and connections more clearly.
- Multimeter (Optional, but recommended for diagnosis): Helps test continuity and confirm if a wire is broken.
- Helping Hands Tool (Optional): A stand with clips to hold wires steady while you solder.
Where to find more information on safety when working with electronics? The Occupational Safety and Health Administration (OSHA) provides valuable resources on electrical safety that can be applied to DIY projects.
Step-by-Step Guide: Diagnosing and Fixing Your Headphone Wire

Let’s get to it! We’ll start with the simplest checks and move towards more involved repairs.
Step 1: The Wiggle Test – Pinpointing the Problem Area
This is your first detective step. Gently wiggle the headphone cable at key points while listening to audio from your source device. If the sound cuts in and out or changes volume as you wiggle, you’ve likely found the damaged spot.
- Plug your headphones into a device that plays audio (phone, computer, MP3 player).
- Play some music or a consistent tone.
- Carefully bend and wiggle the cable around:
- Where the cable exits the left earcup.
- Where the cable exits the right earcup.
- At the Y-splitter (if applicable).
- Where the cable meets the 3.5mm audio jack.
- Listen closely for any changes in audio. The spot that causes the most fluctuation is your prime suspect!
Step 2: Inspecting the Audio Jack
The 3.5mm jack is constantly plugged and unplugged, making it a common failure point. Look for obvious physical damage.
- Visual Inspection: Is the plug bent? Is the plastic housing cracked? Is there any debris stuck inside?
- Loose Connection: If the plug feels wobbly where it meets the cable, this is a strong indicator of a broken solder joint or wire internally.
Step 3: The Internal Wire Break – Your Most Likely Scenario
Most often, the problem is an internal wire break. This usually occurs close to the 3.5mm jack or where the wire enters the earcups. We’ll focus on repairing the jack as it’s a common and accessible fix.
Caution: This step involves working with small wires and a soldering iron. If you’re not comfortable with soldering, consider seeking help from a friend or a local electronics repair shop. Always work in a well-ventilated area.
Repairing the 3.5mm Audio Jack
This process involves stripping the cable, identifying the wires, and re-soldering them to the correct contacts on the jack.
- Prepare the Jack: If possible, carefully pry open or unscrew the outer casing of the 3.5mm jack to expose the solder points. Some jacks are molded and difficult to open; in such cases, you might need to cut the entire jack off and replace it with a new one.
- Locate the Wires: You’ll typically find three or four thin wires inside the headphone cable. Gently strip about an inch of the outer rubber insulation from the cable, about an inch or two from the end of the jack. Be careful not to cut the inner wires.
- Identify Wire Functions:
- Ground Wire: Usually the thickest, often uninsulated or wrapped in a braided shield.
- Left Channel Wire: Typically a colored wire.
- Right Channel Wire: Another colored wire.
- Microphone Wire (if applicable): A fourth wire, often colored and sometimes shielded.
- Test for Continuity (Optional but Recommended): If you have a multimeter, this is where it shines. Set it to continuity mode (it beeps when a connection is made). Touch one probe to the tip of the audio jack (left channel), and the other probe to the corresponding wire. Then test the ring section (right channel) and the sleeve (ground). If you don’t get a beep for any wire, that wire is broken somewhere further up the cable. If it beeps, the issue might be further inside the jack itself or in the earcup.
- Cut and Re-strip Damaged Wires: If the wiggle test indicated a break near the jack, it’s best to cut off the damaged section of the cable cleanly. Then, carefully strip about a quarter-inch of insulation off the ends of the individual wires.
- Tin the Wires and Jack Terminals: Apply a small amount of solder to the tip of each individual wire (this is called “tinning”). Also, apply a tiny bit of solder to each of the solder terminals on the 3.5mm jack. This makes them “sticky” and ready to be joined.
- Solder the Wires: This is the crucial part.
- Ground: Connect the ground wire to the largest terminal, usually at the base of the jack (the sleeve).
- Left Channel: Connect the left channel wire to the terminal corresponding to the tip of the plug.
- Right Channel: Connect the right channel wire to the terminal corresponding to the ring section of the plug.
- Microphone (if present): Connect the microphone wire to its designated terminal.
Use your soldering iron to melt the solder at the joint, creating a strong electrical connection. Hold the wire in place with pliers or a vise until the solder cools and hardens. You want a smooth, shiny connection, not a lumpy, dull one.
- Insulate and Reassemble: Once the solder joints have cooled, use electrical tape or heat shrink tubing to cover each individual connection. This prevents them from touching each other and causing a short circuit. Then, reassemble the outer casing of the jack if you were able to open it.
| Wire Function | Typical Color(s) | Jack Terminal (Diagrammatically) |
|---|---|---|
| Ground | Copper/Uninsulated, Braided Shield | Sleeve (Base of jack) |
| Left Channel | Green, White, or Blue | Tip (Plugs into the very end) |
| Right Channel | Red, Orange, or Brown | Ring (Next section on the plug) |
| Microphone (TRRS, if present) | Varies (often black, blue, or purple) | Second Ring (Innermost section on some jacks) |
Please note: Wire colors can vary significantly between headphone manufacturers. Always refer to a specific diagram for your headphone model if available, or use a multimeter to confirm functions.
Step 4: Repairing a Break Near the Earcup
If your wiggle test pointed to the connection at the earcup, the process is similar but can be trickier due to the smaller space and more delicate components within the headphone housing.
- Access the Earcup Internals: You may need to gently pry off the earcup padding or remove screws to expose the internal wiring. Look for a small wire that has detached from a solder point on the driver or internal connector.
- Carefully Strip and Solder: Follow the same tinning and soldering process as above, being extra cautious with the tiny wires and delicate driver components.
- Insulate and Reassemble: Ensure all connections are well-insulated with tape or heat shrink tubing before carefully reassembling the earcup.
Step 5: Dealing with the Y-Splitter
If the break is right at the Y-splitter, you have a few options:
- Minor Damage: If it’s just a fray, electrical tape or heat shrink can reinforce it.
- Severed Wire: You’ll need to carefully separate the two halves of the splitter, strip the outer cable, identify the individual wires leading to each earbud, and re-solder them. This is an advanced repair. You might consider sacrificing the splitter and joining the two wire halves directly, though this compromises aesthetics.
Step 6: Replacing Damaged Sections (Advanced)
If the damage is extensive or the jack is irreparable, you can replace entire sections of the cable. This usually involves:
- Cutting out the damaged section.
- Purchasing a replacement headphone cable with a compatible jack and connectors.
- Soldering and insulating the new cable to the existing headphone drivers or jack.
This is a more involved repair and requires a good understanding of headphone wiring, but it’s certainly achievable for the determined DIYer.
When to Call it Quits (or Seek Professional Help)
While many headphone wire issues are fixable, there are times when the repair might not be worth the effort or is beyond your DIY comfort level.
- Expensive or Delicate Headphones: If you have high-end, intricate headphones, a failed repair could lead to further damage. In such cases, professional repair might be a safer bet, or you might consider the cost of replacement.
- Widespread Cable Damage: If the cable is frayed or chewed up along its entire length, a full cable replacement is usually necessary.
- Internal Driver Damage: Sometimes, the issue isn’t the wire at all but the speaker driver inside the earcup. This is a much more complex repair.
- Lack of Confidence: If you’re not comfortable with soldering or fine electrical work, forcing it can cause more problems. It’s okay to admit defeat and look for alternatives.
For professional repairs, you can often find local electronics repair shops that handle headphone servicing. Websites like iFixit also offer guides and parts that can help, although their focus is often on consumer electronics like smartphones and laptops, some principles apply.
Frequently Asked Questions (FAQ)
Q1: My headphones have a microphone. Does that change how I fix the wire?
Yes, slightly! Headphones with a microphone often use a TRRS (Tip-Ring-Ring-Sleeve) connector instead of a TRS (Tip-Ring-Sleeve) connector. This means there are four conductor wires instead of three: Left Audio, Right Audio, Ground, and Microphone. You’ll need to identify the microphone wire (it’s usually a different color and connects to the innermost ring on the jack) and solder it to the corresponding terminal on a TRRS jack. If you’re unsure, a multimeter is very helpful here.
Q2: I don’t have a soldering iron. Are there any solderless fixes?
Solderless solutions exist but are generally less reliable for headphone wires. You could use specialized wire connectors designed for very fine wires, or even twist and tape wires securely. However, these connections are prone to pulling apart, corroding, or causing intermittent sound over time due to their lack of a solid, permanent bond. For a lasting repair, soldering is highly recommended.
Q3: How can I prevent my headphone wires from breaking in the first place?
Prevention is key! To extend the life of your headphone wires:
- Avoid yanking the cable, especially when unplugging from devices.
- Don’t wrap the cable too tightly around your device or hands; use gentle loops.
- Store your headphones properly in a case or pouch rather than just tossing them in a bag.
- Keep them away from moisture and extreme temperatures.
- Be mindful of where the cable lies to avoid sitting on it or having pets chew on it.
Q4: My headphones are brand new, but one side isn’t working. Should I try to fix it?
If your headphones are brand new and have a defect, the best course of action is usually to return them for a replacement under warranty. While the repair steps are the same, attempting a repair on a new product could void its warranty. Always check your warranty terms first!
Q5: What kind of solder should I use for headphone wires?
For small electronics like headphone wires, a thin gauge of electronics solder, typically 60/40 tin/lead or a lead-free alternative (like 99% tin, 0.7% copper, 0.3% silver), is ideal. Look for solder that contains flux, as this helps the solder flow smoothly and create a good connection. You’ll want a relatively low melting point solder for delicate work like this.
Q6: Can I replace the entire cable if it’s badly damaged?
Yes, for many headphones, especially more modern ones or those designed with detachable cables, replacing the entire cable is an option. If your headphones have a proprietary port for the cable, you might be able to purchase a specific replacement cable from the manufacturer or a third-party retailer. For headphones with molded-on cables, you’d need to cut the old cable off and solder a new universal headphone cable to the drivers
