
Quick Summary: Don’t let a wobbly headphone jack disrupt your listening experience. This guide offers simple, safe DIY tips to quickly fix a loose headphone jack, restoring clear audio and reliable connections for your headphones. Get back to enjoying your music without the hassle!
Fix Loose Headphone Jack Quick: Your Essential Guide
Hey everyone, Edward Cavitt here from headphonehorizon! We all love getting lost in our music, podcasts, or calls, but nothing breaks that immersion quite like a loose headphone jack. You know the feeling – that frustrating crackle, the audio cutting in and out, or having to hold the plug just right for it to work. It’s a common problem, but thankfully, one that’s often fixable without needing to be a tech wizard. This guide is designed to help you quickly and easily get your headphone jack back in solid working order, so you can enjoy uninterrupted sound. Let’s dive in!
Why Does a Headphone Jack Get Loose?
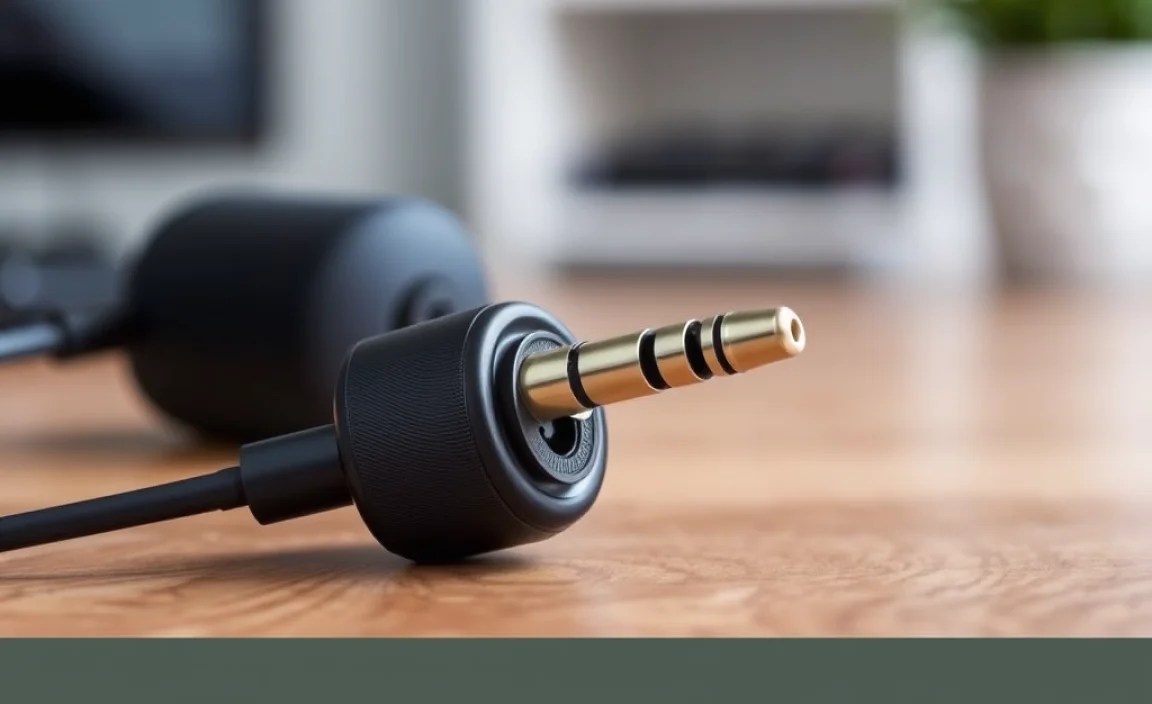
Before we start fixing, it’s helpful to understand why this issue pops up. The 3.5mm headphone jack, also known as an audio jack or headphone socket, is a small but vital component. Over time, repeated plugging and unplugging, accidental tugs on the cable, or even just general wear and tear can loosen the internal connections within the jack itself or the device it’s plugged into.
Think of it like any moving part. Each time you insert or remove your headphones, there’s a tiny bit of friction and stress. If this happens thousands of times, or if one of those tugs is a bit more forceful than usual, the delicate solder points or internal metal contacts can become stressed, bent, or even detach. This leads to the dreaded loose connection.
Common culprits include:
- Frequent Use: The more you use your headphones, the more wear the jack and port experience.
- Accidental Pulls: Catching the headphone cord on something can yank the jack, stressing the connection.
- Dirt & Debris: Sometimes, gunk can build up inside the jack, preventing a firm connection.
- Poor Quality Manufacturing: Cheaper devices or headphones might have less robust internal components from the start.
- Physical Damage: Dropping a device or stepping on the headphone cable can also cause internal damage.
When Can You Fix It Yourself?
The good news is that many loose headphone jack issues are minor and can be addressed with simple DIY methods. Generally, if the jack isn’t physically broken off or completely mangled, there’s a good chance you can improve or fix the connection.
You’re most likely to succeed if the problem is related to:
- A wobbly connection: The plug feels loose but isn’t falling out.
- Intermittent audio: Sound cuts out when you move the plug or cable.
- Static or crackling: Noise accompanies the audio, especially when the plug is touched.
- One-sided audio: Only the left or right channel is working.
However, if the jack is visibly bent, broken, or if the device itself has suffered significant physical damage, it might be time to consider professional repair or replacement. Always prioritize safety, and if you’re unsure, it’s better to seek expert advice.
Essential Tools for Your Quick Fix
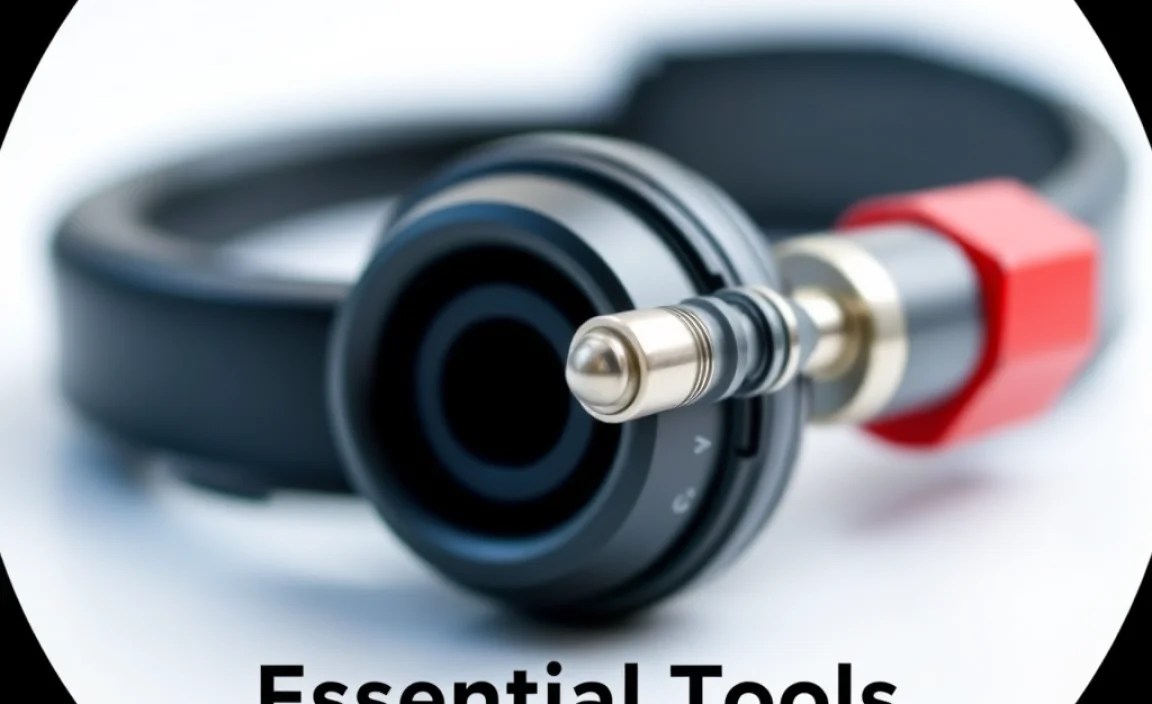
You don’t need a high-tech lab to fix a loose headphone jack. Most of these methods require common household items or tools easily found at a hardware or electronics store. Having these on hand will make the process smoother.
Tools You Might Need:
- Compressed Air Can: Excellent for blasting out dust and debris without physical contact.
- Toothpick or Small, Non-Metallic Probe: For carefully dislodging stubborn debris.
- Rubbing Alcohol (Isopropyl Alcohol, 90%+): A safe and effective cleaner for electrical contacts.
- Cotton Swabs (Q-tips): For applying rubbing alcohol and gentle cleaning.
- Small Screwdriver Set (if disassembling): For electronic devices with accessible ports.
- Magnifying Glass: To get a closer look at the jack and internal contacts.
- Small Pliers or Tweezers (optional): For manipulating small parts if you need to disassemble.
- Soldering Iron and Solder (Advanced): Only if you’re comfortable with electronics repair and discover a loose internal solder joint.
Always ensure your device is powered off and disconnected from any power sources before attempting any cleaning or repair.
Step-by-Step Guide to Fixing a Loose Headphone Jack
Let’s get your audio back in crystal-clear shape! We’ll start with the simplest, least invasive methods and move towards more involved solutions.
Step 1: Inspect and Clean the Jack
This is the most common culprit and the easiest fix. Dust, lint, and other debris can accumulate inside the headphone jack, preventing the plug from seating properly. Think of it like trying to plug something into a dirty electrical outlet – it just won’t connect right.
- Power Down: Make sure your device (phone, laptop, tablet, etc.) is completely turned off.
- Visual Inspection: Use a flashlight and, if necessary, a magnifying glass to look inside the headphone jack. See any visible gunk or lint?
- Blast it Out: Take your compressed air can and give a short, sharp burst into the jack. Hold the can upright to avoid spraying propellant. This can often dislodge loose particles.
- Gentle Probing (if needed): If compressed air doesn’t do the trick, carefully use a toothpick or a non-metallic probe to gently scrape out any visible debris. Be extremely careful not to damage the internal contacts.
- Clean with Alcohol: Lightly dampen a cotton swab with isopropyl alcohol. Gently insert it into the jack and twist a few times. This helps clean off any residue or oxidation. Let it dry completely (a few minutes) before proceeding.
After cleaning, try plugging in your headphones again. You might be surprised how often this simple step solves the problem!
Step 2: Test with Different Headphones and Cables
Before you blame your device, let’s rule out the headphones themselves. The issue might not be with the jack in your device, but with the plug on your headphones.
- Try Another Pair: If you have a spare pair of headphones, plug them into the device. Do they work perfectly, or do you experience the same wobbly connection?
- Test Your Headphones Elsewhere: Plug your problematic headphones into a different device (another phone, a computer, a stereo). If the issue follows your headphones, the problem likely lies with the headphone cable or plug, not your primary device.
This step is crucial for accurate diagnosis. If your headphones work fine in another device, you might need to repair or replace your headphones. If other headphones also have issues with your device’s jack, then the problem is definitely with the device.
Step 3: Check and Clean the Headphone Plug Itself
Just like the jack in your device, the plug on your headphones can also accumulate dirt and grime, or its metal contacts can become oxidized.
- Inspect the Plug: Look at the metal tip of your headphone plug. Is it dirty, oxidized (looks dull or discolored), or bent?
- Clean the Plug: Unplug your headphones. Use a cotton swab lightly dampened with isopropyl alcohol to clean the metal portion of the plug. Gently wipe away any gunk or discoloration.
- Dry Thoroughly: Ensure the plug tip is completely dry before plugging it back in.
Step 4: Gently Tighten the Jack’s Internal Contacts (Advanced/Requires Caution)
Sometimes, the internal metal contacts within the headphone jack might be slightly spread apart from repeated use. This can prevent a firm grip on the headphone plug. This method requires a delicate touch and can be risky if done too aggressively.
Important Note: This guide is for the jack on your device. If you are trying to fix the jack on your headphones, the process is similar but you’ll be working on the plug itself or potentially disassembling headphone earcups, which is a more complex repair.
- Power Off Completely.
- Visual Inspection: Use a flashlight to look inside the jack. You should see three distinct metal rings on the plug of your headphones (for stereo audio). The jack in your device has corresponding contacts that grip these rings.
- The “Toothpick Trick”: With the device powered off, very gently insert a very thin, non-metallic object (like a plastic toothpick, not metal) into the jack. Try to ever so slightly nudge the internal contacts inward. The goal is to make them press more firmly against the headphone plug.
- Focus on the Grip Points: You’re not trying to bend anything dramatically. Imagine you’re trying to provide a bit more outward pressure from the jack’s internal contacts. Most modern jacks have a small slit or opening on the side of the contact that allows you to gently push it inward.
- Test Carefully: Remove the toothpick and try plugging in your headphones. Does it feel tighter? Is the audio more stable?
Caution: Overdoing this can permanently damage the jack. If you feel significant resistance or aren’t sure, skip this step. It’s better to live with a slightly loose jack than to break it completely.
Step 5: Addressing Port Looseness vs. Cable Looseness
It’s important to differentiate whether the jack itself is loose in the device’s casing or if the internal connections within the jack are loose.
If the entire jack wiggles and feels loose in the device’s body:
- This often indicates a physical connection issue between the jack and the device’s motherboard, or the jack is loose from its mounting points on the PCB (Printed Circuit Board).
- For many devices (like smartphones), the headphone jack is integrated into a small daughterboard or directly soldered onto the main logic board. Accessing and re-securing this often requires disassembling the device.
- DIY Difficulty: High. This usually requires opening the device, identifying the headphone jack component, and potentially re-soldering it or securing it if it uses a screw mount (rare).
- Recommendation: Unless you are experienced with electronics repair and have the right tools (like a small Phillips head screwdriver and potentially a spudger), this is a job best left to a professional repair service.
If the jack feels secure in the device’s body but the plug feels loose inside it:
- This is the scenario addressed in Step 1, 2, 3, and 4 – issues with debris, oxidation, or slightly spread internal contacts.
- DIY Difficulty: Low to Medium. These are the steps we’ve covered.
Step 6: The Advanced Fix – Re-soldering (For Experienced DIYers)
If you’ve performed the previous steps and discovered that the headphone jack itself is physically loose from the device’s circuit board, or if you’ve identified a broken solder joint, the ultimate DIY fix is re-soldering.
Warning: This is an advanced repair. It requires special tools, soldering skills, and a good understanding of electronics. Incorrect soldering can permanently damage your device. If you are not comfortable with this, do not attempt it.
- Disassemble the Device: Carefully follow a reputable guide (e.g., iFixit guides are excellent) to open your device and access the headphone jack component.
- Identify the Issue: Use a magnifying glass to inspect the solder points where the headphone jack connects to the printed circuit board (PCB). Look for any cracked, broken, or detached solder joints.
- Prepare for Soldering: Ensure the area is clean. You might need to desolder the old joints if they are damaged.
- Re-solder: Using a fine-tipped soldering iron, appropriate solder, and flux, carefully re-solder the headphone jack to the PCB. Ensure a strong, clean connection for all pins.
- Test: After the solder cools and you’ve reassembled the device enough for a test, power it on and check the headphone jack.
If you’re not confident in your soldering abilities, consider seeking professional repair. Many local electronics repair shops can handle this specialized work.
When to Seek Professional Help
While many loose headphone jack issues are DIY-friendly, there are times when it’s best to entrust your device to the experts:
- Visible Physical Damage: If the jack is bent, broken, or looks like it has been ripped from the device.
- Complex Disassembly Required: If fixing the jack means taking apart a device you’re not comfortable opening (e.g., modern smartphones, intricate laptops).
- Lack of Confidence or Tools: If you don’t have the necessary precision tools or feel uncertain about any step.
- After Failed DIY Attempts: If you’ve tried the basic fixes and the problem persists, or if you suspect you might have made it worse.
- Integral Part of a Larger Component: On some devices, the headphone jack might be part of a larger, more expensive module (like a charging port assembly). Repairing this might be more complex.
For professional advice, you can consult resources like the manufacturer’s support pages or reputable third-party repair services. For example, Apple’s support pages offer guidance for common iPhone issues, and U.S. government consumer advice on electronics repair can be found through the Federal Trade Commission, which advocates for consumer repair rights.
Quick Fix Checklist
Here’s a handy checklist to keep track of the steps and their potential outcomes:
| Step | Action | Likely Cause Addressed | Success Rate (Estimated) | DIY Difficulty |
|---|---|---|---|---|
| 1 | Clean Jack (Air/Toothpick/Alcohol) | Dust, lint, debris, light oxidation | 60-70% | Very Easy |
| 2 | Test Different Headphones/Ports | Isolating if the issue is the device or headphones | N/A (Diagnostic) | Very Easy |
| 3 | Clean Headphone Plug | Debris, oxidation on headphone plug | 15-20% (if Step 1 failed) | Easy |
| 4 | Gently Tighten Contacts (“Toothpick Trick”) | Contacts slightly spread, poor grip | 20-30% | Medium (Requires Caution) |
| 5 | Assess Port vs. Cable Looseness | Determining if the jack is loose from the device board | N/A (Diagnostic) | Easy |
| 6 | Re-solder Jack (Advanced) | Broken solder joints, physically loose jack | 80-90% (if done correctly) | Hard |
Frequently Asked Questions (FAQ)
What is the safest way to clean a headphone jack?
The safest way is to first try blowing it out with compressed air. If that doesn’t work, use a cotton swab lightly dampened with pure isopropyl alcohol (90% or higher recommended). Avoid using excessive liquid, and make sure the jack is completely dry before plugging anything in. Never use sharp metal objects.
Can compressed air damage my headphone jack?
Generally, no, when used correctly. Always hold the can upright to avoid spraying liquid propellant, and use short bursts. Excessive force or holding the can too close could potentially damage delicate internal components, but basic cleaning is safe.
My headphone jack is bent. Can I fix it?
If the metal part of the plug on your headphones is bent, you might be able to very carefully and gently try to straighten it with small pliers. However, if the jack port on your device is bent, this is a much more serious issue. It often means the internal structure of the port is compromised, and it’s usually best to seek professional repair, as attempting to bend it back could cause further damage.
