
Quick Summary: Facing a loose headphone jack? This guide reveals simple, tool-free tricks to restore a stable connection and enjoy uninterrupted audio. Learn quick fixes that bring your headphones back to life, right from your home.
Fix Loose Headphone Jack Without Tools: Genius Fix
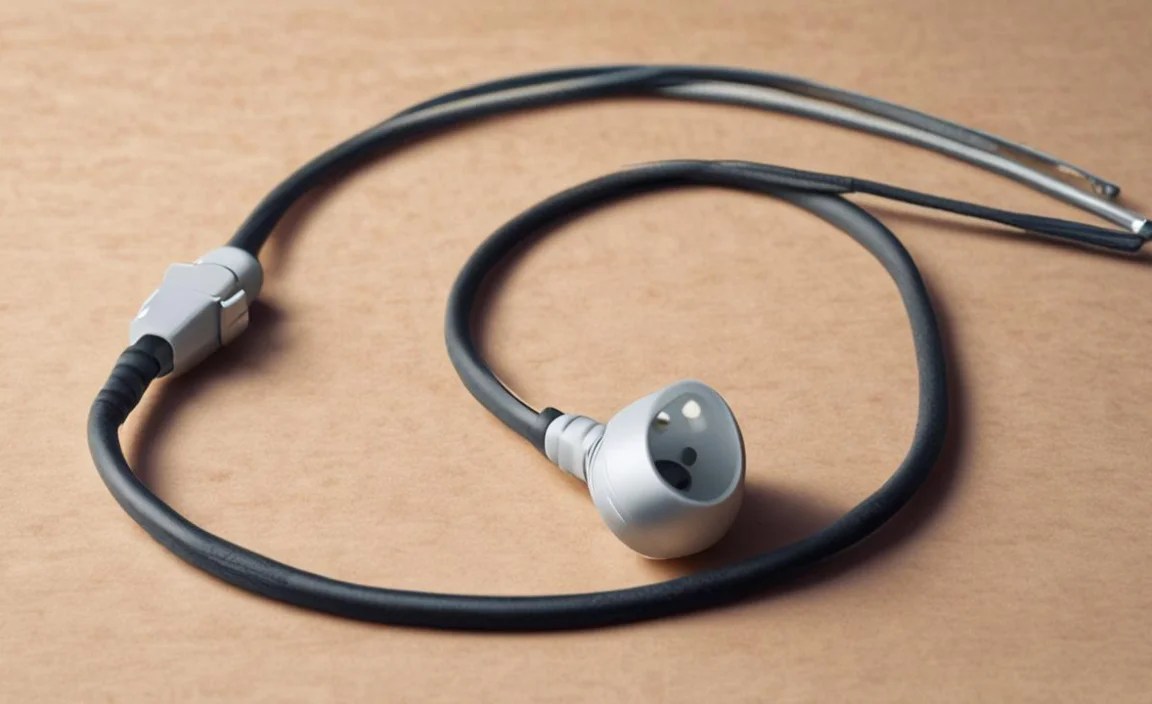
Hey everyone, Edward Cavitt here from Headphone Horizon! We’ve all been there: you’re settling in for a great listening session, maybe catching up on your favorite podcast or getting lost in some music, and suddenly – static. Or worse, one earbud goes silent. Your headphone jack feels a little… wobbly. It’s a frustrating problem that can really take you out of the zone. But don’t worry! Before you go hunting for tiny screwdrivers or considering a replacement, there are some surprisingly effective, tool-free methods you can try right now. I’ve dealt with my fair share of finicky jacks, and I’m excited to share these genius, straightforward fixes that can save your sound experience and keep your headphones in action. Let’s get your audio back on track!
Why Does a Headphone Jack Get Loose?

It’s a common annoyance, isn’t it? That little wobble or intermittent sound from your headphones often comes down to a few key culprits. Understanding these can help you appreciate why our “no-tools” fixes work.
- Wear and Tear: Every time you plug and unplug your headphones, you’re putting a little stress on the jack and the port. Over time, this can loosen the internal connections.
- Pocket Lint and Debris: This is a big one! The headphone port on your phone, laptop, or tablet is a magnet for pocket lint, dust, and other small particles. This gunk can prevent the jack from seating properly, making it feel loose and causing connection issues.
- Physical Impact: Dropping your device or giving your headphone cable a sharp tug can physically bend or loosen the components inside the port.
- Manufacturing Tolerances: Sometimes, even from the start, the fit might be a little looser than ideal. This is less common but can happen.
The good news is that many of these issues can be tackled with simple, everyday solutions. We’re going to focus on the ones that don’t require any specialized tools, making it accessible for everyone.
The “Sticky Tape” Trick: Your First Line of Defense

This is perhaps the most accessible and often surprisingly effective fix for a slightly loose headphone jack. It works by gently creating a bit more grip or friction where it’s needed.
What You’ll Need (Barely Anything!):
- A small piece of adhesive tape (like Scotch tape or packing tape, choose something that isn’t too thick)
- Your headphones
- Your device (phone, tablet, laptop)
Step-by-Step: The Sticky Tape Method
- Prepare the Tape: Tear off a very small piece of tape. We’re talking about a square that’s maybe half the size of your pinky fingernail, or even smaller. You want just enough to wrap around the metal part of your headphone plug, just before the plastic grip.
- Apply the Tape: Carefully wrap this small piece of tape around the metal connector of your headphone jack. Try to keep it as smooth and flat as possible. The goal is to add a tiny bit of thickness, just enough to make the jack fit more snugly into the port. Don’t apply it to the very tip of the plug, as that’s the part that makes the electrical connection.
- Insert the Jack: Gently insert the headphone jack into your device’s port. You should feel a little more resistance than before. Don’t force it! If it feels too tight, remove the tape and trim it a bit smaller.
- Test the Sound: Once inserted, wiggle the cable gently. If the sound is now stable and doesn’t cut out, congratulations! You’ve likely found your fix.
Why it works: This method essentially adds a thin layer of buffer material. When the jack is slightly loose, the tape fills in the minuscule gaps, allowing the plug to sit more securely and make consistent contact with the internal pins of the port.
The “Paperclip Shim” (Carefully Done!): A Slightly More Advanced No-Tool Fix

This is similar in principle to the tape trick but uses a different material. It requires a bit more finesse and caution. The idea is to create a very thin, firm shim that can help secure the jack. We’re still avoiding actual tools, but this requires a bit of precision.
What You’ll Need:
- A standard paperclip
- Your headphones
- Your device
- (Optional, for precision) A pair of fingernail clippers or tiny scissors if you have them, to snip a tiny piece of the paperclip if needed. Use extreme caution if you choose to snip anything!
Step-by-Step: The Paperclip Shim
- Prepare the Shim: Take a standard metal paperclip. You’re going to need a thin, flat piece of the metal. You can try to gently unbend a portion of the paperclip so you have a thin wire. Our goal isn’t to insert the paperclip itself, but a tiny sliver of its metal.
- Create the “Shim”: This is the part that requires the most care. You want to create a metal shim that is incredibly thin – like a sliver of metal. The best way to approach this without “tools” is to find a way to gently bend and break off a tiny piece of the paperclip, or carefully use the edge of the paperclip itself to very gently nudge/lever a tiny piece of the metal so it protrudes slightly. Alternatively, and often safer, is to find a very thin, flat, stiff piece of paper or cardstock from something you might have lying around (like a business card, or a piece of sturdy packaging. We are mimicking a shim. But for the sake of the “paperclip” method, let’s stick to metal if you’re brave. The absolute safest no-tool approach here would be to try and use a very thin, stiff piece of folded paper or plastic.
- If using a paperclip sliver: Imagine the metal sleeve of your headphone jack. You want to place this tiny metal sliver alongside the metal shaft of the headphone plug, on one side. The idea is to provide a bit of extra girth.
- Insert with Caution: Gently insert the headphone jack with your shim material in place. The shim should be between the jack’s metal shaft and the inside wall of the device’s port.
- Test Thoroughly: Wiggle the jack. Does it feel more stable? Does the audio cut out less?
Important Note on the Paperclip Method: This method is listed as “no-tools” because the paperclip is a common office supply, not because it requires no manipulation. If you are not comfortable attempting this, or if you accidentally bend or damage anything, stop immediately. The tape method is always a safer first bet. Over-manipulating the paperclip can create sharp edges, and forcing the jack could damage your port. Always prioritize the safety of your device.
Cleaning the Port: The Unsung Hero

Often, a “loose” jack isn’t actually loose hardware at all. It’s just that debris is preventing it from fully inserting. This is incredibly common, especially for phones that spend time in pockets or bags. Cleaning your port is a crucial troubleshooting step, and you can do it without tools!
What You’ll Need:
- A wooden or plastic toothpick (never metal!)
- A can of compressed air (if you have it, but not strictly necessary)
- A dry, lint-free cloth (like a microfiber cloth)
Step-by-Step: Port Cleaning
- Safety First: Ensure your device is powered off.
- Visual Inspection: Look into the headphone port. Can you see any visible lint, dust bunnies, or other gunk?
- The Toothpick Method (Gentle is Key): Take a wooden or plastic toothpick. Never use a metal object like a safety pin or paperclip, as this can easily short-circuit your device or scratch the internal contacts. Gently insert the tip of the toothpick into the port and carefully – very carefully – try to dislodge any visible debris. Imagine you’re gently sweeping it out, not digging. You might need to insert the toothpick multiple times, trying to coax out small bits of lint.
- Compressed Air (Optional but Recommended): If you have a can of compressed air, a short burst into the port can do wonders to blow out any loosened dust or debris. Hold the can upright and use short, controlled bursts. Again, never insert the straw of the can into the port, just spray towards it.
- Wipe Down: Use your lint-free cloth to wipe down the exterior of the headphone jack itself. Sometimes lint can accumulate on the plug too.
- Test: Power your device back on and plug in your headphones. See if the connection feels more secure and the audio is stable.
Why cleaning is so important: The headphone port is a precise piece of engineering. Even a small amount of buildup can create enough of a barrier to prevent the jack from making solid contact with all necessary pins. This can explain why your audio cuts out or why the jack feels loose.
A Comparison of “No-Tool” Fixes

To help you decide which method to try first, here’s a quick comparison:
| Method | Ease of Use | Effectiveness for Slight Looseness | Risk to Device | Typical Materials |
|---|---|---|---|---|
| Sticky Tape | Very Easy | Good | Very Low | Small piece of tape |
| Paperclip Shim (Advanced) | Moderately Difficult (Requires precision) | Potentially Very Good | Moderate (Risk of damage if not careful) | Paperclip or similar stiff material |
| Port Cleaning | Easy | Excellent for debris-induced issues | Very Low (if using safe tools like wood/plastic) | Toothpick, compressed air (optional) |
When These Fixes Might Not Work
While these tool-free methods are fantastic for common issues like minor looseness from wear or debris, it’s important to acknowledge their limitations:
- Internal Damage: If the port itself has suffered physical damage (e.g., a bent internal connector, a crack in the port housing), these methods won’t be able to repair it.
- Severe Looseness: If the jack literally falls out or is extremely wobbly, the tiny amount of added thickness from tape or a shim won’t be enough.
- Device-Specific Issues: Some devices have more sensitive or complex audio ports where delicate manipulation might not be advisable.
In cases where these simple fixes don’t solve the problem, you may need to consider professional repair. Many reputable electronic repair shops can fix a damaged headphone jack. For critical information on electronic repairs and data safety, you can often find resources from consumer protection agencies like the Federal Trade Commission (FTC), which offers advice on navigating repair services.
Frequently Asked Questions (FAQ)
Q1: How can I tell if my headphone jack is actually loose or if it’s a different problem?
A: A loose jack usually manifests as intermittent audio (cutting in and out), static, or one earbud not working. You might also physically feel a wobble when the jack is plugged in. If your audio works perfectly fine when the jack is held at a specific angle, that’s a strong indicator of a loose connection.
Q2: Is it safe to use a metal object to clean my headphone port?
A: Absolutely NOT. Never use metal objects like paperclips, pins, or needles to clean your headphone port. These conductive materials can easily short-circuit your device’s internal components, potentially causing permanent damage. Stick to wooden or plastic toothpicks, or compressed air.
Q3: How much tape should I use for the sticky tape trick?
A: You want to add just a thin layer of thickness. Start with a piece of tape no larger than half the size of your pinky fingernail. The goal is to make the jack fit snugly, not to jam it in. You can always add a tiny bit more if needed, but it’s better to start small.
Q4: What if the tape leaves sticky residue in my port?
A: If you encounter sticky residue, try using the compressed air method described earlier to blow it out. If that doesn’t work, a slightly damp (not wet!) cotton swab with isopropyl alcohol can be used very carefully around the entrance of the port, but avoid letting any liquid drip inside. It’s best to stick to completely dry methods if possible.
Q5: Can these fixes work on all types of devices?
A: Yes, these methods are generally effective for any device with a standard 3.5mm headphone jack, common in smartphones, tablets, laptops, and MP3 players. The principles of physical fit and debris blockage apply universally.
Q6: My headphones still aren’t working after trying these fixes. What next?
A: If these tool-free methods don’t resolve your issue, it’s possible your headphones themselves are damaged, or the port on your device has more serious internal damage. You might want to test your headphones with another device to see if the problem persists. If the headphones work fine elsewhere, consider seeking professional repair for your device’s port.
Bringing Your Audio Back to Life

Dealing with a loose headphone jack can be a real buzzkill, turning your perfect listening moment into an exercise in frustration. But as we’ve seen, you often don’t need to be a tech wizard or have a toolbox full of gadgets to fix it. The simple approaches we’ve explored – a bit of strategic tape, careful port cleaning, or even a cleverly applied shim – can often restore that solid, reliable connection you need to enjoy your music, podcasts, or calls without interruption.
Remember, the key players are often just everyday items you likely have lying around. Start with the gentle methods like cleaning and the tape trick, as they are the lowest risk and surprisingly effective for many common problems. If you tackle the paperclip shim, proceed with extreme caution and always prioritize the well-being of your device. These fixes are designed to give you quick, accessible solutions, empowering you to take control and get your audio back working as it should.
So next time your headphones start acting up, don’t despair! Give these tool-free fixes a try. You might just be amazed at how easily you can restore your sound and keep enjoying what you love to listen to. Happy listening from all of us at Headphone Horizon!
