
Quick Summary: Experiencing sound problems with your headphones? Don’t worry! This guide offers straightforward, proven solutions for common issues like no sound, distorted audio, or one-sided silence. We’ll walk you through simple fixes, from checking connections to cleaning your gear, helping you enjoy clear sound again without hassle.
Fix Sound Issues In Headphones: Proven Solutions
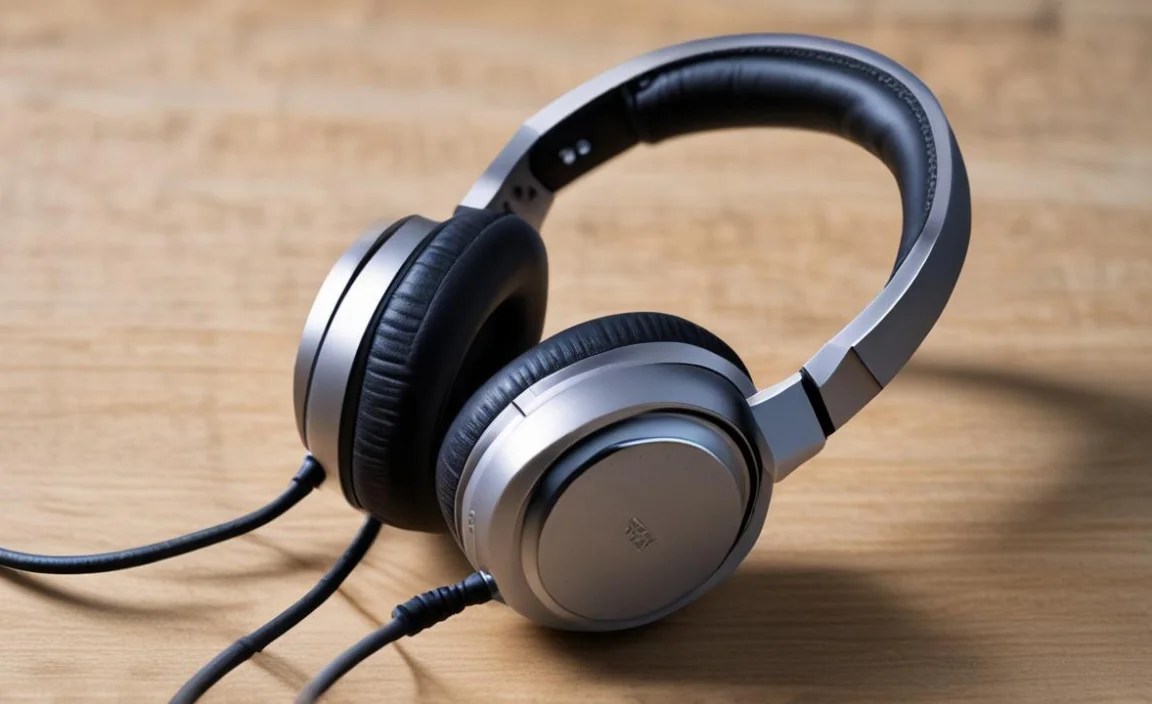
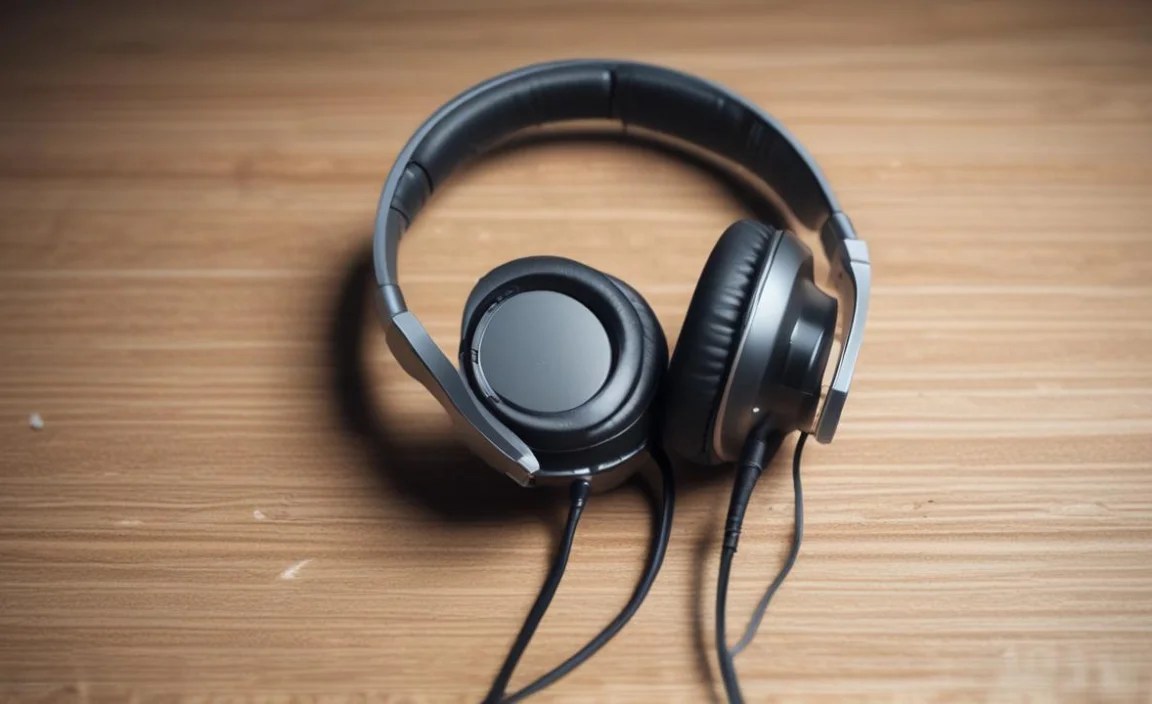
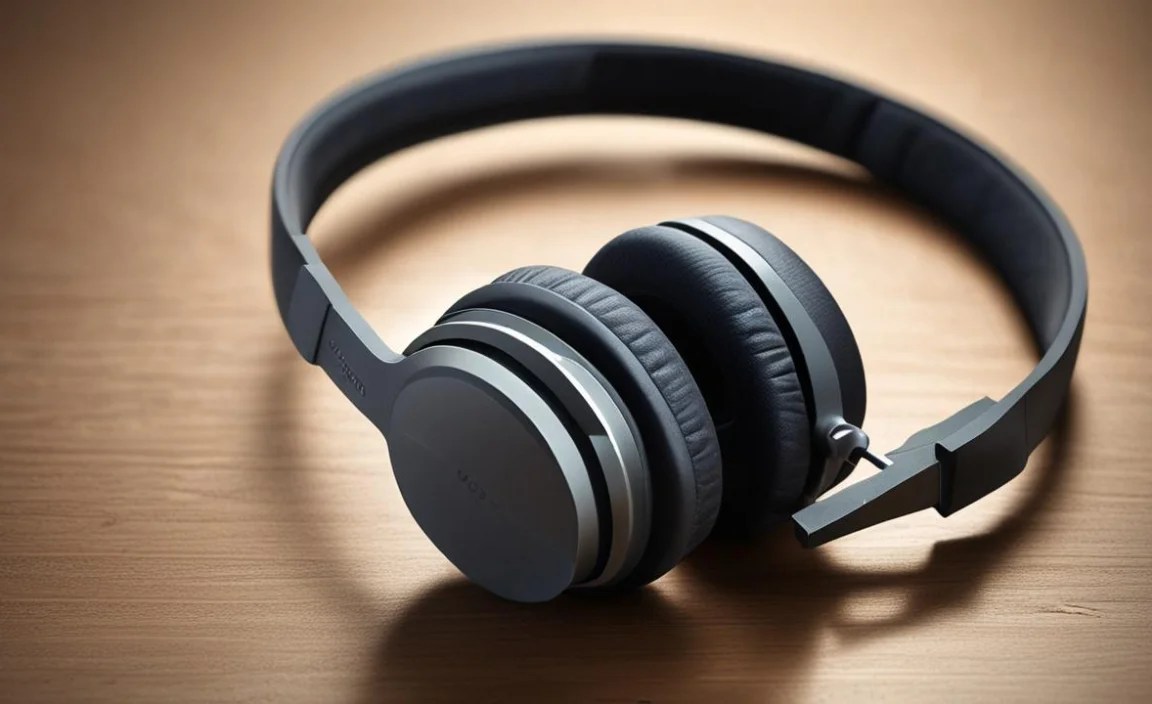
There’s nothing quite as frustrating as reaching for your headphones, ready to dive into your favorite music, podcast, or important call, only to be met with silence or a crackly mess. Whether you’re using trusty wired earbuds or fancy wireless cans, sound issues can strike at any time. But before you resign yourself to a silent world or rush out to buy a new pair, take a deep breath! Many common headphone problems have simple, DIY solutions. At Headphone Horizon, we believe in empowering you to get the most out of your audio gear. This guide is your friendly roadmap to troubleshooting and fixing those annoying sound glitches, ensuring your listening experience is smooth and uninterrupted.
Common Headphone Sound Problems and Their Causes

Before we jump into fixes, let’s quickly look at what might be going wrong. Understanding the symptom can often lead you directly to the solution.
- No Sound or One-Sided Sound: This is probably the most common issue. It could be a loose connection, a damaged cable, a problem with your device’s audio settings, or even debris blocking the headphone jack.
- Distorted, Crackly, or Fuzzy Audio: This often points to a loose connection port, a damaged wire within the cable, dirt or debris in the jack, or sometimes driver issues within the headphones themselves.
- Low Volume: Your device’s volume might be too low, or the headphones themselves might have an impedance mismatch (though this is less common with everyday consumer headphones). Sometimes, grime in the speaker mesh can muffle sound.
- Bluetooth Connection Issues (for Wireless Headphones): This can range from pairing problems, intermittent dropouts, to complete inability to connect. Factors include battery level, interference, distance from the device, or software glitches.
Step-by-Step Guide to Fixing Your Headphone Sound Issues

Let’s get your audio back in action! We’ll start with the easiest checks and move to more involved solutions. Most of these steps are quick and don’t require any special tools.
Step 1: The Simple Checks (Always Start Here!)
Before diving deep, let’s cover the basics. These quick checks solve a surprising number of problems.
- Check the Volume: It sounds obvious, but double-check that your device’s volume isn’t turned down or muted. Check both the main volume control and any inline controls on your headphone cable.
- Reseat the Connection: For wired headphones, unplug them completely and plug them back in firmly. Ensure it’s fully seated in the jack. If you’re using an adapter, try removing and reinserting that too.
- Try Another Device: Plug your headphones into a different smartphone, tablet, laptop, or MP3 player. If they work perfectly on another device, the problem is likely with your original device’s audio port or software settings. If the problem persists across devices, the issue is almost certainly with the headphones themselves.
- Inspect the Cable and Plug: Look closely at the headphone cable for any visible damage, kinks, or frayed wires, especially near the plug and the earcup connections. Check the plug itself for bends or damage.
Step 2: Cleaning Your Headphone Jack and Plug

Dirt, dust, and lint can accumulate in the headphone jack of your device and on the connector of your headphones. This gunk can obstruct the signal, leading to no sound, crackling, or intermittent issues. Here’s how to clean them safely.
What You’ll Need:
- Compressed air can (for device jack)
- Cotton swabs (Q-tips)
- Isopropyl alcohol (90% or higher)
- Toothpick or plastic spudger (optional, use with extreme caution)
Cleaning Your Device’s Headphone Jack:
- Power Off: Turn off your phone or device completely.
- Use Compressed Air: Hold the can upright and give a short burst of air into the jack. Don’t tilt the can, as this can spray propellant.
- Gentle Swab Method (Use with Care): If compressed air alone doesn’t work, very gently moisten a cotton swab with a tiny bit of isopropyl alcohol. Squeeze out any excess. Gently twirl the swab inside the jack. Do not force it. Rotate carefully to pick up debris.
- Allow to Dry: Let the jack air dry for at least 15-30 minutes before plugging your headphones back in. You can give another quick burst of compressed air to help with drying.
Cleaning Your Headphone Plug:
- Visual Inspection: Look at the metal tip and body of the headphone plug.
- Wipe Clean: Use a dry, lint-free cloth to wipe away any visible dirt.
- Gentle Alcohol Clean: If there’s stubborn grime, slightly dampen a cotton swab with isopropyl alcohol. Gently rub the metal parts of the plug.
- Dry Thoroughly: Ensure the plug is completely dry before inserting it into your device.
Important Note: Be extremely careful when cleaning device ports. Never insert sharp metal objects like paperclips or needles, as you can easily damage the delicate internal contacts. For more information on cleaning electronics, you can refer to guides from reputable tech sites like CNET.
Step 3: Checking and Adjusting Device Audio Settings
Sometimes, the issue isn’t with the headphones at all but with your device’s software. Incorrect settings can easily lead to audio problems.
For Smartphones and Tablets (iOS and Android):

- Check Mute Switch (iPhone): Ensure the silent/ring switch isn’t activated.
- Volume Limits: Some devices have settings to limit maximum volume. Check Settings > Sounds & Haptics > Headphone Safety (iOS) or Settings > Sound & vibration > Volume, then look for headphone-specific settings (Android varies by manufacturer).
- Audio Balance: Ensure the left/right audio balance isn’t set all the way to one side. This is usually found in Accessibility settings. On iOS: Settings > Accessibility > Audio/Visual > Balance. On Android: Settings > Accessibility > Hearing enhancements > Left-right sound balance (or similar path).
- Bluetooth Settings (for Wireless): If you’re using wireless headphones, go to your Bluetooth settings. Ensure your headphones are connected. Try disconnecting and re-pairing them. Turn Bluetooth off and on again.
- Restart Your Device: A simple restart can often clear out temporary software glitches that might be affecting audio output.
For Computers (Windows and macOS):
- Select the Correct Playback Device:
- Windows: Right-click the speaker icon in your taskbar (bottom right corner) and select “Open Sound settings” or “Playback devices.” Make sure your headphones are selected as the default output device. If they are listed but not active, right-click and select “Enable” or “Set as Default Device.”
- macOS: Click the Apple menu > System Settings (or System Preferences) > Sound. Under the Output tab, select your headphones from the list.
- Check Volume Mixer (Windows): Right-click the speaker icon and select “Volume Mixer.” Ensure the application you’re using (e.g., Spotify, web browser) isn’t muted or has its volume set too low.
- Update Audio Drivers (Windows): Outdated or corrupt audio drivers can cause issues. Go to Device Manager (search for it in the Windows search bar), expand “Sound, video and game controllers,” right-click your audio device, and select “Update driver.”
- Restart Your Computer: Always a good first step for computer-related issues.
Step 4: Addressing Wired Headphone Cable Issues
If your wired headphones have a damaged cable, it’s often the culprit. While some minor damage can be fixed, significant damage might require replacement.
Common Issues and Fixes:
- Intermittent Sound or Crackling at Certain Angles: This usually means there’s a break or a loose connection inside the cable, often near the plug or where the cable splits to the earpads. Wiggling the cable might temporarily restore sound, but it’s a sign of imminent failure.
- DIY Repair (Advanced): If you’re comfortable with soldering, you can carefully cut out the damaged section, strip the wires, and resolder them. This requires specific tools and skill and is often not worth the effort for inexpensive headphones. There are many tutorials online, like those found on iFixit, if you wish to attempt this.
- Securing Loose Connections: Sometimes, the strain relief where the cable enters the earcup or the plug might be loose. You can sometimes reinforce this with electrical tape or Sugru.
- Completely Dead Cable: If there’s no sound at all and the cable looks fine, the internal wire might be completely severed. This is usually not repairable for the average user.
Tip: Investing in headphones with detachable or replaceable cables can save you a lot of hassle and money in the long run if you tend to be rough on your gear.
Step 5: Troubleshooting Wireless (Bluetooth) Headphones
Wireless headphones offer freedom, but they come with their own set of potential connection woes.
Common Problems and Solutions:
| Problem | Troubleshooting Steps |
|---|---|
| Cannot Pair/Connect |
|
| Intermittent Sound / Dropouts |
|
| One Ear Cup Not Working |
|
| Poor Sound Quality |
|
For specific troubleshooting on your brand of headphones, always refer to the manufacturer’s official support page or manual. For instance, Apple’s AirPods support page offers detailed guidance for their popular wireless earbuds.
Step 6: Cleaning Speaker Grilles and Ear Pads

Accumulated earwax, skin oils, and dust can clog the speaker grilles of your headphones, muffling sound or causing distortion. For over-ear and on-ear headphones, dirty ear pads can also affect sound quality and comfort.
Cleaning Speaker Grilles:
- For Earbuds (IEMs):
- Gently remove the ear tips.
- Use a dry, soft brush (like a clean toothbrush or a dedicated earbud cleaning brush) to brush away any visible debris.
- For stubborn wax, GENTLY dab a cotton swab very lightly with rubbing alcohol and carefully swipe around the grille. Ensure NO liquid seeps into the driver.
- Allow to dry completely before reattaching ear tips.
- For Over-Ear/On-Ear Headphones:
- If the grilles are exposed, use a dry, soft brush to gently clean them.
- For more difficult grime, a slightly damp cloth (water only) can be used, ensuring no moisture gets inside.
- Some earcup cushions can be removed for easier cleaning. Check your manual.
Cleaning Ear Pads (Over-Ear/On-Ear):

- Leather or Protein Leather Pads: Wipe down with a slightly damp cloth. You can use a mild soap and water solution if needed, then wipe with a clean, damp cloth to remove soap residue. Dry thoroughly with a soft cloth.
- Velour Pads: These can be trickier. Often, a good vacuuming with a brush attachment is best for loose debris. For deeper cleaning, you can try GENTLY hand washing them in cool water with a tiny amount of mild detergent, then rinsing thoroughly and squeezing out excess water (do NOT wring). Let them air dry completely.
Caution: Never submerge headphones or their components in water unless explicitly stated as waterproof by the manufacturer. Moisture is the enemy of delicate electronic components.
Step 7: Checking for Software Conflicts or Updates
In rare cases, a newly installed app or an operating system update can cause conflicts that affect audio output. Conversely, sometimes an update is precisely what’s needed to fix a bug.
- Test in Safe Mode: On computers, booting into Safe Mode disables most third-party software. If your headphones work fine in Safe Mode, a recently installed program or driver is likely the culprit.
- Check for App Updates: Ensure all music apps, communication apps (like Zoom or Skype), and any manufacturer-specific headphone apps are up-to-date.
- Rollback Drivers (Windows): If the problem started after a driver update, you can try rolling back to a previous version through Device Manager.
- Check Manufacturer Websites: For specific headphones, visit the manufacturer’s support page for firmware updates. For example, Sony often releases updates for their headphones via the Sony | Headphones Connect app.
When to Consider Professional Help or Replacement
If you’ve gone through all these steps and your headphones are still not working correctly, it’s time to consider your options:
- Warranty: If your headphones are still under warranty, contact the manufacturer for repair or replacement.
- Professional Repair: For high-end headphones, professional repair services might be an option, though often costly.
- Replacement: For most everyday users and less expensive headphones, it might be more economical to replace them.
When choosing new headphones, consider features like detachable cables or robust build quality to minimize future issues. Brands like Sennheiser, Audio-Technica, and Beyerdynamic are often praised for their durability and repairability.
Frequently Asked Questions (FAQ)
Here are some common questions beginner users have about fixing headphone sound issues.
Q1: My headphones are connected, but there’s no sound. What’s the first thing I should check?

A1: Always start with the simplest things: ensure the volume on your device and headphones isn’t muted or turned down too low. Then, firmly unplug and replug the headphone jack. If you’re using wireless headphones, check that they’re properly paired and selected as the audio output device.
Q2: My wired headphones only play sound in one ear. What could be wrong?

A2: This is typically caused by a damaged cable, often with an internal wire break near the plug or where the cable splits. Try gently wiggling the cable at these points to see if the sound comes back intermittently. Also, check your device’s audio balance settings in accessibility options to ensure it’s centered.
