
Quick Summary: Discover how to choose and safely use over-the-head headphones for your workouts. We cover essential features like sweat resistance, secure fit, and battery life, along with tips for maintenance and creating your ultimate workout soundtrack.
Over The Head Headphones For Working Out: Your Essential Guide
Hey there, fitness enthusiasts and music lovers! Edward Cavitt here from headphonehorizon. You know, that feeling when you’re hitting your stride, pushing your limits, and your favorite song kicks in? It’s pure magic! But sometimes, our trusty headphones can be a bit of a distraction during a workout. That’s where over-the-head headphones come in, and they can be absolute game-changers for your fitness routine. They offer great sound and a comfy fit. But picking the right pair and using them safely? That’s where a little guidance goes a long way. Stick with me, and we’ll dive into everything you need to know to make over-the-head headphones your ultimate workout companion, hassle-free.
Why Over-The-Head Headphones for Your Workout?

Over-the-head headphones, often called supra-aural or circumaural (depending on how they sit on your ears), offer a few distinct advantages for active listening. Unlike earbuds that can slip out or in-ear designs that some find uncomfortable, a well-designed pair of over-the-head headphones can provide a stable and secure fit, even during vigorous activity. They also tend to offer richer sound quality and better noise isolation, allowing you to truly immerse yourself in your music or podcasts without the gym’s ambient noise breaking your concentration. Plus, with the advancements in materials and design, many are now built to withstand sweat and the general wear and tear of a fitness lifestyle.
Key Features to Look For in Workout Headphones
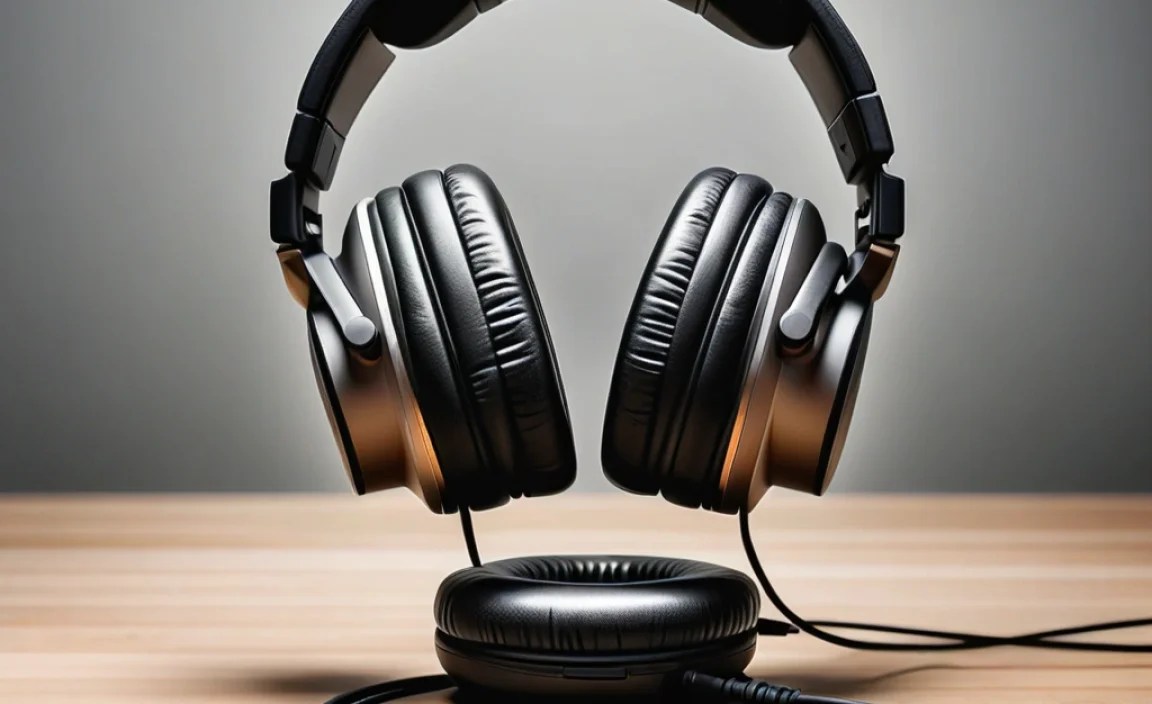
When you’re looking for over-the-head headphones specifically for working out, a few features rise to the top. It’s not just about sound quality anymore; it’s about durability, comfort, and how well they stay put.
1. Sweat and Water Resistance (IP Rating)
This is probably the most critical feature. You’re going to sweat, and sometimes you might get caught in the rain. Look for an IP (Ingress Protection) rating. This rating tells you how well the headphones are protected against solids (like dust) and liquids (like water). For workout headphones, a minimum of IPX4 is recommended, which means they can resist splashes of water from any direction. Higher ratings like IPX5 or IPX7 offer even more protection.
According to the International Electrotechnical Commission (IEC), an IP rating consists of two digits. The first digit indicates protection against solid objects, and the second indicates protection against liquids. For workout headphones, the liquid protection (the second digit) is paramount.
Here’s a quick look at what water resistance ratings mean:
| IPX Rating | Protection Against | Suitability for Workouts |
|---|---|---|
| IPX0 | No special protection | Not recommended |
| IPX1 | Vertically falling water droplets | Minimal sweat resistance |
| IPX2 | Water falling at a 15° angle | Light sweat resistance |
| IPX3 | Water sprayed at any angle (up to 60° from vertical) | Light to moderate sweat and splash resistance |
| IPX4 | Splashing water from any direction | Recommended for most workouts. Resists sweat and light rain. |
| IPX5 | Water jets from any direction | Good for intense workouts and heavier sweat. |
| IPX6 | Powerful water jets | Suitable for very intense workouts or water-based activities. |
| IPX7 | Temporary immersion in water (up to 1 meter for 30 minutes) | Highly durable, but might be overkill for typical gym use unless you do water sports while listening. |
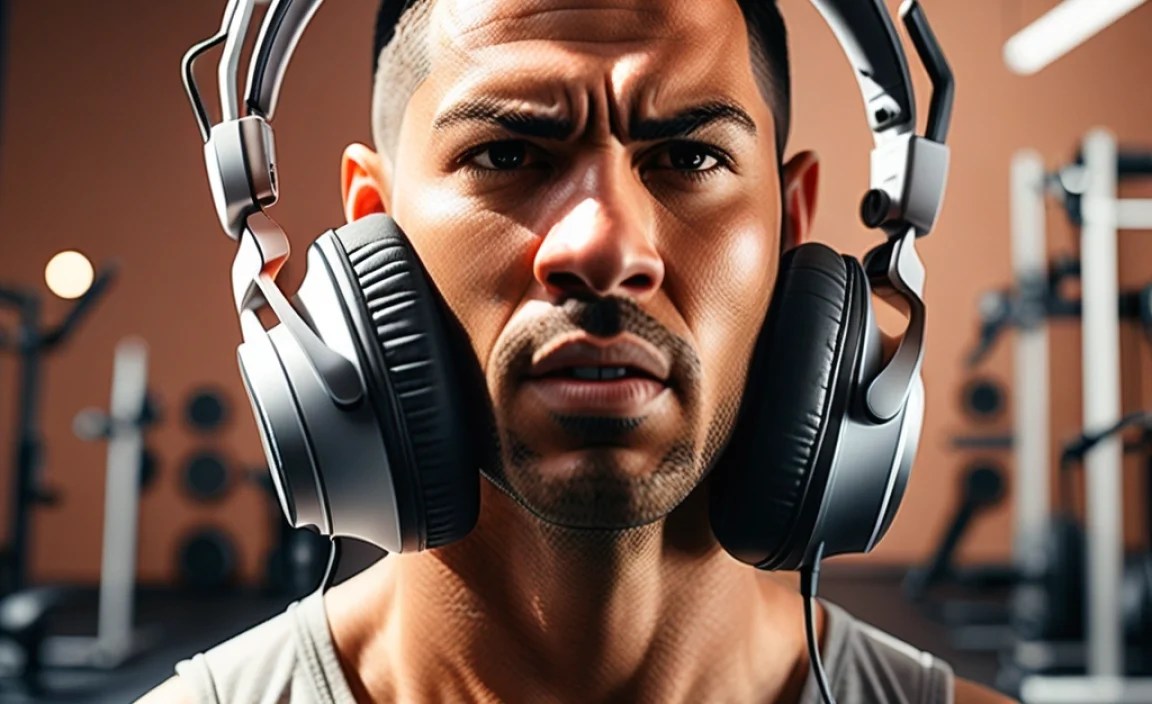
2. Secure and Adjustable Fit
Nothing kills your workout vibe faster than headphones that keep slipping off. Look for headphones with:
- Adjustable Headbands: This allows you to find the perfect, snug fit for your head size.
- Comfortable Earcup Material: Soft, breathable materials that don’t trap too much heat are ideal. Memory foam or high-quality faux leather can be great, but ensure they don’t feel too slippery when you start to sweat.
- Non-Slip Earcups or Headband: Some headphones have a rubberized or textured surface on the inside of the headband or earcups to provide extra grip.
- Lightweight Design: While some over-the-head headphones can be bulky, many workout-specific models are designed to be as light as possible for a comfortable, barely-there feel.
3. Battery Life (for Wireless)
If you’re opting for wireless over-the-head workout headphones, battery life is a big consideration. You don’t want your headphones dying halfway through a long run or an extended gym session. Aim for at least 10-15 hours of playback time on a single charge. Many modern options offer 20-40 hours, which is fantastic if you tend to forget to charge them regularly.
4. Sound Quality and Noise Isolation
While durability and fit are paramount for workouts, good sound quality is still important for motivation. You want clear audio that makes your music or podcasts shine. Over-the-head headphones generally excel here, offering a fuller soundstage than many earbuds. Good passive noise isolation (where the cups physically block out sound) can also be a plus, helping you focus without needing to crank the volume to dangerously high levels. However, be cautious with active noise cancellation (ANC) during outdoor workouts, as it can block out important sounds like traffic or bicycle bells.
A study from the National Institute on Deafness and Other Communication Disorders (NIDCD) highlights the importance of listening at safe volumes to prevent hearing damage. Good noise isolation helps you achieve this by allowing you to hear your audio clearly at lower volumes.
5. Durability and Build Quality
Workout headphones need to be tough. Look for headphones made from robust materials that can withstand being tossed into a gym bag, accidental drops, and, of course, sweat. Flexible headbands, reinforced hinges, and water-resistant coatings are all good signs of durability.
6. Connectivity (Bluetooth Version)
For wireless headphones, consider the Bluetooth version. Newer versions (like Bluetooth 5.0 and above) offer better range, faster pairing, and more stable connections, which means fewer dropouts during your workout. Multipoint connectivity, which allows you to connect to two devices simultaneously (e.g., your phone and your smartwatch), can also be a convenient feature.
Wired vs. Wireless for Workout Headphones
This is a classic debate, and both have their pros and cons when it comes to working out.
Wired Over-The-Head Headphones
Pros:
- No battery life concerns – they work as long as your device is powered.
- Often more affordable.
- No Bluetooth pairing issues to worry about.
- Generally offer excellent sound quality without adding the cost of Bluetooth components.
Cons:
- The cable can be a nuisance, snagging on equipment or getting in the way.
- Requires a device with a headphone jack (or an adapter), which is becoming less common.
- Less freedom of movement.
Wireless Over-The-Head Headphones
Pros:
- Unrestricted movement – no cables to get tangled.
- Convenient pairing with most modern devices.
- Often come with advanced features like built-in controls, voice assistants, and noise cancellation.
Cons:
- Require charging, so battery life is crucial.
- Can be more expensive.
- Potential for connection drops or interference.
- The added components can sometimes make them heavier.
For most people working out today, the convenience of wireless headphones outweighs the cons, especially with the excellent battery life and stable connections available in newer models.
How to Properly Wear Over-The-Head Workout Headphones
Getting the fit right is key to comfort and stability. Here’s a step-by-step approach:
- Identify the Left and Right Cups: Most headphones will have a small “L” and “R” marking on the inside of the earcups or headband.
- Adjust the Headband: Slide the earcups up or down the headband to adjust the length. You want the headband to rest comfortably on the crown of your head, with the weight distributed evenly.
- Position the Earcups: Ensure the earcups completely surround your ears without pressing too hard. They should create a seal for better sound isolation and bass response. Don’t push them so far down that they press on your jawline too much, which can become uncomfortable during movement.
- Check for Stability: Gently shake your head from side to side and nod. The headphones should stay firmly in place without significant shifting. If they feel loose, readjust the headband for a tighter, more secure fit.
- Test with Movement: Do a few light exercises, like jogging in place or jumping jacks, to see how they hold up. Minor adjustments might be needed after a few minutes as you settle in. If the headband is slipping back, ensure the contact point on your head is clean and dry, and consider if the earcup angle needs adjustment.
Maintaining Your Workout Headphones
To keep your over-the-head headphones in top shape and ensure they last, proper maintenance is essential, especially given the stress of sweat and regular use.
Cleaning After Every Workout
This is non-negotiable. Sweat contains salts and impurities that can degrade materials over time and clog speaker grilles.
- Earcup Pads: Gently wipe the earcup pads with a slightly damp, soft cloth. You can use a very mild, diluted soap solution, but avoid harsh chemicals or excessive moisture. If your pads are removable, this is a great time to detach them for a more thorough cleaning (following manufacturer instructions) and air drying.
- Headband: Wipe down the headband with the same damp cloth. Pay attention to any textured areas that might trap sweat.
- Speaker Grilles: Use a dry, soft brush (like a clean toothbrush or a small makeup brush) to gently brush away any sweat or debris from the speaker grilles. Be extremely careful not to push debris into the grille.
- Exterior Surfaces: Wipe down the rest of the headphone housing and any buttons or controls.
Deep Cleaning and Storage
- Earcup Pads: For deeper cleaning of leather or faux leather pads, you can use specialized headphone cleaning wipes or a leather conditioner designed for delicate materials. For fabric pads, a gentle upholstery cleaner followed by air drying can work wonders. Always check the manufacturer’s recommendations first.
- Avoid Excessive Moisture: Never submerge your headphones in water unless they are specifically designed for that purpose and you are following precise instructions. Moisture can damage internal components.
- Storage: When not in use, store your headphones in a cool, dry place. If they came with a carrying case or pouch, use it. This protects them from dust, physical damage, and environmental factors. Avoid leaving them in direct sunlight or excessively hot/humid environments, like inside a car on a hot day.
Following these cleaning steps will not only keep your headphones hygienic but also prevent the buildup of grime that can affect sound quality and the longevity of the materials.
Connecting Your Over-The-Head Headphones (Wireless)
Getting your wireless headphones connected is usually straightforward. Here’s how it’s typically done:
- Charge Your Headphones: Ensure your headphones have sufficient battery life. Plug them into a power source using the provided cable if needed.
- Enter Pairing Mode: This is the crucial step. On most headphones, you’ll need to press and hold the power button (or a dedicated Bluetooth button) for a few seconds after they turn on. You’ll usually hear an audio cue or see an LED light flashing (often blue or red/blue) to indicate they are in pairing mode. Refer to your headphone’s manual for the exact procedure, as it can vary by brand and model.
- Enable Bluetooth on Your Device: On your smartphone, tablet, or computer, go to the Bluetooth settings. Turn Bluetooth ‘On’ if it isn’t already.
- Scan for Devices: Your device will begin scanning for nearby Bluetooth devices.
- Select Your Headphones: Look for the name of your headphones in the list of available devices and tap or click on it to connect.
- Confirm Pairing: You might hear a “connected” or “pairing successful” sound, or see a solid LED light on the headphones. Your device should also indicate that the headphones are connected.
Once paired, your headphones should automatically reconnect to your device whenever they are both turned on and within range (and Bluetooth is enabled on your device). If you encounter issues, a quick Google search for your specific headphone model and “Bluetooth pairing problems” often yields helpful solutions, or you can consult the manufacturer’s support website.
Troubleshooting Common Issues
Even the best headphones can sometimes act up. Here are a few common issues and how to fix them:
Issue: Headphones won’t turn on.
Solution:
- Ensure they are charged. Plug them in for at least 15-30 minutes, then try powering them on again.
- Check the charging cable and power source.
- Try a different power outlet or USB port.
Issue: Cannot pair or connect via Bluetooth.
Solution:
- Make sure the headphones are in pairing mode (see the connection section).
- Ensure Bluetooth is enabled on your device.
- Turn both your headphones and your device off and back on again.
- “Forget” the headphones in your device’s Bluetooth settings and try pairing again.
- Check if the headphones are already connected to another device. Disconnect them from the other device.
- Refer to your headphone’s manual for a factory reset procedure.
Issue: Audio cuts out or is choppy.
Solution:
- Move your device closer to the headphones.
- Minimize interference from other wireless devices (like Wi-Fi routers or microwaves).
- Ensure your headphones are fully charged; low battery can sometimes affect connection stability.
- Restart both the headphones and your device.
Issue: One earcup has no sound.
Solution:
- For wired headphones, check the headphone jack connection. Try wiggling it gently. Try the headphones with a different device to rule out an issue with your source device.
- For wireless headphones, try toggling Bluetooth off and on, or re-pairing them.
- If the issue persists, it might be a hardware problem, and you may need to contact customer support or consider repair/replacement.
Issue: Headphones are uncomfortable during long workouts.
Solution:
- Re-adjust the headband and earcup positioning.
- Ensure the earcup material isn’t overheating your ears. Some models have more breathable materials than others.
- If the clamping force is too high, some durable headphones can be gently stretched over a box or similar object for a short period to loosen them slightly (do this cautiously and check manufacturer advice!).
Best Over-The-Head Headphones for Working Out: A Quick Look
While specific recommendations can change rapidly with new releases, here are some popular categories and features to look for in well-regarded workout headphones. Always check recent reviews for the latest models and performance information.
| Feature Focus | What to Look For | Example Benefits |
|---|---|---|
| Rugged Durability & Sweat Proofing | High IP ratings (IPX4+), robust materials, reinforced hinges. | Withstands intense sweat and accidental bumps. Peace of mind during rigorous training. |
| Secure, Anti-Slip Fit | Adjustable, padded headband with non-slip grip, contoured earcups. | Stays put during high-impact activities like running or HIIT. No constant readjustments needed. |
| Comfort for Long Sessions |
