
Quick Summary: Learn essential headphone care and simple connection fixes to ensure your audio gear lasts longer and performs better. This guide provides easy-to-follow steps for cleaning, storing, and troubleshooting common connection issues, helping you enjoy your music without interruption.
Headphone Care Tips & Connection Fixes: Your Essential Guide
Hey everyone, Edward Cavitt here from headphonehorizon! We all love our headphones. They’re our gateway to incredible music, engaging podcasts, and immersive gaming worlds. But sometimes, our trusty audio companions can start acting up, especially with those pesky connection issues. Don’t let a loose wire or a dusty port ruin your listening experience! This guide is designed to be your go-to resource for keeping your headphones in top shape and fixing common connection problems. We’ll break down simple maintenance routines and offer straightforward troubleshooting steps, so you can get back to enjoying crisp, clear sound with total confidence. Let’s dive in!
Why Proper Headphone Care Matters
Think of your headphones like any other piece of quality equipment; they need a little TLC to perform at their best and last for years to come. Neglecting them can lead to a host of problems, from decreased sound quality to outright failure. More importantly, regular care and knowing how to address minor connection issues can save you a lot of frustration and money in the long run. It’s about maximizing your investment and ensuring your audio experience is always as enjoyable as it should be.
The Benefits of Good Headphone Maintenance:
- Extended Lifespan: Cleaner, well-maintained headphones simply last longer.
- Optimal Sound Quality: Dust and gunk can interfere with sound drivers and connections, dulling your audio.
- Improved Hygiene: Especially for earbuds and on-ear headphones, regular cleaning is crucial for health.
- Reduced Risk of Damage: Gentle care prevents accidental tears, bends, and breaks.
- Reliable Connections: Simple fixes can resolve common audio dropouts and static.
- Cost Savings: Avoid costly repairs or replacements by catching issues early.
Essential Headphone Care Routine
Taking care of your headphones doesn’t require a technical degree. It’s mostly about consistent, gentle practices. Here’s how to keep them clean and protected:
1. Cleaning Your Headphones
This is perhaps the most crucial aspect of headphone care. What you need to clean depends on the type of headphones you have.
Over-Ear & On-Ear Headphones:
These can accumulate dust, skin oils, and earwax. Regular wiping down is key.
- Earcups:
- For Leather/Pleather Earcups: Use a slightly damp, soft microfiber cloth. Avoid soaking the material. For tougher grime, a tiny amount of mild soap (like gentle hand soap) diluted in water can be used on the cloth, followed by a clean, damp cloth to wipe away residue, and then a dry cloth. Never spray cleaning solutions directly onto the earcups.
- For Fabric Earcups: A dry microfiber cloth is usually sufficient. For deeper cleaning, you can use a lint roller. If they are removable, some fabric earpads can be gently hand-washed with mild detergent and water, but ensure they are completely dry before reattaching. Always check your manufacturer’s guide for specific cleaning instructions.
- Headband: Wipe down with a dry or slightly damp microfiber cloth.
- Plastic/Metal Parts: These can also be wiped with a damp microfiber cloth. Ensure no liquid seeps into any openings.
In-Ear Monitors (IEMs) & Earbuds:
These are more prone to earwax buildup and require careful cleaning to avoid damaging the delicate components.
- Nozzles/Ear Tips: This is where earwax usually accumulates.
- Remove the ear tips first.
- Use a dry, soft brush (like a clean, old toothbrush or a specialized cleaning brush) to gently brush away any visible debris.
- For stubborn wax, you can lightly dampen a cotton swab with isopropyl alcohol (rubbing alcohol). Gently swipe around the nozzle. Crucially, ensure no liquid gets inside the IEM housing. Isopropyl alcohol evaporates quickly and is effective at breaking down earwax.
- Eartips: Silicone tips can be washed with mild soap and water, then rinsed and thoroughly dried. Foam tips are more porous and generally cannot be washed; they are best cleaned with a dry brush or replaced if heavily soiled.
- Body of the IEM/Earbud: Wipe with a dry or slightly damp microfiber cloth.
- Charging Case (for true wireless earbuds): Use a dry microfiber cloth. For the charging ports, use a dry cotton swab or a toothpick to gently remove any lint or debris. You can also use compressed air carefully.
Cleaning Tools & Supplies:
Here’s what you might want to have on hand:
| Tool/Supply | Why It’s Useful | Notes |
|---|---|---|
| Microfiber Cloths | Soft, non-abrasive, great for dusting and wiping without scratching. | Have a few dedicated cloths for your headphones. |
| Soft Brush (e.g., old toothbrush, makeup brush, specialized cleaning brush) | For dislodging dust and debris from grilles and crevices. | Ensure the brush is clean and dry. |
| Isopropyl Alcohol (70% or higher) | Effective for cleaning earwax and disinfecting. Evaporates quickly. | Use sparingly on a cotton swab; avoid direct application. |
| Cotton Swabs | For precise cleaning of small areas and nozzles. | Use dry or lightly dampened with alcohol. |
| Toothpicks/Wooden Skewers | Gently dislodge stubborn debris from ports or tight spots. | Be extremely careful not to puncture anything. |
| Compressed Air | For blowing dust out of ports and crevices. | Hold can upright and use short bursts from a distance. |
| Mild Soap (optional) | For cleaning very soiled leather or fabric earpads (diluted). | Use very sparingly and always follow with a damp cloth. |
2. Storage and Handling
How you store and handle your headphones can make a significant difference in their longevity.
- Use a Case: Whenever possible, store your headphones in their original or a dedicated carrying case. This protects them from dust, physical damage, and getting tangled. Hard cases offer the best protection.
- Avoid Tangles: Don’t just stuff your wired headphones into a bag. Gently loop the cable without sharp bends. Consider a cable organizer or a small pouch.
- Keep Away from Extremes: Avoid leaving your headphones in direct sunlight, extreme heat (like a hot car), or excessive cold. These conditions can damage the materials and electronics.
- Protect the Cable: Don’t yank on the cable to disconnect your headphones. Always pull from the plug itself. Avoid stepping on cables or sitting on them.
- Dust Protection: When not in use, even if on your desk, consider covering them or storing them in their case if your environment is dusty.
3. Cable and Jack Care
The parts that connect your headphones to devices are often the first to suffer wear unless you’re careful.
- Keep Plugs Clean: The 3.5mm jack or USB-C connectors can accumulate pocket lint or debris. Gently wipe them with a dry cloth. If there’s resistance, use a dry cotton swab.
- Avoid Stress on the Plug: When plugging or unplugging, hold the connector itself, not the cable. Never force a plug into a port.
- Inspect Regularly: Look for any fraying, kinks, or exposed wires on the cable. If you see significant damage, it might be time for a replacement or repair.
Troubleshooting Common Headphone Connection Issues
Even with the best care, connection problems can arise. Here’s how to tackle them:
Symptom 1: No Sound from One or Both Earcups
This is a common and frustrating issue. Let’s try to fix it.
Step-by-Step Connection Fix:
- Check Volume Levels: It sounds obvious, but ensure your device’s volume isn’t muted or set too low. Check for individual volume controls on your headphones if they have them.
- Test with Another Device: Plug your headphones into a different phone, computer, or audio player. If they work fine on another device, the problem is with your original device’s audio output.
- Test Another Pair of Headphones: Plug a different pair of headphones into your device. If your original headphones still don’t work but others do, the issue is likely with your headphones.
- Inspect the Plug/Jack: Carefully examine the headphone plug and the audio jack on your device. Look for dirt, lint, or damage. Gently clean both with a dry cloth or cotton swab. If using alcohol, ensure it’s dry before reconnecting.
- Check the Cable Connection:
- Detachable Cables: If your headphones have a detachable cable, unplug and re-plug it securely into both the headphones and your device. Sometimes the connection just needs a firm push.
- Inspect Cable for Damage: Look closely for any kinks, fraying, or bends, especially near the plug and where the cable enters the earcup. If the cable is damaged, it might need to be replaced.
- Clean the Device’s Audio Port: Use compressed air or a dry toothpick to gently clean out any debris inside your device’s headphone jack. Be very careful not to damage the internal contacts. A guide on cleaning smartphone ports can be found on reputable tech sites offering device maintenance tips.
- Check Bluetooth Connectivity (if applicable):
- Turn Bluetooth off and on again on your device.
- “Forget” your headphones in your device’s Bluetooth settings and re-pair them.
- Ensure your headphones are fully charged. A low battery can sometimes cause connection instability.
- Move closer to your device to rule out signal interference or range issues.
Symptom 2: Static, Crackling, or Intermittent Audio
This can be caused by loose connections, interference, or debris.
Troubleshooting Steps:
- Clean the Plug and Port: As mentioned above, this is the first line of defense for static. Debris can disrupt the electrical contact.
- Secure the Cable: For wired headphones, ensure the plug is fully inserted. If the cable is detachable, try reseating it.
- Reduce Interference (for wireless): Other nearby wireless devices (microwaves, other Bluetooth devices, Wi-Fi routers) can sometimes cause interference. Try moving away from potential sources.
- Check for Cable Damage: A damaged wire within the cable insulation can cause intermittent connections. Gently wiggle the cable near the plug and earcup while listening. If the sound cuts in and out when you do this, the cable is likely the culprit.
- Update Device Drivers/Software: On computers, outdated audio drivers can cause issues. Check your computer manufacturer’s website for updates. For smartphones and tablets, ensure your operating system is up-to-date.
- Test with a Different Cable (if detachable): If you have a spare, try it to see if the problem persists.
Symptom 3: Only One Side Works (Wired Headphones)
This is almost always a cable or plug issue.
- Inspect the Plug: Ensure it’s fully inserted and clean. Sometimes, a slightly bent pin can cause this.
- Check the Cable: Look for any visible damage. Gently flex the cable near the plug and near the earcup. If one side cuts out when you move the cable, you’ve found the problem.
- Reseat Detachable Cable: If your cable detaches from the headphone, unplug and re-plug firmly.
- Try a Different Cable: If possible, swap out the cable to see if the problem is resolved.
Symptom 4: Wireless Headphones Won’t Pair or Connect
Pairing issues are common but usually fixable.
- Ensure Headphones are Discoverable: Many headphones have a specific pairing mode (often activated by holding down the power button). Consult your manual.
- Charged Battery: Make sure both your headphones and your device have sufficient battery life.
- Restart Devices: Turn your headphones off and on, and restart the device you’re trying to connect to.
- Forget Device and Re-pair: Go into your device’s Bluetooth settings, find your headphones, select “Forget Device” or “Unpair,” and then try pairing again.
- Check for Interference: Too many nearby Bluetooth devices or strong Wi-Fi signals can sometimes interfere.
- Reset Headphones: Many wireless headphones have a factory reset function. Check your manual for instructions. This often resolves persistent pairing glitches.
When to Seek Professional Help or Consider Replacement
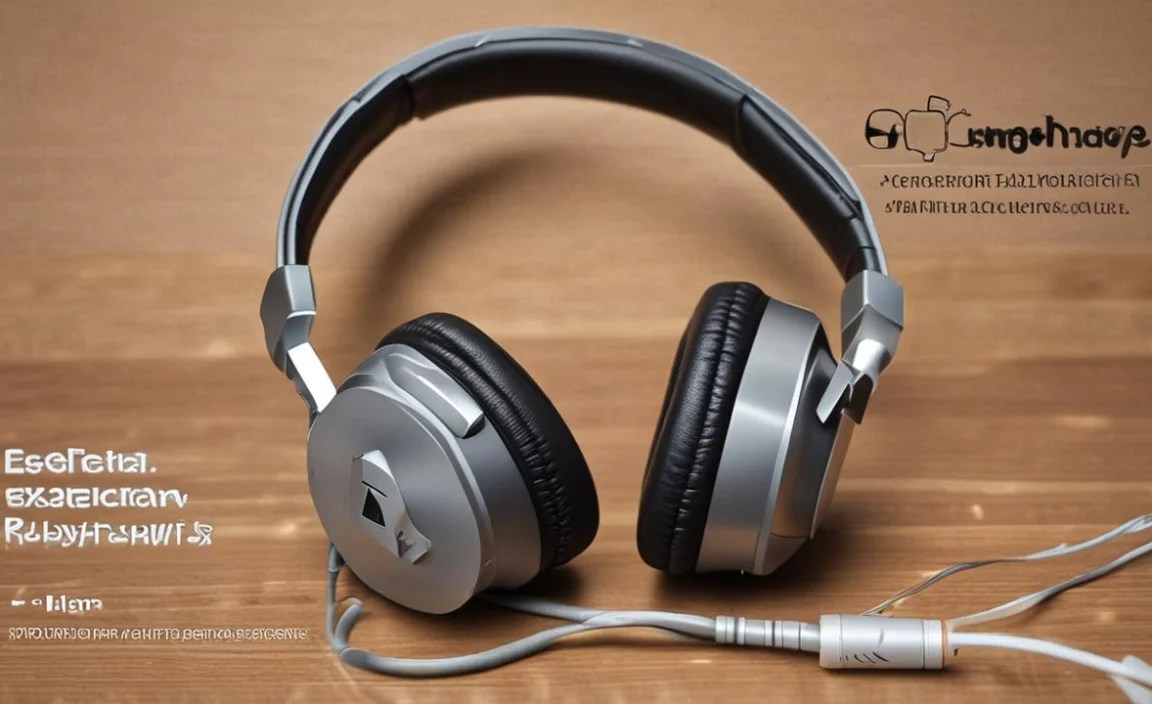
While this guide covers many common issues, some problems might be beyond a simple fix. You should consider these options if:
- Severe Cable Damage: If the cable is significantly frayed, cut, or has exposed wires, it’s a safety hazard and often requires replacement. Some high-end headphones allow for easy cable replacement.
- Internal Component Failure: If no sound comes from either earcup after trying all steps, and the headphones are relatively new, there might be an internal fault.
- Water Damage: If your headphones have been exposed to significant water, it’s unlikely a simple fix will resolve the issue.
- Physical Breakage: Cracks in the headband or earcup housing might be repairable depending on the material and severity, but often signal it’s time for new ones.
For many headphones, especially those with detachable cables, replacing the cable might be the most cost-effective solution. If your headphones are still under warranty, contact the manufacturer for repair or replacement options. If not, you might look for reputable audio repair shops in your area. Ultimately, if the cost of repair approaches the cost of a new, comparable pair, replacement is often the most practical choice.
Frequently Asked Questions (FAQ)
Here are some common questions beginners have about headphone care and connection fixes.
Q1: How often should I clean my headphones?
For over-ear and on-ear headphones, a quick wipe-down with a microfiber cloth after each use or at least weekly is great. For earbuds and IEMs, cleaning the nozzles and eartips more frequently (perhaps after every few uses) is recommended to prevent buildup.
Q2: Can I use household cleaners like Windex or Lysol on my headphones?
No, absolutely not. Household cleaners contain harsh chemicals that can damage the materials (like plastics, faux leather, and finishes), and can also leave residues that are harmful if they get into your ears. Stick to microfiber cloths, isopropyl alcohol sparingly, and mild soap and water for specific parts as outlined above.
Q3: My headphones sound quieter than they used to. What could be wrong?
This could be due to a few things: earwax or debris blocking the audio port or nozzle, a software volume limiter on your device, or a degradation in the headphone’s drivers over time. Start by thoroughly cleaning the parts that deliver sound to your ears.
Q4: I lost one of the eartips for my earbuds. Can I buy replacements?
Yes, absolutely! Many companies sell replacement eartips for their earbuds and IEMs. You can also buy universal eartip packs from various audio accessory brands on many online retailers. Ensure you get the right size for a secure and comfortable fit.
Q5: My wireless headphones are making a buzzing noise. What should I do?
A buzzing noise can sometimes indicate a grounding issue or electrical interference. Try charging your headphones and device fully, testing them in a different location away from other electronics, and ensuring your charging cables are not the source of the issue. If the buzzing persists, especially when plugged in, it might be an internal fault that requires professional attention or replacement.
Q6: Is it safe to clean the charging port on my true wireless earbuds?
Yes, it is safe and recommended to keep charging ports clean. Use a dry cotton swab, a toothpick, or a can of compressed air to gently remove any lint or debris. Be gentle to avoid damaging the small connector pins inside the port.
