
Quick Summary: Keep your headphones in top shape for school with this easy guide. Learn simple cleaning, safe storage, and smart usage tips to extend their lifespan and enjoy clear sound throughout the academic year. Protect your audio investment without the hassle!
Headphone Care Tips For School: Your Essential Guide

Hey there, audio adventurers! Edward Cavitt here from headphonehorizon, ready to make sure your soundtrack to academic success stays crystal clear. Whether you’re diving into lectures, powering through study sessions, or just enjoying some downtime between classes, your headphones are your trusty companions. But let’s be real – tossing them in a backpack or leaving them on a desk can take a toll. That’s where this guide comes in! We’ll walk through simple, effective headphone care tips specifically for school life. No complicated tech jargon, just straightforward advice to help your headphones last longer and sound amazing. Let’s get started and protect your audio gear!
Why Headphone Care Matters for Students

As a student, your headphones are more than just an accessory; they’re essential tools for learning and relaxation. They help you focus during online classes, absorb information from lectures, and de-stress with your favorite music. However, the hustle and bustle of school life present unique challenges for your earbuds and over-ear cans. From dusty classrooms and crowded hallways to the inevitable bumps and jostles in a backpack, your headphones face a lot. Proper care ensures they remain functional, hygienic, and ready to deliver the sound quality you love, saving you money and frustration in the long run.
Think of it like maintaining your laptop or smartphone. A little attention goes a long way! Neglected headphones can lead to:
- Reduced sound quality (muffled highs, weak bass)
- Hygiene issues (earwax buildup, dirt)
- Physical damage (frayed cables, cracked plastic)
- Complete failure, leaving you without your essential audio companion.
By following a few simple practices, you can significantly extend the life and performance of your headphones. This guide is designed to be beginner-friendly, so even if you’re new to audio gear, you’ll be able to implement these tips with ease.
Section 1: Keeping Them Clean – Hygiene is Key

Let’s tackle the most important aspect first: cleanliness. Your headphones, especially earbuds, spend a lot of time in or around your ears, making them prime real estate for earwax, sweat, and general grime. Regularly cleaning them isn’t just about aesthetics; it’s crucial for preventing ear infections and maintaining optimal sound output.
Cleaning Your Earbuds (In-Ear Monitors)
Earbuds are particularly prone to earwax buildup and dirt. Here’s how to keep them spotless:
What You’ll Need:
- Microfiber cloths (lint-free)
- Isopropyl alcohol (70% concentration is ideal)
- Cotton swabs (Q-tips)
- A soft, dry brush (like an old, clean toothbrush)
- A mild soap and water solution (optional, for tougher grime)
Step-by-Step Cleaning Process:
- Remove Ear Tips: Gently detach the silicone or foam ear tips from your earbuds. This allows you to clean both the tips and the earbud bodies thoroughly.
- Clean the Ear Tips:
- Silicone Tips: Wash them with warm water and a tiny amount of mild soap. Rinse thoroughly and let them air dry completely before reattaching. You can also wipe them down with a cloth lightly dampened with isopropyl alcohol.
- Foam Tips: These are more delicate. Avoid submerging them in water. Instead, gently wipe them with a cloth lightly dampened with isopropyl alcohol. Squeeze out any excess moisture and let them air dry completely.
- Clean the Earbud Bodies:
- Use a dry microfiber cloth to wipe down the outer surfaces of the earbuds.
- For stubborn dirt or grime, lightly dampen a corner of the microfiber cloth with isopropyl alcohol. Gently wipe the earbuds, being careful not to let any liquid seep into the speaker grille or charging ports.
- Use a dry cotton swab, or one very lightly dampened with isopropyl alcohol, to carefully clean around the edges and any crevices.
- For the speaker grille, use a dry, soft brush (like a clean, dry toothbrush) to gently dislodge any trapped debris. For really stubborn buildup, a dry cotton swab rolled gently on the grille can sometimes help, but be extremely careful not to push debris further in.
- Allow to Dry: Ensure all parts are completely dry before reassembling or placing them back in their case.
Important Note: Never submerge your earbuds in water. Always ensure charging ports are dry before attempting to charge.
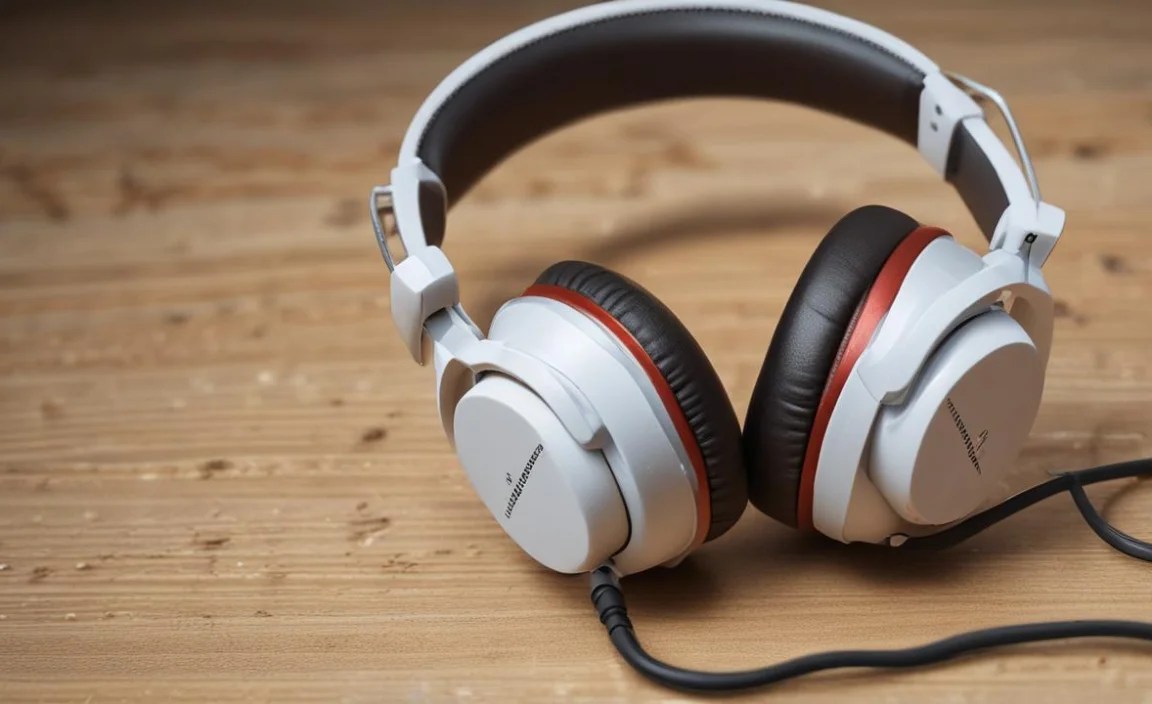
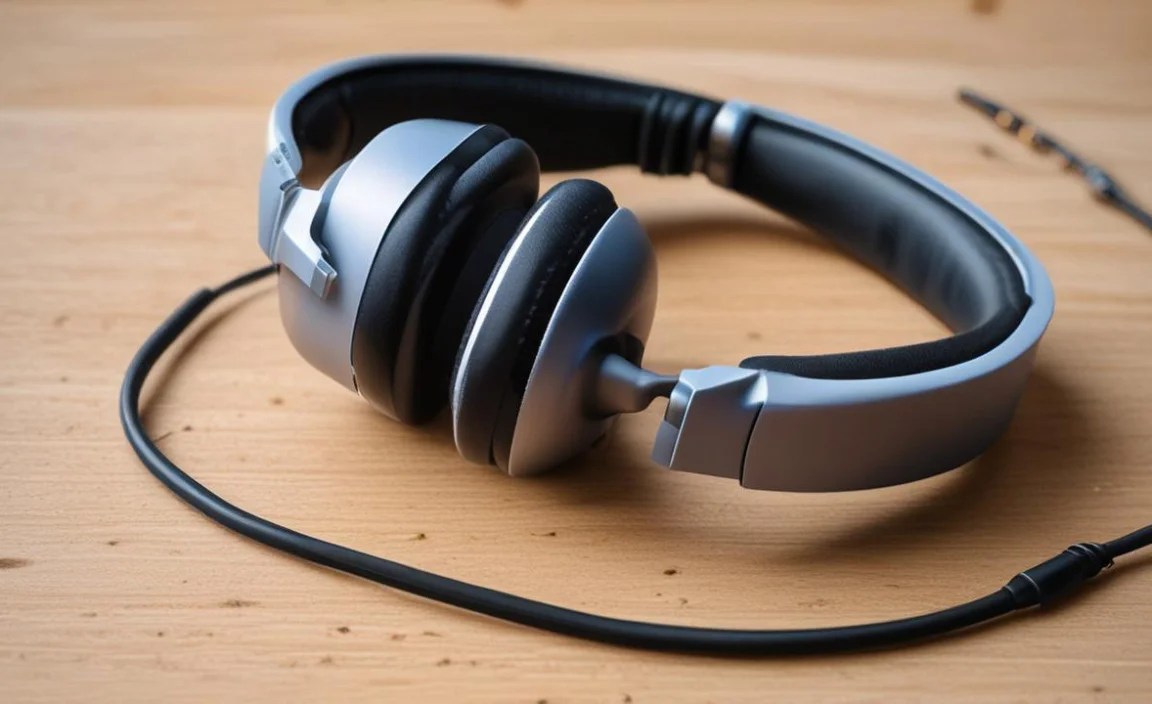
Cleaning Your Over-Ear and On-Ear Headphones
Larger headphones require a slightly different approach, focusing on the earcups and headband.
What You’ll Need:
- Microfiber cloths
- Mild soap and water solution
- Cotton swabs
- A dry, soft brush
Step-by-Step Cleaning Process:
- Wipe Down Earcups: Use a dry microfiber cloth to remove surface dust and grime. If the earcups are made of leather, pleather, or synthetic materials, you can use a cloth slightly dampened with a mild soap and water solution. Wring out the cloth very well so it’s barely damp. Gently wipe the earcups.
- Clean Fabric Earcups: For fabric earcups, a dry brush can help lift loose debris. For more ingrained dirt, a cloth barely misted with water (or a very mild upholstery cleaner, tested on an inconspicuous spot first) can be used. Again, ensure no moisture gets into the headphone drivers.
- Clean the Headband: Similar to the earcups, wipe down the headband with a dry or very slightly damp cloth, depending on the material.
- Detailing: Use a dry cotton swab to clean around the edges of the earcups and any seams on the headband.
- Dry Thoroughly: Allow the headphones to air dry completely. Never use heat to dry them.
Pro Tip: For detachable earcups (common on many higher-end headphones), you can often remove them and wash them more thoroughly according to the manufacturer’s instructions. Always check your headphone’s manual first.
Section 2: Smart Storage – Protecting Your Investment

How you store your headphones when they’re not in use directly impacts their longevity. Randomly tossing them into your backpack is a recipe for disaster. Investing a little time in proper storage can prevent damage and keep them organized.
The Best Storage Solutions for School
- Original Case or Pouch: The best defence is the case your headphones came with. It’s designed to protect them from impact, dust, and scratches. If you still have it, use it!
- Hard-Shell Case: For over-ear headphones, a dedicated hard-shell carrying case is a wise investment. These offer superior protection against crushing and impacts, which are common hazards in a student’s backpack.
- Soft Pouch: For earbuds or smaller on-ear headphones, a simple drawstring pouch can offer basic scratch protection.
- Dedicated Compartment: If your backpack has a separate, padded compartment for electronics, use it! This minimizes the risk of your headphones getting crushed by books or other heavy items.
Packing Your Headphones Safely
When placing headphones in a bag, always consider their vulnerability:
- Over-Ear Headphones:
- Fold them if they are foldable.
- Place them in their case.
- If no case, position them carefully in a padded section of your bag, away from sharp objects and heavy items. Ensure the earcups are facing inwards towards each other.
- In-Ear Headphones (Earbuds):
- Use their charging case or a small pouch.
- Avoid tangling the wires. Many modern earbuds come with magnetic clips or flat cables to reduce tangling, but it’s still good practice to store them neatly.
- Keep them away from keys or coins that could scratch the earbuds or their case.
Avoid: Leaving them exposed in your bag, placing heavy books on top of them, or storing them near liquids.
Section 3: Daily Usage Habits – The Little Things That Count

Beyond cleaning and storage, your daily habits play a huge role in how long your headphones will serve you well through the school year.
Taming the Tangled Cable
Wired headphones are still popular for their simplicity and affordability. However, tangled cables are a common frustration and a source of damage. Over time, constant yanking and untangling can fray the wires, leading to intermittent sound or complete failure. A good practice for managing cables is to gently coil them rather than wrapping them tightly around your hand or device.
The Gentle Coil Method:
- Start by disconnecting the headphone jack.
- Gently loop the cable around your fingers (or a simple cable tie if you have one), creating loose loops.
- Once coiled, secure the cable with the jack or a small Velcro strap.
- Store the coiled cable in your case or pouch.
For True Wireless Earbuds: Keep them in their charging case whenever not in use. This prevents them from getting lost and ensures they’re always ready to go with a charge.
Handling Volume Wisely
Listening at excessively loud volumes can damage your hearing over time and also put undue stress on your headphone drivers. For better hearing health, the National Institute on Deafness and Other Communication Disorders (NIDCD) recommends listening at safe levels. This means keeping the volume low enough that you can still hear conversations around you in quieter environments.
Tips for Safe Listening:
- Moderate Volume: Aim for around 60% of the maximum volume. Your ears will thank you!
- Avoid Max Volume: Resist the urge to crank it up, especially in noisy environments, as this can lead to permanent hearing damage.
- Take Breaks: If you’re listening for extended periods, give your ears a rest.
Safe listening habits not only protect your hearing but also help preserve the integrity of your headphones’ sound reproduction capabilities.
Protecting Against the Elements
School environments can be unpredictable. Rain, spills, and extreme temperatures can all wreak havoc on your headphones.
- Water Damage: Keep headphones away from direct exposure to rain. If they get damp, wipe them dry immediately and let them air dry completely before use or charging. For earbuds, ensure the charging case is also kept dry.
- Sweat: If you use headphones during sports or physical activity (even just walking briskly between classes), wipe them down with a dry cloth afterward to remove moisture. Many sports-focused earbuds are sweat-resistant, but it’s still good practice.
- Temperature Extremes: Avoid leaving your headphones in a hot car or in direct sunlight for extended periods, as extreme heat can damage the plastics and internal components. Likewise, very cold temperatures can make materials brittle.
Be Gentle with Connections
The headphone jack (3.5mm or USB-C/Lightning) and Bluetooth pairing are critical points of contact. Treat them with care.
- Plugging In/Out: When connecting or disconnecting wired headphones, gently pull on the connector itself, not the cable. This prevents strain on the wire where it meets the plug.
- Charging Ports: For wireless earbuds or headphones with charging cables, ensure the charging port is clean and free of debris before plugging in.
- Bluetooth: While Bluetooth offers wireless freedom, ensure your device has a stable connection before relying on it for critical lectures or calls.
Section 4: Troubleshooting Common Issues
Even with the best care, sometimes things go wrong. Here are a few common issues students might face and how to tackle them.
Problem: No Sound or Intermittent Sound
Possible Causes & Solutions:
- Check Volume: Ensure volume is up on both your headphones (if they have volume controls) and your device. Test with a different app or media file.
- Check Connection (Wired): Make sure the headphone jack is fully plugged in. Try wiggling it gently to see if sound returns – if it does, the jack might be damaged. Try on another device.
- Check Connection (Wireless): Ensure Bluetooth is active and paired. Try unpairing and re-pairing the headphones with your device. Restart both your headphones and your device.
- Clean the Jack/Port: Gently clean the headphone jack on your earbuds/headphones and the audio port on your device with a dry cotton swab or a blast of compressed air.
- Inspect Cables: For wired headphones, carefully examine the cable for any cuts, kinks, or frayed sections, especially near the plug and the earcup connection. If damage is visible, repair might be difficult, and replacement might be necessary.
- Clean Speaker Grilles: Earwax buildup can block sound. Refer back to the cleaning section.
Problem: Background Noise or Static
Possible Causes & Solutions:
- Check Interference (Wireless): Other Bluetooth devices or Wi-Fi signals can sometimes cause interference. Move away from potential sources of interference.
- Low Power: Many headphones exhibit static when the battery is low. Charge your headphones fully.
- Dirty Audio Port: Debris in your device’s audio port can cause static. Clean it carefully.
- Damaged Cable/Jack: For wired headphones, a damaged cable or jack can introduce crackling.
- Environmental Noise: If you’re in a noisy environment, you might be hearing ambient sounds amplifying through open-back headphones or leaky seals.
Problem: Uncomfortable Fit
Possible Causes & Solutions:
- Earbud Tip Size: Most earbuds come with multiple sizes of ear tips. Experiment with different sizes to find the best seal and comfort for your ears. A proper seal also improves sound quality.
- Headband Adjustment: For over-ear/on-ear headphones, adjust the headband for a snug but not tight fit. Ensure the earcups sit comfortably over or around your ears.
- Material Quality: Some earcups or headbands might cause irritation. Consider aftermarket earpads made from softer materials if this is a recurring problem.
Section 5: When to Consider Repair or Replacement
While these care tips will extend the life of your headphones, some issues might be beyond simple fixes. Knowing when to call it quits on a pair can save you further frustration.
Signs Your Headphones Might Need Professional Help or Replacement:
- Significant Cable Damage: If the cable is visibly frayed, cut, or has exposed wires near the connector or earcup.
- Internal Damage: If headphones have been dropped heavily, exposed to significant water, or show visible cracks in the casing, internal components might be compromised.
- Persistent Audio Issues: If you’ve tried all troubleshooting steps and still have no sound, distorted audio, or major static, the drivers or internal circuitry might be faulty.
- Broken Hinges/Mechanisms: For foldable headphones, if the hinges or adjustment mechanisms break, they can be difficult and costly to repair, impacting usability.
- Battery Degradation (Wireless): If your wireless headphones no longer hold a charge for a reasonable amount of time, even after proper charging, the battery may have reached the end of its life.
Before seeking professional repair, check your warranty. Many manufacturers offer a one-year (or longer) warranty on their products. If your headphones are still under warranty, contact the manufacturer for support.
For general advice on hearing health and noise exposures, the Centers for Disease Control and Prevention (CDC) provides excellent resources.
Headphone Care Checklist for Students
To make it even easier, here’s a quick checklist you can refer to:
Weekly Tasks:
- [ ] Wipe down earcups and headband with a dry microfiber cloth.
- [ ] Gently coil and store wired headphones to prevent tangles.
- [ ] Ensure earbuds are in their charging case.
- [ ] Check for any visible signs of damage.
Monthly Tasks (or as needed):
- [ ] Deep clean earbuds, including ear tips.
- [ ] Deep clean over-ear/on-ear headphone earcups and headband.
- [ ] Use a soft brush to clean speaker grilles.
- [ ] Inspect charging cables and ports for debris.
