
Quick Summary: Experiencing headphone connection problems? This guide offers proven, easy-to-follow tips to fix common headphone connection issues. From simple checks like cleaning ports to more involved steps, learn how to get your audio back without a hitch, ensuring your listening experience is always clear and uninterrupted.
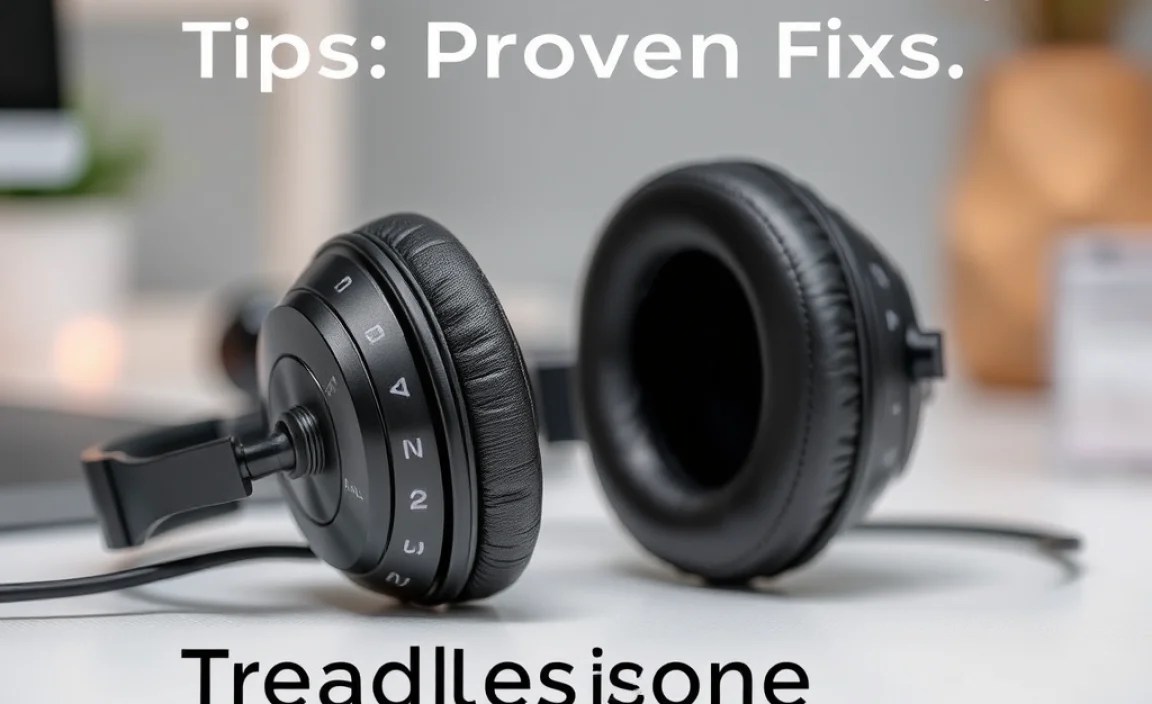
Headphone Connection Issues Repair Tips: Proven Fixes
Are your headphones playing coy, refusing to connect or cutting out at the most inconvenient moments? It’s a frustrating experience, whether you’re trying to jam to your favorite tunes, focus for a study session, or take an important call. But before you declare your trusty headphones deceased and rush out to buy a new pair, take a deep breath! Most headphone connection issues are surprisingly simple to fix. Here at Headphone Horizon, we believe in empowering every listener with the knowledge to keep their audio gear in top shape. This guide is designed to help beginners tackle common headphone connection problems with confidence, turning potentially stressful situations into quick, satisfying fixes.
We’ll walk you through a series of straightforward steps, from basic troubleshooting to slightly more advanced techniques. You don’t need to be a tech wizard to follow along. Our goal is to get you back to enjoying crystal-clear sound as quickly and painlessly as possible. Let’s dive in and restore your audio connection!
Why Are My Headphones Not Connecting? Common Culprits

Before we start fixing, it’s helpful to understand what might be going wrong. Headphone connection issues can stem from a variety of sources, affecting both wired and wireless models. Understanding these common culprits can make troubleshooting much more efficient.
- Physical Obstructions: Dirt, dust, or lint can build up in headphone jacks and ports, preventing a solid connection.
- Damaged Cables or Connectors: Frayed wires, bent pins, or loose connections are frequent offenders for wired headphones.
- Software Glitches: Sometimes, the issue isn’t with the headphones themselves but with the device they’re connected to. Outdated drivers or temporary software hiccups can cause connection problems.
- Bluetooth Pairing Issues: For wireless headphones, sometimes the Bluetooth connection just needs a reset or a re-pairing process.
- Battery Problems: For wireless headphones, a low or faulty battery can lead to connection drops or an inability to connect at all.
- Hardware Damage: While less common for everyday users, internal damage to either the headphones or the device’s audio component can be the cause.
Wired Headphone Connection Fixes: Getting Tangled Up in Solutions

Wired headphones, while simpler in their connectivity, can still encounter a range of issues. The solid connection of a wire means potential problems often lie in the physical components.
Step 1: The Absolute Basics – Check Everything First
This might sound obvious, but it’s the most crucial step and often the most overlooked! A quick, thorough check can save you a lot of time and effort.
- Is the headphone plug fully inserted? Gently push the headphone jack all the way into the audio port of your device. Sometimes it might feel inserted but isn’t making full contact.
- Is the volume up? Check the volume on both your headphones (if they have an inline volume control) and your device.
- Is the correct audio output selected? On some devices (especially computers), you can manually select which audio output to use. Make sure your headphones are chosen.
Step 2: Cleanliness is Key – Clearing Out the Clutter
A dirty headphone jack or port is a surprisingly common cause of connection problems. Dust, lint, and pocket debris can accumulate and block a clear signal.
What You’ll Need:
- Compressed air can
- Cotton swabs (dry or slightly dampened with isopropyl alcohol, then allowed to dry completely)
- Toothpick (use with extreme caution!)
How to Clean:
- For Device Ports (Phone, Laptop, Tablet):
- Compressed Air: Hold your device so the port faces down. Give it a short, sharp blast of compressed air. This can dislodge most loose debris. Aim to hold the can upright to avoid expelling propellant.
- Cotton Swab: If compressed air doesn’t fully clear it, use a dry cotton swab to gently swab the inside of the port. Be extremely gentle. If you use isopropyl alcohol, ensure it’s 99% or higher and let the port air dry completely (at least 10-15 minutes) before plugging in headphones.
- Toothpick (Use with extreme caution!): This is a last resort. If you can see a stubborn piece of debris, gently try to dislodge it with the tip of a wooden toothpick. NEVER use metal objects, as they can short-circuit or damage the internal contacts. Be incredibly gentle not to scratch or bend anything.
- For Headphone Plugs:
- Compressed Air: Aim a short burst at the metal tip of your headphone plug.
- Dry Cotton Swab: Gently wipe the metal connector pins on your headphone plug.
Step 3: Inspecting the Cable and Connector for Damage
Wired headphones are prone to cable damage, especially near the plug or the earcup. Look for any obvious signs of wear and tear.
- Check the entire length of the cable: Flex it gently. Do you see any nicks, cuts, or exposed wires?
- Examine the plug: Is it bent, loose, or does it look corroded?
- Inspect the connection to the earcup: This is another common stress point.
If you find visible damage, especially to the cable itself, it might be difficult to repair without specialized tools or knowledge. However, sometimes a loose connection at the plug can be addressed by carefully and gently trying to resolder it if you have electronics experience. For most beginners, damaged cables mean it’s time to consider replacing the headphones or seeking professional repair.
Step 4: Test on Another Device
This is a crucial diagnostic step. The problem could be with your headphones, or it could be with the device you’re connecting them to.
- Plug your headphones into a different phone, laptop, or audio player.
- If they work perfectly on another device, the issue is likely with your original device’s audio port or settings.
- If they still don’t work, the problem is almost certainly with the headphones themselves.
Step 5: Software and Driver Checks (for Computers)
If you’re using wired headphones with a computer and suspect the device is the issue, software can sometimes be the culprit.
- Restart your computer: A simple reboot can clear temporary software glitches.
- Check Audio Drivers:
- On Windows, right-click the speaker icon in the taskbar, select “Sound settings,” then “Manage sound devices.” Ensure your headphones are listed and enabled. You might also need to update your audio drivers through Device Manager. Search for “Device Manager,” expand “Sound, video and game controllers,” right-click your audio device, and select “Update driver.”
- On macOS, go to System Preferences > Sound. Check the Output tab to ensure your headphones are selected. You can also reset the System Management Controller (SMC) and PRAM/NVRAM, which can sometimes resolve hardware-related issues. Instructions can be found on Apple’s support site. Apple Support provides detailed guides for these procedures.
Wireless (Bluetooth) Headphone Connection Fixes: Cutting the Cord to Chaos

Wireless connections offer freedom, but they also introduce a new set of potential issues. Let’s untangle those Bluetooth blues.
Step 1: The Power Check and Reset
Just like a wired connection, the simplest solutions are often the most effective.
- Charge Them Up: Ensure your wireless headphones are adequately charged. A low battery can cause pairing issues or intermittent connections.
- Turn Them Off and On Again: This is the universal tech fix for a reason! Power off your headphones completely, wait a few seconds, and then power them back on.
- Restart Your Device: If you’re connecting to a phone or computer, a quick restart of that device can also resolve temporary communication glitches.
Step 2: The Great Bluetooth Re-Pairing
Sometimes, the Bluetooth connection just gets confused. Forcing a re-pair can reset the links.
- Forget the Device: On your phone, tablet, or computer, go into the Bluetooth settings. Find your headphones in the list of paired devices, and select “Forget This Device” or “Unpair.”
- Put Headphones in Pairing Mode: Consult your headphone’s manual for specific instructions. Usually, this involves holding down the power or a dedicated Bluetooth button until an indicator light flashes, signaling it’s ready to pair.
- Scan for New Devices: On your phone or computer, search for new Bluetooth devices.
- Select and Pair: Your headphones should appear in the list. Select them and follow any on-screen prompts to complete the pairing process.
Step 3: Check Device Compatibility and Settings
Ensure your devices are on speaking terms with each other.
- Bluetooth Version: While most modern devices are compatible, very old Bluetooth versions might not work with newer headphones. Check the Bluetooth specifications for both your device and headphones. The Bluetooth SIG is a good resource for understanding Bluetooth versions.
- Enable Bluetooth: Double-check that Bluetooth is actually turned ON on your device.
- Interference: Other wireless devices, microwaves, and even thick walls can sometimes interfere with Bluetooth signals. Try moving closer to your device and away from other potential sources of interference.
Step 4: Update Your Device’s Bluetooth Drivers/Firmware
Just like with wired connections on computers, Bluetooth can benefit from updated software.
- Mobile Devices: Ensure your phone or tablet has the latest operating system updates installed. These often include Bluetooth improvements.
- Computers: For Windows PCs, you may need to update your Bluetooth adapter’s drivers through Device Manager (similar to audio drivers). For Macs, macOS updates usually handle Bluetooth firmware.
Step 5: Test on Another Device
Similar to wired headphones, this helps pinpoint the problem.
- Try pairing your Bluetooth headphones with a different phone, tablet, or computer.
- If they pair and work correctly with another device, the issue lies with your original pairing device.
- If they fail to connect to multiple devices, suspect an issue with the headphones themselves.
Troubleshooting Specific Connection Issues
Sometimes, you know exactly what’s happening, and a more targeted approach is needed.
Problem: One Earbud Not Working (Wired or Wireless)
This is a common annoyance!
Wired:
- Check the Mute Switch: Some wired headphones, especially gaming headsets, have an inline mute switch or a physical slider for volume that might be set incorrectly, affecting one ear.
- Inspect the Jack: Ensure the plug is fully inserted. If it’s a 3-pole (TRS) plug (common for stereo), a loose fit can sometimes cause one side to drop out. For 4-pole (TRRS) plugs (common for phones with mic support), a bent pin or dirty contact can be the issue. Consider cleaning the jack in your device (as per Step 2 above).
- Cable Damage: Gently flex the cable near the plug and near the earcup. If the sound cuts in and out when you do this, you’ve likely found the damaged spot. For simple fixes, sometimes wiggling the plug at a specific angle might temporarily restore sound, but a permanent fix often involves replacing the cable or headphones.
Wireless:
- Individual Bud Pairing: Many true wireless earbuds (like AirPods, Galaxy Buds) have a capability where one bud can work independently. Check your app or settings. If one bud is totally silent, try resetting the earbuds by placing them back in the charging case, closing the lid, and then re-opening and re-pairing.
- Clean Contacts: Ensure the charging pins on the earbuds and inside the charging case are clean. Use a dry cotton swab or pencil eraser to gently clean them.
- Firmware Update: Check the manufacturer’s app for any available firmware updates for your earbuds.
Problem: Audio Cutting In and Out
This is annoying whether you’re on a call or enjoying music.
Wired:
- Loose Connection: Re-seat the headphone jack firmly.
- Cable Strain: As mentioned, flex the cable gently. If you hear the audio drop out when bending at a certain point, that area is likely damaged.
- Device Interference: On computers, sometimes intense processing activity can momentarily affect audio output. Ensure your system isn’t overheating or overloaded.
Wireless:
- Distance: Are you too far from your device? Try moving closer. Bluetooth has a limited range (typically around 30 feet or 10 meters in ideal conditions).
- Interference: Other Wi-Fi networks, Bluetooth devices, or even certain kitchen appliances can cause signal interruptions. Move away from potential interference sources.
- Battery Level: Low battery can cause unstable connections.
- Software Glitches: Restart both your headphones and your device.
- Too Many Bluetooth Devices: Some devices struggle when paired with numerous Bluetooth connections simultaneously. Turn off Bluetooth on devices you aren’t currently using.
Problem: No Sound at All
The most complete silence can be the most unnerving!
- Double-Check All Basics: Volume up on headphones and device, correct output selected, headphones fully plugged in (if wired).
- Test on a Different Device: Absolutely essential to determine if it’s the headphones or the source device.
- Wired Headphones: Inspect the jack and cable for damage. Clean the port.
- Wireless Headphones: Ensure they are paired, charged, and turned on. Try re-pairing.
- Device Audio Settings: On computers, ensure your headphones are set as the default playback device. On phones, check for any specific audio output settings or “Do Not Disturb” modes that might be active.
When to Consider Professional Help or Replacement
While many connection issues are fixable with these tips, there are times when the problem might be beyond simple DIY. Sometimes, it’s more cost-effective and less time-consuming to seek professional help or consider new headphones.
- Significant Cable Damage: If the cable is severely frayed, cut, or visibly broken, repairing it requires soldering skills and specific parts.
- Internal Damage: If your headphones have suffered a drop or impact, internal components might be damaged, which is harder to diagnose and fix at home.
- Device Port Damage: If you suspect the audio port on your phone or laptop is damaged (e.g., broken pins inside, loose port), it may require professional repair of the device itself.
- No Success After Troubleshooting: If you’ve tried all the steps above and still experience issues, it’s a strong indicator that the headphones themselves may have a hardware fault.
Where to find help:
- Manufacturer’s Warranty/Support: Check if your headphones are still under warranty. The manufacturer’s website is often the best place to start for support and repair options.
- Reputable Repair Shops: Look for electronics repair shops in your area that specialize in audio equipment or mobile device repair.
- Professional Audiophile Stores: Some high-end audio stores offer repair services for premium headphones.
Frequently Asked Questions (FAQ)
Q1: My headphones’ microphone isn’t working, but the audio is fine. What’s wrong?
This usually points to an issue with the TRRS (Tip-Ring-Ring-Sleeve) plug on wired headphones or the Bluetooth profile for wireless ones. For wired headphones, ensure the plug is fully inserted and the port on your device is clean. If your device has a separate jack for mic and headphones, make sure you’re using the correct adapter. For wireless, check your Bluetooth device settings to ensure the headset’s microphone is selected as the input device and that the profile (like HFP or HSP) is active.
Q2: I hear static or buzzing noise. How do I fix it?
Static or buzzing can be caused by several things. For wired headphones, check for cable damage, try a different port, or ensure the jack is completely clean. It could also be a grounding issue – try plugging your device into a different power outlet or socket. For wireless headphones, interference is a common cause. Try
