
Quick Summary: Discover how a simple headphone holder for your wall is an essential, affordable way to protect your headphones, keep your space tidy, and add a touch of organization. This guide offers easy DIY and purchase options, perfect for any listener wanting to upgrade their setup without breaking the bank.
Headphone Holder For Wall: Essential & Affordable Organization for Your Audio Gear
Hey audio adventurers! It’s Edward Cavitt from Headphone Horizon, your go-to spot for all things sound. Today, we’re diving into a topic that’s surprisingly impactful yet often overlooked: the humble headphone holder for your wall. If you’re like me, your headphones are more than just a gadget; they’re your portal to immersive music, crucial work calls, or captivating podcasts. But where do they live when you’re not using them? Tossing them on a desk can lead to tangled wires, potential damage, and a cluttered space. That’s where a headphone holder for the wall comes in. It’s a simple, affordable solution that not only keeps your gear safe and organized but also adds a sleek touch to your personal space. Let’s explore why this is a must-have for every listener and how you can easily get one installed!
Why You Absolutely Need a Headphone Holder for Your Wall

Let’s be honest, a good pair of headphones can be a significant investment. Protecting that investment is paramount, and a wall-mounted holder is surprisingly effective. Here’s a breakdown of why it’s a game-changer for any headphone user:
- Protection: Keeps headphones away from spills, pets, accidental knocks, and the dreaded “desk avalanche.”
- Organization: Declutters your desk or nightstand, freeing up valuable space.
- Accessibility: Your headphones are always within easy reach. No more searching!
- Cable Management: Many holders help organize the connecting cable, preventing tangles.
- Aesthetics: A well-placed holder can look great, showcasing your headphones as a piece of art.
Think about it: your headphones are often the most important audio accessory you own. Leaving them exposed to the elements of daily life is like leaving your car keys in the open. A wall mount provides a dedicated, safe haven.
Choosing Your Perfect Headphone Holder: Options Galore!

The world of headphone holders is vast, but we can break it down into a few main categories. Whether you’re a DIY enthusiast or prefer a ready-made solution, there’s something for everyone.
DIY Headphone Holders: Creativity Meets Functionality
Feeling crafty? Building your own headphone holder can be incredibly rewarding and cost-effective. Plus, you get to customize it exactly to your liking!
Option 1: The Simple Screw-In Hook
What You’ll Need:
- A sturdy metal or plastic hook (U-shaped or S-shaped often work best).
- Screws appropriate for your wall type (drywall anchors might be necessary).
- A drill or screwdriver.
- A pencil for marking.
- A level (optional, but recommended for aesthetics).
Steps:
- Choose the Location: Decide where you want to mount the hook. Consider accessibility and how it will look. Ensure there’s no electrical wiring or plumbing behind the spot you choose – a stud finder can be helpful here. For general safety guidelines on drilling into walls, consult resources like Consumer Product Safety Commission recommendations on wall anchors.
- Mark the Spot: Hold the hook against the wall and use a pencil to mark where the screw(s) will go. Use a level if you want it perfectly straight.
- Drill Pilot Holes: If using screws directly into a stud, drill small pilot holes. If you’re using drywall, drill holes large enough for your wall anchors and insert them.
- Attach the Hook: Align the hook with the holes and screw it securely into the wall or anchors.
- Test It: Gently tug on the hook to ensure it’s stable. Hang your headphones and admire your handiwork!
Option 2: The Adhesive Mount Delight
What You’ll Need:
- A strong adhesive hook or a custom-made mount with pre-applied heavy-duty adhesive strips (like VHB tape).
- Your chosen holder material (wood, plastic, metal).
- Rubbing alcohol or a degreaser.
- A clean cloth.
Steps:
- Clean the Surface: Thoroughly clean the wall area where you plan to mount the holder with rubbing alcohol. This removes dust, grease, and any residue that could prevent the adhesive from sticking.
- Prepare the Holder: If your holder doesn’t have pre-applied adhesive, attach strong double-sided tape (ensure it’s rated for the weight of your headphones and the holder).
- Position and Press: Carefully peel off the backing from the adhesive. Align the holder with your desired spot and press firmly for at least 30 seconds.
- Cure Time: Many strong adhesives require a “curing” period (often 24-72 hours) before reaching full strength. Check the adhesive manufacturer’s instructions. Avoid hanging your headphones until the curing time has passed.
Pro Tip: For DIY projects, consider using reclaimed wood for a rustic look or 3D printed designs for a modern feel. Websites like Thingiverse offer many free headphone stand designs you can 3D print.
Ready-Made Headphone Holders: Convenience & Style
If DIY isn’t your thing, or you’re pressed for time, the market offers a plethora of excellent, affordable options. These often combine functionality with sleek design.
Types of Pre-Made Holders:
- Under-Desk Mounts: These discreetly stick or screw under your desk, keeping your headphones out of sight but easily accessible.
- Wall-Mounted Brackets: Similar to the DIY hooks, but often with a more refined design and sometimes built-in cable management.
- Shelf Brackets: Small, simple brackets that can be attached to shelves or the side of cabinets.
- Multi-Purpose Hangers: Some holders are designed to hang headphones alongside other controllers or accessories.
What to Look for in a Pre-Made Holder:
- Material: Metal (aluminum, steel) or sturdy plastic are usually the most durable.
- Weight Capacity: Ensure it can comfortably support your headphones. Most standard headphones are not excessively heavy, but larger, studio-grade cans can add up.
- Mounting Method: Screw-in for maximum security, or strong adhesive for ease of installation and damage-free removal (check reviews!).
- Design: Does it complement your room’s decor?
- Cable Management Features: Some have small hooks or channels to keep your cable tidy.
Comparing Popular Holder Types
To help you decide, here’s a quick comparison of common headphone holder solutions:
| Holder Type | Pros | Cons | Best For |
|---|---|---|---|
| DIY Screw-In Hook | Very affordable, highly customizable, very secure. | Requires basic tools, may leave holes in the wall. | Budget-conscious DIYers, permanent installations. |
| DIY Adhesive Mount | Affordable, easy to install, no drilling needed. | Adhesive strength can vary, potential wall damage upon removal, cure time needed. | Renters, quick setups, temporary solutions. |
| Under-Desk Mount | Discreet, saves visible wall space, keeps desk tidy. | Requires reaching under the desk, cable can sometimes dangle. | Minimalist setups, gamer desks, office environments. |
| Wall-Mounted Bracket (Purchased) | Stylish designs, often good build quality, easy to install (depending on type). | Can be pricier than DIY, screw-in versions require drilling. | Users prioritizing aesthetics and convenience. |
| Adhesive Mount (Purchased) | Very easy installation, no tools needed, good for renters. | Adhesive reliability is key, potential for wall damage. | Anyone seeking quick, hassle-free mounting. |
Installation Best Practices: Making It Stick (Literally!)
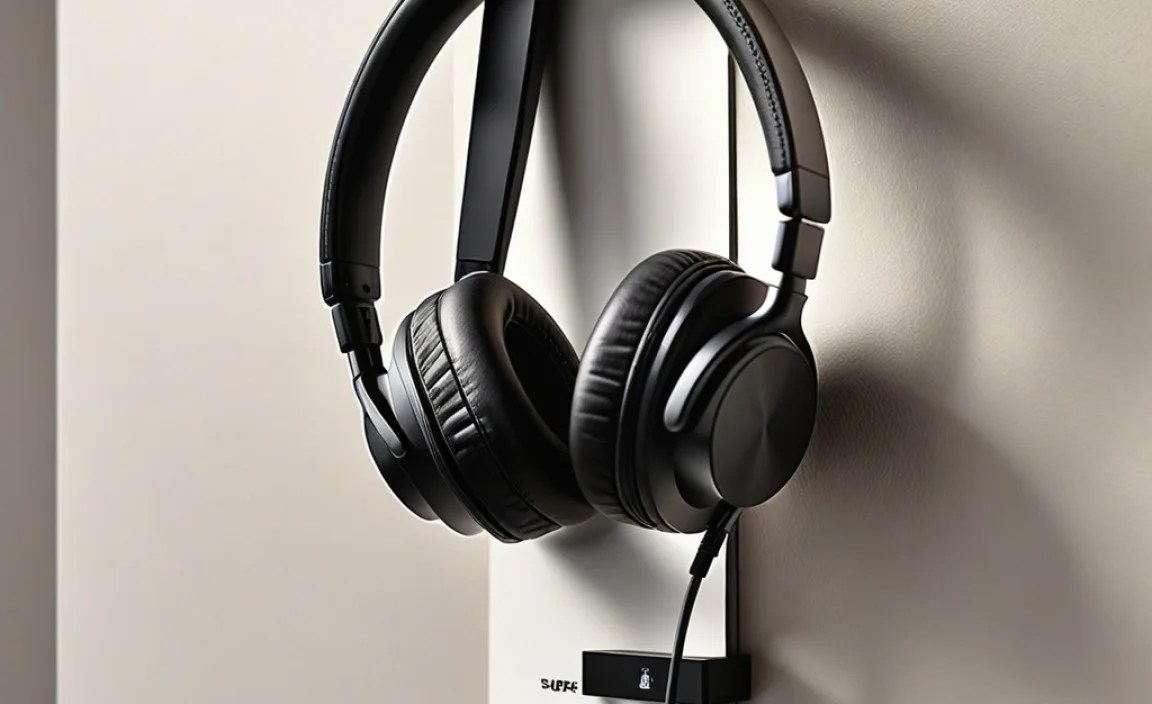
No matter which type of headphone holder you choose, proper installation is key to its longevity and your peace of mind. Here are some universal tips:
1. Choose the Right Location
- Accessibility: Mount it where you can easily grab and return your headphones without stretching or fumbling.
- Visibility: Do you want your headphones on display, or tucked away? Consider the aesthetic of your room.
- Safety First: Avoid areas near heat sources, direct sunlight (which can degrade adhesives or materials over time), or high-traffic zones where they might be bumped. Crucially, always check for hidden utilities like electrical wires or pipes before drilling. Companies like The Home Depot offer guides on using stud finders, which can also help detect live wires.
2. Prepare Your Surface
Whether it’s a wall, desk, or cabinet side, a clean surface is non-negotiable for any adhesive mounting. For screw-in mounts, ensuring you’re drilling into a stud or using appropriate anchors is vital for a secure hold.
3. Follow Instructions Diligently
For purchased holders, always read the manufacturer’s instructions. Pay attention to:
- Recommended curing times for adhesives.
- Weight limits.
- Specific cleaning agents to use or avoid.
4. Test the Mount
Before hanging your precious headphones, give the holder a good, firm tug. If it feels loose or wobbly, it’s better to address it now than have a mishap later. For adhesive mounts, let them cure fully before stressing them with weight.
Common Questions About Wall-Mounted Headphone Holders
Got questions? We’ve got answers! Here are some common queries beginners have about using headphone holders for walls.
Q1: Will a headphone holder damage my wall?
A: It depends on the mounting method. Screw-in holders will leave small holes that can be easily patched. Adhesive holders can damage paint or drywall if the adhesive is too strong or removed improperly. Always test adhesive in an inconspicuous spot or opt for removable adhesive strips if possible. Reading product reviews can also give you insights into potential wall damage.
Q2: How much weight can a typical headphone holder hold?
A: Most standard headphone holders are designed to hold typical over-ear or on-ear headphones, which usually weigh between 200-400 grams. Even strong adhesive mounts can typically support up to 1-2 kg (2-4 lbs) if applied correctly. For very heavy, professional studio headphones, check the specific weight limit of the holder.
Q3: Can I use a headphone holder for other devices?
A: Absolutely! Many holders can also hold VR headsets, gaming controllers, bags, keys, or even lightweight tools, depending on their size and strength. They’re versatile organizational tools.
Q4: What’s the difference between a screw-in and an adhesive mount?
A: Screw-in mounts use screws to attach directly to the wall or into studs/anchors, offering maximum stability and weight capacity. Adhesive mounts use strong double-sided tape or glue, are quick to install, and don’t require drilling, but their strength and removability can be a concern.
Q5: How far apart should my wall hooks be if I want to hang multiple pairs?
A: If you’re using individual hooks, space them at least 8-12 inches apart horizontally, and consider the width of your headphones to prevent them from bumping into each other. If you’re using a multi-headphone stand, they are usually designed with adequate spacing already included.
Q6: Is it better to hang headphones by the headband or the earcups?
A: It’s generally best to hang headphones on a holder designed for them, which typically supports them around the headband. Hanging solely by the earcups, especially for extended periods, could potentially put strain on the headband or drivers over time. Most wall holders are shaped to cradle the headband safely.
Conclusion: Elevate Your Audio Experience, One Holder at a Time
There you have it! A headphone holder for your wall is far more than just an accessory; it’s an essential, affordable tool for protecting your audio gear, decluttering your space, and enhancing the overall experience of enjoying your music, podcasts, or games. Whether you opt for a quick DIY project or a stylish pre-made solution, the benefits are undeniable. You’ll save space, prevent damage, and always know exactly where your headphones are. Plus, it adds a touch of personality to your setup. So, take a moment, assess your space, and consider upgrading to a wall-mounted holder. Your headphones (and your tidy desk) will thank you!
