
Quick Summary: Keep your headphones in top shape and ready for listening by following simple pre-storage cleaning steps. This guide offers essential, beginner-friendly hygiene tips to remove dirt, earwax, and sweat, ensuring better sound quality, longer lifespan, and a more pleasant listening experience.
Headphone Hygiene Tips Before Storing: Essential Hacks
Hey audio adventurers! Edward Cavitt here, your friendly guide at Headphone Horizon. We all love our headphones, right? They’re our trusty companions for music, podcasts, calls, and diving into immersive audio worlds. But just like any gear we use daily, they need a little love and care to keep performing at their best. One often-overlooked aspect is keeping them clean, especially before you put them away.
Storing dirty headphones isn’t just unhygienic; it can actually damage them over time and impact sound. Don’t worry, though! I’ve got some super easy, stress-free hacks to make headphone hygiene a snap, ensuring your listening sessions are always crystal clear and your headphones last for years. Let’s get them prepped for their next adventure!
Why Bother with Pre-Storage Headphone Cleaning?
It might seem like a small thing – chucking your headphones into your bag or drawer after use. But think about what happens during a typical listening session. Your ears produce oils and sweat. Your environment might have dust or even tiny particles of food (we’ve all been there!). Over time, this buildup can:
- Affect Sound Quality: Clogged drivers or grilles can muffle sound, reduce clarity, and even distort audio.
- Harbor Germs: Earwax and sweat are perfect breeding grounds for bacteria. Nobody wants to put germy headphones back on their ears!
- Damage Materials: Sweat, oils, and debris can degrade earpads, headband padding, and even delicate internal components.
- Reduce Lifespan: Neglected wear and tear accelerates the aging process of your headphones.
The good news is that a quick clean before you stow them away makes a world of difference. It’s a simple habit that pays dividends in performance, longevity, and basic cleanliness. Protecting your investment, or simply ensuring your daily listening experience is top-notch, is well worth a few minutes of your time.
Essential Tools for Headphone Hygiene
You don’t need a fancy lab or a ton of specialized equipment. Most of what you need, you probably already have around the house. Here’s a quick rundown:
- Microfiber Cloths: These are your best friends for gentle cleaning without scratching. Keep a few dedicated ones for your audio gear.
- Isopropyl Alcohol (70% solution): Great for disinfecting surfaces. Dilute it if you’re worried about any particular material.
- Distilled Water: For mixing with alcohol or for gentle wiping. Tap water can leave mineral deposits.
- Cotton Swabs (Q-Tips): Perfect for getting into nooks and crannies.
- Soft Brush (like a clean, dry toothbrush or a small makeup brush): Excellent for dusting and gently dislodging debris from grilles.
- Mild Soap (optional, for very stubborn grime on earpads): Use sparingly and ensure it’s completely residue-free.
- Small Bowl or Container: For mixing cleaning solutions.
Always remember to unplug your headphones and turn them off before you start cleaning.
Step-by-Step Guide: Cleaning Your Headphones Before Storing

Let’s break down the cleaning process into manageable steps. We’ll cover different types of headphones, as the approach can vary slightly.
Step 1: The Initial Dust and Debris Wipe-Down
- For All Headphone Types: Start with a dry microfiber cloth. Gently wipe down the entire exterior of your headphones – the earcups, headband, and any visible plastic or metal parts. This removes loose dust and surface grime.
- Grilles and Vents: Use your soft, dry brush (or a clean, dry toothbrush) to gently sweep away any dust or debris accumulated on the headphone grilles or speaker vents. Be very gentle here; you don’t want to push debris further in.
Step 2: Tackling Earwax and Sweat Buildup
This is where hygiene really comes into play. Earwax and body oils are common culprits for making headphones feel less than fresh.
Cleaning Earcup Pads and Headbands
This step is crucial as these parts are in direct contact with your skin.
For Leather or Faux Leather Earcups/Headbands:
- Take a clean microfiber cloth and dampen it slightly with a mixture of distilled water and a tiny amount of isopropyl alcohol (about a 1:1 ratio). You can also use just distilled water if you prefer a gentler approach, or if your headphones’ manual advises against alcohol.
- Wring out the cloth very well. It should be just damp, not wet.
- Gently wipe down the entire surface of the earpads and headband. Focus on areas where sweat or oil might accumulate.
- For stubborn spots, you can use a cotton swab dampened with the same solution.
- Immediately dry the area with a separate, clean, dry microfiber cloth. Ensure no moisture is left behind, especially near any seams or perforations.
For Fabric or Velour Earcups/Headbands:
- These materials can be a bit more absorbent, so be extra careful with moisture.
- A dry brush is often enough to dislodge loose debris.
- If a damp cloth is needed, use a very slightly damp microfiber cloth with just distilled water. Again, wring it out thoroughly.
- Gently dab and wipe the fabric. Avoid excessive rubbing, which can fray the material.
- Allow the earpads to air dry completely before storing. You can gently pat them with a dry cloth, but don’t force it.
Cleaning Removable Earcups
If your earcups are removable (which many are!), this makes cleaning much easier and more thorough.
- Gently detach the earcups according to your headphone’s manual.
- For leather/faux leather cups, follow the steps above for those materials.
- For fabric cups, if they are washable (check your manual first!), you can often hand-wash them in lukewarm water with a tiny bit of mild soap. Rinse thoroughly until all soap is gone. Squeeze out excess water gently and allow them to air dry completely.
- Once the earcups are completely dry, reattach them to your headphones.
Step 3: Cleaning the Plastics, Metals, and Cables
These parts often collect fingerprints and general surface grime.
For Plastic and Metal Components:
- Use a clean microfiber cloth slightly dampened with a mild cleaning solution (again, 1:1 distilled water and 70% isopropyl alcohol, or just distilled water).
- Wipe down all exterior plastic and metal parts.
- Pay attention to hinge points or adjustable sliders where dirt can hide.
- Dry immediately with a separate dry microfiber cloth.
For Headphone Cables:
- Cables can pick up a surprising amount of grime from being on desks or in bags.
- Use a microfiber cloth, slightly dampened with distilled water, to wipe down the cable.
- Start from the headphone connection and work your way to the plug.
- Ensure the cable is completely dry before wrapping it loosely for storage. Avoid tightly coiling, which can stress the internal wires.
Step 4: Cleaning Speaker Grilles and Earphone Nozzles (In-Ear Monitors/Earbuds)
This is a critical area for sound quality and hygiene.
For Over-Ear and On-Ear Headphones:
- Use a clean, dry, soft-bristled brush (like a dedicated soft toothbrush or a small makeup brush) to gently brush away any dust or debris from the speaker grilles.
- For any stuck-on earwax or gunk, you can use a cotton swab very lightly dampened with distilled water or a very diluted isopropyl alcohol solution (use caution and ensure the swab is barely damp). Gently dab at the area.
- Immediately follow up with a dry cotton swab to absorb any residual moisture.
- Crucially, never let liquid seep into the drivers. Be very conservative with any cleaning solution.
For In-Ear Monitors (IEMs) or Earbuds:
- Eartips: If your earbuds have silicone or foam eartips, these are the primary contact points.
- Silicone Tips: Remove them. Wash them thoroughly with soap and warm water, rinse well, and let them air dry completely. You can also disinfect them with a diluted alcohol wipe, but ensure they are fully dry before reattaching.
- Foam Tips: These are trickier. Generally, you want to avoid washing foam tips with water or alcohol, as it can degrade the foam. The best approach is gentle wiping with a slightly damp cloth (water only, very slightly damp) and then allowing them to air dry. For heavily soiled foam tips, it might be best to consider replacing them, as proper disinfection is difficult.
- Nozzles: The part that goes into your ear canal can get blocked.
- Use a dry, soft brush or a used-up (and clean!) mascara wand to gently brush away any visible debris.
- For tougher wax, use a dry cotton swab to carefully pick away at it. You can very sparingly use a cotton swab lightly dampened with distilled water to loosen stubborn bits, but be extremely careful not to push wax or liquid into the nozzle.
- Some IEMs come with small cleaning tools or screens. If yours does, use it! Always refer to your specific model’s manual for cleaning recommendations.
- Body of the Earbud: Wipe down the main body of the earbud with a slightly damp microfiber cloth and dry thoroughly.
Step 5: Final Inspection and Drying
Before you store your headphones away, do a quick visual inspection.
- Are there any damp spots? Ensure everything is completely dry. Moisture is the enemy of electronics and can lead to mold or corrosion.
- Are there any lingering smudges or debris? Give them a final quick wipe with a dry microfiber cloth.
- If you removed earpads or eartips, make sure they are reattached securely and correctly.
Storing Your Clean Headphones
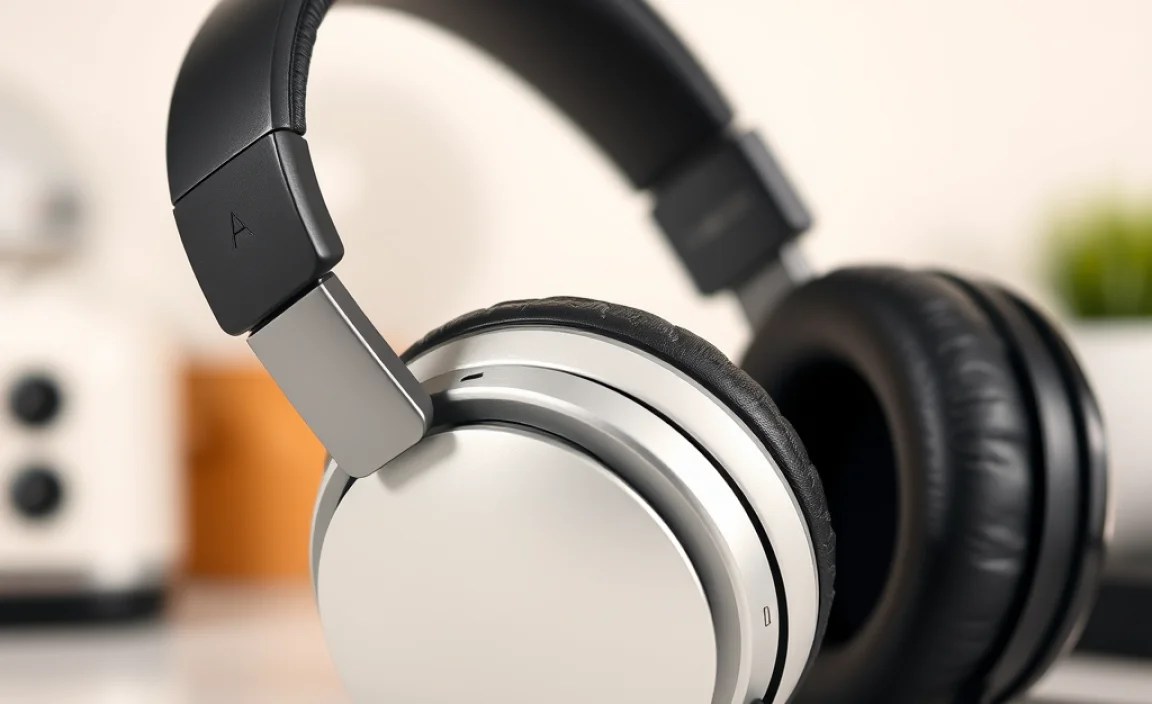
Proper storage is just as important as cleaning for maintaining your headphones.
- Use the Original Case or a Pouch: If your headphones came with a carrying case or a soft pouch, use it! This protects them from dust, scratches, and accidental impactos.
- Avoid Extreme Temperatures: Don’t leave them in a hot car or a freezing garage. Extreme temperatures can damage the materials and electronics.
- Loose Coiling: If you’re just putting them in a drawer or bag without a case, coil the cable loosely. Avoid tight wraps or kinks, which can damage the internal wires over time. Think gentle loops, not tight spirals.
- Keep Away from Magnets: While less of an issue with modern headphones than older audio equipment, it’s still good practice to keep strong magnetic sources away from your headphones.
Quick Cleaning Schedule Recommendation
To maintain optimal hygiene and condition, here’s a simple schedule:
| Frequency | Task | Notes |
|---|---|---|
| Before/After Each Use (Quick) | Wipe down earpads and exterior with a dry microfiber cloth. | Removes surface dust and sweat. |
| Weekly (or as needed) | Damp wipe of earpads/headband and exterior. Clean grilles/nozzles lightly. | Addresses earwax, sweat, and grime. |
| Monthly (or as needed) | Thorough cleaning of earpads (including removal if possible). Deep clean of grilles/nozzles. Cable wipe. | Ensures deep hygiene and longevity. Check for wear and tear. |
Consistency is key! A little bit of care regularly goes a long way in keeping your headphones sounding great and feeling fresh.
Headphone Cleaning Safety Precautions
While cleaning your headphones is straightforward, a few safety tips will ensure you don’t damage your gear or yourself:
- Never Drench: Always use a slightly damp cloth, never a wet one. Moisture getting into the drivers or internal electronics can cause irreparable damage.
- Unplug and Power Off: Always disconnect your headphones from any device and turn them off before cleaning.
- Gentle Pressure: Avoid scrubbing or applying excessive force. Delicate materials and finishes can be easily damaged.
- Test on an Inconspicuous Area: If you’re using a new cleaning solution or method, test it on a small, hidden part of your headphones first to ensure it doesn’t cause discoloration or damage.
- Ventilation: If using isopropyl alcohol, do so in a well-ventilated area.
- Mind the Drivers: The speaker drivers are the heart of your headphones. Be extremely careful not to let any liquid or debris get into them. For IEM nozzles, use a dry swab or brush as your first line of defense.
For more detailed information on care and cleaning, always consult your headphone manufacturer’s official documentation. Some brands might have specific recommendations or warnings for their materials and designs. For example, the SoundGuys offers a comprehensive guide for various headphone types.
Frequently Asked Questions (FAQ)
Q1: How often should I really be cleaning my headphones?
A: For optimal hygiene and performance, a quick wipe-down with a dry microfiber cloth after each use is ideal. A more thorough clean of earpads and grilles/nozzles should be done weekly or bi-weekly, depending on how often you use them and how much you sweat. Deep cleaning, especially if earpads are removable, can be done monthly.
Q2: Can I use baby wipes to clean my headphones?
A: Generally, it’s best to avoid standard baby wipes. They often contain chemicals, perfumes, and moisture levels that aren’t ideal for headphone materials, especially earpads or delicate plastics. Opt for a damp microfiber cloth with distilled water or a mild alcohol solution (diluted) for more controlled and safer cleaning.
Q3: My headphone earpads are starting to smell. What can I do?
A: This is usually due to sweat and bacteria buildup. For leather or faux leather pads, a good cleaning with a 1:1 mix of distilled water and 70% isopropyl alcohol, followed by thorough drying, often resolves this. For fabric pads, ensure they are completely dry and consider using a fabric-safe odor eliminator spray (again, test in an inconspicuous area first and ensure the product is safe for delicate fabrics) before storing. If the smell persists, they might need replacement.
Q4: How do I clean foam eartips for my earbuds?
A: Foam eartips are porous and can absorb moisture and oils, making them difficult to clean thoroughly. Water and alcohol can degrade the foam. The best approach is to gently wipe them with a dry cloth to remove surface debris. For light grime, you can use a very slightly damp cloth (water only, wrung out extremely well) and then allow them to air dry completely. If they become heavily soiled or retain odors, it’s often recommended to replace them for hygiene reasons.
Q5: Is it okay to use a vacuum cleaner to clean dust off my headphones?
A: It’s generally not recommended to use a standard vacuum cleaner directly on your headphones. The suction can be too powerful and potentially damage delicate components, especially grilles or driver surrounds. A soft brush is a much safer tool for gently dislodging dust and debris from surfaces and grilles.
Q6: My headphones are making faint crackling sounds. Could dirt be the cause?
A: Yes, sometimes dirt, earwax, or debris build-up on speaker grilles or inside earphone nozzles can interfere with sound transmission, leading to muffled audio or even faint crackling noises. A thorough cleaning, especially of the audio pathways and grilles, might resolve this issue. If the crackling persists after cleaning, it could indicate a more serious internal problem with the drivers or wiring.
