
Quick Summary: Maintaining clean headphones daily is crucial for your health and sound quality. This guide offers simple, actionable tips for a daily headphone hygiene routine, ensuring germ-free listening and extended headphone life. Learn quick cleaning methods and essential care practices in just a few minutes each day.
Headphone Hygiene Tips: Your Essential Daily Routine for Cleaner Listening
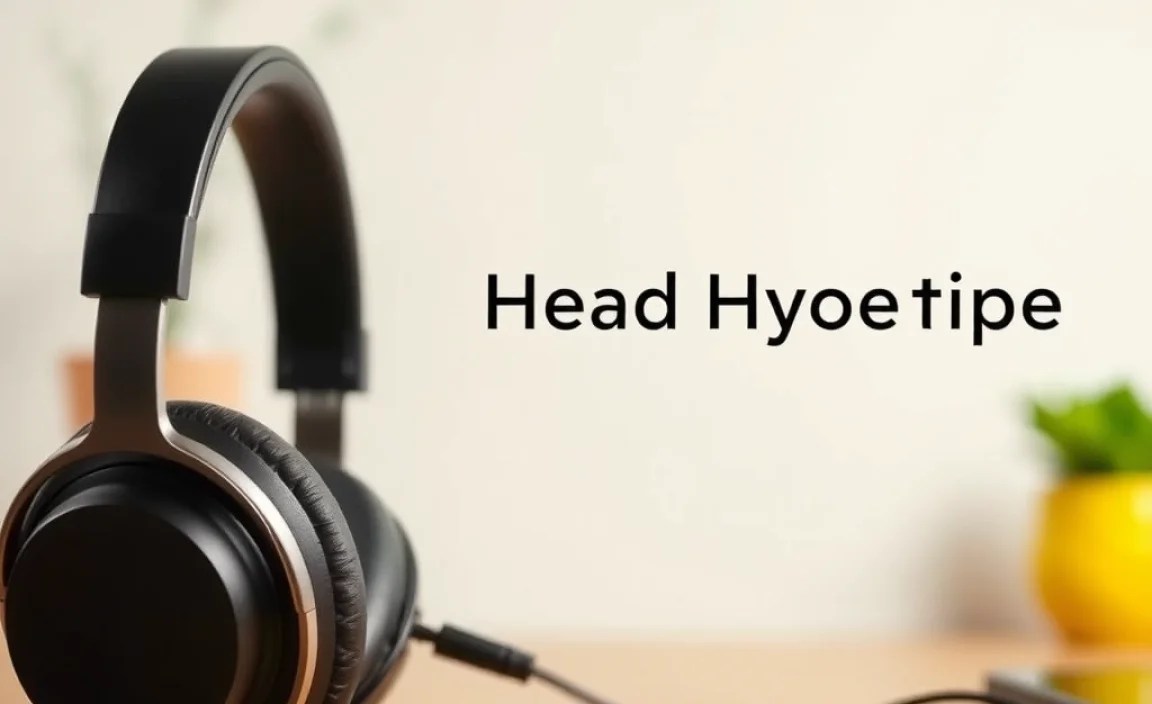
Hey there, audio adventurers! Edward Cavitt here, your friendly guide to all things headphone at Headphone Horizon. We all love our headphones – they’re our portals to music, podcasts, and immersive gaming worlds. But just like anything we use daily, they can accumulate a fair bit of gunk. Think about it: they sit on or in your ears, often exposed to sweat, earwax, and the general dust bunnies of everyday life. Not the most pleasant thought, right? Thankfully, keeping your headphones sparkling clean doesn’t have to be a chore. A simple, consistent daily routine can make a world of difference for your ears and your gear. Let’s dive into how you can easily incorporate headphone hygiene into your day.
Why Daily Headphone Hygiene Matters

Before we get our hands (and headphones) dirty, let’s quickly touch on why this is so important. Clean headphones aren’t just about aesthetics; they directly impact your well-being.
- Preventing Ear Infections: Bacteria and fungi love dark, moist environments, and your earbuds or headphone earpads can become just that. Regular cleaning helps prevent the buildup of these microorganisms, reducing the risk of uncomfortable and potentially painful ear infections often referred to as ‘swimmer’s ear’ or otitis externa. The Centers for Disease Control and Prevention (CDC) also highlights the importance of hygiene for preventing infections.
- Maintaining Sound Quality: Earwax and debris can clog speaker grilles, muffling sound and affecting your listening experience. Keeping these clear ensures your music, podcasts, or calls come through with crystal clarity.
- Extending Headphone Lifespan: Dirt and moisture can degrade materials over time, leading to wear and tear and potentially damaging delicate electronic components. Regular, gentle cleaning helps preserve your headphones, making them last longer.
- Personal Comfort: Let’s be honest, nobody enjoys putting dirty, sticky headphones on. A clean pair is simply more pleasant to use.
Your Simple 5-Minute Daily Headphone Cleaning Routine

The goal here is to make cleaning so easy and quick that you can do it without even thinking about it. This routine focuses on the most critical areas that get dirty daily.
Step 1: The Quick Wipe-Down (Under 1 Minute)
This is your go-to for a quick refresh. What you’ll need:
- A clean, dry microfiber cloth.
How to do it:
- Gently wipe down the exterior surfaces of your headphones. This includes the headband, earcups, and any visible plastic or metal parts.
- Pay attention to areas that tend to get oily or smudged from your hands or face.
Why it works: Microfiber cloths are excellent at picking up dust, fingerprints, and light skin oils without scratching surfaces. It’s your first line of defense against daily grime.
Step 2: Detachable Earpad Wipe (Under 2 Minutes)
If your headphones have removable earpads (common in over-ear and some on-ear models), this step is a game-changer.
What you’ll need:
- A clean, slightly damp microfiber cloth (dampened with clean water, NOT soaking wet).
- An optional, very mild soap solution (a tiny drop of dish soap in a small bowl of water – ensure it’s fully rinsed from the cloth).
How to do it:
- Carefully detach your earpads if they are designed for easy removal. Check your headphone manual if you’re unsure how.
- Dampen your microfiber cloth with plain water or your very mild soap solution. Wring it out thoroughly so it’s just barely damp.
- Gently wipe the surface of the earpads. For fabric or velour earpads, be extra gentle and avoid soaking them. For leather or pleather, focus on surface grime.
- If you used a soap solution, follow up with another cloth dampened only with clean water to remove any soap residue.
- Let the earpads air dry completely before reattaching them. Place them in a well-ventilated area, away from direct sunlight or heat.
Why it works: This tackles the part of your headphones that makes direct contact with your skin. Removing sweat and oils here prevents odor buildup and potential skin irritation.
Step 3: Earbud Grille Attention (Under 2 Minutes)
For in-ear monitors (IEMs) or earbuds, the tiny grilles are where earwax loves to hide.
What you’ll need:
- A dry, soft brush (like a clean, unused toothbrush or a specialized headphone cleaning brush).
- A clean, dry microfiber cloth.
- Optional: A dry cotton swab.
How to do it:
- Gently brush the earbud grilles with your dry soft brush. Use light, circular motions to dislodge any visible earwax or debris.
- If there’s stubborn residue, you can very carefully slightly dampen a cotton swab tip with isopropyl alcohol (70% or less) and gently dab around the grille openings. Ensure NO liquid seeps into the earbud. Let it dry INSTANTLY.
- Wipe the rest of the earbud body with your dry microfiber cloth.
Why it works: Keeping these grilles clear is paramount for sound quality and hygiene. A gentle brushing daily prevents major blockages and buildup.
Tools for Your Headphone Hygiene Arsenal

While the daily routine requires minimal tools, having a few key items on hand makes deeper cleaning less frequent and more effective. For our daily regimen, let’s stick to the basics:
| Tool | Purpose | Frequency of Use (Daily Routine) |
|---|---|---|
| Microfiber Cloths | Wiping exteriors, earpads, and earbuds. | Daily |
| Soft Brush (e.g., clean toothbrush) | Gently cleaning earbud grilles. | Daily |
| Water | Slightly dampening cloth for earpads. | As needed for earpads |
| Cotton Swabs | Targeted cleaning of small crevices or grilles. | Occasionally for earbuds |
| Isopropyl Alcohol (70% or less) | Disinfecting and loosening stubborn grime (use sparingly!). | Rarely, with extreme caution. |
Beyond Daily: Occasional Deep Cleaning

While the daily routine keeps things in check, you might want to perform a more thorough clean every week or two, depending on your usage and environment. This is when you might introduce slightly more robust methods.
Cleaning Different Headphone Materials
Headphones come in various materials, and how you clean them can differ:
- Leather/Pleather Earpads: These are generally easy to wipe clean with a damp cloth. For deeper cleaning, use a leather cleaner specifically designed for that material. Always follow the product instructions.
- Velour/Fabric Earpads: These can absorb more, so avoid soaking them. A gentle wipe with a slightly damp cloth is usually best. For stubborn stains, a mild fabric cleaner might be required, but always test in an inconspicuous area first and ensure they are fully dry.
- Plastic/Metal Components: A simple wipe with a microfiber cloth is perfect. For disinfection, a cloth very lightly dampened with isopropyl alcohol can be used, but ensure it’s not excessively wet and avoid letting alcohol seep into any exposed electronics.
- Headphone Stands and Cables: These can also be wiped down with a microfiber cloth. For cables, ensure they are dry before plugging them in.
When to Disinfect vs. Clean
Cleaning removes physical debris, while disinfecting kills germs. For most daily use, a good clean is sufficient. However, consider disinfecting if:
- You’ve been sick.
- You share your headphones with others (though ideally, you shouldn’t for hygiene reasons).
- You sweat heavily during use.
For disinfection, a cloth very lightly dampened with isopropyl alcohol (70% or less) is effective. Apply it to the cloth first, not directly to the headphones, and ensure all surfaces are dry before use.
Pro Tips for Headphone Hygiene Longevity
Here are a few extra nuggets of wisdom to keep your headphones in top shape:
- Store them properly: When not in use, keep your headphones in a clean, dry place. A dedicated case or stand is ideal. Avoid leaving them exposed on dusty surfaces or in humid environments.
- Clean your ears: This might sound obvious, but cleaner ears mean less earwax transfer to your headphones.
- Be gentle: Aggressive scrubbing can damage earpads and speaker grilles. Always use a light touch.
- Check your manual: Each headphone model can be slightly different. Your manufacturer’s manual might have specific cleaning recommendations.
- Listen to your headphones: If you notice muffled sound or a strange odor, it’s a clear sign it’s time for a clean!
Handling Specific Issues
Sometimes, you might encounter particular problems:
Stubborn Earwax Buildup
If earwax seems caked on, gently use a dry, stiff brush to loosen it. You can carefully use a toothpick to dislodge larger pieces, being extra cautious around the speaker grille. A cotton swab very lightly dampened with isopropyl alcohol can then help dissolve residue, but again, extreme care is needed to prevent liquid entry.
Odorous Earpads
Odor is usually a sign of bacterial buildup from sweat. Follow the earpad cleaning instructions mentioned earlier. For persistent odors, some users have found success with a very light dusting of baking soda overnight (applied to dry earpads, then carefully brushed off completely), but this carries a risk of damage if not done meticulously. Airing out headphones in a well-ventilated spot can also help.
Damaged Earpads
Unfortunately, if earpads are torn or significantly degraded, cleaning won’t fix them. This is when you’ll likely need to look into replacement earpads. Many brands offer spare parts, or you might find third-party options.
FAQ: Your Headphone Hygiene Questions Answered
Got more questions? Here are some common ones:
Q1: Can I use household cleaners or disinfectant wipes on my headphones?
A1: It’s generally not recommended. Household cleaners can be too harsh and may damage the materials of your headphones, especially the earpads or delicate finishes. Disinfectant wipes often contain strong chemicals that can degrade plastics and foams. Stick to gentle methods like microfiber cloths and minimal, diluted solutions.
Q2: How often should I do a deep clean?
A2: For most people, a quick daily wipe-down is sufficient. A more thorough clean, where you might remove earpads or use slightly damp cloths, can be done weekly or bi-weekly, depending on how much you use them and how prone they are to getting dirty (e.g., if you sweat a lot).
Q3: My earbuds sound muffled. What’s the cause?
A3: The most common cause is earwax or debris buildup in the speaker grille. Follow the step-by-step guide for cleaning earbud grilles using a soft brush and a dry microfiber cloth.
Q4: Is it okay to wash my headphone earpads with soap and water?
A4: Yes, but very carefully. Use only a tiny amount of very mild soap (like dish soap) in water, and make sure the cloth is only slightly damp. Wring it out thoroughly. Never soak the earpads, especially fabric or velour ones. Always let them air dry completely.
Q5: How do I prevent static electricity when cleaning?
A5: Static can attract dust. Ensure your cleaning cloths are clean and dry. When dealing with electronic components, avoid vigorous rubbing. If you live in a very dry climate, you might notice more static; working in a slightly more humid environment or on a less dry day can help.
Q6: What are the risks of not cleaning my headphones?
A6: The main risks include a buildup of bacteria leading to ear infections, clogged grilles affecting sound quality, and accelerated wear and tear on headphone materials. They can also start to smell unpleasant.
Q7: My kid uses my headphones sometimes. How can I ensure they are clean for both of us?
A7: This is a perfect scenario for a strict daily routine! A quick wipe-down after each use by anyone is a great habit. If they are frequently shared, consider a quick clean after each user, paying special attention to earpads and earbud grilles. A light disinfectant spray applied to a cloth (not directly on headphones) can also be used more regularly.
Conclusion
There you have it – your straightforward guide to essential daily headphone hygiene! By dedicating just a few minutes each day to a simple cleaning routine, you’re not just keeping your headphones looking good; you’re investing in your ear health, preserving sound quality, and making your cherished audio devices last longer. Think of it as giving your headphones a little TLC, and they’ll reward you with clear, crisp sound and comfortable listening sessions for years to come. So grab that microfiber cloth, give those grilles a gentle brush, and enjoy the pure, clean sound you deserve!
