
Quick Summary: Keep your headphones in top shape with this simple checklist. Learn how to clean earpads, drivers, and cables using a soft brush and common household items to ensure great sound and longevity for your favorite audio gear. Regular care prevents damage and enhances your listening experience.
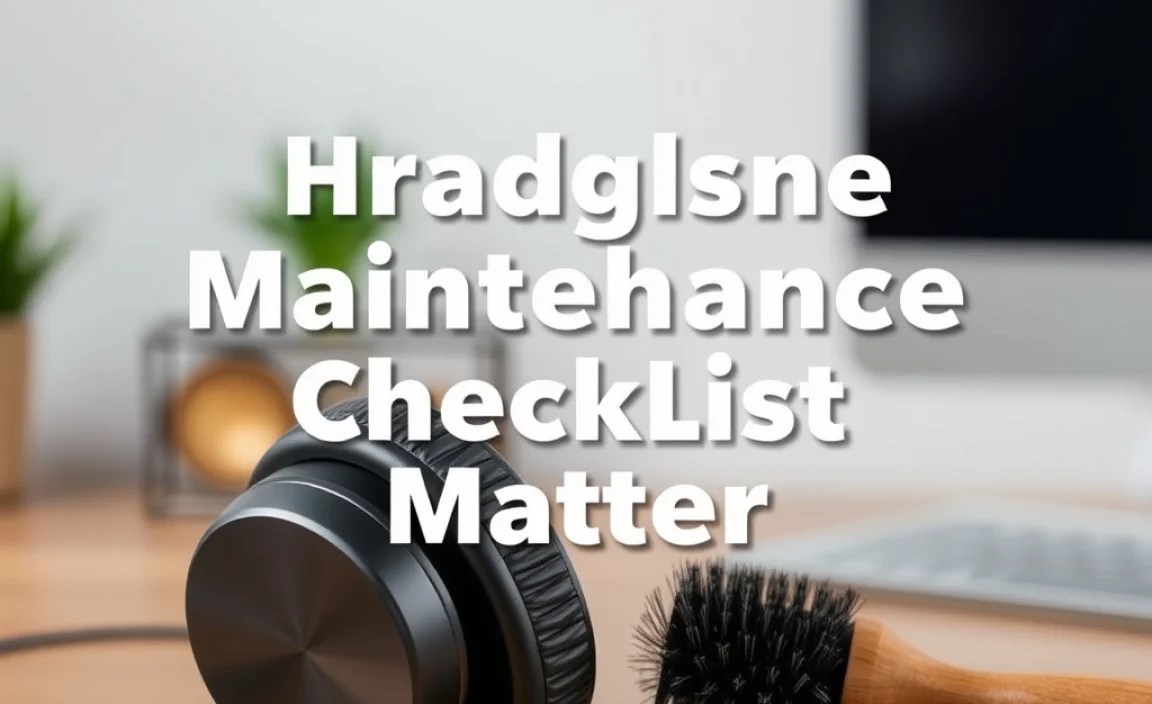
Headphone Maintenance Checklist With Brush: Essential Tips for Pristine Sound
Hello there, fellow audio adventurers! Edward Cavitt here from Headphone Horizon. We all love diving into our favorite music, podcasts, or games with our headphones, don’t we? They’re our personal sound sanctuaries. But like any beloved gadget, they need a little TLC to keep performing at their best. If you’ve ever wondered how to keep those earcups clean, prevent fuzzy sound, or just make your headphones last longer, you’re in the right place. Today, we’re demystifying headphone maintenance with a focus on a simple yet crucial tool: the humble brush. It’s amazing what a little regular care can do, and I promise, it’s easier than you think! Let’s ensure your audio journey remains crystal clear and utterly enjoyable.
Why Regular Headphone Maintenance Matters
Think of your headphones as a finely tuned instrument. Just like a guitar needs tuning or a car needs an oil change, your headphones benefit immensely from consistent upkeep. Neglecting them can lead to a few unfortunate outcomes. Firstly, hygiene. Our ears produce natural oils and sweat, and our surroundings can be dusty. These elements can build up on your headphones, especially on earpads and ear tips, which can become breeding grounds for bacteria and lead to unpleasant odors or even skin irritation.
Secondly, sound quality. Dust and debris can accumulate in the driver grilles or on the speaker mesh, subtly muffling the sound. Over time, this buildup can hinder the delicate components responsible for delivering rich audio. Thirdly, longevity. Proper cleaning and care can prevent the breakdown of materials, corrosion of connectors, and damage to sensitive parts, significantly extending the lifespan of your investment. Plus, a well-maintained pair just looks and feels better! Investing a few minutes regularly will save you headaches and money down the line.
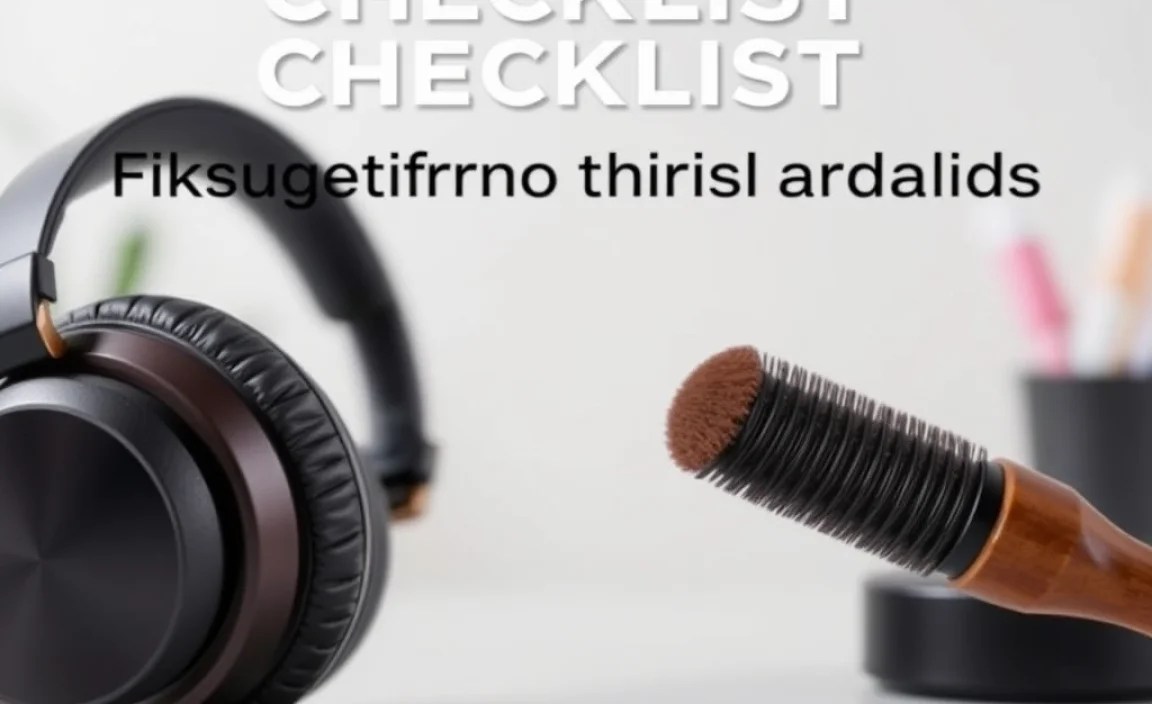
Your Essential Headphone Maintenance Toolkit (and Why a Brush is Key!)

When it comes to cleaning headphones, you don’t need a whole workshop. A few basic items, readily available at home or a local store, will suffice. The star of our show today is the brush, but let’s look at the whole crew:
- A Soft-Bristled Brush: This is your primary tool for dusting and gently dislodging grime from crevices and grilles. Think of an old, clean toothbrush (with soft bristles!), a dedicated makeup brush, or even a specialized electronics cleaning brush. The key is softness to avoid scratching.
- Microfiber Cloths: These are brilliant for wiping down smooth surfaces like plastic casings and cables without leaving lint behind. Keep a few handy – one for dry dusting and another for slightly damp cleaning.
- Isopropyl Alcohol (70% or less) or Mild Soap Solution: For tougher grime on non-porous surfaces like plastic or leatherette, a lightly dampened cloth with a very diluted solution can work wonders. Always ensure it’s applied to the cloth, never directly to the headphones, and avoid getting any liquid into the drivers or openings. For a mild soap solution, mix a tiny drop of gentle dish soap with a cup of water.
- Cotton Swabs (Q-tips): Perfect for reaching into tight corners, around buttons, and along seams where a cloth or larger brush can’t quite get.
- Your Original Packaging or a Carrying Case: Storage is maintenance! Keeping your headphones protected when not in use prevents dust accumulation and accidental damage.
So, why is the brush so important? The delicate grilles covering the headphone drivers, the intricate seams where earpads meet the housing, and the textured surfaces of headbands are prime spots for dust and dried sweat to congregate. A soft brush can gently sweep away this debris without applying too much pressure or introducing moisture, which could damage the sensitive audio components. It’s the first line of defense against buildup and keeps those crucial areas breathable and clear.
Step-by-Step Headphone Cleaning Guide

Let’s get down to business! Here’s how to tackle each part of your headphones. Remember to always unplug your headphones before you start cleaning.
Step 1: The Initial Dusting & Debris Removal
This is where your soft brush shines. Gently but thoroughly brush away any loose dust, hair, or lint from all surfaces of your headphones. Pay special attention to:
- Headband: Brush along the length, especially if it has fabric or textured padding.
- Earcups: Work around the exterior housing and any decorative elements.
- Cables: A light brushing can remove surface dust.
- Near Connectors: Be very gentle around the plug and any ports, using the brush to sweep away dust without pushing it further in.
Step 2: Cleaning Earpads and Ear Tips
This is crucial for both hygiene and comfort. The method depends on your earpad material.
For Detachable Earpads (Velour, Fabric, Perforated):
- Remove Earpads: If your earpads are detachable, gently remove them according to your headphone’s manual.
- Brush Them Out: Use your soft brush to remove any accumulated dust, ear wax, or skin flakes trapped in the fabric.
- Light Cleaning (if needed): For fabric or velour, you can use a slightly damp microfiber cloth (barely damp!) with plain water or a 1:1 solution of water and mild soap. Blot gently; do not rub aggressively.
- Drying: Allow them to air dry completely – and I mean completely – before reattaching. This can take several hours. Never use heat to speed this up.
For Non-Detachable or Leatherette/Faux Leather Earpads:
- Wipe Gently: Use a slightly damp microfiber cloth (again, barely damp!) to wipe the surface of the earpads.
- For Grime: If there’s a bit more grime, use a cloth lightly dampened with a 70% isopropyl alcohol solution. Alcohol is great because it evaporates quickly and disinfects. Alternatively, use the mild soap solution mentioned earlier.
- Dry Thoroughly: Immediately follow up with a dry microfiber cloth to remove any remaining moisture.
For In-Ear Monitor (IEM) Ear Tips:
- Remove Ear Tips: Carefully detach the silicone or foam tips.
- Wash Silicone Tips: You can usually wash these with mild soap and water. Rinse thoroughly and let them air dry completely.
- Clean Foam Tips: Be very gentle with foam tips. They are porous and can absorb moisture easily. Use a dry brush to remove debris. If they need more, a very lightly dampened cloth can be used, but avoid soaking them. Foam tips are often disposable and may need replacing more frequently than silicone.
- Reassembly: Ensure everything is bone dry before reattaching.
Step 3: Cleaning the Driver Grilles and Housing
This is the most delicate area, so proceed with utmost caution.
- Brush Gently: Use your soft brush to carefully sweep dust and debris away from the grilles. Work from the center outwards. Do NOT push directly into the grille or apply significant pressure. The goal is to dislodge surface particles.
- Cotton Swab Aid: For any stubborn bits clinging to the edges of the grille or housing, use a dry cotton swab. If absolutely necessary for a tiny spot of grime on the housing (not grilles), use a barely damp cotton swab with water or a tiny bit of 70% isopropyl alcohol, ensuring no liquid drips into the driver. Immediately dry with a clean, dry swab or a corner of your microfiber cloth.
Step 4: Cables and Connectors
Dirty connectors can cause intermittent sound or connection issues.
- Cable Cleaning: Wipe down the cable with a dry or slightly damp microfiber cloth. If using a damp cloth, ensure it’s not wet; moisture can damage the internal wiring over time.
- Connector Care: For the audio jack (3.5mm, 1/4 inch, etc.), you can use a cotton swab lightly dampened with 70% isopropyl alcohol to clean the metal contacts. Let it dry completely before plugging back in. For USB-C or Lightning connectors, use a dry cotton swab or a specialized electronics cleaning brush to remove dust. Compressed air can be used carefully from a distance, but avoid blowing directly into ports.
Step 5: Headband Padding and Adjusters
This part touches your head the most, so keep it clean!
- Padding: Use a slightly damp microfiber cloth to wipe down fabric or leatherette padding. For stubborn spots, use the mild soap or 70% alcohol solution sparingly, as detailed for earpads. Let it air dry completely.
- Sliding Adjusters: Brush out any accumulated dust from the sliding mechanisms. If they’re stiff, a tiny drop of specialized plastic-safe lubricant might help, but use this very sparingly and only if recommended by the manufacturer.
A Quick Reference: Headphone Maintenance Checklist
Here’s a handy table to keep at your desk:
| Component | Primary Tool | Secondary Tools | Frequency | Notes |
|---|---|---|---|---|
| Earpads/Ear Tips | Microfiber Cloth | Soft Brush, Mild Soap/Water, 70% Isopropyl Alcohol | Weekly (light), Monthly (deep clean) | Ensure complete dryness. Replace foam tips as needed. |
| Driver Grilles | Soft Brush | Dry Cotton Swab | Weekly | Extreme caution; do not push liquids or debris in. |
| Headband | Microfiber Cloth | Soft Brush, Mild Soap/Water | Weekly | Wipe down and brush for comfort and hygiene. |
| Cables & Connectors | Microfiber Cloth | Cotton Swab, 70% Isopropyl Alcohol | Monthly | Clean connectors for optimal signal integrity. |
| Housing & Controls | Microfiber Cloth | Soft Brush, Dry Cotton Swab | Weekly | Maintain appearance and prevent button gumming. |
Troubleshooting Common Headphone Issues (and how maintenance helps!)

Sometimes, no matter how well you care for them, you might encounter minor issues. Regular maintenance can often prevent or alleviate these:
Issue: Muffled or Unclear Sound
Cause: Dust and debris buildup on the driver grilles or ear tips.
Solution with Maintenance: A thorough cleaning of the grilles and ear tips with a soft brush and appropriate cleaners should clear this up. If using in-ear monitors, ensure ear tips are clean and properly sealed.
Issue: Static or Intermittent Audio
Cause: Dirty or corroded connectors, or damage to the cable.
Solution with Maintenance: Clean the audio jack and any other connectors with isopropyl alcohol. Inspect the cable for kinks or damage. If the cable is detachable, try a different one if possible.
Issue: Unpleasant Odor
Cause: Sweat, oils, and bacteria buildup on earpads and headbands.
Solution with Maintenance: Regular cleaning of earpads and headbands with appropriate solutions will neutralize odors. For fabric or velour pads, ensure they are completely dry after cleaning.
Issue: Ear Discomfort or Irritation
Cause: Hygiene issues on earpads or ear tips.
Solution with Maintenance: Keeping all contact surfaces clean is paramount. Replacing worn-out ear tips or earpads can also significantly improve comfort.
Maintaining Different Headphone Types
While the core principles remain the same, some headphone types might need slightly different considerations:
Over-Ear and On-Ear Headphones
These often have larger earpads and exposed headbands. The focus here is on diligent cleaning of the earpads (detachable or not) and the headband padding. The outer earcups might have more surface area to dust and wipe down. Ensure ventilation ports, if any, are kept clear with a brush.
In-Ear Monitors (IEMs) and Earbuds
These are more intimate with your ear canal. The primary maintenance points are the ear tips (silicone or foam) and the nozzle where sound exits. Regular cleaning of ear tips is vital for hygiene and maintaining a good seal. The nozzle area should be cleared of earwax with a dry brush or a specialized tool, being extremely careful not to push anything into the driver. Many IEMs have replaceable filters, which also require cleaning or replacement.
Wireless and Noise-Cancelling Headphones
These often have more complex electronics and charging ports. Beyond physical cleaning, ensure charging contacts are clean and free of corrosion. For active noise-cancelling (ANC) headphones, pay attention to the microphones – these are often small holes on the earcups. Gently brush them clear of debris, but never poke anything into them or let liquid near them.
The Importance of Proper Storage
Maintenance doesn’t stop when you’re done cleaning. How you store your headphones plays a significant role in their longevity and cleanliness.
- Use a Case: If your headphones came with a hard or soft case, use it! This protects them from dust, bumps, and accidental damage when you’re not using them.
- Avoid Extreme Temperatures: Don’t leave your headphones in a hot car or a freezing cold environment. Extreme temperatures can damage the materials and internal components.
- Hang Them (Carefully): If you don’t have a case, a headphone stand can be a good option. However, ensure the stand doesn’t put undue pressure on the headband, especially if it’s a flexible material. Avoid hanging them by the cable, as this can stress the connection point.
- Keep Them Away from Liquids and Food: A simple one, but spills and crumbs are the enemy of electronics!
For more tips on protecting your gear, resources from organizations like the Consumer Reports can offer further insights into maintaining your electronics.
Frequently Asked Questions (FAQ)
Q1: How often should I clean my headphones?
A: It’s good practice to give them a quick dusting with a soft brush at least once a week. A more thorough cleaning of earpads and connectors can be done monthly, or sooner if you notice dirt or feel they need it.
Q2: Can I use water to clean my headphone earpads?
A: Yes, but only sparingly. Use a microfiber cloth that is barely damp with plain water or a very mild soap solution. Never soak the earpads, and ensure they are completely dry before use or reattachment.
Q3: My headphones smell a bit. What can I do?
A: Sweat and oils can cause odors. Clean the earpads and headband padding with a slightly damp cloth using a mild soap solution or 70% isopropyl alcohol. Ensure they dry thoroughly. Sometimes, for fabric earpads that are very soiled, you might consider purchasing replacement pads.
Q4: Will cleaning damage my headphones?
A: If done carefully, no! The key is to use the right tools (soft brush, microfiber cloth), avoid excessive moisture, and never force anything into delicate parts like driver grilles or microphone holes. Always unplug headphones before cleaning.
Q5: How do I clean the mesh/grilles over the headphone speakers?
A: Use a very soft, dry brush to gently sweep away dust and debris. Do NOT push into the grille or use any liquids. The goal is to remove surface dust without impacting the delicate driver underneath.
Q6: Can I use compressed air to clean my headphones?
A: You can use compressed air very cautiously from a distance to blow dust off larger surfaces or out of ports. However, avoid blowing directly into driver grilles or microphone openings, as the force can damage these sensitive components or push debris further in.
Conclusion: Enjoy Your Pristine Audio Experience
Taking care of your headphones is a simple yet incredibly rewarding habit. By incorporating this headphone maintenance checklist with a focus on your trusty soft brush, you’re not just preserving your gear; you’re actively enhancing your listening pleasure. Clean headphones mean cleaner sound, more comfortable wear, and a longer life for your favorite audio companions. So, grab that brush, a clean cloth, and spend a few moments with your headphones. You’ll hear – and feel – the difference
