
Quick Summary: Is your MacBook not hearing you through your headphones? Don’t worry! This guide offers simple, step-by-step solutions to get your headphone microphone working again, from checking basic settings to advanced fixes, all explained clearly for beginners.
Finding your headphone microphone isn’t picking up your voice on your MacBook can be incredibly frustrating, especially when you rely on it for online classes, work meetings, or simply catching up with friends. You’ve plugged in your favorite headphones, ready to chatter away, only to be met with silence on the other end. It’s a common hiccup, but the good news is that it’s often a simple fix. As your guide at Headphone Horizon, I’m here to demystify this tech trouble. We’ll walk through everything from the most basic checks to a few more in-depth solutions, ensuring you’ll be heard loud and clear again in no time. Let’s dive in and get your microphone back in action!
Troubleshooting Your Headphone Mic on a MacBook: A Beginner’s Guide

It can be such a bummer when your trusty headphones decide to go silent on the microphone front when connected to your MacBook. Whether you’re using a fancy gaming headset, a simple pair of earbuds with an in-line mic, or professional studio cans, this problem can pop up unexpectedly. Fear not! We’ll break down how to fix a headphone mic not working on your MacBook with easy-to-follow steps. Think of this as your friendly guide to getting back to clear communication.
Step 1: The Obvious Checks – Sometimes It’s the Simple Things!

Before we dive into any complex settings, let’s start with the absolute basics. These are the solutions that solve most of the “uh-oh” moments with tech, and they’re often overlooked when we’re feeling flustered.
A. Is the Headphone Plug Fully Inserted?
This sounds almost too simple, but it’s surprisingly common. Many MacBooks have a single audio jack that handles both headphone output and microphone input. Ensure your headphone’s jack is pushed all the way into the port. Sometimes, it might feel plugged in, but it’s only connecting the audio output, not the microphone.
- Gently try pushing the plug in a little further.
- Remove the plug and re-insert it firmly.
- If you have a USB headset, try a different USB port.
B. Is the Microphone Muted?
Many headsets, especially those designed for gaming or communication, have a physical mute button on the cord or ear cup. Double-check this! It’s easy to accidentally bump it and not realize it.
- Look for a small button or switch on your headphone cable or earcups.
- Ensure it’s in the “unmuted” position.
C. Check Your Volume Levels
While this usually affects output, sometimes software glitches can impact microphone input too. Ensuring your system volume isn’t set too low, or even muted, can be a quick win.
- Click the
- (Speaker icon) in your menu bar.
- Make sure the volume slider is up and there’s no mute symbol next to it.
Step 2: macOS System Settings – Where the Magic Happens
macOS has dedicated settings for your audio input and output devices. This is the most likely place to find the solution if the basic checks didn’t work.
A. Selecting the Correct Input Device
Your MacBook needs to know which microphone to listen to. If you have multiple audio devices connected (like a built-in webcam mic, an external USB mic, or your headphone mic), it might be trying to use the wrong one.
- Click the
- (System Settings) icon in your Dock or click the Apple menu () and choose “System Settings.”
- In the sidebar, scroll down and click “Sound.”
- Click the “Input” tab at the top of the Sound settings window.
Here, you’ll see a list of available input devices. Look for your headphones in the list.
| Common Input Device Names | What to Look For |
|---|---|
| Headset | If your headphones are recognized as a “Headset” or have their brand name listed. |
| USB Audio Device | For USB headsets, it might appear under a generic USB audio name. |
| Built-in Microphone | This is your MacBook’s internal mic. Make sure this is not selected if you want your headphones to work. |
| External Microphone | Some devices might be labeled this way. |
Click on your headphone’s name to select it as the active input device. You should see the “Input level” meter react when you speak into your headphone mic. If it’s moving, you’re one step closer!
B. Adjusting Input Volume
Even when the correct device is selected, the input volume might be set too low or too high, causing distortion or silence.
- With your headphones still selected as the input device in “System Settings” > “Sound” > “Input,” look for the “Input volume” slider.
- Speak clearly into your headphone microphone.
- Slide the “Input volume” slider to the right.
Watch the “Input level” meter. You want to see the bar move into the green or yellow range when you speak at a normal conversational volume. If the sound is too quiet, turn it up. If it’s peaking into the red and distorting, you might need to lower it slightly, but ensure it’s not so low that it’s barely registering.
C. Checking Privacy Settings for Microphone Access
Since macOS Monterey, Apple has introduced stricter privacy controls, including specific permissions for apps to access your microphone. An app might not have permission to use your headphone mic.
- Go to “System Settings” > “Privacy & Security.”
- Scroll down and click on “Microphone.”
- You’ll see a list of apps that have requested microphone access. Find the app you’re currently using (e.g., Zoom, FaceTime, Voice Memos, Chrome).
- Ensure the toggle switch next to the app is turned ON (green). If it’s off, toggle it on.
You might need to quit and re-open the app for the permission change to take effect.
Step 3: Application-Specific Settings
Sometimes, the issue isn’t with your entire MacBook but with the specific application you’re trying to use. Many communication and recording apps have their own audio settings.
A. On Popular Apps like Zoom, Teams, or FaceTime

These apps often allow you to select your audio devices independently of your system settings. This is crucial if you want to use your headphone mic for a call but your MacBook’s internal mic for general system sounds.
- Open the application (e.g., Zoom).
- Look for “Settings” or “Preferences” within the app. This is usually found under the application’s name in the menu bar (e.g., “Zoom” > “Settings”) or sometimes under a “Tools” or “Window” menu.
- Navigate to the “Audio” or “Microphone” section.
- In the dropdown menu for the microphone, select your headphone’s name.
- Many apps have a “Test microphone” feature. Use this to confirm your voice is being picked up.
B. On Web Applications (e.g., Google Meet in Chrome)

Websites also need permission to access your microphone. Chrome, for example, handles these permissions.
- When you first join a video call on a website, it will typically ask for permission to use your microphone. Ensure you clicked “Allow.”
- If you missed it or want to check, go to Chrome “Settings” > “Privacy and security” > “Site Settings” > “Microphone.”
- Here, you can see which sites have permission and manage them. Ensure the website you’re using is allowed.
Step 4: Testing and Verifying
It’s essential to test your microphone once you’ve made changes. This confirms that your fixes are working.
A. Using macOS Voice Memos
The built-in Voice Memos app is a fantastic, simple tool to test your hardware without any complex software involved.
- Open the “Voice Memos” app (you can find it in your Applications folder or by searching with Spotlight).
- Click the “Record” button (a red circle).
- Speak into your headphone microphone.
- Click the “Stop” button.
- Play back the recording. Can you hear yourself clearly?
If you can hear yourself in the recording, your MacBook is correctly receiving audio from your headphone mic. The issue is likely with the specific application you were trying to use earlier.
B. Using Online Microphone Test Tools
There are many free online tools that can test your microphone directly through your web browser. These are great for testing within the browser environment itself, which is useful if you suspect browser-specific issues.
- Search Google for “online microphone test.”
- Select a reputable site (e.g., MicTester, OnlineMicTest).
- Follow the site’s instructions to allow microphone access and test your audio.
These tools often provide visual feedback on sound levels and clarity.
Step 5: Hardware and Connection Troubleshooting
If software settings don’t seem to be the culprit, the problem might lie with the physical connection or the hardware itself.
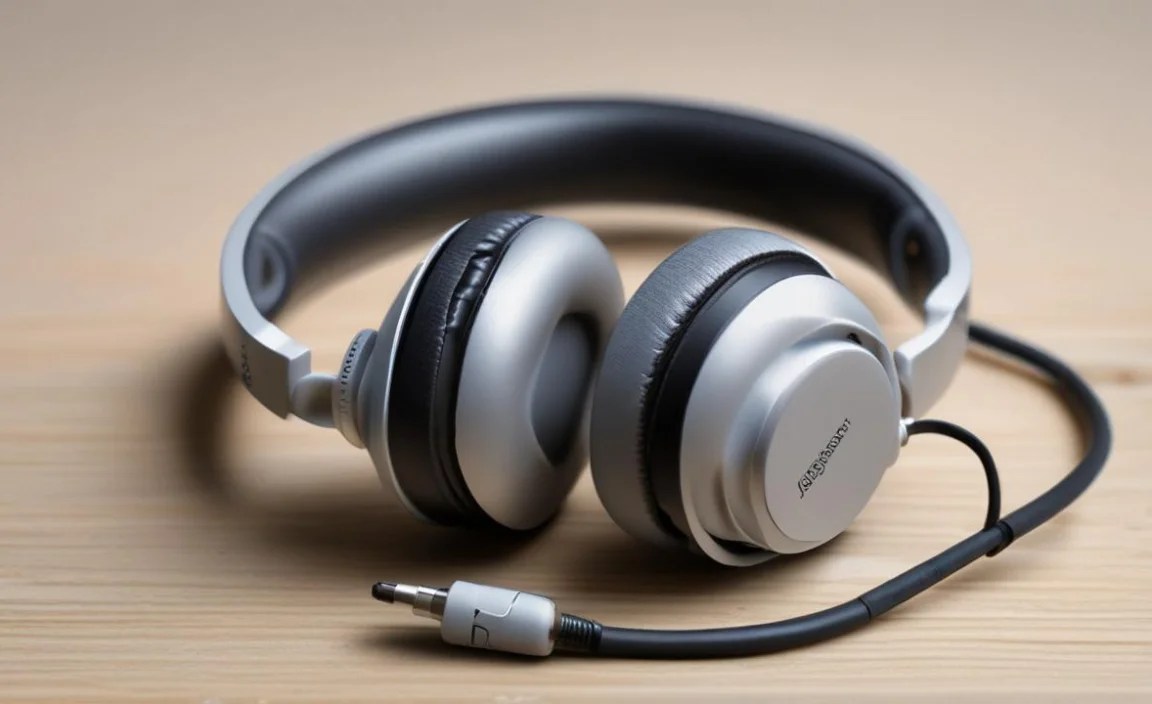
A. If Using a Combined 3.5mm Jack
MacBooks used to have separate ports for headphones and microphones, but newer models often have a single port. These ports can be particular about the type of connector used.
- TRRS Connectors: Most modern smartphone-style earbuds use a TRRS (Tip, Ring, Ring, Sleeve) connector for the 3.5mm plug. This connector allows for both audio output and microphone input. Ensure your headphones have this type of connector if your MacBook has a single audio jack.
- Separated Ports: If you have a headset with two separate plugs (one for headphones, one for the mic), you’ll need a single 3.5mm jack-to-dual-3.5mm-plug adapter. Apple sells these, or you can find them from third-party manufacturers like Belkin.
B. If Using USB or Bluetooth

USB Headsets:
- Try a different USB port on your MacBook.
- Use a powered USB hub if you have many devices connected, as a port might not be supplying enough power.
- Check the cable for any damage.
Bluetooth Headsets:
- Forget and Re-pair: Go to “System Settings” > “Bluetooth.” Find your headset in the list, click the “i” icon (info button), and select “Forget This Device.” Then, re-pair your headset.
- Check Battery: Ensure your Bluetooth headset has sufficient battery life. Low battery can cause performance issues.
- Restart Bluetooth: Turn your MacBook’s Bluetooth off and then back on again.
Step 6: Advanced Solutions – When You Need to Dig Deeper
If you’ve exhausted the simpler steps, it might be time to try a couple of more in-depth troubleshooting methods within macOS.
A. Resetting the System Management Controller (SMC)
The SMC controls various hardware functions, including how audio ports are managed. Resetting it can sometimes resolve persistent hardware glitches.
Note: The procedure for resetting the SMC varies depending on your MacBook model (Intel-based vs. Apple Silicon).
For Intel-based Macs:
- Shut down your Mac.
- On the built-in keyboard, press and hold the Shift (left side) + Control + Option keys, then press and hold the power button simultaneously for 10 seconds.
- Release all keys, then press the power button again to turn on your Mac.
For Apple Silicon Macs (M1, M2, M3 series):
The SMC controller is integrated into the Apple Silicon chip. A simple restart often achieves the same effect.
- Shut down your Mac.
- Wait 30 seconds.
- Press the power button to turn your Mac back on.
For more detailed instructions specific to your Mac model, consult Apple’s official support page: Apple Support: Resetting the SMC.
B. Resetting the NVRAM/PRAM
NVRAM (non-volatile random-access memory) or PRAM (Parameter RAM) stores certain settings like sound volume, display resolution, and startup disk selection. Resetting it can sometimes clear up audio-related configuration issues.
Note: This procedure is primarily for Intel-based Macs. Apple Silicon Macs do not have user-accessible NVRAM resets as the system manages these settings differently.
- Shut down your Mac.
- Turn on your Mac and immediately press and hold these four keys together: Option + Command + P + R.
- Keep holding the keys for about 20 seconds, during which your Mac might appear to restart.
- Release the keys. Your Mac will start up normally.
Again, refer to Apple Support: Reset NVRAM or PRAM for more detailed guidance.
C. Update macOS
Software bugs can cause all sorts of unexpected issues, including audio problems. Keeping your macOS up-to-date is crucial for performance and bug fixes.
- Go to “System Settings” > “General” > “Software Update.”
- If an update is available, click “Update Now” and follow the on-screen instructions.
- This process can take some time, so ensure your MacBook is plugged into power.
Step 7: Checking for Microphone Hardware Issues

If you’ve tried everything else, there’s a small chance the microphone on your headphones or even the audio jack on your MacBook might have a hardware problem.
- Try Your Headphones on Another Device: Plug your headphones into a different computer, phone, or tablet. Does the microphone work there? If not, the headphones are likely the issue.
- Try Different Headphones on Your MacBook: If possible, borrow another set of headphones with a microphone and test them on your MacBook. If they work, it confirms your original headphones have a problem. If neither your headphones nor a known-good pair works, the issue might be with your MacBook’s audio port or internal settings.
Frequently Asked Questions (FAQ)
Why does my headphone mic sound muffled or distorted on my MacBook?
Muffled or distorted audio can happen for several reasons. First, ensure your input volume isn’t set too high in your MacBook’s Sound settings, as this can cause clipping. Also, check for any obstructions or lint in the microphone port on your headphones or your MacBook’s headset jack. Your microphone’s proximity to your mouth can also affect clarity – try to keep it at a consistent distance. Sometimes, a simple restart of your MacBook and the offending application can clear up temporary glitches causing distortion.
