
Quick Summary: Keep your headphones in top shape with a simple daily check. This guide offers easy fixes for common sound issues, connection problems, and physical wear. Learn to troubleshoot like a pro, ensuring your music always sounds its best.
Headphone Troubleshooting Daily Routine: Essential Fixes for Everyday Listeners

Hey there, fellow audio adventurers! Edward Cavitt here from headphonehorizon. We all love diving into our favorite tunes, podcasts, or important calls, and our headphones are our trusty companions on this journey. But what happens when the sound crackles, the connection drops, or one ear cup decides to go silent? It can be super frustrating! Thankfully, you don’t need to be a tech wizard to keep your audio gear running smoothly. By adopting a simple daily troubleshooting routine, you can catch and fix most common headphone hiccups before they even become a real problem. Let’s walk through some essential fixes that will keep your listening experience a joy, day in and day out.
Why a Daily Headphone Check Matters

Think of your headphones like your car. You wouldn’t wait for a strange noise to turn into a breakdown before checking the oil, right? The same principle applies to your audio gear. A quick, consistent check can:
- Prevent Minor Issues from Becoming Major Ones: A loose cable might just be an annoyance today, but if ignored, it could lead to a complete failure.
- Ensure Optimal Sound Quality: Regular checks can help you identify subtle audio degradations early on.
- Extend the Lifespan of Your Headphones: Proper care and early fixes mean your headphones will last longer, saving you money in the long run.
- Maintain a Seamless Listening Experience: No one wants their music to cut out during a crucial moment in a song or a critical part of a call.
Your Daily Headphone Troubleshooting Checklist
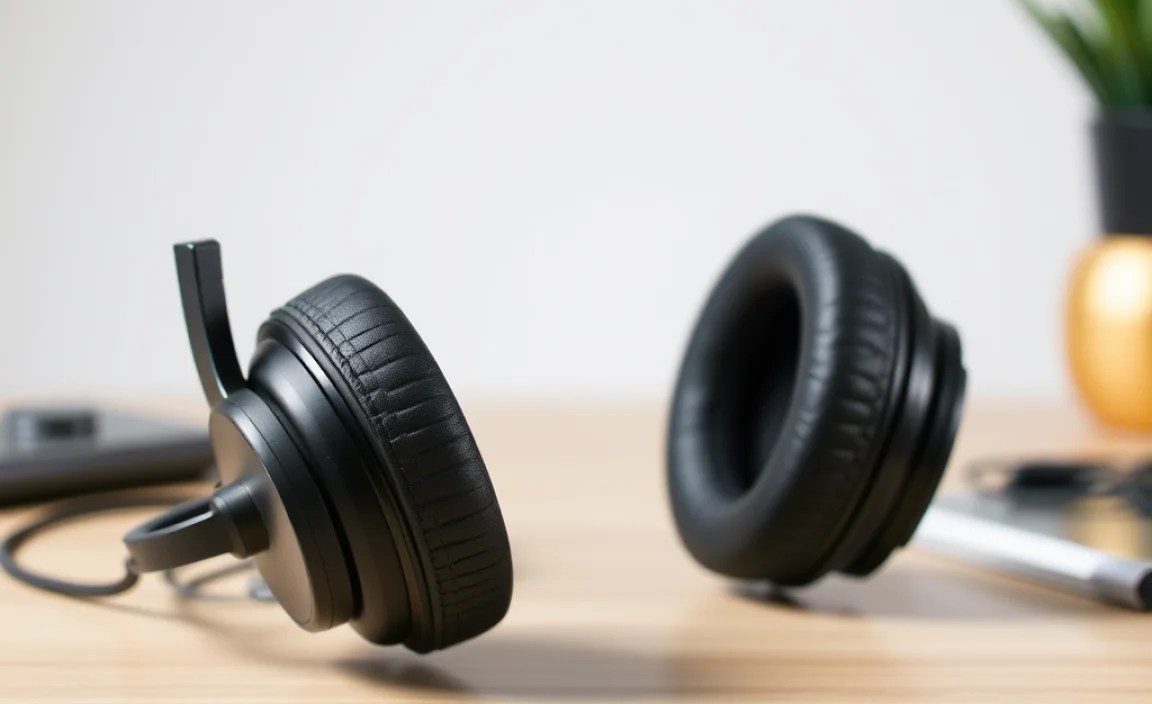
Let’s break down a simple, actionable routine you can incorporate into your day. It doesn’t take much time, but it can save you a lot of headaches!
Step 1: The Visual Inspection (The “Look and Feel”)
Before you even plug them in or power them on, give your headphones a good look. This is your first line of defense against physical damage.
- Check the Cables: Gently bend and flex the entire length of the cable, especially near the connectors and the earcups. Look for any signs of fraying, nicks, kinks, or exposed wires. If you find damage, assess if it’s something you can carefully repair (more on that later) or if it’s time to consider a replacement.
- Inspect the Connectors: Examine both the headphone jack (3.5mm, USB-C, Lightning) and any charging ports. Ensure they are clean and free of debris, lint, or corrosion. A simple dry swab or a gentle puff of air can work wonders.
- Examine Earcups and Headband: Look for any cracks, loose parts, or signs of wear and tear on the earcups and the headband padding. Ensure the cushions are still firmly attached and not excessively flattened or torn.
- Check for Wireless Connectivity Indicators: For Bluetooth headphones, locate the power button and LED indicator. Make sure they are intact and clean.
Step 2: The Connection Test (Wired & Wireless)
Now it’s time to see how they connect to your device. This step is crucial for ensuring a stable audio signal.
Wired Headphones:
- Plug In and Listen Carefully: Connect your headphones to your primary listening device. Play a track with a good dynamic range – something with both deep bass and clear highs, and perhaps some vocals in the middle.
- Wiggle Test (Gentle!): While the music is playing, gently wiggle the headphone jack where it enters your device and where the cable meets the earcups. Listen for any crackling, intermittent sound, or one side cutting out. If you notice issues during this gentle wiggle, it strongly suggests a faulty connection at that point.
- Test on Multiple Devices: If possible, try plugging your headphones into a second device (e.g., a different phone, laptop, or tablet). This helps determine if the problem lies with the headphones themselves or with the audio port of your primary device.
Wireless (Bluetooth) Headphones:
- Power On and Check Indicator Lights: Turn on your Bluetooth headphones. Observe the LED indicator light(s) to confirm they are powered on and, if applicable, in pairing mode or connected. Consult your headphone manual for what different light colors and patterns signify.
- Initiate Pairing (If Needed): If you’re connecting to a new device or experiencing connection issues, go through the pairing process again. This usually involves putting your headphones into discoverable mode and then selecting them from your device’s Bluetooth menu. You can often find instructions on reputable tech sites, like TechRadar’s guide to connecting Bluetooth headphones.
- Check Device Battery Levels: Ensure both your headphones and the device you’re trying to connect to have sufficient battery charge. Low battery can cause erratic Bluetooth behavior and connection drops.
- Restart Both Devices: A simple restart can resolve many temporary glitches. Turn off your headphones, and restart your phone, tablet, or computer. Then, try connecting again.
Step 3: The Audio Quality Check (The “Sound Test”)
This is where you really listen for any anomalies in the sound itself. Consistency is key here.
- Play Familiar Audio: Use a specific song or audio clip that you know very well. This makes it easier to spot even subtle changes in bass response, treble clarity, or overall tonal balance.
- Listen for Distortion or Muffling: Are the highs tinny or harsh? Is the bass muddy or absent? Does the sound feel “flat” or “veiled”? These can be indicators of driver issues or problems with the audio signal.
- Check for Background Noise/Hiss: Even when no audio is playing, with the volume turned up slightly, listen for any persistent hiss or static. Some very faint hiss can be normal, especially with higher sensitivity headphones, but excessive noise is a red flag.
- Test Both Earcups Individually: If you suspect an issue with one side, try to isolate it. For wired headphones, gently manipulate the cable near the y-split (where the cable divides to go to each earcup). For wireless, try turning off ANC (Active Noise Cancellation) or transparency modes to see if the issue persists.
Step 4: Functional Features Check (ANC, Controls, Mic)
For more advanced headphones, don’t forget to test their special features.
- Active Noise Cancellation (ANC): If your headphones have ANC, switch it on in a moderately noisy environment (e.g., near a fan, by an open window). Do you hear a noticeable reduction in ambient sound? Does the ANC introduce any strange whistling or pressure sensation?
- Transparency/Ambient Mode: If applicable, test this feature. You should hear your surroundings clearly, as if you weren’t wearing headphones.
- On-Board Controls: Test all buttons and touch controls: play/pause, volume up/down, skip track, answer/end call, voice assistant activation. Do they respond consistently?
- Microphone Test: Make a short voice recording on your device or initiate a call (even to voicemail). Check if your voice is clear and audible to the other party without excessive background noise. Many smartphones have a built-in voice memo app perfect for this.
Common Headphone Problems and Quick Fixes
Here’s a look at common issues and how to address them during your quick daily checks.
1. No Sound or Intermittent Sound
This is a classic problem, and often one of the easiest to solve.
- Check Volume Levels: Seems obvious, but double-check the volume on both your headphones (if they have physical controls) and your source device. Ensure they aren’t muted or set too low.
- Physical Connections (Wired): Ensure the headphone jack is fully seated in the audio port. Try removing and reinserting it. Check for bent pins on the jack.
- Wireless Pairing (Bluetooth): Confirm your headphones are paired and connected to the correct device. Sometimes, devices try to connect to the wrong audio output. Try “forgetting” the device in your Bluetooth settings and re-pairing.
- Loose Cable/Connector: As identified in the visual inspection, if wiggling the cable or connector causes sound to cut in and out, this indicates a potential internal break. For a temporary fix, you might try holding the cable at a specific angle, but this is not a long-term solution.
- Software Glitch: As mentioned, restarting your source device can often clear up software-related audio output issues.
2. Poor Sound Quality (Muffled, Distorted, Tinny)
When the sound just doesn’t sound right.
- Earphone/Earcup Grilles: For earbuds or on-ear/over-ear headphones, check the small grilles where sound emerges. They can get clogged with earwax, lint, or debris. Use a dry, soft brush (like a toothbrush or a specialized electronics brush) or a toothpick very carefully to dislodge any blockages. Be gentle!
- Equalizer (EQ) Settings: Your device or music app might have EQ settings that are throwing off the sound. Check these settings and try resetting them to flat or a neutral profile.
- Source File Quality: Low-bitrate audio files or compressed streaming quality can sound inherently poor. Try listening to a higher-quality track or source.
- Damaged Drivers: If you’ve tried all other steps and the sound is still distorted or muffled, it’s possible that the headphone drivers (the tiny speakers inside) are damaged. This usually requires professional repair or replacement of the headphones.
3. Bluetooth Connectivity Issues (Dropping Out, Not Connecting)
The bane of wireless audio lovers.
- Distance and Obstructions: Bluetooth has a limited range (typically around 30 feet/10 meters). Keep your source device relatively close, and avoid thick walls or large metal objects between the device and headphones.
- Interference: Other wireless devices (microwaves, other Bluetooth devices, some Wi-Fi signals) can interfere. Try moving away from potential sources of interference.
- Low Battery: As mentioned, low battery on either the headphones or the source device can cause connectivity problems. Keep them charged!
- “Forget” and Re-pair: This is often the most effective fix for stubborn Bluetooth pairings. Go into your device’s Bluetooth settings, find your headphones, and select “Forget Device” or “Unpair.” Then, put your headphones back into pairing mode and search for them on your device again.
- Firmware Updates: Some manufacturers release firmware updates for their headphones that can improve performance and fix connectivity bugs. Check your headphone manufacturer’s website or companion app for updates. For example, Apple provides guidance on updating Beats headphones, which can be illustrative of firmware updates in general for updating Beats firmware.
4. Microphone Not Working
Essential for calls and voice commands.
- Check Permissions: Ensure the app you are using has permission to access your microphone. This is common on smartphones and computers. Go to your device’s privacy settings and check app permissions.
- Is it the Right Input? On a computer, especially, make sure your system is set to use your headphones’ microphone as the default input device, not the laptop’s built-in mic.
- Test Microphone Separately: Use a voice recorder app or make a test call specifically to check the microphone. This isolates the issue to the mic rather than a general audio problem.
- Physical Obstruction: For earbuds with inline mics, ensure the small microphone grille isn’t blocked by clothing or debris.
Troubleshooting Table: Common Issues & Solutions
Here’s a quick reference table to help you diagnose problems faster.
| Problem | Likely Cause | Quick Fixes |
|---|---|---|
| No Sound / Intermittent Sound | Connection issue, Volume, Software glitch | Check volume, Re-seat jack, Re-pair Bluetooth, Restart device, Test cable wiggle |
| Poor Sound Quality (Muffled, Distorted) | Blocked grilles, EQ settings, Low-quality source, Driver damage | Clean grilles, Check EQ, Use high-quality audio, Test on multiple sources |
| Bluetooth Dropping Out | Range, Interference, Low battery, Pairing issues | Stay close, Reduce interference, Charge devices, “Forget” and re-pair, Check for firmware updates |
| Microphone Not Working | Permissions, Wrong input device, Blocked mic, Hardware failure | Check app permissions, Select correct input, Test mic separately, Clear obstructions |
| One Side Not Working | Cable issue, Driver failure, Software/balance settings | Gently wiggle cable, Check audio balance in device settings, Test individual earcup connection |
DIY Maintenance: Small Steps for Big Longevity
Beyond troubleshooting, a little proactive care goes a long way. Make these part of your weekly routine.
- Cleaning:
- Earpads/Ear Tips: For over-ear headphones, gently wipe down the earpads with a slightly damp (not wet!) microfiber cloth. For silicone ear tips on earbuds, remove them and wash them with mild soap and water, ensuring they are completely dry before reattaching.
- Headband: Wipe down the headband with a dry or slightly damp cloth.
- Grilles: As mentioned, use a soft, dry brush or compressed air (from a distance) to keep sound grilles clear.
- Cable Care:
- Avoid Tangling: When not in use, loosely wrap the cables. Avoid wrapping them too tightly or sharply, which stresses the internal wires. Consider a small cable tie or organizer.
- Storage Protection: If your headphones came with a case, use it! It protects the cables and the headphones themselves from being crushed or snagged.
- Proper Storage:
- Avoid Extreme Temperatures: Don’t leave your headphones in a hot car or a freezing environment.
- Keep Them Dry: Store them away from moisture, including humidity.
When to Seek Professional Help or Replace
While this guide covers many fixes, some issues are beyond a quick DIY solution.
- Severely Damaged Cables: If a cable is visibly torn, frayed, or has exposed wires, it’s often safer to replace the headphones than attempt a risky repair that could damage the drivers or pose an electrical hazard. Electrical safety is paramount, and damaged cords are a risk.
- Water Damage: If your headphones have been exposed to significant moisture, they might be permanently compromised.
- Internal Component Failure: Problems with the headphone drivers themselves that don’t resolve after cleaning and troubleshooting often mean the internal components have failed.
- Aging Batteries (Wireless): For wireless headphones, if the battery life has drastically decreased to the point where they no longer hold a charge for a reasonable listening period, the battery may need replacement. Some manufacturers offer this service, others don’t.
In these cases, it’s usually more cost-effective and reliable to invest in a new pair. However, for high-end headphones, checking with the manufacturer about repair services might be worthwhile.
Frequently Asked Questions (FAQ)
Q1: How often should I clean my headphone earcups?
For daily users, a quick wipe-down with a dry cloth after each use is great. A more thorough cleaning with a slightly damp cloth or appropriate cleaner can be done weekly or bi-weekly, depending on how much you use them and where you use them.
Q2: Can I use rubbing alcohol to clean my headphones?
It’s generally best to avoid rubbing alcohol on most headphone materials, especially earpads and plastic casings, as it can dry out and degrade the materials over time. A mildly damp microfiber cloth is usually sufficient. If you need to disinfect, use a cleaner specifically designed for electronics or a very diluted solution of isopropyl alcohol (70%) applied to a cloth, not directly to the headphones, and test in an inconspicuous area first.
