
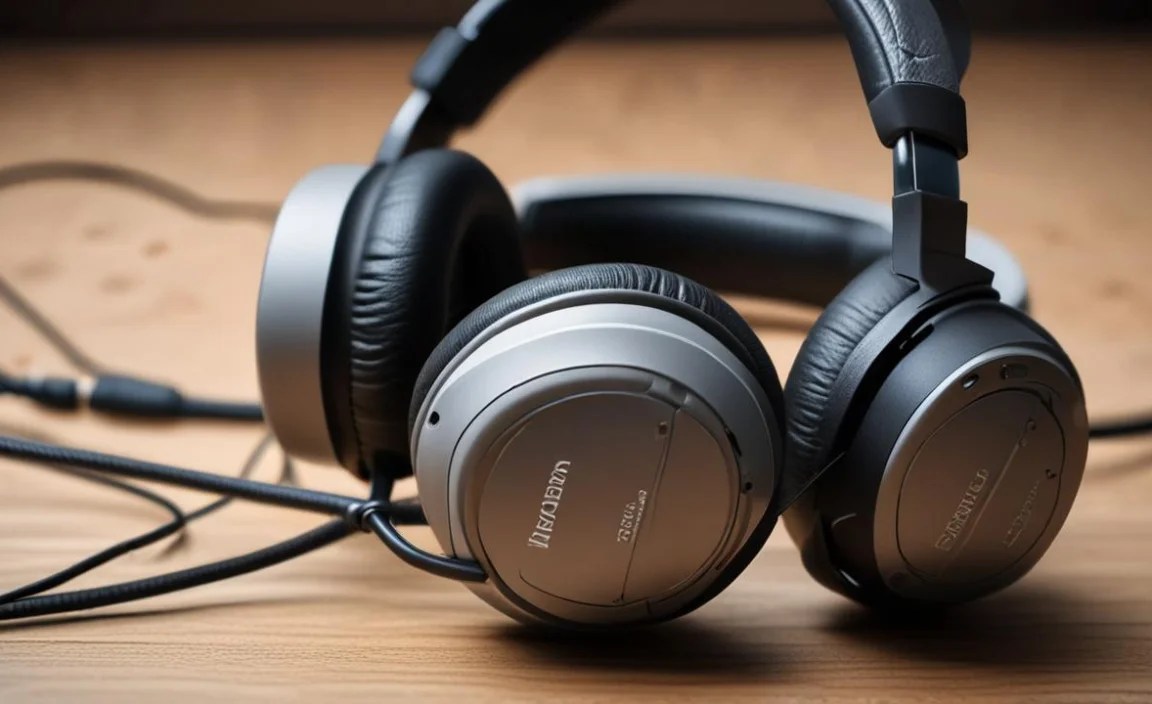
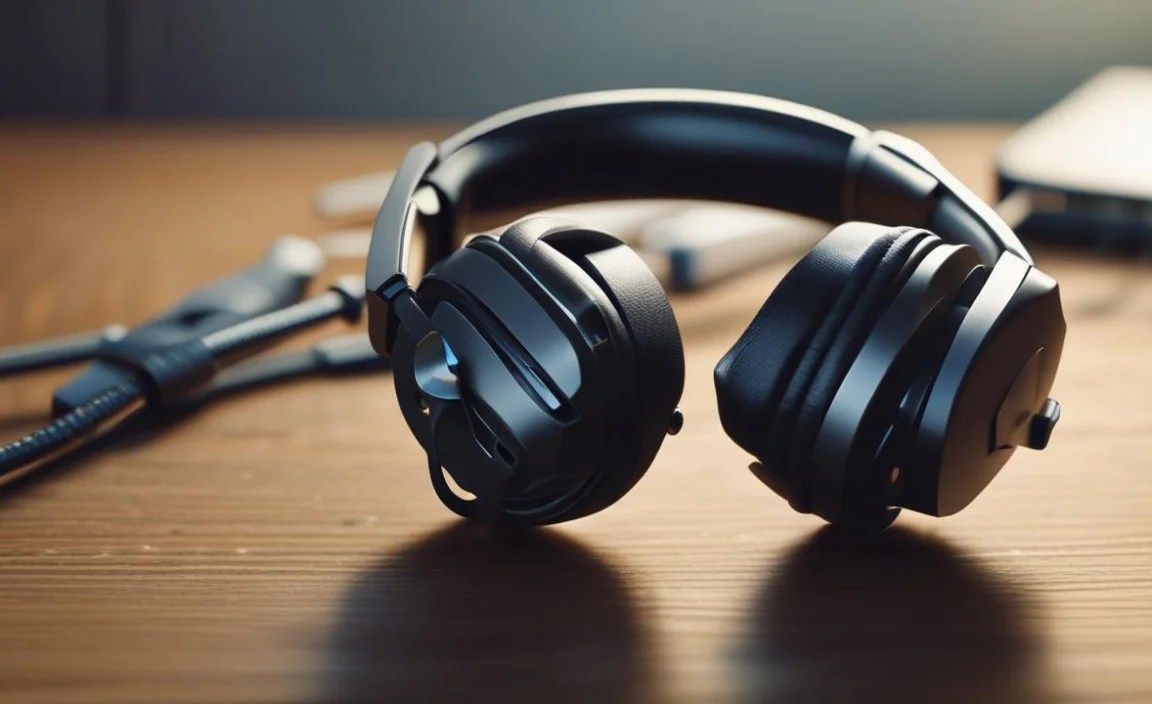
Quick Summary: Experiencing issues with your gaming headphones? This guide offers simple, step-by-step fixes for common problems like no sound, poor mic quality, or connectivity issues. Get your audio back in the game with these easy-to-follow troubleshooting tips.
Hey there, fellow gamers and audio lovers! Edward Cavitt here from Headphone Horizon. We all know how crucial immersive audio is for a top-tier gaming experience. Nothing breaks the spell quite like a glitchy headset. Whether it’s a sudden loss of sound, a crackling mic, or your headset refusing to connect, these issues can be super frustrating mid-match. But don’t worry! You don’t need to be an audio wizard to sort out most common gaming headphone problems. This guide is packed with practical, beginner-friendly solutions to get your trusty headset back in working order, pronto. Let’s dive in and banish those audio woes!
Common Gaming Headphone Problems & How to Fix Them
It’s an all-too-familiar scenario: you’re about to jump into your favorite game, you put on your headset, and… silence. Or maybe your teammates can’t hear you, or there’s an annoying buzzing sound. These hiccups happen, but the good news is that most of them have straightforward fixes. We’ll walk through the most common culprits and their solutions, starting with the simplest checks.
1. No Sound At All: The Silent Treatment

This is probably the most common and frustrating problem. When you’ve got no audio coming through your gaming headphones, it can feel like a total game-ender. Let’s explore the usual suspects:
Initial Checks – The Obvious First Steps
Before we get complicated, let’s cover the basics. These might seem too simple, but they solve a surprising number of issues!
- Check the Volume: Double-check the volume controls on both your headphones and your computer/console. Is it turned all the way down, or accidentally muted? Look for physical volume dials on the headset itself or inline controls on the cable.
- Ensure Proper Connection: Where does your headset plug in?
- Wired USB: Try a different USB port on your device. Sometimes a port can be faulty or not providing enough power.
- Wired 3.5mm Jack: Make sure it’s fully inserted into the correct port. Many PCs have separate ports for headphones and microphones, so ensure you’re using the headphone one. Avoid plugging it into a USB hub initially; try directly into the computer.
- Wireless (Bluetooth/Dongle): Ensure the headset is powered on and fully charged. For dongles, try a different USB port. For Bluetooth, make sure it’s paired correctly with your device.
- Test on Another Device: Connect your headphones to a different computer, phone, or tablet. If they work elsewhere, the problem is likely with your original gaming device’s settings or hardware.
Software & Settings – The Digital Detective Work
If the basic checks haven’t solved it, it’s time to look at your devices’ settings.
- Select the Correct Playback Device: This is crucial! Your computer or console needs to know which audio output to use.
- On Windows: Right-click the speaker icon in your system tray (bottom right corner). Select “Open Sound settings” or “Playback devices.” Make sure your gaming headset is selected as the “Default Device.” If it’s not listed, click “Show Disabled Devices” to see if it’s been accidentally turned off.
- On PlayStation: Go to Settings > Sound > Output Devices. Ensure “Output Device” is set to your headset (it might be listed by its model name).
- On Xbox: Settings > General > Volume & audio output. Under “Headset format,” select your headset as the output. For wired controllers, ensure the headset is plugged in securely to the controller.
- On Nintendo Switch: System Settings > TV Settings > Audio Output. Select your connected headset.
- Update Audio Drivers: Outdated or corrupt audio drivers are a common cause of sound issues. You can typically find these on your motherboard manufacturer’s website or your PC brand’s support page. For gaming headsets with their own USB dongles, often the drivers are installed automatically, but sometimes a manual update is needed.
- To find drivers on Windows: Search for “Device Manager,” expand “Sound, video and game controllers,” right-click your audio device (e.g., Realtek High Definition Audio, or your headset’s name), and select “Update driver.” Choose “Search automatically for drivers.”
- Disable Audio Enhancements: Sometimes, built-in Windows audio enhancements can cause conflicts.
- On Windows: Go back to Sound settings (mentioned in step 1). Click on your headset, then “Properties.” Look for an “Enhancements” or “Advanced” tab. Try disabling all enhancements.
2. Microphone Issues: Can’t Be Heard?
Your teammates need to hear your callouts! If your mic is silent, crackling, or sounds muffled, here’s how to fix it.
Basic Microphone Checks
Let’s start with the physical and fundamental settings.
- Is the Mic Muted? Most gaming headsets have a physical mute button or switch, often on the earcup or inline control. Make sure it’s not accidentally engaged. Some mics can also be flipped up to mute automatically – ensure it’s in the down position.
- Check Mic Placement: Position the microphone boom arm correctly. It should typically be near your mouth, but not directly in front of it, to avoid breath noise.
- Secure Connection: If your mic is detachable, ensure it’s plugged in firmly.
- Test Mic on Another Device: Just like with audio, plug your headset into another device (like a smartphone with a headset adapter if needed) to see if the microphone works there. This isolates whether the issue is with the headset or your PC/console.
Software & Permissions
Microphone problems are often software-related.
- Set as Default Recording Device: Similar to audio output, your system needs to know which mic to use.
- On Windows: Right-click the speaker icon > “Open Sound settings” > Scroll down to “Input.” Ensure your gaming headset’s microphone is selected as the input device.
- Check App Permissions: Many apps, especially communication ones like Discord or Zoom, have their own mic settings and require explicit permission to access your microphone.
- On Windows: Go to Settings > Privacy > Microphone. Ensure “Microphone access for this device” is turned on, and that “Allow apps to access your microphone” is also enabled. Scroll down to “Allow desktop apps to access your microphone” and ensure that is toggled on if you’re using PC games and apps.
- In-Game Settings: Most multiplayer games have a “Voice Chat” or “Audio” menu where you can select your input device and check microphone levels.
- Adjust Microphone Levels: Your mic might be too quiet or too loud.
- On Windows: Go to Sound settings > Input > Click on your microphone > “Device properties.” You’ll find a “Volume” slider here. Adjust it to a suitable level, usually between 70-90%.
- Disable Microphone Enhancements: Just like with audio output, enhancements can sometimes cause interference.
- On Windows: In the microphone’s “Device properties” (see step 5), look for an “Enhancements” or “Advanced” tab and try disabling them.
- Update Microphone Drivers: If your headset has specific drivers, ensure they are up-to-date. This is often done via the same driver update process as audio drivers (see section 1, step 2).
3. Crackling, Popping, or Static Sounds

Intermittent or constant static and crackling can be incredibly distracting and ruin the immersion. Let’s tackle this annoying issue.
Common Causes & Solutions
This problem often stems from interference or poor connection.
- Cable Issues (Wired): Inspect the headphone cable for any kinks, frays, or damage, especially near the connectors and where the cable meets the earcup. A damaged cable is often the culprit. Wiggle the cable gently at different points to see if the sound changes – if it does, the cable is likely the issue.
- Loose Connections: Ensure the 3.5mm jack or USB connector is fully and securely plugged in. For detachable cables, try unplugging and re-plugging them at both the headset and the source.
- Interference (Wireless): Wireless headphones can suffer from signal interference.
- Obstructions: Physical barriers like walls, furniture, or even your own body can weaken the signal. Try to maintain a clearer line of sight between your headset and the transmitter (dongle or Bluetooth device).
- Other Wireless Devices: Microwaves, Wi-Fi routers, other Bluetooth devices, and even some cordless phones can operate on similar frequencies and cause interference. Try moving away from these potential sources.
- Distance: Ensure you’re within the recommended range for your wireless headset.
- Low Battery (Wireless): A dying battery can sometimes lead to audio artifacts like crackling. Make sure your headset is adequately charged.
- Outdated Firmware (Wireless): Some advanced wireless headsets have firmware that can be updated via companion software. Check the manufacturer’s website for any available updates.
- Driver Conflicts: As mentioned before, outdated or incorrect audio drivers can cause sound issues. Reinstalling them can help.
- Software Conflicts: Certain background applications or audio software might be interfering. Try closing unnecessary programs, especially those that might be using audio.
- Audio Source Quality: While less common for gaming, if you’re experiencing this in non-game audio, the source file itself could be problematic.
4. Headset Not Detected or Connecting

Your PC or console simply doesn’t see your headset. This is a frustrating roadblock, especially if you need to jump into a game.
USB Headsets
USB connections are generally plug-and-play but can have their quirks.
- Try Different USB Ports: As mentioned, a faulty port can prevent detection. Try ports on the back of your PC (often more reliable) versus front ports or USB hubs.
- Check for USB Power Issues: Some USB ports, especially on laptops or unpowered hubs, may not supply enough power for certain headsets. Try a powered USB hub or a direct port.
- Remove and Reinsert: Unplug the headset, restart your computer or console, and then plug the headset back in.
- Install Manufacturer Software/Drivers: While many USB headsets work with generic drivers, some require specific software or drivers from the manufacturer for proper recognition and functionality. Check the brand’s support website.
- USB Controller Reset (Windows): Sometimes, your USB controllers can get into a confused state.
- Open Device Manager.
- Expand “Universal Serial Bus controllers.”
- Right-click each “USB Root Hub” and select “Uninstall device.”
- Restart your computer. Windows will automatically reinstall the USB controllers.
3.5mm Jack Headsets
These rely on physical connections and often audio ports.
- Ensure it’s Fully Inserted: Sounds simple, but it must be pushed all the way in.
- Correct Port: Make sure you’re using the designated headphone/audio-out port, not the microphone-in port (unless it’s a combo jack, which should be clearly marked).
- Check PC Sound Card: Ensure your PC’s onboard audio is enabled in the BIOS if it’s a desktop, or check device manager for any errors related to your sound card.
- Test Ports: Try plugging another known-working audio device into the same port to confirm the port itself isn’t the issue.
Wireless (Bluetooth & Dongle) Headsets
Wireless connections have their own set of connection hurdles.
- Re-Pair the Device: For Bluetooth, “forget” the headset in your device’s Bluetooth settings and then re-pair it. For dongle-based headsets, try unpairing and re-pairing through the manufacturer’s software if applicable, or unplugging and replugging the dongle.
- Ensure Dongle is Recognized: If using a USB dongle, check if the dongle itself is detected in Device Manager or your system’s USB devices list.
- Check Transmitter Status: Some wireless systems have lights indicating connection status. Consult your headset’s manual.
- Driver/Firmware Updates: As with other issues, ensure any specific drivers or firmware for your wireless headset are up-to-date.
5. Poor Sound Quality (Muffled, Distorted, or Tinny)

It’s not just about sound working; it’s about sound sounding good!
Causes of Poor Sound Quality

- Equalizer (EQ) Settings: Incorrect EQ settings can dramatically alter sound profiles. Many gaming headsets come with their own software that includes an EQ. Try resetting the EQ to default or experimenting with presets. Even Windows has basic EQ options. A wildly boosted bass can sound muffled, while too much treble can sound tinny or harsh.
- Audio Format/Sample Rate: Sometimes Windows or a game might be set to an inappropriate audio format.
- On Windows: Right-click speaker icon > “Sounds” > “Playback” tab > Select your headset > “Properties” > “Advanced” tab. Under “Default Format,” try different sample rates and bit depths (e.g., 16 bit, 44100 Hz (CD Quality) or 24 bit, 48000 Hz (Often used in media)). Often, the default is best, but sometimes something different works.
- Headset Driver Issues: Corrupt or outdated drivers can lead to distorted sound. Reinstalling them might resolve the issue.
- Physical Damage: If one of the drivers (the speaker element inside the ear cup) is physically damaged, it can cause distortion. This is harder to fix and may require professional repair or replacement.
- Low-Quality Audio Source: While primarily for gaming, if this happens with music or other media, ensure you’re listening to high-quality files or streams, as low-quality sources will always sound poor.
When to Seek Professional Help or Consider Replacement

While most issues can be resolved with the steps above, there are times when a problem might be more serious, or when it might be time for an upgrade.
- Physical Damage: If your cables are obviously frayed or broken, or if the headset has been dropped and is physically cracked, it might be beyond simple repair.
- Persistent Issues: If you’ve tried every troubleshooting step and the problem persists, it could indicate a hardware failure within the headset itself.
- Age of the Headset: Like any electronic device, headphones have a lifespan. If your headset is very old and constantly giving you trouble, it might be more cost-effective to invest in a new one, especially with the advancements in modern gaming audio technology.
- Manufacturer Support: Check if your headset is still under warranty. If so, contact the manufacturer for potential repair or replacement. Many reputable brands offer excellent customer support.
Troubleshooting Checklist Summary
To make things even easier, here’s a quick checklist you can follow when issues arise:
| Problem Area | Initial Checks | Software/Settings | Advanced Steps |
|---|---|---|---|
| No Sound | Volume, Connection, Test on another device | Playback Device, Drivers, Enhancements | Hardware test |
| Mic Issues | Mute button, Placement, Connection, Test Mic Input | Recording Device, App Permissions, Mic Levels, Driver Updates | Software interference check |
| Crackling/Static | Cables, Connections, Wireless Range/Interference | Driver Updates, Software conflicts | Firmware update (wireless), Test different environmental factors |
| Not Detected | USB Port, Connection Secure | Driver Installation, Software checks | USB controller reset, BIOS check (desktop) |
| Poor Sound Quality | Check for physical damage | EQ Settings, Audio Format, Driver updates | Test source material quality |
