
Quick Summary: Is your headphone suddenly silent? Don’t worry! This guide offers simple, DIY fixes for common headphone problems. We’ll walk you through checking connections, cleaning ports, and testing audio settings to get your sound back fast.
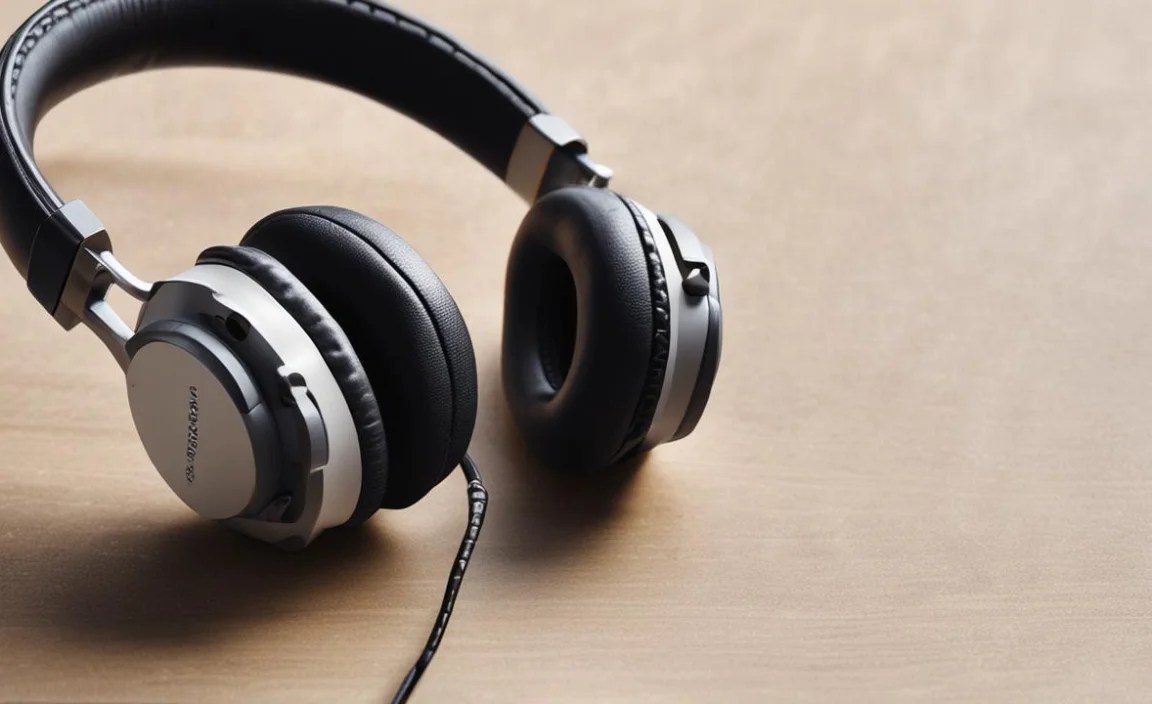
Hey everyone, Edward Cavitt here from Headphone Horizon! If there’s one thing that can truly halt your day, it’s a pair of headphones that decide to go silent on you. Whether you’re in the middle of an important call, jamming to your favorite playlist, or trying to focus on a podcast, a sudden loss of sound is incredibly frustrating. But before you reach for your wallet to buy a new pair, take a deep breath! Many common headphone issues can be surprisingly simple to fix with a little patience and a few basic steps. I’ve put together this guide to help you tackle those pesky problems yourself, saving you time, money, and the hassle of a trip to the store.
Why Aren’t My Headphones Working? Common Culprits

It’s easy to jump to the conclusion that your headphones are broken for good, but most of the time, it’s something much simpler. Think of it like a loose connection in a lamp; sometimes, it just needs a gentle nudge or a bit of cleaning. The most frequent reasons for headphone failure are:
- Connection Issues: This is the big one! A wobbly plug, a port that’s seen better days, or even a Bluetooth pairing glitch can all lead to silence.
- Dirt and Debris: Our audio jacks and headphone ports can accumulate pocket lint, dust, and gunk faster than we realize. This gunk can prevent a good connection.
- Software Glitches: Sometimes, the problem isn’t with the headphones themselves but with your device’s audio settings or a temporary software hiccup.
- Physical Damage: While we aim for DIY fixes, sometimes a wire is genuinely frayed or a component is broken. We’ll cover how to identify these, but these might require professional repair or replacement.
- Volume and Mute Settings: The most obvious, yet often overlooked,! We’ve all done it – a quick check of volume levels can save a lot of trouble.
Your Headphone Not Working DIY Toolkit

You don’t need a full electronics lab to troubleshoot your headphones. Most of these fixes require tools you probably already have around the house.
| Tool | Purpose |
|---|---|
| Cotton Swabs (Q-tips) | Cleaning ports and headphone drivers (gently!). |
| Isopropyl Alcohol (rubbing alcohol, 70% or higher) | Cleaning electrical contacts and ports for better conductivity. |
| Compressed Air Can | Blowing out dust and debris from ports. |
| Soft, Dry Cloth (microfiber is ideal) | Wiping down cables and headphone exteriors. |
| Toothpick or Small Plastic Spudger | Gently dislodging stubborn debris in ports. (Use with extreme caution!) |
| A Different Device | Testing your headphones on another player to isolate the problem. |
| A Different Pair of Headphones | Testing the audio port on your device to see if it works with other headphones. |
Step-by-Step Troubleshooting: Let’s Get Your Sound Back!
We’ll start with the easiest, most common solutions and work our way up. Remember to always be gentle; our goal is to fix, not break further!
Step 1: The Simple Checks – Volume, Mute, and Connections
This might sound basic, but it’s surprising how often this is the culprit. Let’s rule out the obvious first!
- Check Your Volume: Seriously, have you checked the volume slider or button on your device? Also, if your headphones have an inline volume control, make sure it’s not turned all the way down or muted.
- Is it Muted? On your device (computer, phone, tablet), check if the system volume is muted. Sometimes, an application might have its own mute setting.
- Ensure it’s Fully Plugged In: For wired headphones, gently but firmly push the headphone jack all the way into the port. Make sure it’s seated correctly. If it feels loose, this is a strong clue.
- Pause and Play: Sometimes, simply pausing and then resuming your audio can resolve minor playback issues.
- Try a Different Audio Source: Play a different song, video, or podcast. If that works, the issue might be with the original audio file or stream.
Step 2: Inspect and Clean the Headphone Jack and Port
This is where most connection problems originate. Dirt, lint, and grime can act like tiny insulators, preventing a clear audio signal.
For Wired Headphones:
- Inspect the Jack: Look closely at the metal part of your headphone’s plug. Is it dirty, corroded, or obviously damaged?
- Clean the Jack: If it looks dirty, lightly dampen a cotton swab with isopropyl alcohol and gently wipe the metal contacts on the plug. Avoid getting the swab too wet. Let it dry completely.
- Inspect the Port: On your device (phone, laptop, etc.), look inside the headphone port. Can you see any visible lint, dust, or debris? Use a flashlight if needed, but be extremely careful not to push anything further in.
- Clean the Port (Carefully!):
- Compressed Air: The safest method. Give a short burst of compressed air into the port to blow out loose debris.
- Cotton Swab with Alcohol: If compressed air doesn’t work, you can very carefully use a cotton swab lightly moistened with isopropyl alcohol. Gently swab the inside of the port. Do NOT use excessive force or a dry swab, as this can damage the internal pins. Ensure the port is completely dry before plugging in your headphones.
- Toothpick/Spudger (Extreme Caution!): If you see a stubborn piece of lint, you can try to gently pick it out with the tip of a toothpick or a plastic spudger. Again, extreme care is crucial to avoid damaging the delicate internal components.
For more information on cleaning electronic ports safely, you can consult resources like those from the U.S. Consumer Product Safety Commission on delicate electronics care.
Step 3: Test on Another Device
This is a crucial step in determining where the problem lies. Is it the headphones, or is it your device?
- Connect to a Different Player: Take your headphones and plug them into a different phone, tablet, laptop, or any device with a headphone jack.
- Does it Work?
- Yes: If your headphones work perfectly on another device, the problem is almost certainly with the original device you were using them with (its audio jack, software, or settings). My guide to fixing laptop audio issues might be helpful here.
- No: If your headphones still don’t work on a different device, it strongly suggests the problem is with the headphones themselves.
Step 4: Test Your Device’s Audio Port
Now, let’s confirm the audio port on your primary device is functioning correctly.
- Use Different Headphones: If you have another pair of headphones, plug them into the suspect device’s audio port.
- Do They Work?
- Yes: If known-good headphones work with your device, but your original headphones don’t, the issue is definitively with your original pair of headphones.
- No: If no headphones work with your device, then the problem is with the device’s audio port or its internal audio hardware/software. You might need to explore device-specific troubleshooting or consider repair.
Step 5: Wireless Wonders – Bluetooth Headphone Troubleshooting
Wireless headphones, while convenient, introduce a new set of potential issues. Here’s how to tackle non-working Bluetooth headphones:
Step 5a: Checking the Bluetooth Connection
- Is Bluetooth Enabled? On your device, ensure Bluetooth is turned on.
- Are the Headphones Charged? Low battery is a common reason for a device to not connect or function. Charge them fully.
- Are They Paired? Go into your device’s Bluetooth settings. See if your headphones are listed.
- Forget and Re-pair: If they are listed but not connecting, try ‘forgetting’ or ‘unpairing’ the headphones from your device’s Bluetooth list. Then, put your headphones into pairing mode (check your headphone manual for how to do this) and try to connect them as if they were new.
- Close Proximity: Ensure the headphones are close to your device. Bluetooth range can vary, but for pairing, it’s best to be within a few feet.
- Interference: Other wireless devices (microwaves, Wi-Fi routers, other Bluetooth devices) can sometimes cause interference. Try moving to a different location or turning off other devices temporarily.
Step 5b: Resetting Your Bluetooth Headphones
Many Bluetooth headphones have a reset function that can clear out any internal glitches. This process varies by manufacturer, so you’ll need to consult your headphone’s user manual or the manufacturer’s website. Typically, it involves holding down one or more buttons for a specific amount of time. A quick internet search like “[Your Headphone Brand and Model] reset” should provide instructions.
Step 5c: Update Device Software
Sometimes, operating system updates on your phone or computer can improve Bluetooth compatibility. Ensure your device’s software is up to date. For example, check for iOS, Android, or Windows updates.
Step 6: Software and Driver Checks (For Computers)
If you’re using headphones with a computer, software can often be the hidden culprit.
- Check Sound Settings: Right-click on the speaker icon in your system tray (usually bottom right on Windows, top right on macOS). Select “Open Sound settings” or “Playback devices.” Make sure your headphones are selected as the default audio output device. Some computers might show multiple audio outputs, and if the wrong one is selected, you’ll hear nothing.
- Update Audio Drivers (Windows): Outdated or corrupted audio drivers are a frequent cause of sound issues on Windows PCs.
- Press Windows Key + X and select Device Manager.
- Expand the “Sound, video and game controllers” section.
- Right-click on your audio device (e.g., Realtek High Definition Audio) and select “Update driver.”
- Choose “Search automatically for drivers.” If it finds an update, install it and restart your computer. If not, you might need to visit your computer manufacturer’s support website for the latest drivers.
For more detailed steps, Microsoft offers official guides on updating drivers: How to update drivers in Windows.
- Check for Software Conflicts: Occasionally, a recently installed application might interfere with audio playback. If the problem started after installing new software, try uninstalling it temporarily to see if that resolves the issue.
Step 7: Inspect for Physical Damage (The Last Resort for DIY)
If none of the above steps have worked, it’s time for a more critical look at the headphones themselves.
- Cable Condition: For wired headphones, carefully examine the entire length of the cable, paying close attention to the stress points where the cable connects to the earcup, the inline microphone/remote, and the plug. Look for any signs of:
- Fraying
- Cracks
- Kinks
- Visible wires
If you see any significant damage, especially if you can see exposed wires, this is likely why they aren’t working. Repairing a frayed wire can be complex and is often not cost-effective for most consumer headphones.
- Earcup/Housing: Check the plastic or metal housing of the earcups. Are there any cracks or signs of impact? While less common to cause a complete sound failure, significant damage could affect internal components.
- Detachable Cables: If your headphones have a detachable cable, try using a different compatible cable if you have one. This quickly isolates the cable as the fault if sound returns.
When to Seek Professional Help or Consider Replacement:
If you’ve gone through all these steps and still have no sound, or if you’ve identified significant physical damage (like a clearly broken wire or cracked internal component), it’s time to make a decision. For most standard consumer headphones, the cost and complexity of professional repair often outweigh the price of a new pair. However, for high-end or specialized audio gear, a professional repair shop might be a worthwhile option. You can often find local electronics repair shops or specialist audio repair services. Alternatively, it might be time to look for a new set of headphones, keeping in mind the lessons learned from this troubleshooting process to make a more informed purchase next time.
Frequently Asked Questions (FAQ)
Q1: My headphones only produce sound from one ear. What’s wrong?
This is usually a sign of a damaged cable, most commonly near the plug or where the cable enters the earcup. Gently wiggle the cable at these points while listening for sound. If wiggling brings sound back intermittently, the cable is likely the issue. Cleaning might help if it’s a debris issue at the jack, but often, a compromised cable needs replacement or the headphones need repair/replacement.
Q2: I cleaned the port, but my headphones still don’t work. What next?
If cleaning didn’t solve it, the problem is likely elsewhere. Revisit Step 1 (simple checks), Step 3 (testing on another device), Step 4 (testing your device’s port with other headphones), or Step 7 (inspecting for physical damage). If your headphones still fail tests on other devices, the issue is likely with the headphones themselves.
Q3: My Bluetooth headphones connect but no sound comes out.
This often points to a software or configuration issue on your device. Ensure the headphones are selected as the default audio output in your device’s sound settings. Try “forgetting” and re-pairing them to your device. Also, check if any specific app has its own audio output setting that might be routed elsewhere.
Q4: Can I use a paperclip to clean the headphone jack?
While tempting, using a metal object like a paperclip is risky. It can easily scratch internal components or even short out electrical contacts. It’s much safer to use a wooden toothpick (gently!) or a plastic spudger, and the safest method is a puff of compressed air or a lightly alcohol-moistened cotton swab.
Q5: My headphones suddenly stopped working after plugging them into my computer. What’s the most likely cause?
For computers, the most common causes of sudden headphone failure are: 1) An error in the computer’s audio driver. 2) The headphones not being selected as the default playback device. 3) A temporary software glitch in the operating system. Try updating your audio drivers and checking your sound settings first.
Q6: Is it safe to spray liquid directly into the headphone port?
No, absolutely not. Never spray any liquid directly into any port on an electronic device. If using isopropyl alcohol, apply a very small amount to a cotton swab and then gently clean the port. Ensure the port is completely dry before use.
Conclusion
Experiencing a headphone malfunction can feel like a serious setback, but as you’ve seen, many issues are within your power to fix. By diligently working through these DIY steps—from the simple volume checks and careful cleaning to testing on different devices and investigating software settings—you can often revive your favorite audio companions. Remember, patience and gentleness are key. Many problems stem from simple connectivity issues or a bit of dust. If, after all this, your headphones still remain silent or show signs of damage, it’s a clear signal that they might need professional attention or it might be time to invest in a new pair. But hopefully, you’ve successfully brought your sound back to life, giving you more hours of enjoyable listening and the confidence of knowing you can troubleshoot common tech hiccups yourself. Happy listening!
