
Quick Summary: Choosing the right headphones for recording music is crucial for clear sound monitoring and preventing feedback. Focus on closed-back designs for isolation, accurate sound reproduction, and comfort for long sessions. This guide breaks down essential features and helps you find the perfect pair to elevate your home studio experience.
Headphones For Recording Music: Your Essential Beginner’s Guide

Hey there, budding music makers! Edward Cavitt here from headphonehorizon, your friendly guide to all things audio. So, you’ve got a passion for creating music, and you’re setting up your own recording space? That’s fantastic! One of the most important pieces of gear you’ll need, right alongside your microphone and audio interface, is a good pair of headphones. But when you start looking, you’ll see so many options. Don’t worry, it can seem a little daunting, but understanding what makes a headphone “good” for recording is simpler than you might think. We’re going to walk through everything you need to know to pick out a pair that will help you capture the best possible sound without any headaches.
Why Are Special Headphones Needed for Recording?
When you’re recording, your headphones aren’t just for listening back; they’re your primary monitoring tool. This means they need to do a few key things really well. Unlike regular consumer headphones designed for enjoyable listening, recording headphones prioritize accuracy and isolation. They help you hear exactly what the microphone is picking up, including any unwanted noise or imperfections. Crucially, they prevent the sound from your headphones from bleeding into the microphone, which is a common problem that can ruin a take. Think of them as your critical listening partners.
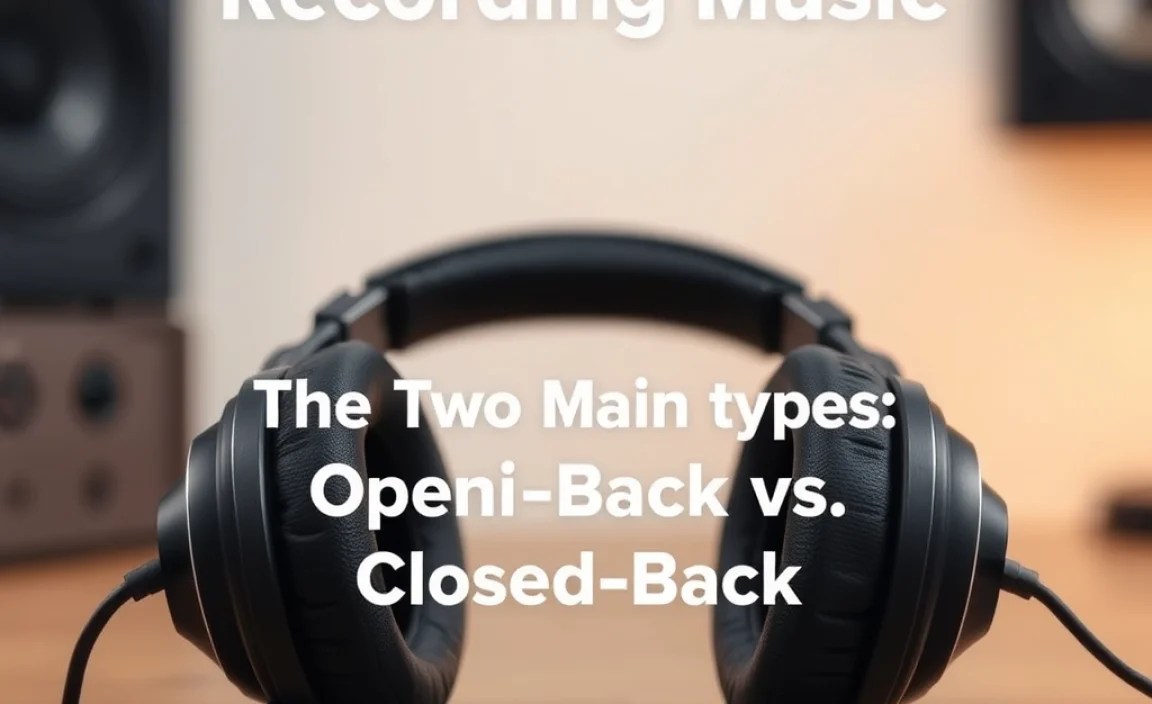
The Two Main Types: Open-Back vs. Closed-Back

This is probably the biggest decision you’ll make when choosing recording headphones. Each type has its strengths and weaknesses, especially in a studio setting.
Closed-Back Headphones
These are the go-to for most recording situations. As the name suggests, closed-back headphones have earcups that are sealed off from the outside. This design is fantastic for isolation.
- How they work: The sealed cups create a barrier, keeping sound from escaping outwards and preventing external noises from getting in.
- Pros for Recording:
- Excellent sound isolation: Prevents headphone bleed into the microphone, which is critical during vocal or instrument recording.
- Good for tracking: Ideal when you need to hear a clean monitor mix without the sound leaking and being captured by the mic.
- Can be good for noisy environments: Even if your recording space isn’t perfectly quiet, they offer a decent buffer.
- Cons for Recording:
- Can sometimes sound less “airy” or natural: The sealed design can create a more confined soundstage compared to open-back.
- Potential for listening fatigue: Some people find the pressure from the seal can be tiring over very long sessions.
- When to choose them: Definitely for recording vocals, acoustic instruments, electric guitars, and anywhere microphone bleed is a concern. Most home studios will lean heavily on closed-back headphones.
Open-Back Headphones
Open-back headphones have perforated or grated earcups, allowing air and sound to pass through.
- How they work: Sound can easily escape the earcups, and outside noise can enter.
- Pros for Recording:
- Natural, spacious soundstage: They offer a more open and realistic listening experience, often preferred for mixing and critical listening.
- Less listening fatigue: The breathability can make them more comfortable for extended periods.
- Great for mixing and mastering: The open sound allows for a more accurate perception of stereo imaging and space.
- Cons for Recording:
- Significant sound leakage: Not suitable for recording any sources that a microphone will pick up.
- Poor isolation: External sounds can easily distract you.
- When to choose them: Primarily for mixing, mastering, and critical listening once your tracks are recorded. They are generally not recommended for the actual tracking/recording phase unless you’re in a completely isolated environment and not using microphones that would pick up bleed.
My Recommendation for Beginners: Start with a solid pair of closed-back headphones. They are the most versatile for the initial stages of recording and will prevent common technical issues like microphone bleed.
Key Features to Look For in Recording Headphones

Beyond the open vs. closed-back distinction, here are the features that make a real difference when you’re trying to capture great audio.
1. Accurate Frequency Response
This refers to how evenly the headphones reproduce all audible frequencies (bass, mids, treble). For recording, you want headphones with a “flat” or “neutral” frequency response. This means they don’t artificially boost or cut certain frequencies. Why is this important?
- Flat response means truth: You hear the sound as it truly is, allowing you to make informed decisions about EQ and mixing.
- Avoids coloration: Consumer headphones often have boosted bass or treble to make music sound more exciting. This can be misleading when recording, as you might make mixing decisions that don’t translate well when played back on other systems.
You’ll often see graphs showing frequency response. Look for a line that stays as close to the middle (0 dB) as possible across the spectrum (typically 20Hz to 20kHz). Resources like Audioholics explains frequency response in more detail.
2. Comfort and Fit
You might be wearing these headphones for hours during a recording session. If they’re uncomfortable, it’s not just a distraction; it can affect your performance and focus. Look for:
- Padded earpads: Soft materials like velour or high-quality pleather are usually more comfortable than hard plastic.
- Adjustable headband: A good fit ensures they stay put without clamping too hard.
- Weight: Lighter headphones are generally more comfortable for long wear.
3. Durability and Build Quality
Recording studios, even home ones, can be active places. You’ll be plugging and unplugging cables, adjusting headphones, and maybe even moving around. Headphones built to last will save you money and frustration in the long run.
- Sturdy materials: Metal components in the headband or hinges are a good sign.
- Replaceable parts: Ear pads and cables that can be easily swapped out mean your headphones can last for years, even if a part wears out.
4. Impedance (Ohms)
This is a bit more technical, but important. Impedance measures how much electrical resistance the headphones have. It’s measured in Ohms (Ω).
- Low Impedance (under 50 Ohms): These are easier to drive, meaning they don’t need a lot of power from your audio source. They’ll work well plugged directly into your computer’s headphone jack or a basic audio interface.
- High Impedance (over 50 Ohms, often 250-600 Ohms): These require more power to reach adequate volume levels. They sound best when connected to a dedicated headphone amplifier.
For most beginners using a standard audio interface or computer, headphones with lower impedance (around 30-80 Ohms) are generally a safe and practical choice. If you’re unsure, check your audio interface’s specifications for its headphone output power.
5. Detachable Cable
A detachable cable is a lifesaver! If the original cable gets damaged, kinked, or breaks, you can simply unplug it and replace it with a new one. This is far more economical and convenient than having to buy a whole new pair of headphones.
How to Choose Your First Pair: A Step-by-Step Approach
Ready to find your perfect recording headphones? Follow these steps:
- Define Your Budget: Headphones can range from under $50 to over $500. For beginners, aiming for a solid pair in the $75-$150 range will likely give you excellent value and performance.
- Prioritize Closed-Back: Unless you have very specific mixing needs and a separate pair for tracking, go for closed-back headphones. Their isolation is invaluable for recording.
- Look for Neutrality: Read reviews specifically mentioning “flat frequency response,” “neutral sound,” or “accurate.” Avoid headphones marketed as “bass-boosted” or “enhanced for gaming/movies.”
- Consider Comfort: If possible, try them on! If not, read reviews focusing on long-term comfort and earcup material.
- Check Impedance: For most interfaces, aim for under 80 Ohms. If you plan on investing in a separate headphone amp later, higher impedance can be considered.
- Read Reviews from Trusted Sources: Look at reviews from audio equipment websites, music production blogs, and forums. Pay attention to what users say about their experience in recording scenarios.
Popular & Recommended Headphones for Recording (Beginner-Friendly)
While specific models can change and new ones emerge, certain headphones have earned a reputation for being reliable workhorses in home studios. Here are a few examples often cited for their value and performance in the beginner to intermediate range. (Prices are approximate and can vary.)
| Headphone Model | Type | Approximate Price | Key Strengths for Recording |
|---|---|---|---|
| Audio-Technica ATH-M40x | Closed-Back | $100 – $150 | Excellent neutrality, solid build, good isolation. Popular choice for studios. |
| Sennheiser HD 280 Pro | Closed-Back | $100 – $130 | Very good isolation, comfortable, durable, and a neutral sound profile. A workhorse. |
| Sony MDR-7506 | Closed-Back | $80 – $100 | A legendary studio standard for decades. Bright, revealing sound, though some find it a bit “crunchy” in the highs. Very durable. |
| AKG K240 Studio | Semi-Open | $70 – $90 | Technically semi-open, offering a blend of isolation and airiness. Great for monitoring and mixing. Often recommended as an intro to more open-sounding headphones. |
Note: The AKG K240 Studio is a unique option. It’s often described as “semi-open” because it offers some level of sound leakage and external ambient sound entry, but less than fully open-back cans. This can strike a nice balance for some users who want a slightly more open feel than typical closed-backs without the massive bleed of true open-backs, making them usable for some tracking but especially good for mixing.
Understanding Your Audio Interface’s Headphone Output
Your audio interface is the bridge between your microphones, instruments, and computer. The headphone output on your interface is designed to drive headphones for monitoring. Most beginner-level interfaces have a headphone jack (usually 1/4-inch) capable of powering low-to-medium impedance headphones (typically up to 80 Ohms) adequately.
Check your manual: Always consult your audio interface’s manual or specifications page online. It will tell you about the headphone output’s power and recommended impedance ranges. For example, a common interface might be rated to output sufficient power for headphones up to 250 Ohms, but for most users, headphones in the 30-80 Ohm range will provide ample volume and clarity.
Connecting Your Headphones to Your Recording Setup
Connecting your headphones is usually straightforward, but it’s good to know the common connectors:
- 1/4-inch (6.35mm) Jack: This is the most common connector on studio headphones and audio interfaces. It’s larger and more robust than the standard headphone jack on portable devices.
- 1/8-inch (3.5mm) Jack: This is the standard mini-jack found on most smartphones, laptops, and portable music players.
- Adapters: Many studio headphones come with a screw-on adapter that converts the 1/4-inch plug to a 1/8-inch plug. This is extremely useful if you ever need to connect your studio headphones to a portable device. Conversely, you can buy 1/8-inch to 1/4-inch adapters if needed.
The Connection Process:
- Locate the headphone output jack on your audio interface.
- Ensure your headphones have the correct plug for the jack (or use an adapter if necessary).
- Plug your headphones firmly into the jack.
- Start with the volume knob on your audio interface turned all the way down.
- Slowly increase the volume to a comfortable monitoring level.
Common Mistakes to Avoid When Using Headphones for Recording
Even with the right gear, a few common pitfalls can trip up beginners.
- Using Consumer/Lifestyle Headphones: Headphones designed for casual listening, with boosted bass or treble, will mislead you. They can make your recordings sound great in your headphones but terrible on other systems.
- Not Monitoring at Safe Levels: Prolonged exposure to loud headphone volumes can cause hearing damage and listener fatigue, both of which negatively impact your recording quality and creativity.
- Forgetting About Cable Management: Loose cables can be tripped over, pulled out, or damage your headphones or interface. Keep them tidy!
- Not Checking for Mic Bleed: If you’re hearing your headphone mix through your microphone, you’re getting bleed. Resist the urge to crank the headphone volume; instead, use closed-back headphones or find a better balance.
- Ignoring Comfort: If your headphones hurt your ears or head after 30 minutes, you’ll be distracted. Prioritize a comfortable fit.
When Might You Need a Headphone Amplifier?
While most audio interfaces provide enough power for beginner headphones, you might consider a dedicated headphone amplifier as you grow. Here’s why:
- For High-Impedance Headphones: If you decide to invest in higher-impedance headphones (like 250 Ohms or more), they often require more power than an interface can provide to reach their full sonic potential and adequate volume.
- For Multiple Listeners: If you need to provide monitor mixes for multiple people simultaneously, a headphone amp with multiple outputs can do this cleanly, often with individual volume controls.
- Cleaner, More Powerful Output: A good headphone amp can offer a cleaner signal and more headroom, ensuring your audio signal remains robust.
For now, focus on getting a great pair of headphones that your current interface can handle. You can always explore amplifiers down the line!
Frequently Asked Questions (FAQ)
Q1: Can I use my regular earbuds for recording music?
While you can* hear through them, it’s generally not recommended for serious recording. Earbuds often have a colored sound profile (not neutral), and their isolation can vary. For acoustic instruments and vocals, the risk of them not being loud enough or even slipping out is also a concern. Dedicated closed-back studio headphones offer much better isolation, accuracy, and a more reliable fit for recording.
Q2: How loud should I set my headphone volume when recording?
You should aim for a moderate listening level where you can clearly hear all the details of your performance and the backing track without straining your ears. Avoid turning the volume up too high, as this can lead to hearing damage, ear fatigue, diminished accuracy, and increased risk of headphone bleed into your microphone.
Q3: What is “headphone bleed,” and why should I avoid it?
Headphone bleed occurs when the sound from your headphones leaks out of the earcups and is picked up by your microphone. This can result in echoey sounds, or a “washed-out” quality, in your recordings, especially with vocals and acoustic instruments. It’s best avoided by using closed-back headphones and monitoring at reasonable volumes.
Q4: Do I need different headphones for mixing than for recording?
While you can get by with one good pair of closed-back headphones, many engineers prefer to use open-back or semi-open headphones for mixing. This is because they tend to offer a more natural, spacious soundstage that better replicates how music sounds in a room, aiding in making precise mixing decisions related to stereo image and depth. For beginners, a good pair of neutral closed-back headphones can serve both purposes reasonably well.
