
Quick Summary: Extend your headphone’s life with a simple alcohol wipe. This guide provides an easy, step-by-step method for cleaning earcups, headbands, and cables with isopropyl alcohol wipes. Learn how this quick fix removes grime, improves hygiene, and prevents long-term damage, keeping your audio gear sounding great for longer.
Increase Headphone Lifespan: The Proven Wipe Fix
Hey there, audio adventurers! Edward Cavitt here from Headphone Horizon, your go-to spot for all things sound. We all love our headphones – they’re our trusty companions for music, podcasts, calls, and everything in between. But let’s be honest, over time, they can start to look and feel a little… well, unloved. Grime, sweat, earwax—it all builds up. While you might think replacing them is the only option when they start showing wear, there’s a surprisingly simple and incredibly effective trick to boost their longevity and keep them performing their best: the humble wipe. Specifically, a gentle clean with isopropyl alcohol wipes can work wonders. This isn’t just about making them look good again; it’s about a proactive maintenance step that truly helps increase headphone lifespan. Ready to give your favorite cans a new lease on life without breaking the bank? Let’s dive in!
Why a Simple Wipe Can Make a Big Difference
It might sound too good to be true, but a regular cleaning routine using alcohol wipes can significantly contribute to the lifespan of your headphones. Think about it: where do headphones spend their time? They’re often tucked away in bags, exposed to the elements, in constant contact with our skin, and sometimes even near food and drinks. This environment is a breeding ground for dirt, oils, bacteria, and even minor corrosion on metal components. Over time, this buildup can:
- Degrade materials like faux leather or foam, leading to cracking or flaking.
- Clog tiny openings or ports, affecting sound quality.
- Cause unpleasant odors.
- Lead to sticky buttons or controls.
- Potentially cause battery issues in wireless models due to corrosion around charging contacts.
By incorporating a simple wipe-down into your routine, you’re actively preventing these issues before they gain a foothold. It’s a preventative measure that’s both economical and environmentally friendly, as it reduces the need for premature replacements. For instance, the Centers for Disease Control and Prevention (CDC) highlights that regular surface cleaning can reduce the presence of microorganisms, an important consideration for items worn close to the body. While their focus is often public health, the principle of reducing grime and potential contaminants directly applies to extending the life and maintaining the hygiene of your personal audio devices.
The Magic Ingredient: Isopropyl Alcohol Wipes

When we talk about “wipes,” the star of the show for headphone maintenance is the isopropyl alcohol wipe, often found in concentrations of 70% or 99%. Why these? They offer a powerful yet safe way to clean most headphone materials.
- Disinfection: Isopropyl alcohol is a known disinfectant, effectively killing bacteria and viruses that can accumulate on your headphones from sweat and skin contact.
- Evaporation: It evaporates quickly, minimizing moisture buildup that could damage electronic components.
- Residue-Free: High-purity isopropyl alcohol typically leaves little to no residue, preventing sticky surfaces or buildup.
- Material Compatibility: It’s generally safe for plastics, rubber, metal, and many synthetic leathers used in headphone construction.
It’s important to use wipes specifically designed for cleaning electronics or surfaces, or if using individual wipes, ensure they are soaked in a suitable percentage of isopropyl alcohol. Avoid harsh chemical cleaners or abrasive materials that can scratch or damage the headphone’s finish.
What You’ll Need: Simple Supplies for a Big Impact

The beauty of this method is its simplicity. You likely have most of these items around your home already!
- Isopropyl Alcohol Wipes: Choose 70% or 99% concentration. Pre-moistened wipes are convenient.
- Microfiber Cloths (Optional but Recommended): A clean, dry microfiber cloth is excellent for gentle drying and buffing after cleaning.
- Cotton Swabs (Optional): For reaching tight nooks and crannies.
- Gloves (Optional): If you have sensitive skin or want to avoid transferring oils.
Step-by-Step: Revitalize Your Headphones
Ready to get started? Follow these simple steps to clean your headphones like a pro and increase headphone lifespan. It’s a straightforward process that requires minimal time but yields significant results.
Step 1: Power Down and Disconnect
Before you do anything, ensure your headphones are completely powered off. If they are wired headphones, disconnect them from your audio source. For wireless headphones, make sure Bluetooth is off and they are not connected to any devices.
Step 2: Gently Wipe Down Earcups and Headband
Take an isopropyl alcohol wipe and gently wipe the exterior surfaces of your earcups and the headband. Most headphones use synthetic leather, foam, or plastic for these parts. The alcohol will effectively lift away oils, sweat, and grime.
- For synthetic leather: Wipe in smooth, even strokes. Avoid scrubbing aggressively, which can wear down the material.
- For fabric or mesh: Ensure the wipe is not overly saturated to prevent soaking the padding. A light wipe is usually sufficient.
- For plastic or painted surfaces: You can generally wipe these down more thoroughly, but still, avoid abrasive scrubbing.
Important Note: Be cautious around any speaker grilles or vents. You don’t want moisture to seep into the audio drivers.
Step 3: Clean the Ear Pads
This is a crucial area as ear pads come into direct contact with your skin.
For removable ear pads, you may be able to gently detach them according to your headphone’s manual. If so, you can clean them more thoroughly.
If they are not removable, use the alcohol wipe very sparingly. Press out excess moisture from the wipe before using it on the pads.
Wipe the surface of the pads in a gentle motion. The alcohol helps break down oils and sweat.
Allow the ear pads to air dry completely before reattaching or using the headphones. This usually takes just a few minutes given how quickly alcohol evaporates.
Step 4: Tackle the Cables (Wired Headphones)
Wired headphones can get particularly grimy on their cables, especially if they’re coiled up in a bag.
Use a fresh alcohol wipe to gently clean the entire length of the cable.
Pay attention to any in-line microphones or volume controls, wiping them gently.
Avoid pulling or stressing the cable while cleaning.
Ensure the cable connectors (3.5mm jack, USB-C, etc.) remain as dry as possible. You can use a dry part of the wipe or a dry microfiber cloth to gently dab any moisture from the connectors.
Step 5: Don’t Forget the Smaller Bits
There are often small details on headphones that collect dirt:
- Buttons and Controls: Use a corner of the wipe or a cotton swab slightly dampened with alcohol to carefully clean around buttons and sliders.
- Hinge Points: Gently wipe any exposed metal or plastic hinge points.
- Charging Ports (Wireless Headphones): This is critical for battery health. Use a dry cotton swab or a very lightly dampened one to clean around the charging port. Ensure no lint gets stuck inside.
- Microphone Grilles: If your headphones have external microphones, use a dry cotton swab or a very lightly wiped area to avoid damaging the mic.
Step 6: Dry and Buff
Once you’ve finished wiping down all surfaces, take a clean, dry microfiber cloth.
Gently buff the surfaces to remove any remaining moisture and restore shine.
This step is especially useful for glossy plastic parts or metal accents.
Step 7: Air Out and Reconnect
Allow your headphones to air dry for at least 5-10 minutes before powering them back on or reconnecting them to any device. This ensures all components are completely dry, especially crucial for any areas near ports or audio drivers.
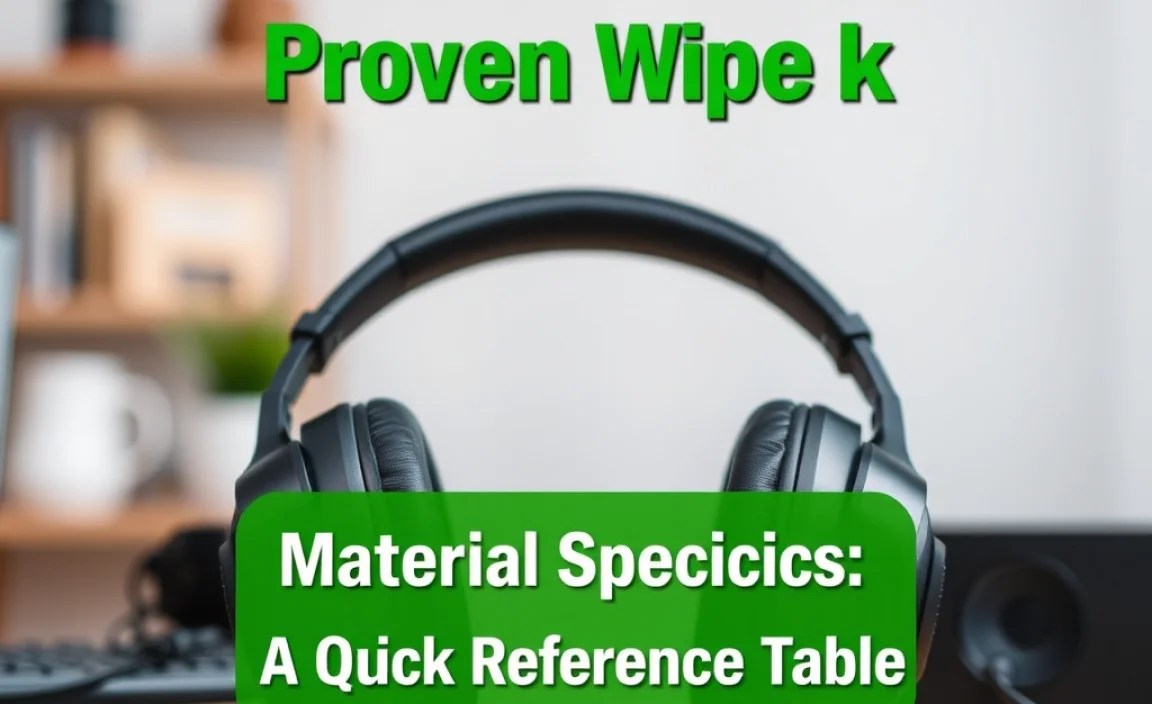
Material Specifics: A Quick Reference Table
While isopropyl alcohol is generally safe, understanding the materials of your headphones can help you clean them even more effectively. Here’s a quick rundown:
| Headphone Material | Recommended Cleaning Method with Alcohol Wipes | Things to Watch Out For |
|---|---|---|
| Synthetic Leather (PU Leather) | Gentle wiping. Wipe away oils and sweat. Evaporates quickly, preventing cracking or peeling in the long run. | Aggressive scrubbing can wear down the finish. Avoid over-saturation which can seep into padding. |
| Genuine Leather | Use caution. Alcohol can dry out genuine leather. It’s better to use specific leather cleaners. If using alcohol wipes, do so very sparingly and follow up with a leather conditioner. | Drying out the leather, leading to cracks. Discoloration. |
| Foam (e.g., on speaker grills or ear pads) | Light, surface-level wipe. Ensure the wipe is not dripping wet, as excess moisture can get into the drivers. | Soaking the foam can lead to long-term damage or affect sound. |
| Hard Plastic (e.g., earcups, headband) | Can be wiped down thoroughly. Alcohol removes grime without leaving significant residue. | Certain plastics might be sensitive to prolonged chemical exposure, but isopropyl alcohol at standard percentages is typically safe. |
| Metal (e.g., headband arms, accents) | Wipe clean to remove fingerprints and oils. Excellent for restoring shine. | Avoid abrasive cloths that can scratch. Prolonged moisture is never good for metal; ensure it’s dried. |
| Fabric/Mesh (e.g., on ear pads, headbands) | Light wipe. Avoid saturating the fabric, which could lead to watermarks or affect the padding underneath. | Dye transfer from the wipe (rare but possible with colored wipes) or excessive moisture. |
Frequency of Cleaning: How Often Should You Wipe?
This is a question that depends on usage, but as a general rule, aim for consistency to best increase headphone lifespan.
- Light Users (occasional listening): Once a month for a thorough wipe-down, with spot-cleaning as needed.
- Moderate Users (daily listening, commuting, gym): Every 1-2 weeks for earcups and headbands. Clean cables more often if they’re frequently handled.
- Heavy Users (gym, travel, work daily): Weekly for a full clean. This helps prevent sweat and grime from permanently damaging materials or affecting components.
Think of it like washing your hands. You do it regularly because it’s good for your health. A regular headphone “hand wash” is good for their health and longevity!
Beyond Wipes: Other Care Tips to Maximize Lifespan
While alcohol wipes are a fantastic for cleaning, here are a few other habits that will further help your headphones stand the test of time:
- Proper Storage: When not in use, store your headphones in a protective case or their original box. This shields them from dust, physical damage, and accidental drops.
- Avoid Extreme Temperatures: Don’t leave your headphones in a hot car or a freezing environment. Extreme heat can warp plastic and damage batteries, while extreme cold can make materials brittle.
- Careful with Cables: Never yank headphones out of a device by the cable. Always grip the connector. Avoid coiling cables too tightly or for extended periods, as this can cause internal wire stress.
- Keep Them Dry: Protect your headphones from rain, spills, and excessive sweat. If they do get wet, (while still powered off and disconnected!) gently pat them dry with a soft cloth and let them air dry thoroughly before use.
- Regularly Check for Wear: Periodically inspect your headphones for signs of wear, such as frayed cables, cracking ear pads, or loose parts. Addressing minor issues early can prevent them from becoming major problems. You can often find replacement parts like ear pads for popular models online, allowing for easy DIY repairs.
Frequently Asked Questions (FAQ)
Got more questions? We’ve got answers!
Q1: Can I use hand sanitizer wipes instead of alcohol wipes?
A: It’s generally not recommended. Hand sanitizer often contains moisturizing agents, fragrances, and other chemicals that can leave a sticky residue or potentially damage headphone materials over time. Stick to pure isopropyl alcohol wipes for best results.
Q2: Will alcohol damage the headphone’s finish or materials?
A: For most common headphone materials like plastics, synthetic leather, and metal, 70-99% isopropyl alcohol is safe when used as directed and allowed to evaporate quickly. However, as noted, always exercise caution with genuine leather, delicate fabrics, and porous foams. It’s always a good idea to test on an inconspicuous area first if you’re unsure.
Q3: How do I clean earwax from earbuds or in-ear monitors (IEMs)?
A: For earbuds and IEMs with mesh grilles, a dry cotton swab or a soft-bristled brush (like a clean toothbrush) can help dislodge dry earwax. For stubborn buildup, a very lightly dampened cotton swab with isopropyl alcohol can be used, but it’s crucial to ensure no liquid enters the drivers. You can also find specialized earwax cleaning tools for IEMs. Refer to the manufacturer’s guide if available.
Q4: My headphones have a strong smell. Can alcohol wipes fix this?
A: Yes, alcohol wipes can help neutralize odors caused by bacteria and sweat buildup. A thorough cleaning of the earcups, headband, and ear pads, as described in the steps above, should significantly reduce or eliminate unpleasant smells. Ensure the headphones dry completely afterward.
Q5: What if my headphones are expensive audiophile models?
A: Even high-end headphones benefit from cleaning! However, with premium materials like real leather, exotic woods, or delicate planar magnetic drivers, extra care is paramount. Always consult your headphone’s manual for specific cleaning instructions. For these, it might be wiser to use alcohol sparingly on exterior parts and rely more on dry microfiber cloths, with specific cleaners recommended by the manufacturer if needed.
Q6: My wireless headphones have corroded charging contacts. Can I clean them?
A: Yes, corroded charging contacts can be a common issue. Ensure the headphones are powered off and disconnected. Use a cotton swab very lightly dampened with isopropyl alcohol to gently clean the contacts. You can also try a pencil eraser very gently if corrosion is mild. Ensure the contacts are completely dry before attempting to charge. If corrosion is severe, it might indicate a warranty issue or require professional repair.
Conclusion: A Small Effort for Great Returns
Who knew a simple pack of alcohol wipes could be such a potent tool in your audio arsenal? By following this straightforward “wipe fix” guide, you’re not just tidying up your headphones; you’re investing in their future. Regular, gentle cleaning helps prevent material degradation, maintains hygiene, and ensures your audio gear continues to deliver the immersive sound experience you love. It’s a small habit that pays off tremendously, extending the life of your headphones and saving you money in the long run. So, grab those wipes, give your beloved headphones the spa treatment they deserve, and enjoy crystal-clear sound for years to come!
