
Quick Summary: Discover how noise-canceling headphones can transform your TV viewing experience. This guide explains what active noise cancellation is, why it’s great for television, how to choose the right pair, and simple setup tips, all in easy-to-understand language.
Noise Cancelling Headphones for TV: Your Essential Guide to Uninterrupted Entertainment

Hey everyone, Edward Cavitt here from Headphone Horizon! Are you tired of cranking up the TV volume just to catch the dialogue, only to be drowned out by the lawnmower next door or the kids playing a bit too enthusiastically? It’s a common frustration that can really pull you out of your favorite shows and movies. Thankfully, there’s a fantastic solution: noise-canceling headphones specifically for TV. They can create a personal oasis of sound, letting you immerse yourself completely in what’s happening on screen. In this guide, we’ll break down exactly what you need to know to find and use the perfect pair, making your home entertainment truly enjoyable again.
Understanding Noise Cancellation for TV Viewing

Before we dive into choosing the right headphones, let’s quickly touch on what noise cancellation actually is. You’ve probably heard the term “Active Noise Cancellation” (ANC). This is the magic behind those quiet headphones. It works by using microphones on the outside of the earcups to detect ambient sounds. Then, the headphones generate an opposite sound wave, essentially “canceling out” the unwanted noise. Think of it like noise-canceling waves meeting and neutralizing each other. This is incredibly effective for consistent, low-frequency sounds like airplane engines or, you guessed it, background chatter or traffic noise that can disrupt your TV time.
There are two main types of noise cancellation:
- Passive Noise Cancellation: This is simply the physical barrier your headphones create. A good seal around your ears, like with over-ear or well-fitting in-ear headphones, blocks out noise by design. It’s like putting earplugs in – it physically stops sound from reaching your ears.
- Active Noise Cancellation (ANC): This is the electronic wizardry we discussed. It actively works to reduce external sound frequencies. For TV, ANC is your best friend for cutting out distracting ambient noise while letting you hear every detail of your show or movie.
Why Use Noise Cancelling Headphones for Your TV?

The benefits of using noise-canceling headphones for your television are numerous, especially if you live in a busy household or a noisy neighborhood. Let’s explore some of the key advantages:
Enhanced Audio Clarity
The most immediate benefit is clarity. When background noise is minimized, you can finally hear those subtle sound effects, whispered dialogue, and intricate musical scores that you might have been missing. This is especially helpful for viewers who are hard of hearing or simply prefer to keep the TV volume at a comfortable level.
Improved Immersion
Movies and TV shows are designed to transport you. Distracting noises pull you right back to reality. Noise-canceling headphones create a more controlled sound environment, allowing you to become fully immersed in the story, whether it’s a thrilling action sequence or a heartfelt drama.
Respect for Others
Do you have housemates, family members trying to sleep, or neighbors who are sensitive to noise? Keeping the TV volume down significantly with the help of noise-canceling headphones is a considerate way to enjoy your entertainment without disturbing others. This is a huge plus for shared living spaces.
Personalized Viewing Experience
You can adjust the headphone volume to your ideal setting, independent of the TV’s speaker volume. This means you can have your audio at a perfect, comfortable level without affecting anyone else’s listening experience or having to strain your own ears.
Great for Different Hearing Needs
For individuals with hearing impairments, noise-canceling headphones can make a significant difference. By reducing the need to boost the TV volume excessively, they can make dialogue clearer and the overall viewing experience more accessible and enjoyable. According to the National Institute on Aging, “Loud noise can damage your hearing. Your ears can be damaged by loud noise at work or in loud places, such as concerts.” While this primarily refers to protection from loud environments, the principle of reducing the need for high volume playback on your TV also contributes to a healthier listening habit.
Choosing the Right Noise Cancelling Headphones for TV

With so many options out there, picking the right pair can feel a bit daunting. Here’s what to look for when selecting noise-canceling headphones specifically for your TV watching pleasure:
Type of Headphone
- Over-Ear Headphones: These are generally the best for noise cancellation. They completely cover your ears, providing excellent passive isolation. They are also often the most comfortable for long listening sessions.
- On-Ear Headphones: These sit on top of your ears. While they can offer some noise isolation, they are typically less effective than over-ear models for blocking out external sound.
- In-Ear Headphones (Earbuds): Some high-end earbuds offer ANC. They can be very convenient and portable, but for a truly immersive TV experience, over-ear often provide a more robust solution.
Active Noise Cancellation Quality
Not all ANC is created equal. Look for headphones that have a reputation for effective ANC, particularly in blocking out mid-to-low frequency sounds like general background noise. Some headphones offer adjustable ANC levels, which can be useful.
Comfort and Fit
You’ll likely be wearing these for extended periods, so comfort is paramount. Consider the weight of the headphones, the padding on the earcups and headband, and how they fit your head. If you wear glasses, ensure the earcups can accommodate them comfortably without creating pressure points.
Connectivity Options
This is a crucial aspect for TV use. How will you connect your headphones to your TV?
- Bluetooth: This is the most common and convenient. Many modern TVs have built-in Bluetooth. If yours doesn’t, you can use a Bluetooth transmitter. Ensure the headphones and transmitter support a low-latency codec like aptX Low Latency for minimal audio delay.
- 3.5mm Audio Jack: Some headphones still offer a wired connection. This is a great option if your TV has a headphone port and you want to avoid potential Bluetooth issues or battery drain. Always check if the headphones come with a suitable cable.
- Dedicated Transmitters: Some headphone systems come with their own proprietary wireless transmitters. These are often designed for plug-and-play simplicity and may offer excellent range and low latency.
Battery Life
If you opt for wireless headphones, battery life is important. For casual TV watching, 15-20 hours might be sufficient. For binge-watching sessions, look for models that offer 30 hours or more on a single charge. Many also support quick charging, so a few minutes of charging can give you a couple of hours of playback.
Sound Quality
Beyond noise cancellation, the actual sound quality matters. You want clear, balanced audio that makes dialogue understandable and music rich. Reading reviews that discuss the sound profile, especially for dialogue, can be very helpful.
Key Features to Look For
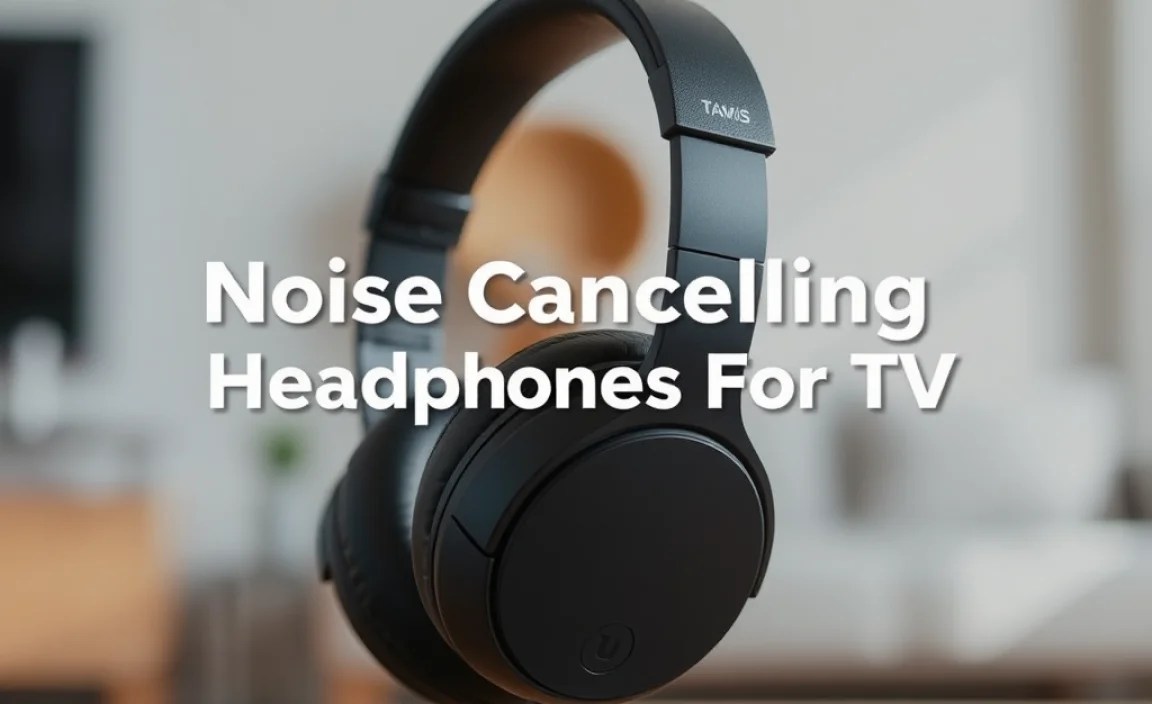
When comparing different models, keep an eye out for these specific features:
- Low-Latency Bluetooth: Essential if you’re going wireless. High latency means the sound will be noticeably out of sync with the video, which is incredibly distracting. Look for aptX Low Latency or similar technologies.
- Multipoint Bluetooth: Allows the headphones to connect to two devices simultaneously. This can be handy if you want to be able to take a phone call without switching connections.
- Ambient Sound Mode / Transparency Mode: This feature lets you hear your surroundings without taking off your headphones. It can be useful for quick conversations or if you need to hear a doorbell.
- Comfortable Earcups: Look for plush, breathable materials like velour or soft leather.
- Durable Build Quality: You want headphones that will last.
Connecting Your Noise Cancelling Headphones to Your TV: A Step-by-Step Guide
Connecting your new headphones to your TV is usually quite straightforward. Here’s a general walkthrough, covering the most common methods.
Method 1: Using Bluetooth (Most Common)
Many modern TVs come with built-in Bluetooth. This is often the easiest and most wireless way to go.
- Enable Bluetooth on Your TV:
- Navigate to your TV’s settings menu.
- Look for “Sound,” “Audio Output,” or “Bluetooth” settings.
- Select the option to enable Bluetooth or add a new device.
- Put Your Headphones in Pairing Mode:
- Refer to your headphone’s manual. Usually, this involves pressing and holding the power button or a dedicated Bluetooth button until a light flashes or you hear an audio cue indicating it’s in pairing mode.
- Pair the Devices:
- Your TV should display a list of available Bluetooth devices.
- Select your headphone model from the list.
- If prompted, confirm the pairing (sometimes a code is needed, but often it’s automatic).
- Select Headphones as Audio Output:
- Once paired, you might need to go back to your TV’s audio output settings and select your Bluetooth headphones as the playback device.
- Test the Sound:
- Play some content on your TV and check if the audio is coming through your headphones. Ensure there’s minimal delay between the video and audio. (If there’s a significant delay, see the “Troubleshooting” section or consider Method 3).
Method 2: Using a Bluetooth Transmitter (If Your TV Lacks Bluetooth)
If your TV doesn’t have built-in Bluetooth, a wireless Bluetooth transmitter/adapter is your solution. These devices plug into your TV’s audio output and beam the sound wirelessly to your headphones.
- Choose Your Transmitter:
- Look for a transmitter that supports aptX Low Latency if your headphones also support it. This is crucial for minimizing audio delay.
- Consider the type of audio output your TV has: optical (TOSLINK), 3.5mm (headphone jack), or RCA. Ensure the transmitter has the right inputs.
- Connect the Transmitter to Your TV:
- Plug the transmitter into your TV’s audio output port using the appropriate cable (optical, 3.5mm, or RCA).
- Power the transmitter. Many can be powered via USB, sometimes using a USB port on your TV, or via an AC adapter.
- Enable Bluetooth Transmitter Mode:
- Most dual-purpose transmitters can send or receive. Ensure it’s set to “transmit” mode.
- Put Your Headphones in Pairing Mode:
- Follow your headphone manual to put them in pairing mode.
- Pair Headphones to the Transmitter:
- Press the pairing button on the transmitter. It will likely flash to indicate it’s searching.
- When the headphones connect, the flashing light on the transmitter should become solid, and you might hear a confirmation in your headphones.
- Configure TV Audio Output (Important!):
- You must tell your TV to send audio to the port you connected the transmitter to (optical, headphone jack, etc.). Go into your TV’s sound settings and select the correct audio output.
- If using optical, you may need to set the Digital Audio Output to “PCM” or “Bitstream” depending on your transmitter’s capabilities.
- Test the Sound.
Method 3: Wired Connection (3.5mm Audio Jack)
For a completely lag-free experience and simplicity, a wired connection is hard to beat, provided your TV and headphones support it.
- Check Your TV’s Audio Output:
- Look for a standard 3.5mm headphone jack on your TV. It’s usually on the side or back.
- Check Your Headphones:
- Ensure your noise-canceling headphones either have a detachable 3.5mm cable or come with one. Some ANC headphones are wireless-only, so confirm this beforehand.
- Connect:
- Plug one end of the 3.5mm audio cable into your TV’s headphone jack.
- Plug the other end into the audio input port on your headphones.
- Adjust Volume:
- You’ll control the volume directly on your headphones. The TV’s internal speakers will likely be muted automatically or will start outputting low volume to the headphone jack.
Troubleshooting Common Issues
Even with the best gear, you might run into a hiccup. Here are a few common problems and how to solve them:
- No Sound:
- Check Volume: Is the volume turned up on your headphones? Is the headphone volume on the TV (if applicable) turned up?
- Check Connection: Ensure cables are fully plugged in or that the Bluetooth connection is active. Re-pair Bluetooth devices.
- Check Audio Output Settings: Confirm your TV is set to output sound to the correct device (headphones, Bluetooth, external speakers).
- Audio Delay (Lag):
- Bluetooth Codec: If using Bluetooth, ensure both your TV (or transmitter) and headphones support a low-latency codec like aptX Low Latency. If one device doesn’t, you’ll be limited by the slower one.
- Wired Connection: A wired connection (3.5mm or optical cable) eliminates Bluetooth lag entirely.
- Restart Devices: Sometimes a simple restart of your TV and headphones can resolve temporary connectivity glitches.
- Proximity: Ensure your headphones are close to the TV or transmitter.
- Noise Cancellation Isn’t Working Well:
- Check Settings: Some headphones let you adjust ANC levels. Make sure it’s turned on and set appropriately.
- Seal: Ensure the earcups are creating a good seal around your ears. If the ear cushions are worn out, they might need replacing.
- Type of Noise: ANC is best for constant, low-frequency noise. It’s less effective against sudden, sharp sounds like speech or a dog bark.
- One Earbud/Headphone Not Working:
- Check Balance: Ensure the left/right balance setting on your TV or audio device isn’t shifted all the way to one side.
- Wired: If wired, try a different cable or ensure it’s fully seated.
- Bluetooth: For wireless, try re-pairing or resetting the headphones.
- Deeper Issues: If it persists, there might be a hardware issue with the headphones themselves. Refer to the manufacturer’s warranty.
Recommended Headphone Types for TV
While many brands offer excellent noise-canceling headphones, here are some categories and features that tend to work best for TV watching:
Over-Ear ANC Headphones with Long Battery Life
These are often the gold standard for a reason. They provide superior comfort and the best passive noise isolation, which complements ANC. Long battery life means you won’t be cutting your movie short.
Headphones with Dedicated Wireless Transmitters
Systems like some Sennheiser or Sony models come with a base station that connects directly to your TV (often via optical or RCA) and transmits wirelessly to their specific headphones. These are usually optimized for zero audio latency and are incredibly easy to set up. They are often the most reliable for hassle-free TV use.
TV-Specific Wireless Headphone Systems
Some manufacturers create systems specifically designed for television. These often come with a base that plugs into your TV and headphones. They are engineered to be plug-and-play and avoid Bluetooth pairing issues or latency problems. Examples include systems from Sennheiser, Logitech, or Telefunken.
Maintaining Your Noise Cancelling Headphones
To keep your headphones performing at their best and comfortable for years to come, a little maintenance goes a long way:
- Cleaning: Gently wipe the earcups and headband with a slightly damp, soft cloth. Avoid harsh chemicals. For the ear cushions, you can often remove them and clean them according to the manufacturer’s instructions (some are hand-washable).
- Storage: When not in use, store your headphones in a protective case or on a stand to prevent damage to the earcups or headband.
- Battery Care: Avoid leaving them completely discharged for long periods. Stick to the charging recommendations in your manual.
