
<strong>Quick Summary:</strong> Discover why headphone comfort matters and how the right ear pads can transform your listening experience. Learn how to choose, clean, and replace headphone pillows (ear pads) for lasting comfort and better sound quality. This guide makes upgrading your audio gear simple and effective, helping you enjoy your music longer without discomfort.</p>
Pillows for Headphones: Essential Comfort for Every Listener
Hey there, audio adventurers! Edward Cavitt here, your friendly guide from Headphone Horizon. We all love that immersive feeling when our favorite tunes or podcasts envelop us. But let’s be honest, after a while, even the best sound can be overshadowed by a dull ache or annoying pressure around our ears. That’s where the unsung heroes of headphone comfort come in: the “pillows,” or more accurately, the ear pads. These aren’t just fluffy bits; they’re crucial components that can make or break your listening sessions. From long work calls to epic gaming marathons, the right ear pads ensure your headphones feel as good as they sound. Let’s dive into the world of headphone comfort and explore how these essential elements can elevate your entire audio experience.</p>
Why Headphone Ear Pads (Pillows) Are More Important Than You Think

When you first buy a pair of headphones, you probably focus on sound quality, noise cancellation, and maybe style. But the physical interface between your ears and the headphones—the ear pads—plays a massive role in your overall satisfaction. Think of them as the suspension system for your ears. They don’t just cushion; they seal in sound, block external noise, and determine how long you can comfortably wear your headphones.
Poorly designed or worn-out ear pads can lead to:
- Discomfort: Hot spots, pressure points, and irritation.
- Reduced Sound Quality: A bad seal can leak bass and let in unwanted noise.
- Hygiene Issues: Old pads can harbor sweat and bacteria.
- Premature Headphone Replacement: You might ditch perfectly good headphones just because they’ve become uncomfortable.
Investing a little time and effort into your headphone’s ear pads can significantly extend their lifespan and dramatically improve your daily listening enjoyment. It’s a simple upgrade that yields big results!
Understanding Headphone Ear Pad Materials
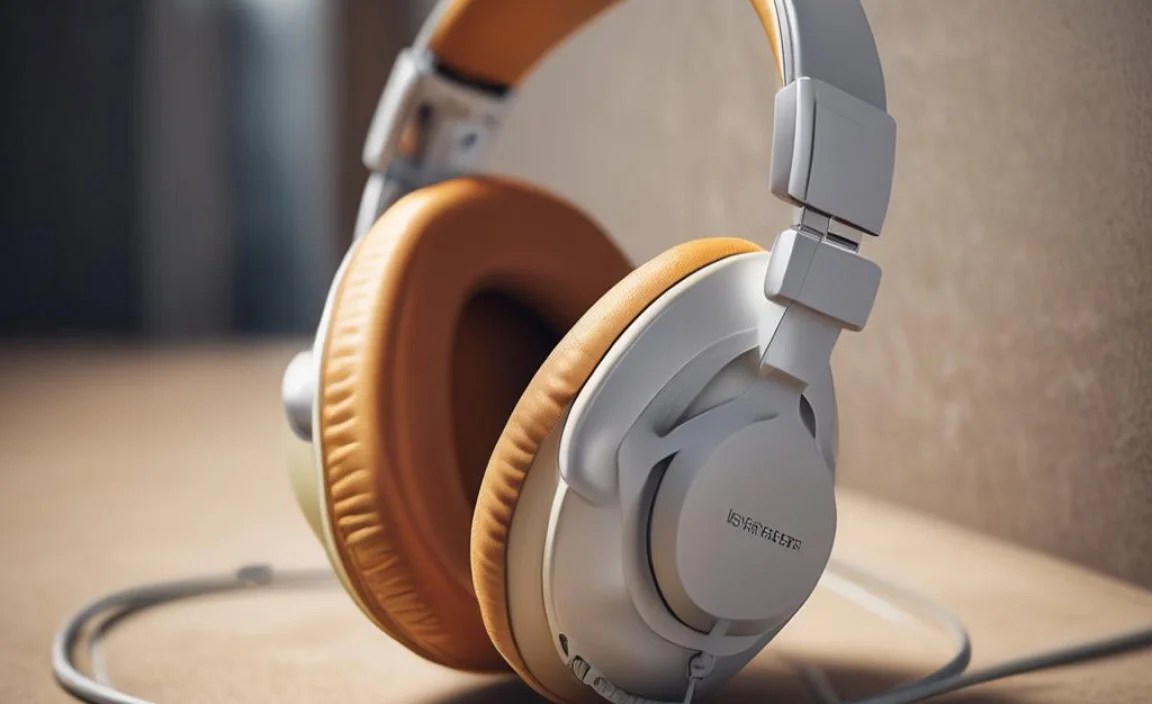
The material of your ear pads is the primary factor influencing comfort, durability, and sound. Different materials offer distinct characteristics. Here’s a breakdown of the most common ones:
1. Leather (Genuine and Synthetic/PU Leather)
Leather ear pads are a popular choice, offering a premium feel and good durability. Genuine leather is breathable and molds to your ears over time, providing a custom fit. However, it can be more expensive and requires occasional conditioning.
Synthetic leather, often called PU leather or pleather, is a more budget-friendly alternative. It’s generally durable and easy to clean but can be less breathable, leading to sweaty ears, especially during long listening sessions or in warmer climates. It can also crack or peel over time.
Pros:
- Premium feel (especially genuine leather)
- Good sound isolation
- Durable
- Easy to clean
Cons:
- Can be less breathable (synthetic more so than genuine)
- Synthetic leather can degrade over time
- May not be ideal for very hot environments
2. Velour
Velour ear pads are made from a soft, plush fabric that feels incredibly comfortable against the skin. They are highly breathable, making them an excellent choice for long listening sessions and warmer weather, as they help keep your ears cool. The softer texture can also provide a gentler feel for those sensitive to pressure.
However, velour isn’t as effective at noise isolation as leather because the fabric is more porous. It can also trap dust and be harder to clean than leather. Sweat can also saturate the material more easily.
Pros:
- Extremely comfortable and soft
- Highly breathable, excellent for long use
- Good for warmer climates
Cons:
- Less effective sound isolation
- Can attract dust and be harder to clean
- May absorb sweat more readily
3. Mesh/Fabric
Similar to velour but often with a more open weave, mesh or fabric ear pads offer maximum breathability. They are lightweight and great for keeping ears cool. These are commonly found on lighter, sport-oriented, or on-ear headphones where breathability is paramount.
On the downside, these materials typically offer the least amount of noise isolation and can wear out relatively quickly, especially if not made with durable textile.
Pros:
- Maximum breathability
- Lightweight
- Comfortable for active use
Cons:
- Minimal sound isolation
- Can wear out faster
- Less durable under rough use
4. Hybrid Materials
Some manufacturers create hybrid ear pads, combining different materials. For example, you might find a leather outer edge with a velour contact surface. This approach aims to balance the benefits of each material, offering comfort, breathability, and decent sound isolation. These are often found on higher-end audiophile headphones.
Pros:
- Balances comfort, breathability, and isolation
- Can offer a premium listening experience
Cons:
- Can be more expensive
- Specific benefits depend on the exact combination
Choosing the Right Ear Pads for Your Needs

Selecting the perfect “pillows” for your headphones depends on how and where you use them. Consider these factors:
1. Intended Use
- Home Listening/Studio: Comfort for long sessions is key. Velour or hybrid pads might be ideal for breathability, or high-quality leather for a secure seal.
- Commuting/Travel: Good sound isolation is crucial to block out ambient noise. Leather or dense synthetic leather pads are often best.
- Gaming: Comfort for extended periods and a good seal for immersive audio are important. Leather or hybrid pads are popular choices.
- Exercise: Breathability and a secure fit are paramount. Mesh or moisture-wicking fabric pads are usually preferred. (Note: Many high-end headphones are not recommended for intense exercise due to sweat damage risks, always check manufacturer guidelines.)
2. Headphone Type
Ear pads are designed for specific headphone types. The most common are:
- Over-Ear (Circumaural): These pads fully encompass your ears. They offer excellent comfort and noise isolation but can be bulkier.
- On-Ear (Supra-aural): These rest directly on your ears. They are typically smaller and lighter but can cause discomfort or pressure over time if the pads aren’t well-designed or padded.
Make sure the replacement pads are compatible with your specific headphone model. Some brands use proprietary attachment systems.
3. Sound Signature
The material of your ear pads can subtly alter the sound profile of your headphones. Generally:
- Thicker, more isolating pads (like leather): Can boost bass response by creating a tighter seal.
- More breathable pads (like velour): May slightly reduce bass presence but can open up the soundstage and improve clarity in the mids and highs.
If you’re an audiophile chasing a specific sound, consider how different pad materials might affect your headphones’ acoustics. Resources like Rtings.com offer detailed analysis on how ear pads influence sound.
4. Durability and Maintenance
If you’re rough on your gear or wear your headphones daily, opt for durable materials like good quality PU leather or genuine leather. If you prefer minimal upkeep, smooth leather surfaces are easier to wipe down than porous velour or fabric.
Comparing Common Ear Pad Types
To help you visualize the differences, here’s a quick comparison:
| Feature | Leather (PU & Genuine) | Velour | Mesh/Fabric | Hybrid |
|---|---|---|---|---|
| Comfort | Good, can get warm | Excellent, very breathable | Good, highly breathable | Excellent, balanced |
| Breathability | Moderate | High | Very High | High |
| Sound Isolation | Good to Excellent | Moderate | Low | Moderate to Good |
| Durability | Good to Very Good | Moderate | Moderate to Low | Good |
| Ease of Cleaning | Easy | Moderate | Moderate | Easy to Moderate |
| Price Range | Moderate to High | Moderate | Low to Moderate | Moderate to High |
How to Replace Headphone Ear Pads: A Step-by-Step Guide
Replacing your ear pads is often a straightforward process. It’s a fantastic way to refresh your headphones and improve comfort. Here’s how you can do it:
Step 1: Identify Your Headphone Model and Pad Type
First, know the exact model name of your headphones. This is crucial for finding compatible replacement pads. Check the packaging, the headphones themselves, or your purchase history. Also, identify how the current ear pads are attached. Are they clipped on? Glued? Snapped into a groove?
Step 2: Purchase Compatible Replacement Ear Pads
Once you know your model, search online for “replacement ear pads for [Your Headphone Model].” Reputable brands like Dekoni Audio, Wicked Cushions, Brainwavz, and many others offer aftermarket pads. OEM (Original Equipment Manufacturer) pads are also an option if available from the headphone maker.
Read reviews to gauge the comfort, durability, and sound impact of the aftermarket pads. Some sellers even provide compatibility lists.
Step 3: Gather Your Tools (If Needed)
For most modern headphones, you won’t need any special tools. However, for some models, you might need:
- A plastic prying tool (spudger) or a thin guitar pick to carefully unclip the old pads.
- A small flathead screwdriver (use with extreme caution to avoid scratching).
- Tweezers (for very small or fiddly parts).
- A damp cloth for cleaning.
Important Note: Always proceed with caution. Applying too much force can damage your headphones. If you’re unsure, look for specific video guides for your headphone model on platforms like YouTube.
Step 4: Remove the Old Ear Pads
This is the most variable step. Here are common methods:
- Method A: Simple Pull-Off: Many pads are attached with a plastic ring that snaps into a groove. Gently grip the edge of the ear pad and pull outwards. It should detach with a series of small clicks or a slight tug. Sometimes, you need to twist slightly as you pull.
- Method B: Prying/Unclipping: If the pads don’t easily pull off, look for small clips around the inner or outer edge. Carefully insert a plastic prying tool or guitar pick into the seam and gently lever the pad away from the headphone cup. Work your way around the edge until it releases.
(Illustrative image: Actual attachment methods vary by model)
- Method C: Unscrewing: Some headphones might have screws holding the earcup housing together, which then allows access to the pads. This is less common for just replacing pads and more for accessing internal components.
Once removed, set the old pads aside.
Step 5: Clean the Headphone Cups
Before attaching new pads, it’s a good time to clean the headphone cups. Lingering debris or earwax can affect the seal and hygiene. Use a slightly damp cloth (water or a mild, diluted cleaning solution – check your headphone manual first!) to wipe down the surfaces. Ensure they are completely dry before proceeding.
Step 6: Install the New Ear Pads
New ear pads typically have a specific orientation (left and right) and a way to attach. Look for:
- Attachment Ring: Many replacement pads come with a new plastic ring. Align this ring with the groove on the headphone cup. Press down firmly around the entire edge, ensuring the clips click into place.
- Sewn-in Lip: Some pads have a fabric or faux leather lip that needs to be tucked into the groove around the headphone cup, much like putting a fitted sheet on a mattress, but with a firmer push.
- Direct Adhesion: Less common, but some might use adhesive. Ensure the surface is clean and dry, then carefully align and press the new pad into place.
Ensure the new pads are seated securely and evenly all the way around. You should feel or hear them snap into place.
Step 7: Test for Comfort and Fit
Put your headphones on. How do they feel? Are they comfortable? Is the seal good? Do they sound right? Some new pads, especially thicker ones, might slightly change the angle of the headphones on your head initially, which might require a slight adjustment in fit.
Spend a good 10-15 minutes wearing them to assess long-term comfort. You might find they need a short “break-in” period.
