
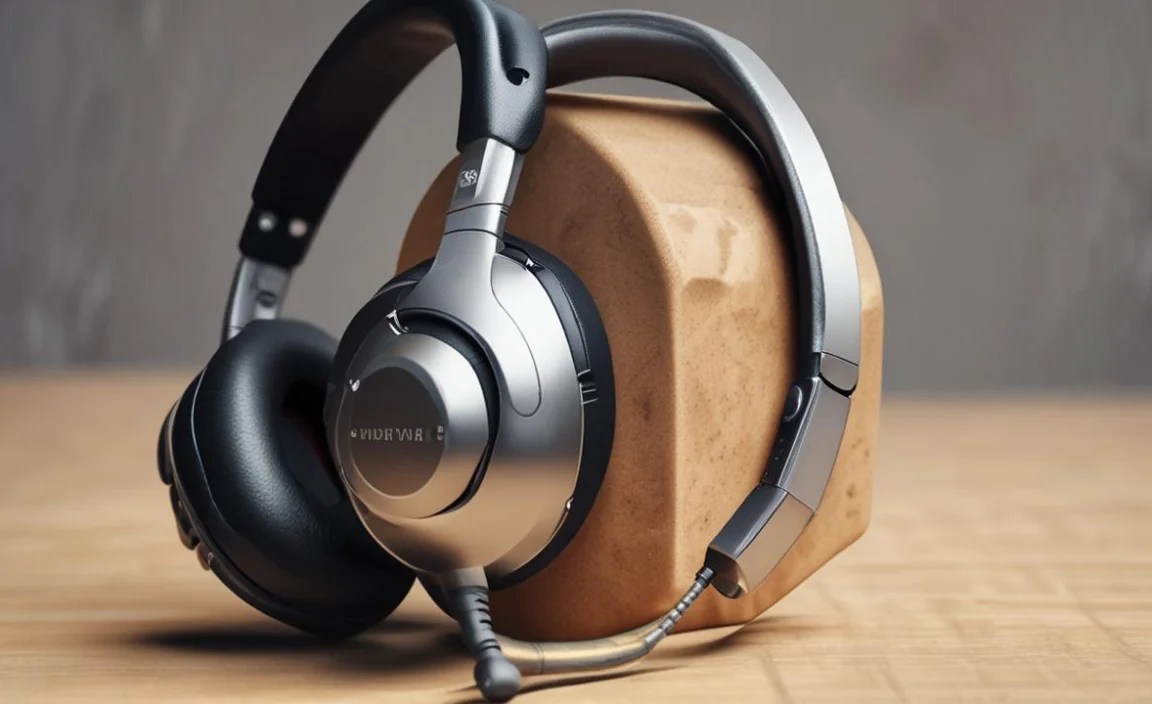
Don’t toss those trusty headphones yet! This guide offers simple, budget-friendly fixes for common Bluetooth headphone problems, empowering you to resolve issues like no sound, charging woes, or connectivity glitches without breaking the bank. Learn practical DIY solutions to bring your audio back to life.
Hey audio adventurers, Edward Cavitt here from Headphone Horizon! Are your beloved Bluetooth headphones playing silent, refusing to charge, or acting a bit flaky with their connection? It’s a common frustration, and the immediate thought might be to search for a replacement. But before you resign your earbuds or cans to the recycling bin, let’s explore some remarkably simple and affordable ways to bring them back into working order. Many Bluetooth headphone issues stem from straightforward problems that can be fixed with a little patience and a few basic steps. This guide is designed to demystify these common glitches and provide you with the confidence to tackle them yourself, saving you money and keeping your favorite listening gear in action.
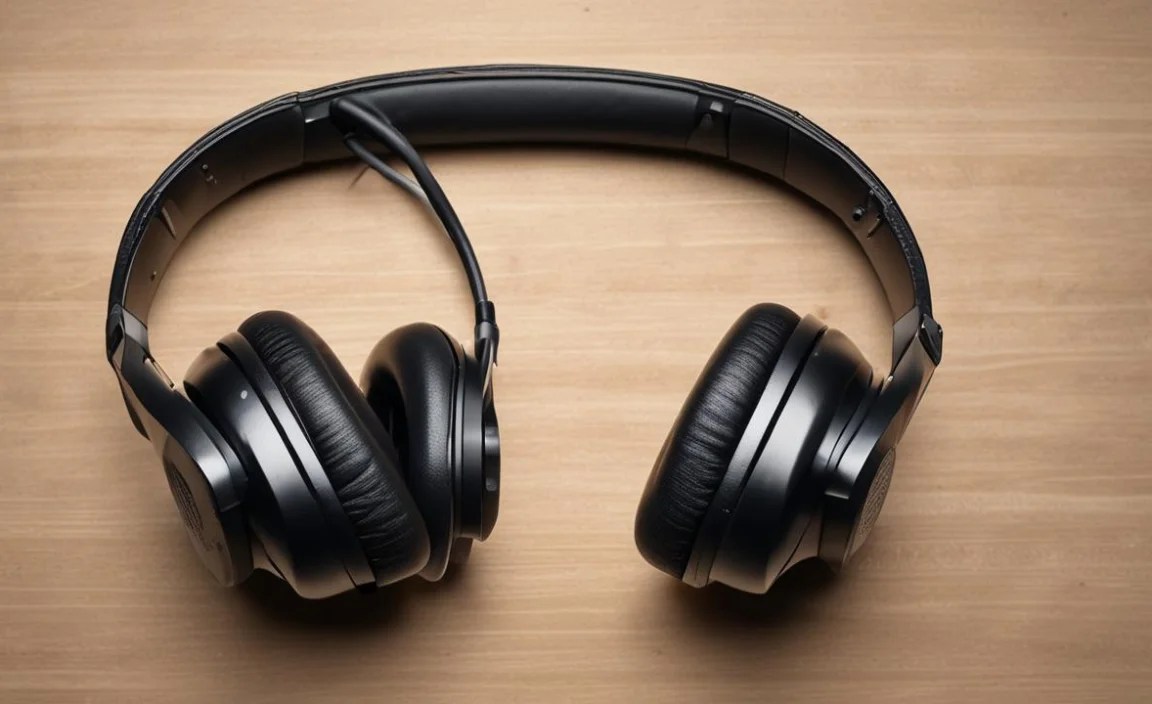
Common Bluetooth Headphone Problems and Easy Fixes
Bluetooth headphones, like any piece of wireless technology, can encounter a variety of issues. Fortunately, most are not terminal and can be addressed with some basic troubleshooting. We’ll walk through the most frequent culprits and offer clear, actionable solutions you can try right at home, often with just a few simple tools or even without any at all.
1. No Sound or Intermittent Sound

This is perhaps the most frustrating issue. You’ve got your music or podcast ready, but silence or crackling is all you hear. Let’s break down the potential causes and solutions.
Step 1: Check the Obvious – Volume and Mute

It sounds simple, but it’s the most overlooked step. Ensure the volume on both your headphones and your connected device (phone, tablet, computer) is turned up and not muted. Sometimes a quick toggle of the volume buttons or a check within your device’s audio settings can solve the problem instantly.
Step 2: Reconnect and Re-pair Your Headphones

A scrambled Bluetooth connection can lead to audio dropouts or no sound at all.
- Unpair from your device: Go to your device’s Bluetooth settings, find your headphones in the list of paired devices, and select “Forget” or “Unpair.”
- Reset your headphones: Most Bluetooth headphones have a reset function. This often involves holding down a combination of buttons (like power and volume up) for several seconds while they are turned off, or sometimes while they are plugged into a charger. Consult your headphone’s manual for specific instructions, or search online for your exact model.
- Re-pair your headphones: Turn on your headphones and put them into pairing mode (usually indicated by a flashing light and sometimes an audio cue). Then, go back to your device’s Bluetooth settings, search for nearby devices, and select your headphones to pair them again.
Step 3: Ensure Sufficient Battery Life

Low battery can cause erratic performance, including no sound or frequent disconnections. Charge your headphones fully and then try again. For some troubleshooting, it’s best to test with headphones that are at least 50% charged.
Step 4: Test with Another Device
This helps determine if the issue lies with your headphones or your original source device.
- Try connecting your headphones to a different smartphone, tablet, or computer.
- If they work perfectly with another device, the problem is likely with your original device’s Bluetooth or audio settings.
- If they still don’t work, the headphones themselves might have an internal issue.
Step 5: Check for Obstructions or Interference
While Bluetooth has a decent range, it can be affected by physical obstacles or strong wireless interference.
- Ensure there are no thick walls, large metal objects, or other electronic devices (like microwaves or some Wi-Fi routers) between your headphones and your source device.
- Move closer to your device and see if the audio improves.
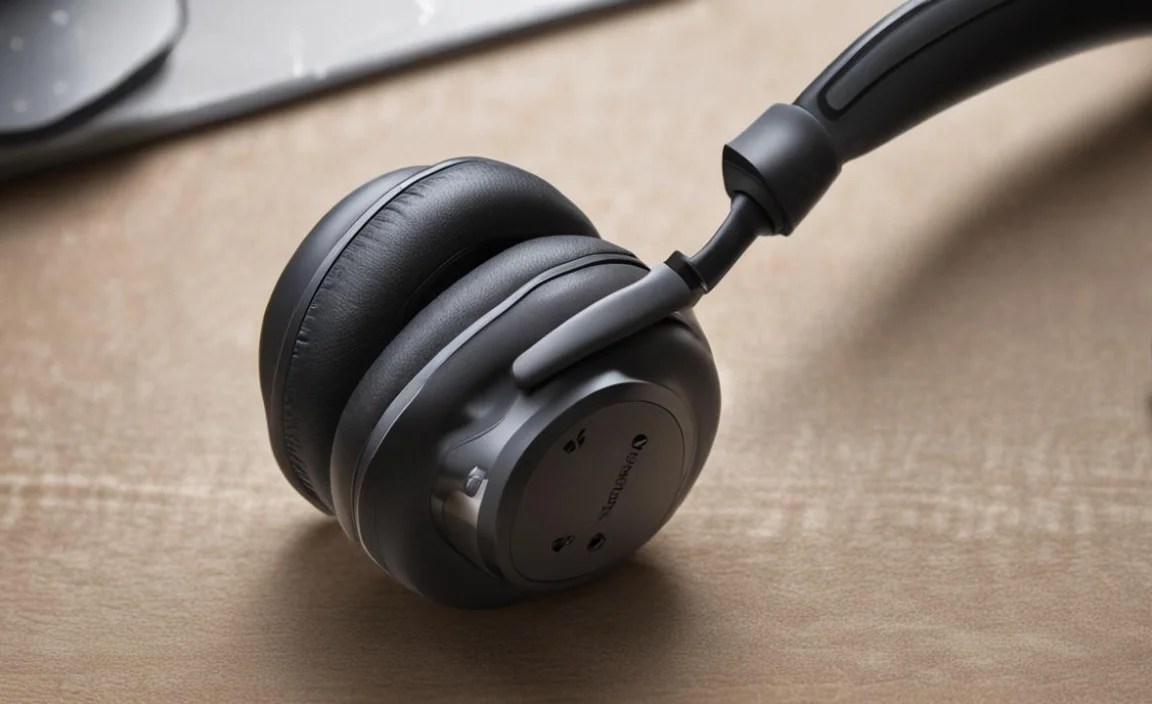
2. Headphones Won’t Charge or Fully Charge

Another common hiccup is when your headphones refuse to power up when plugged in. This can be due to a few simple things.
Step 1: Inspect the Charging Port and Cable

This is the most frequent culprit.
- Clean the charging port: Dust, lint, and debris can accumulate in the charging port of your headphones, preventing a good connection. Carefully use a wooden toothpick, a dry cotton swab, or a can of compressed air to gently clear out any obstructions. Be very gentle to avoid damaging the delicate contacts inside.
- Inspect the charging cable: Look for any kinks, cuts, or damage to the charging cable. Try a different USB charging cable that you know works with other devices.
- Try a different power source: Plug into a different USB port on your computer, a wall adapter, or a power bank to rule out a faulty power outlet.
Step 2: Test the Charger/Adapter
If you’re using a wall adapter, try a different one, or connect directly to a powered USB port on your computer. Ensure your charger is compatible with your headphones; using an underpowered charger might prevent charging altogether.
Step 3: Resetting While Charging (If Applicable)
Some manufacturers suggest resetting headphones while they are plugged in. Always refer to your manual, but this can sometimes clear a charging-related glitch. For example, some models might require you to hold the power button for 10-15 seconds while the charging cable is connected.
Step 4: Battery Health Considerations

Rechargeable batteries have a lifespan. If your headphones are several years old and have been charged daily, the battery may have degraded significantly. While replacing a battery is more complex, for cheaper headphones, it might be more cost-effective to consider new ones if basic fixes don’t work. However, for more expensive models, you might find guides on battery replacement specific to your model.
3. Bluetooth Connectivity Issues (Pairing Failures, Dropped Connections)
Pairing difficulties or connections that drop frequently can be very annoying. Here’s how to troubleshoot:
Step 1: Ensure Headphones are in Pairing Mode

This is crucial for the initial connection. Most headphones have a specific way to enter pairing mode, usually by holding the power button for an extended period until an indicator light flashes in a distinct pattern (often blue and red, or just flashing blue). Make sure you’re following the correct procedure for your model.
Step 2: Clear Paired Device List on Both Ends

Sometimes, a device tries to connect to a previously paired item instead of initiating a new connection, or the headphone’s memory is full.
- On your headphones: Many headphones can clear their own paired device list. This often involves holding down specific buttons for a prolonged period (e.g., power and volume down simultaneously for 10-15 seconds when off). Check your manual.
- On your source device: As mentioned earlier, go to your device’s Bluetooth settings and “Forget” your headphones.
Step 3: Update Device Software and Firmware

Outdated software on your source device (phone, computer) or firmware on your headphones can cause compatibility issues.
- Device Software: Check for operating system updates on your smartphone or computer.
- Headphone Firmware: Some brands have companion apps that allow you to update your headphone’s firmware. If yours does, ensure it’s running the latest version. This is a great way to fix bugs and improve performance.
For example, Apple users can check for iOS updates, and Android users can check for system updates in their settings. For firmware updates on headphones, check the manufacturer’s website or app, such as the Sony Headphones Connect app or the Bose Music app.
Step 4: Reduce Interference
As mentioned before, other wireless devices operating on the 2.4 GHz band (like Wi-Fi routers, microwaves, and other Bluetooth devices) can interfere with your connection. Try moving away from potential sources of interference or temporarily turning off other wireless devices.
Step 5: Check Bluetooth Version Compatibility
While most modern devices are compatible, very old headphones might have issues with very new devices, or vice-versa, especially if one uses an older Bluetooth standard (like Bluetooth 2.0 or 3.0). Newer devices typically support Bluetooth 5.0 or higher, offering better range and stability.
4. Microphone Not Working
If your calls are one-sided or voice commands aren’t registering, the microphone might be the culprit.
Step 1: Check Microphone Permissions
On smartphones and computers, apps require permission to access the microphone.
- Mobile: Go to your device’s Settings > Privacy > Microphone and ensure the app you’re using (phone app, messaging app, voice assistant) has permission to access the microphone.
- Desktop: On Windows, go to Settings > Privacy > Microphone. On macOS, go to System Preferences > Security & Privacy > Privacy > Microphone. Ensure your browser or application has access.
Step 2: Ensure Headphones are Selected as Input Device

Your device might be defaulting to its internal microphone.
- Mobile: When you make a call or use a voice app, check the audio output/input settings to ensure your Bluetooth headphones are selected as the microphone.
- Desktop: In your device’s sound settings (e.g., Windows Sound Control Panel or macOS Sound Preferences), make sure your Bluetooth headphones are set as the default input (microphone) device.
Step 3: Reboot and Re-pair
A simple reboot of both your headphones and your connected device, followed by re-pairing, can often resolve software glitches affecting microphone functionality.
Step 4: Clean the Microphone Port

Tiny microphones on earbuds or headphones can get blocked by earwax or debris. Gently clean the small microphone hole (usually a tiny pinprick-sized opening) with a dry cotton swab or a soft-bristled brush. Be extremely careful not to push debris further in or damage the microphone.
5. Physical Damage (e.g., Loose Earcups, Broken Headband)

While this requires a bit more hands-on work, minor physical damage can often be repaired cheaply.
When to Consider DIY Repair
Small cracks in plastic, loose padding, or detached screws can sometimes be fixed with common household items or inexpensive repair kits. However, for severe damage like snapped headbands or internal wiring issues, professional repair or replacement might be necessary. If the headphones were very cheap, the cost and effort of repair might not be worth it.
Simple Fixes:
| Type of Damage | Potential Fix | Tools/Materials | Difficulty |
|---|---|---|---|
| Loose Earcups | Tighten screws (if accessible). If screws are missing or stripped, consider a small amount of strong adhesive like Loctite or a super glue designed for plastics. | Small screwdriver set, adhesive | Easy to Medium |
| Detached Earpad/Cushion | Re-attach using the original clips or loops. If clips are broken, use a flexible, strong adhesive designed for fabric and plastic. | Adhesive (fabric glue, E6000), clamp or heavy object to hold | Easy |
| Minor Cracks in Plastic | Use a plastic-specific adhesive or epoxy. For reinforce, consider using a small piece of strong tape (like Gorilla tape) on the inside of the crack once the adhesive has cured. | Plastic adhesive/epoxy, fine-grit sandpaper (optional, for cleaning edges), clamps | Medium |
| Loose/Broken Hinges (for foldable headphones) | This is trickier. Small screws might need tightening. If a hinge part is broken, it may require precise gluing with a strong, flexible epoxy. | Small screwdriver set, strong flexible epoxy, possibly small clamps | Medium to Hard |
Step-by-Step for Minor Cracks/Loose Parts:

- Assess the Damage: Carefully examine the broken area to understand the extent of the damage and what needs to be joined.
- Clean the Surfaces: For glue repairs, ensure the surfaces to be bonded are clean, dry, and free from dust or old adhesive. Lightly sanding the edges can sometimes create a better surface for the adhesive to grip.
- Apply Adhesive: Use a small amount of appropriate adhesive. For plastics, look for cyanoacrylate (super glue) for plastics or a specialized plastic epoxy. Apply it sparingly to one surface.
- Join and Hold: Carefully press the parts together, ensuring proper alignment. Use clamps, tape, or heavy objects to hold the parts firmly in place while the adhesive cures according to the manufacturer’s instructions. Patience is key here – don’t rush the curing process.
- Reinforce (Optional): Once cured, you can add reinforcement if the area is under stress. For plastic cracks, sometimes a small patch of strong tape on the inside can provide extra durability once the primary bond is solid.
Always work in a well-ventilated area and wear gloves if using strong adhesives. For detailed repairs on specific headphone models, searching YouTube for “[Your Headphone Model] repair” can yield incredibly useful visual guides.
6. Problems with a Single Earbud (e.g., Left or Right Not Working)

This is common with true wireless earbuds.
Step 1: Check Battery Level of the Individual Earbud

Sometimes, one earbud might simply be out of power. Place both earbuds in their charging case and ensure they are charging correctly. Check the charging indicators on the case and earbuds.
Step 2: Clean Charging Contacts
There are small metal contacts on both the earbuds and inside the charging case. If these are dirty or corroded, they won’t transfer power.
- Gently clean the contacts on the earbuds with a dry cotton swab or a pencil eraser.
- Clean the contacts inside the charging case with the same method. Ensure there’s no debris left behind.
Step 3: Reset the Earbuds
This is crucial for true wireless earbuds. Most manufacturers have a specific reset procedure, often done by placing both earbuds in the case, leaving the lid open, and holding a button on the case (or sometimes on the earbuds themselves) for a specific duration. Consult your manual or search online for the reset method for your specific model. This usually re-syncs the earbuds to each other and to your device.
Step 4: Re-pair After Reset
After a successful reset, you will likely need to re-pair the earbuds with your device as if they were new.
Step 5: Check Left/Right Balance Settings
On your connected device, ensure that the audio balance is not shifted entirely to one side.
- iOS: Settings > Accessibility > Audio/Visual > Balance.
- Android: Settings > Accessibility > Hearing enhancements > Sound balance (exact path varies by manufacturer).
7. Can’t Find the Manual (or Online Support is Lacking)?
Don’t despair! Many common fixes are universal.
- Search Engine: Use Google (or your preferred search engine) by typing “[Your Headphone Brand and Model] not charging,” “[Your Headphone Brand and Model] won’t pair,” or “[Your Headphone Brand and Model] reset.” You’ll often find forum posts, video tutorials, or support pages.
- YouTube: This is a goldmine for visual learners. Many users post detailed video guides for troubleshooting and even repairing specific models.
- Manufacturer’s Website: Even if the specific manual is hard to find, the manufacturer’s support section for your product line might have FAQs or generic troubleshooting tips.
Tools and Materials for Cheap Headphone Repairs

You might be surprised by how many common headphone issues can be solved with minimal or no special tools:
- Compressed Air: Excellent for cleaning charging ports and speaker grills without touching delicate components.
- Cotton Swabs (Dry & Slightly Dampened with Isopropyl Alcohol): For cleaning ports and contacts. Ensure any alcohol evaporates completely before reassembling or powering on.
- Toothpicks (Wooden or Plastic): Great for carefully dislodging stubborn debris from ports. Avoid metal toothpicks.
- Small Precision Screwdriver Set: Essential if your headphones have accessible screws for minor repairs or battery replacement (though the latter is more advanced).
- Soft Brush: A small paintbrush or an anti-static brush can be useful for gently cleaning dust from grilles or ports.
- Super Glue/Plastic Adhesive/Epoxy: For minor physical repairs to cracks or detached parts. Choose one appropriate for plastics and flexible enough for moving parts if needed.
- Duct Tape or Electrical Tape: For temporary fixes or reinforcing repairs.
- Patience: This is the most crucial tool!
<
